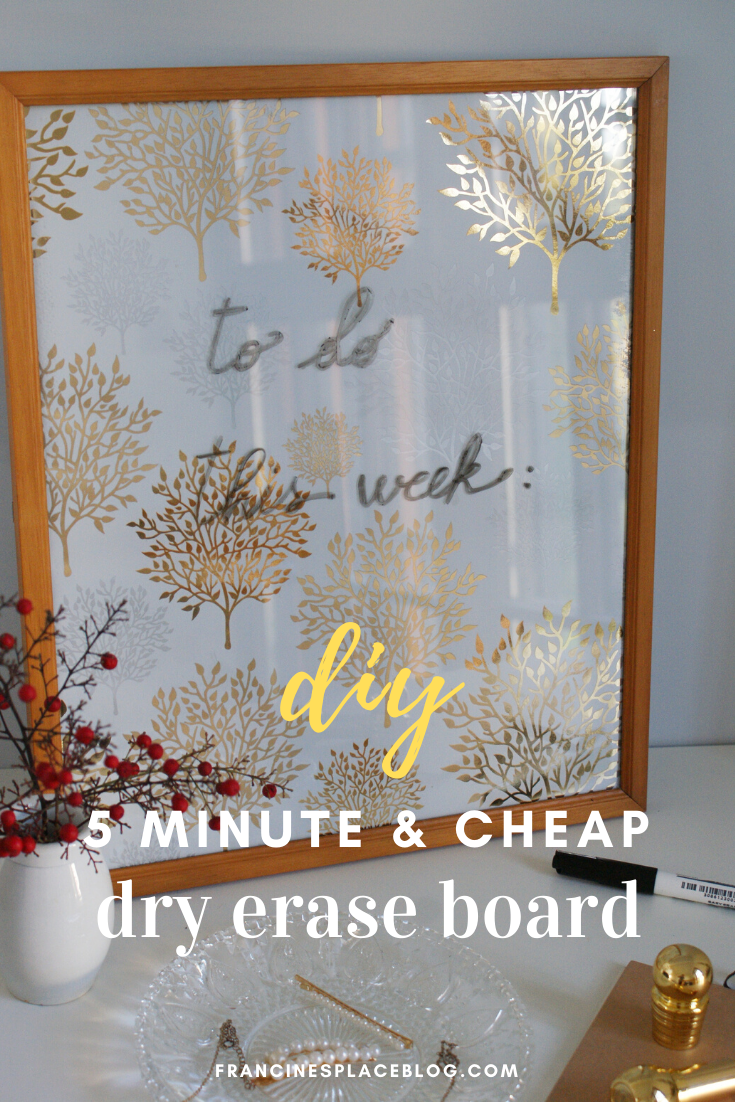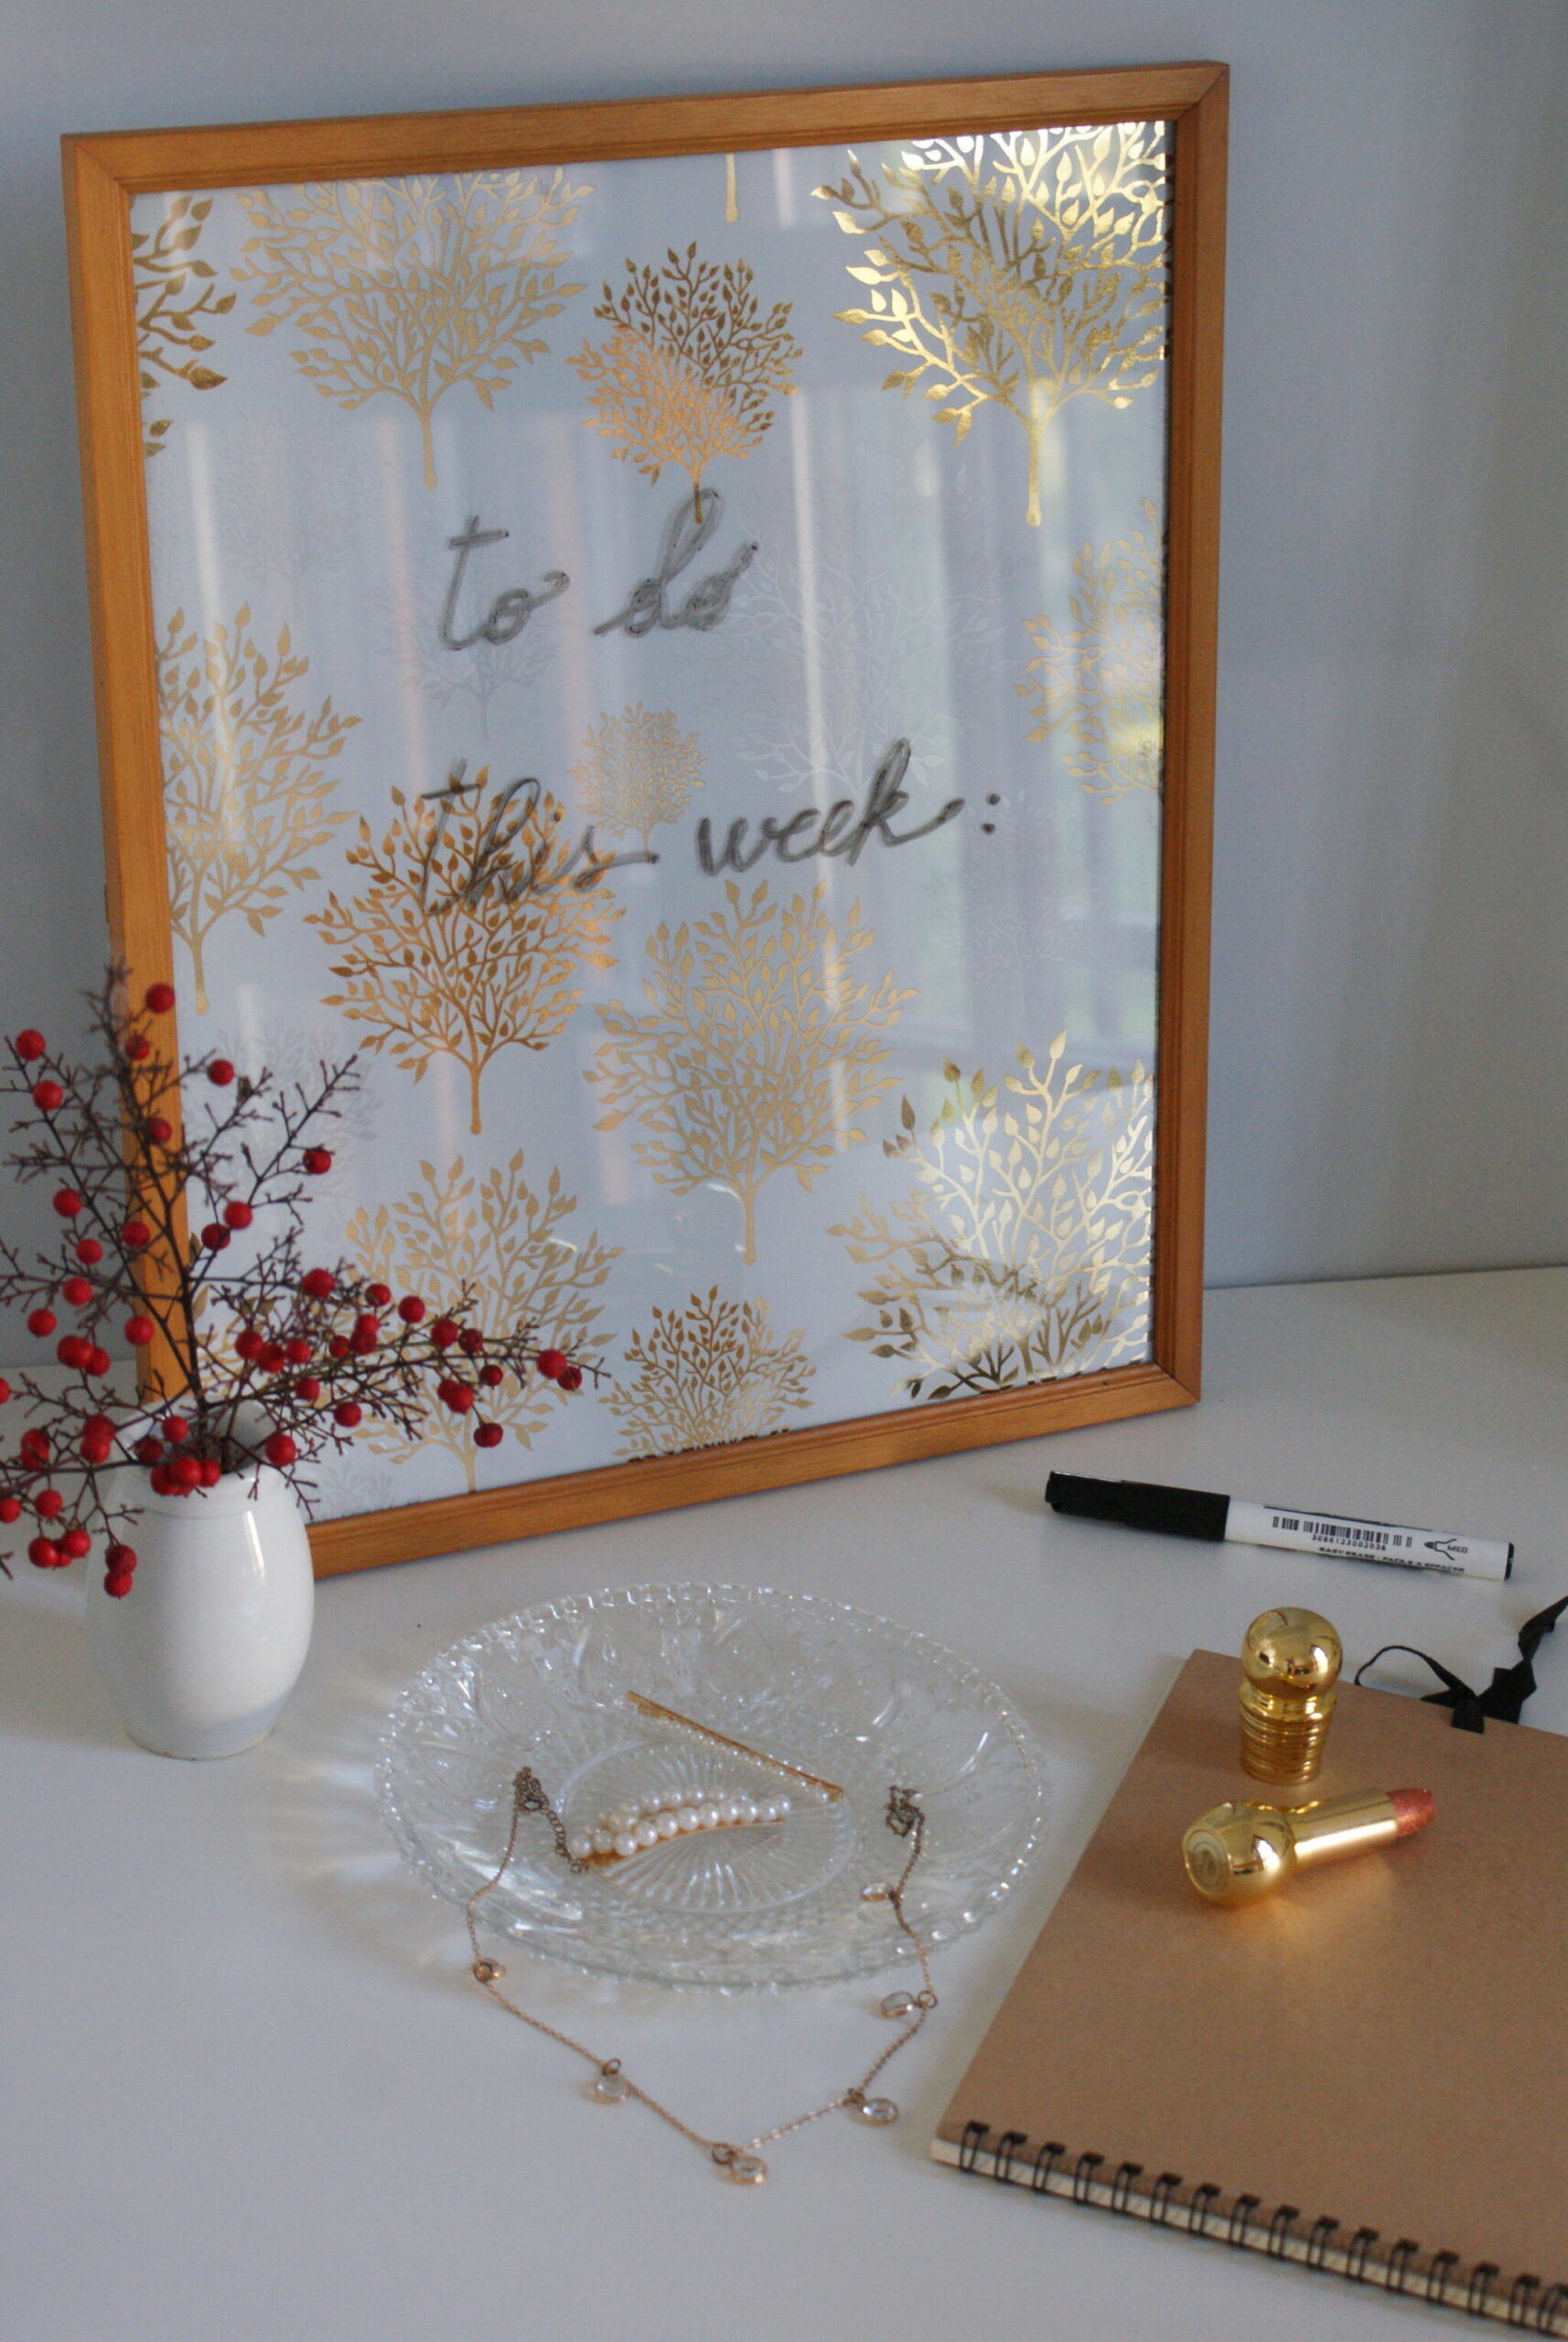
Discover how to make a cheap and beautiful DIY dry erase board in only 5 minutes and for less than 5 $/€!
For this homemade craft idea you’ll only need a few materials that you can easily find at dollar stores (or that you already have at home!) and it will take only 5 minutes to make. Cheap and quick DIYs for the win!
//
Scoprite come realizzare questa lavagnetta cancellabile fai da te in soli 5 minuti e con meno di 5 €!
Per questo progetto vi serviranno pochissimi materiali che trovate a prezzi economici in molti negozi (o che avete già a casa!) e impiegherete solo 5 minuti. I fai da te veloci ed economici sono i migliori!
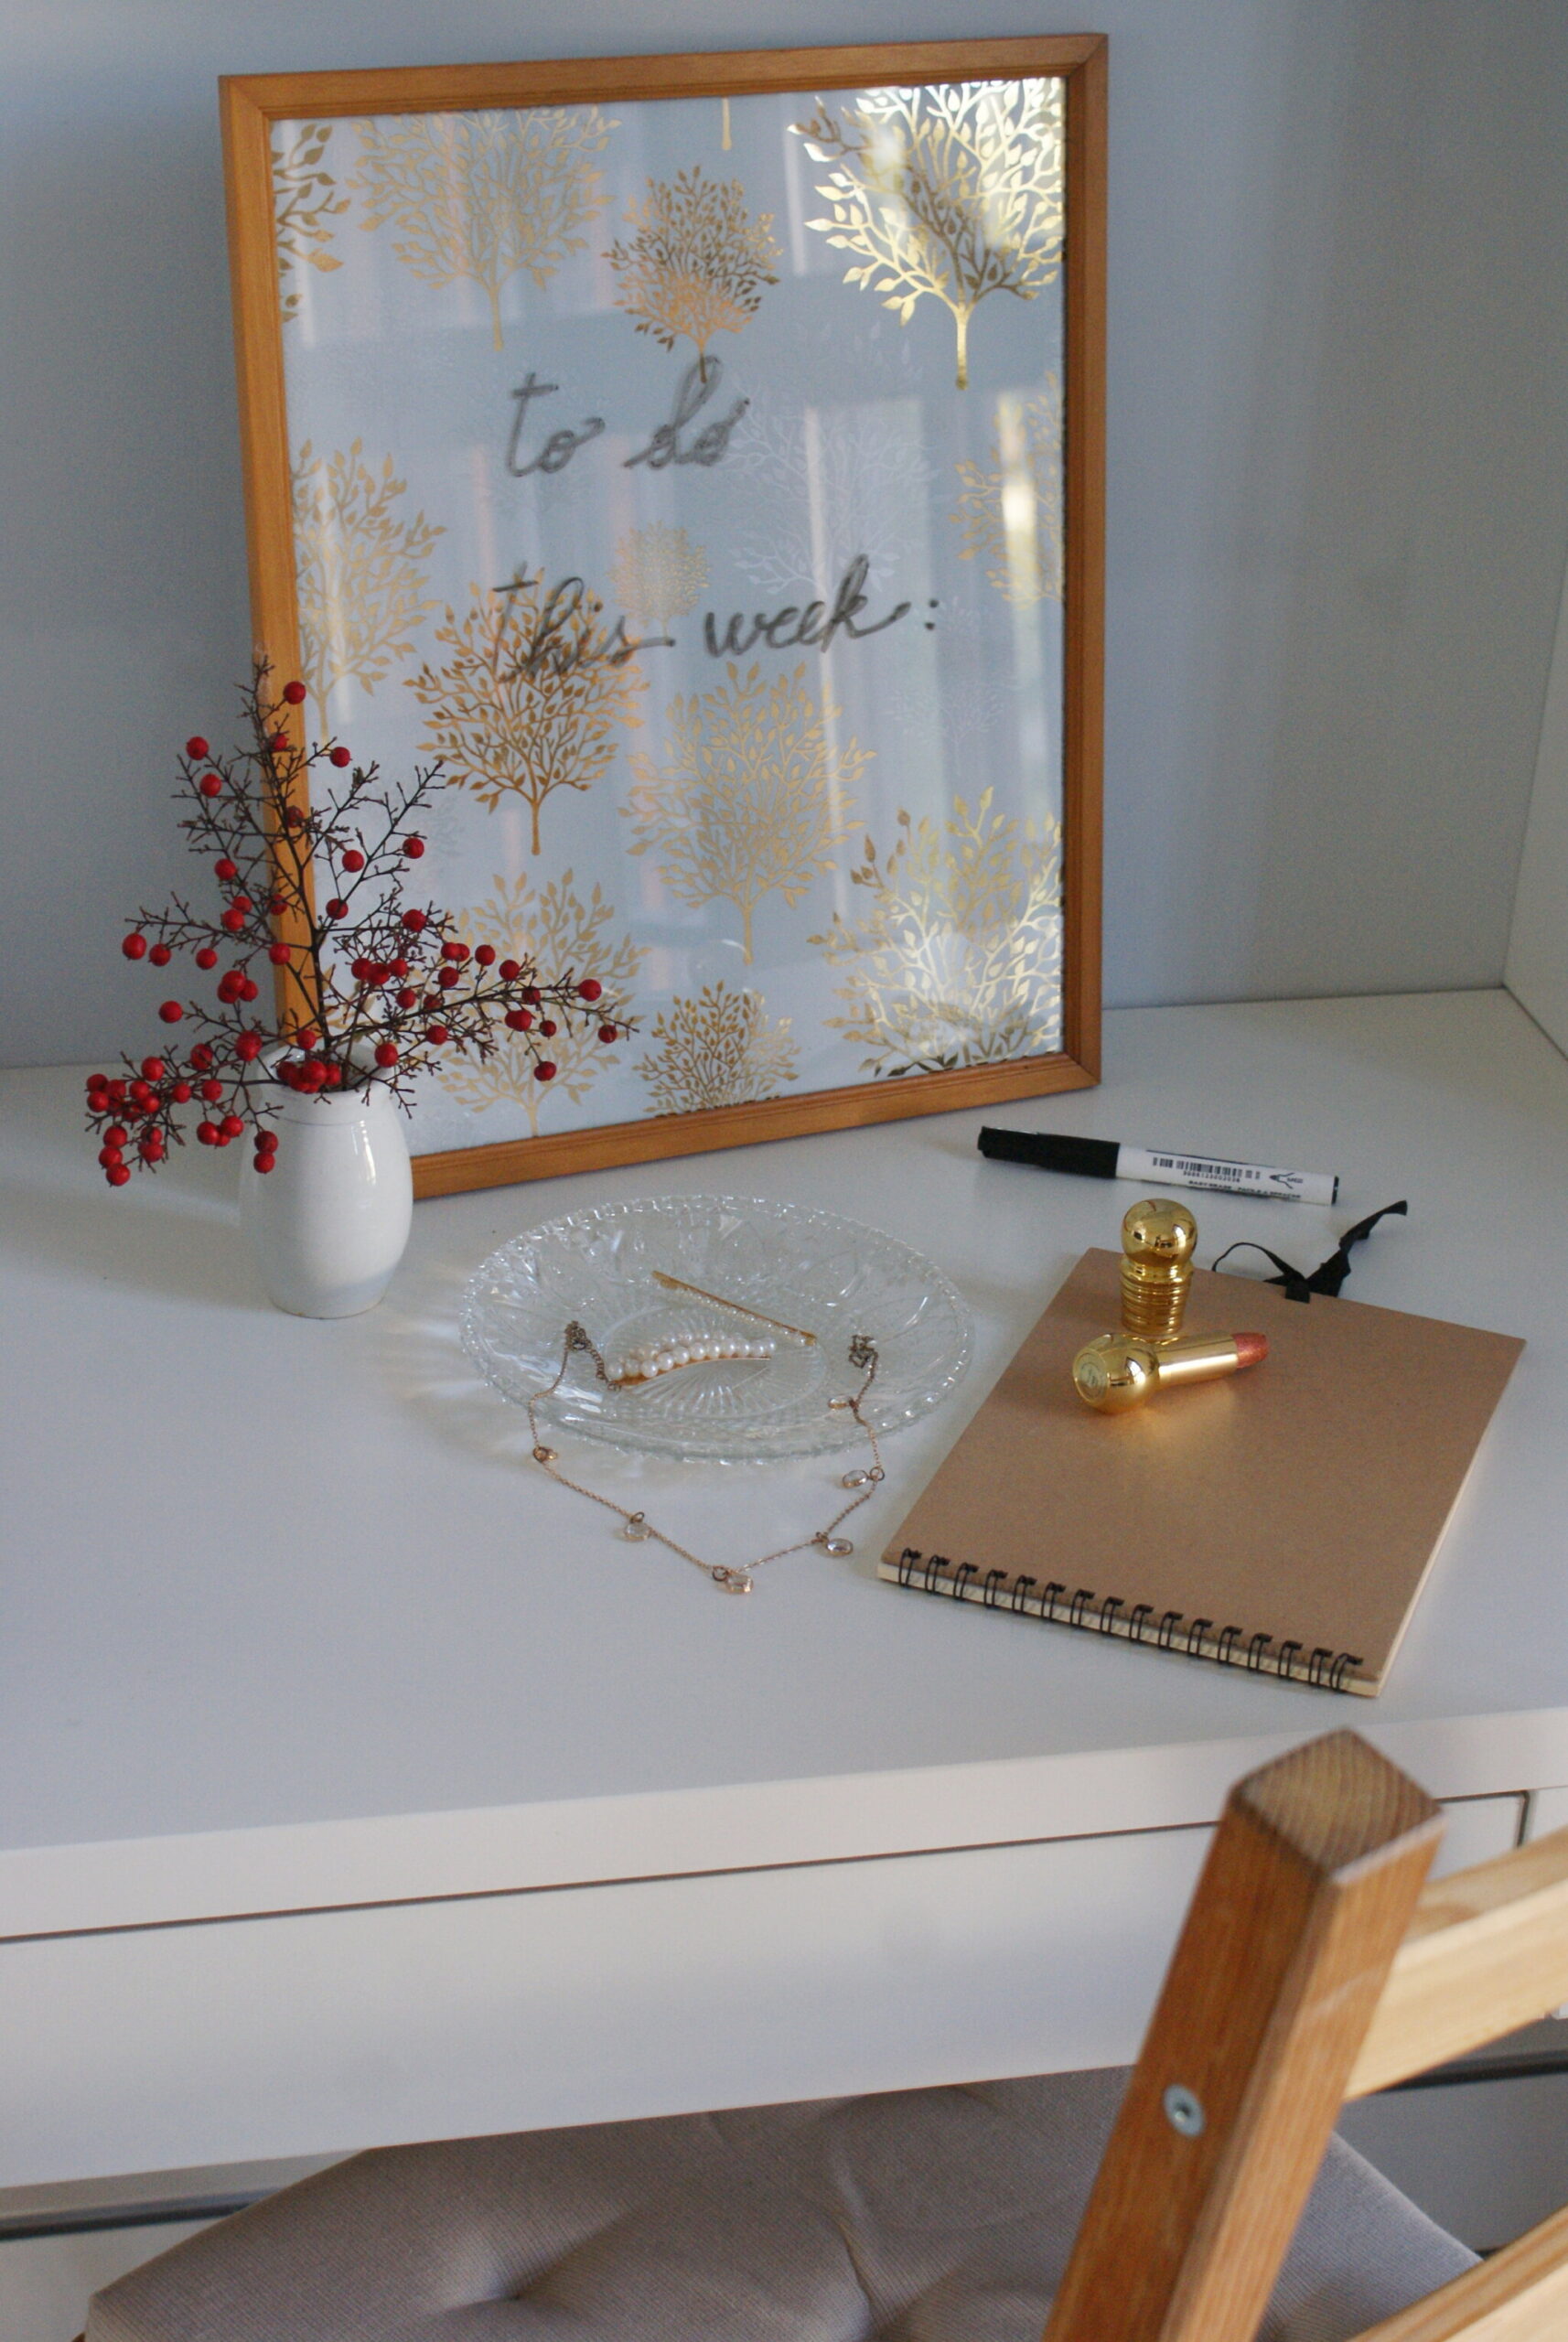
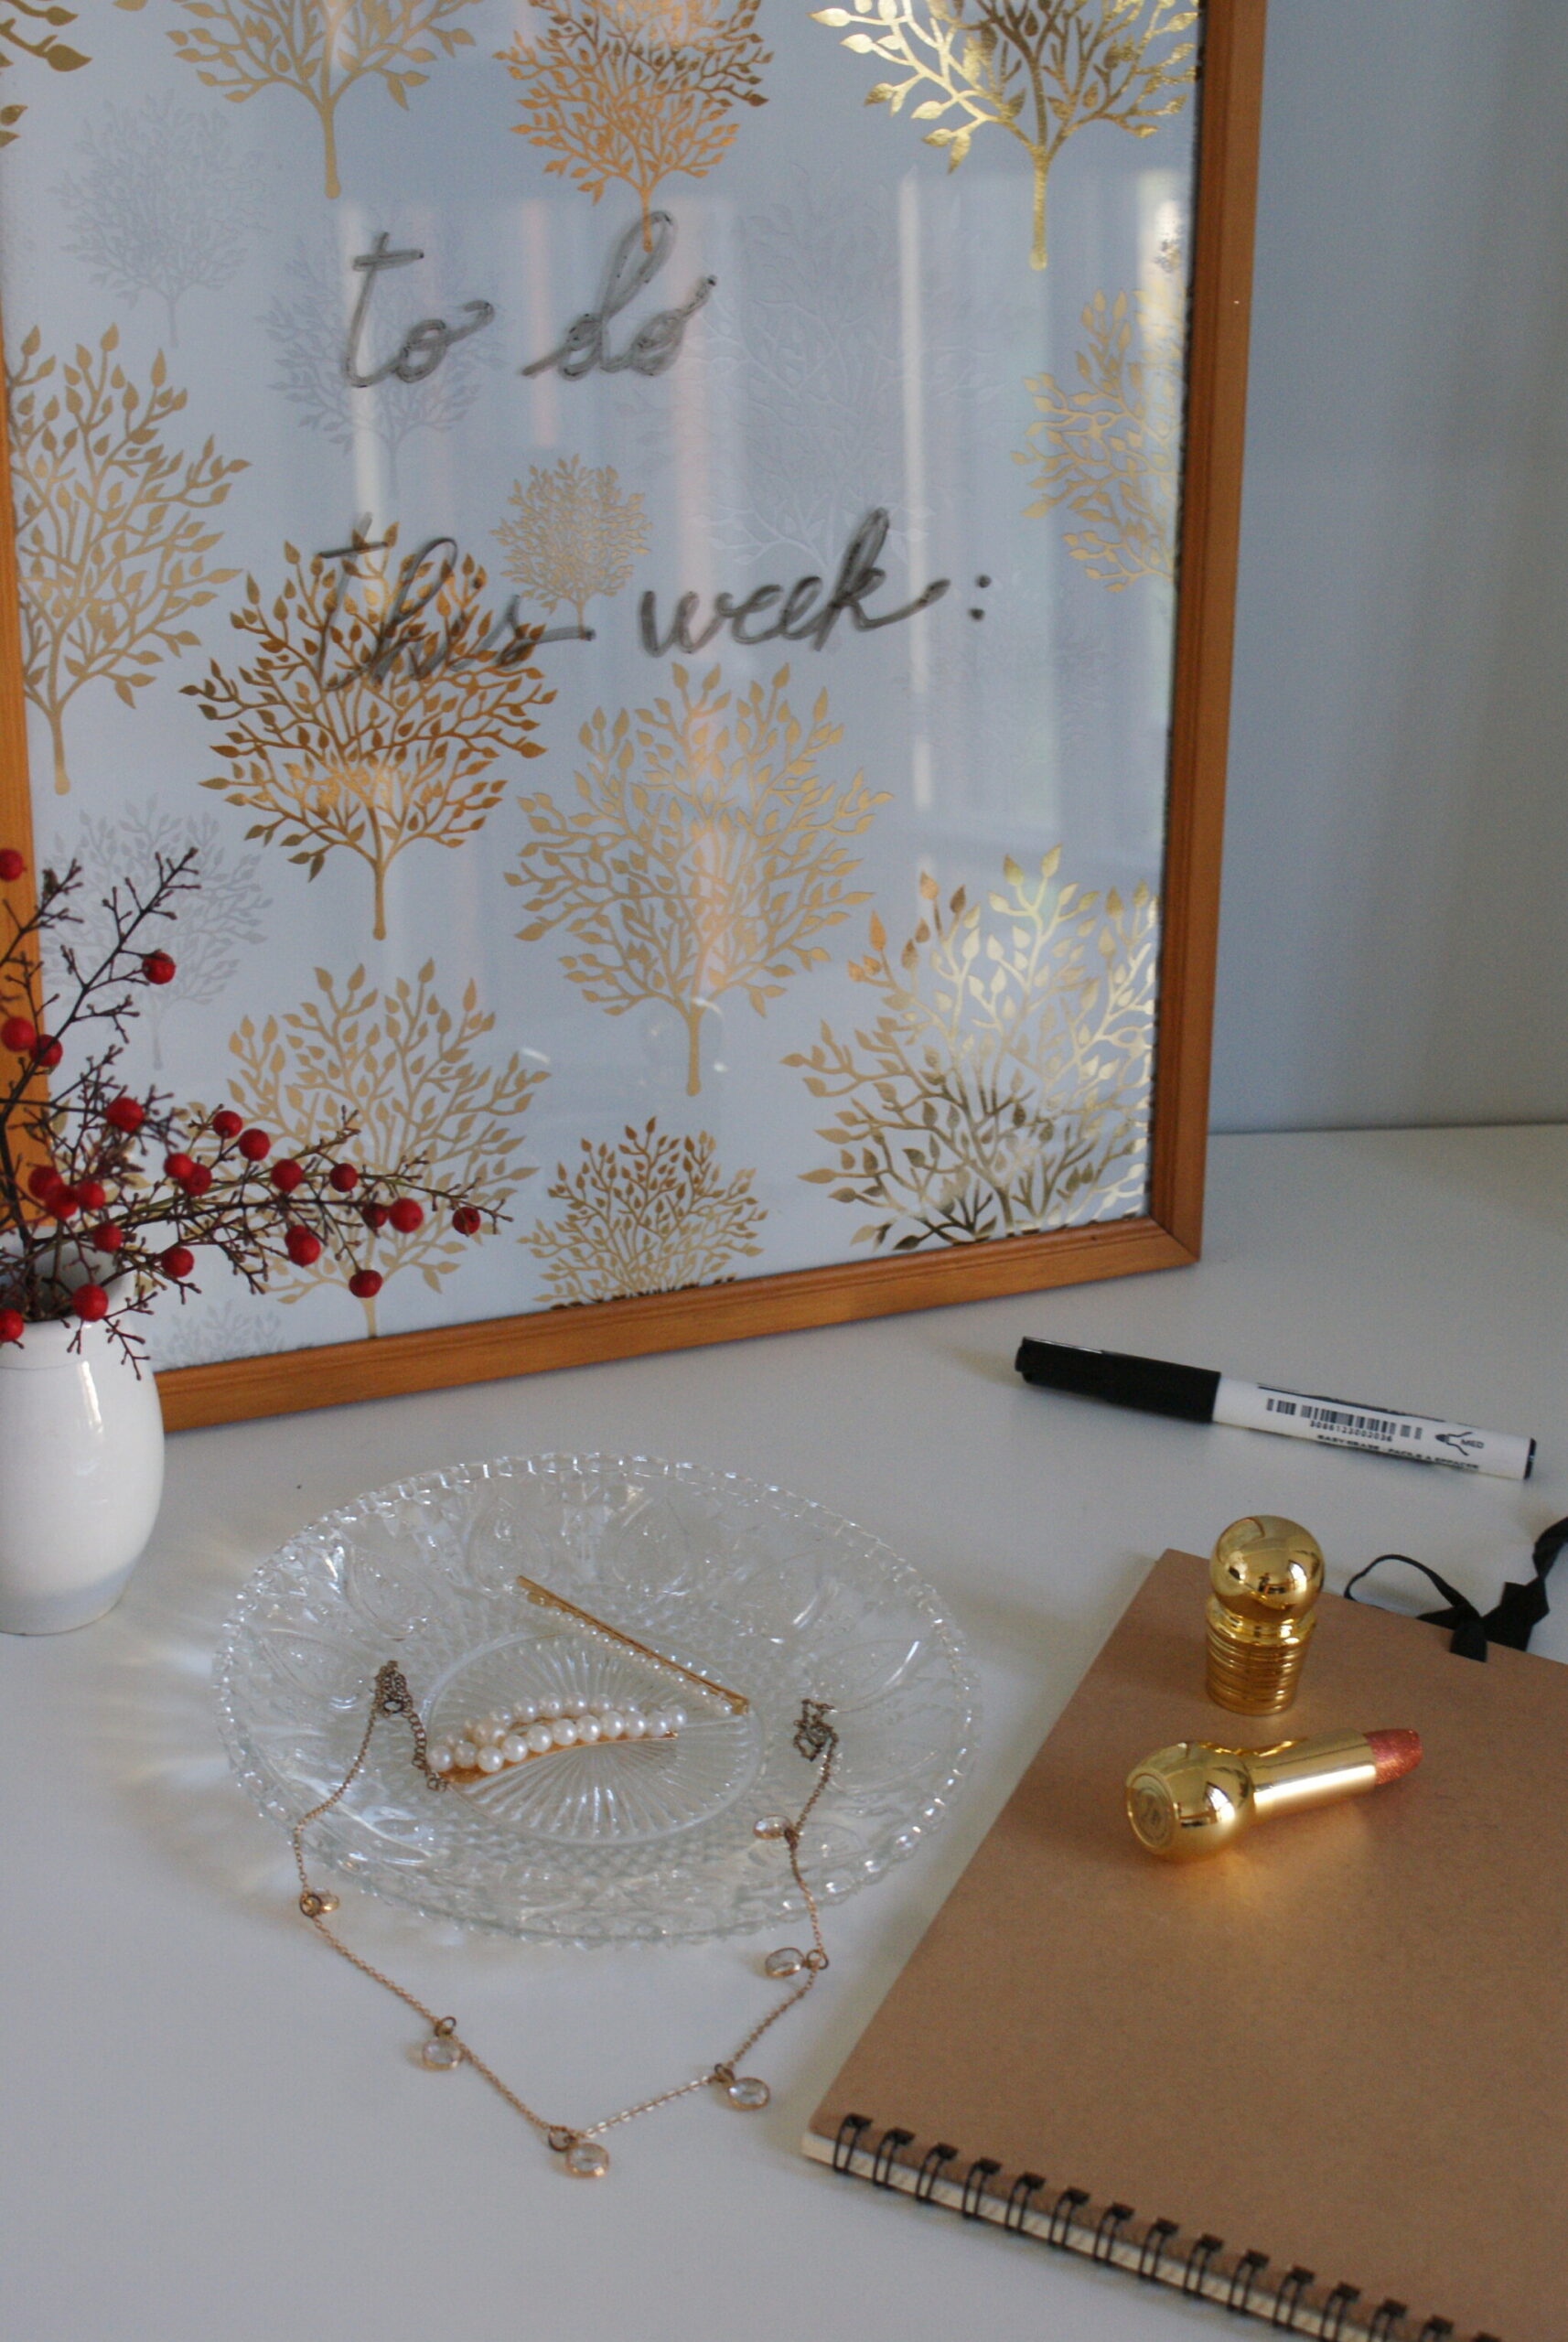
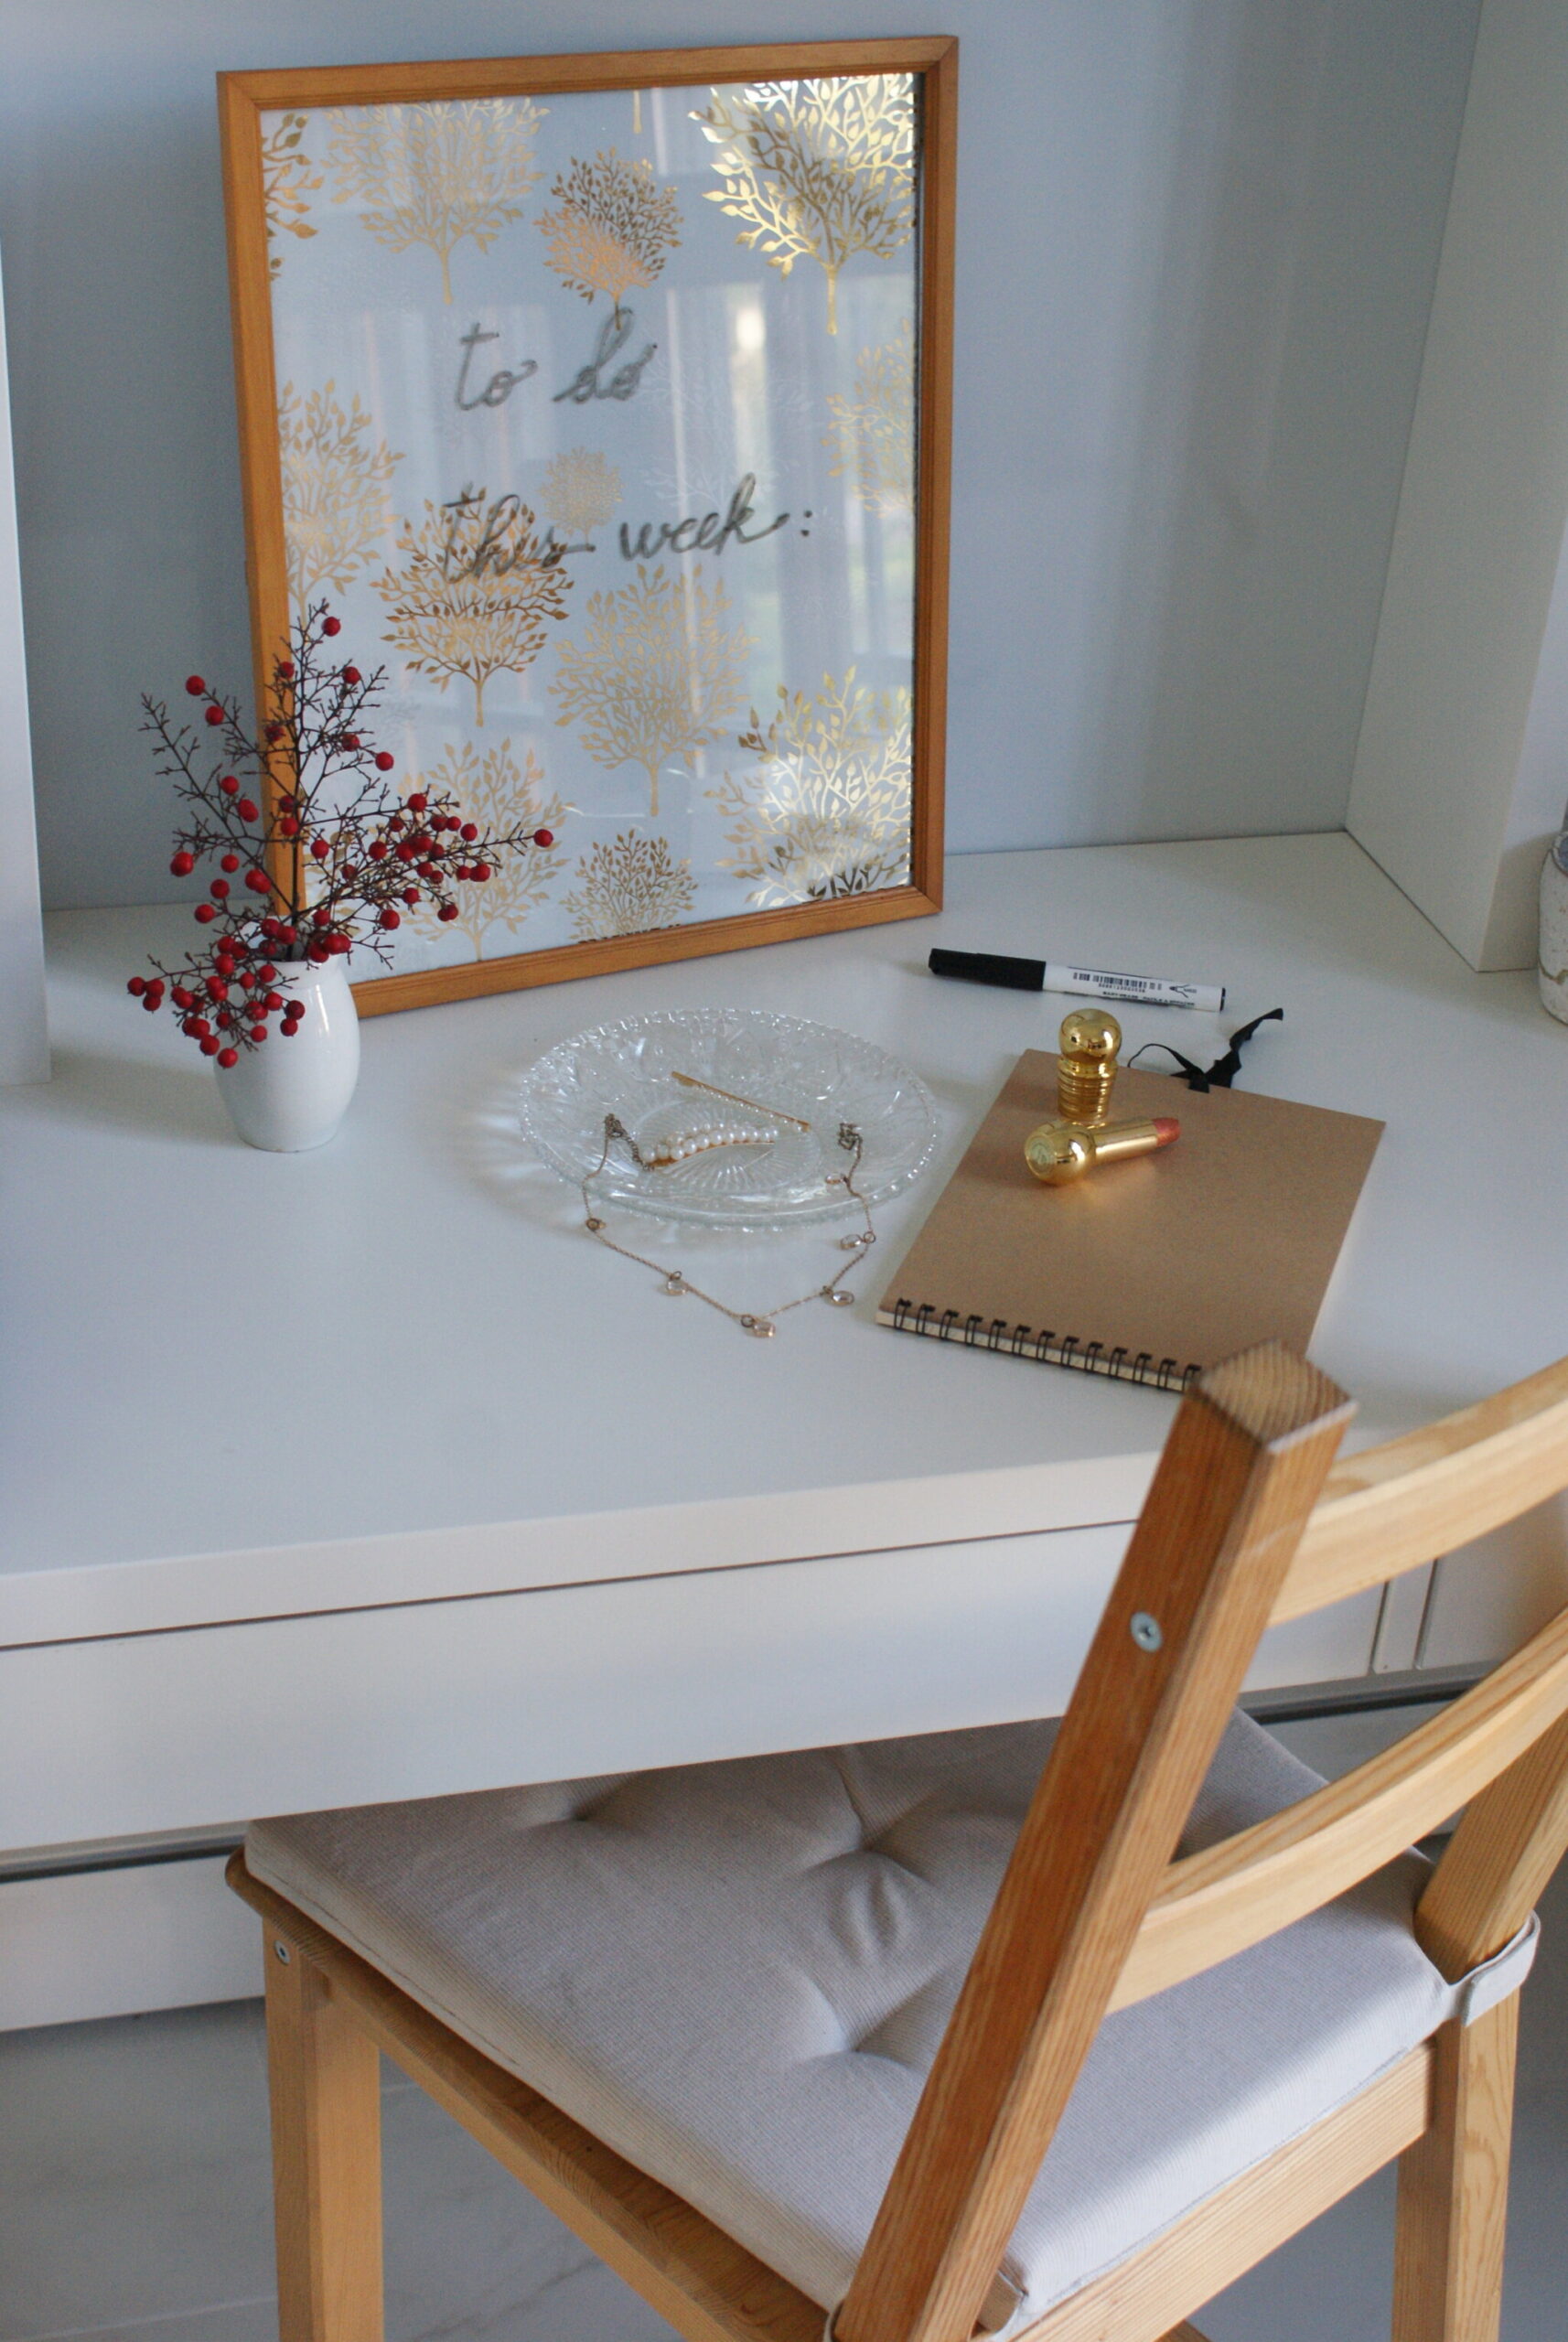
Dry erase boards are perfect to plan and organize all the things we have to do, or to write down goals or anything we want. At the beginning of a new year I need a bit more organization to not forget anything important. So, after the free printable 2020 goals worbook, I decided to share another idea to help you being more productive. This DIY dry erase board is so easy to make and so cute that you can keep it in your office, kitchen or wherever you need to remember things! And thanks to it you won’t need post-its which means less paper waste. Great, isn’t it?
//
Le lavagne cancellabili sono perfette per pianificare ed organizzare le cose che abbiamo da fare, o per scrivere obiettivi e qualunque cosa vogliamo. All’inizio dell’anno ho bisogno di un po’ più di organizzazione per non dimenticare nulla di importante. Dunque, dopo lo stampabile gratis per gli obiettivi 2020, ho deciso di condividere un’altra idea che potesse aiutarvi ad essere più produttivi. Questa lavagnetta cancellabile fai da te è davvero facile da realizzare e così carina che potrete tenerla nello studio, in cucina, o ovunque vi serva ricordare le cose. Ah, e vi farà eliminare i post-it, riducendo lo spreco di carta. Niente male direi, no?
***
You need // vi occorre:
- an old (or cheap) frame with glass or plexiglass // una vecchia (o economica) cornice con vetro o plexiglass
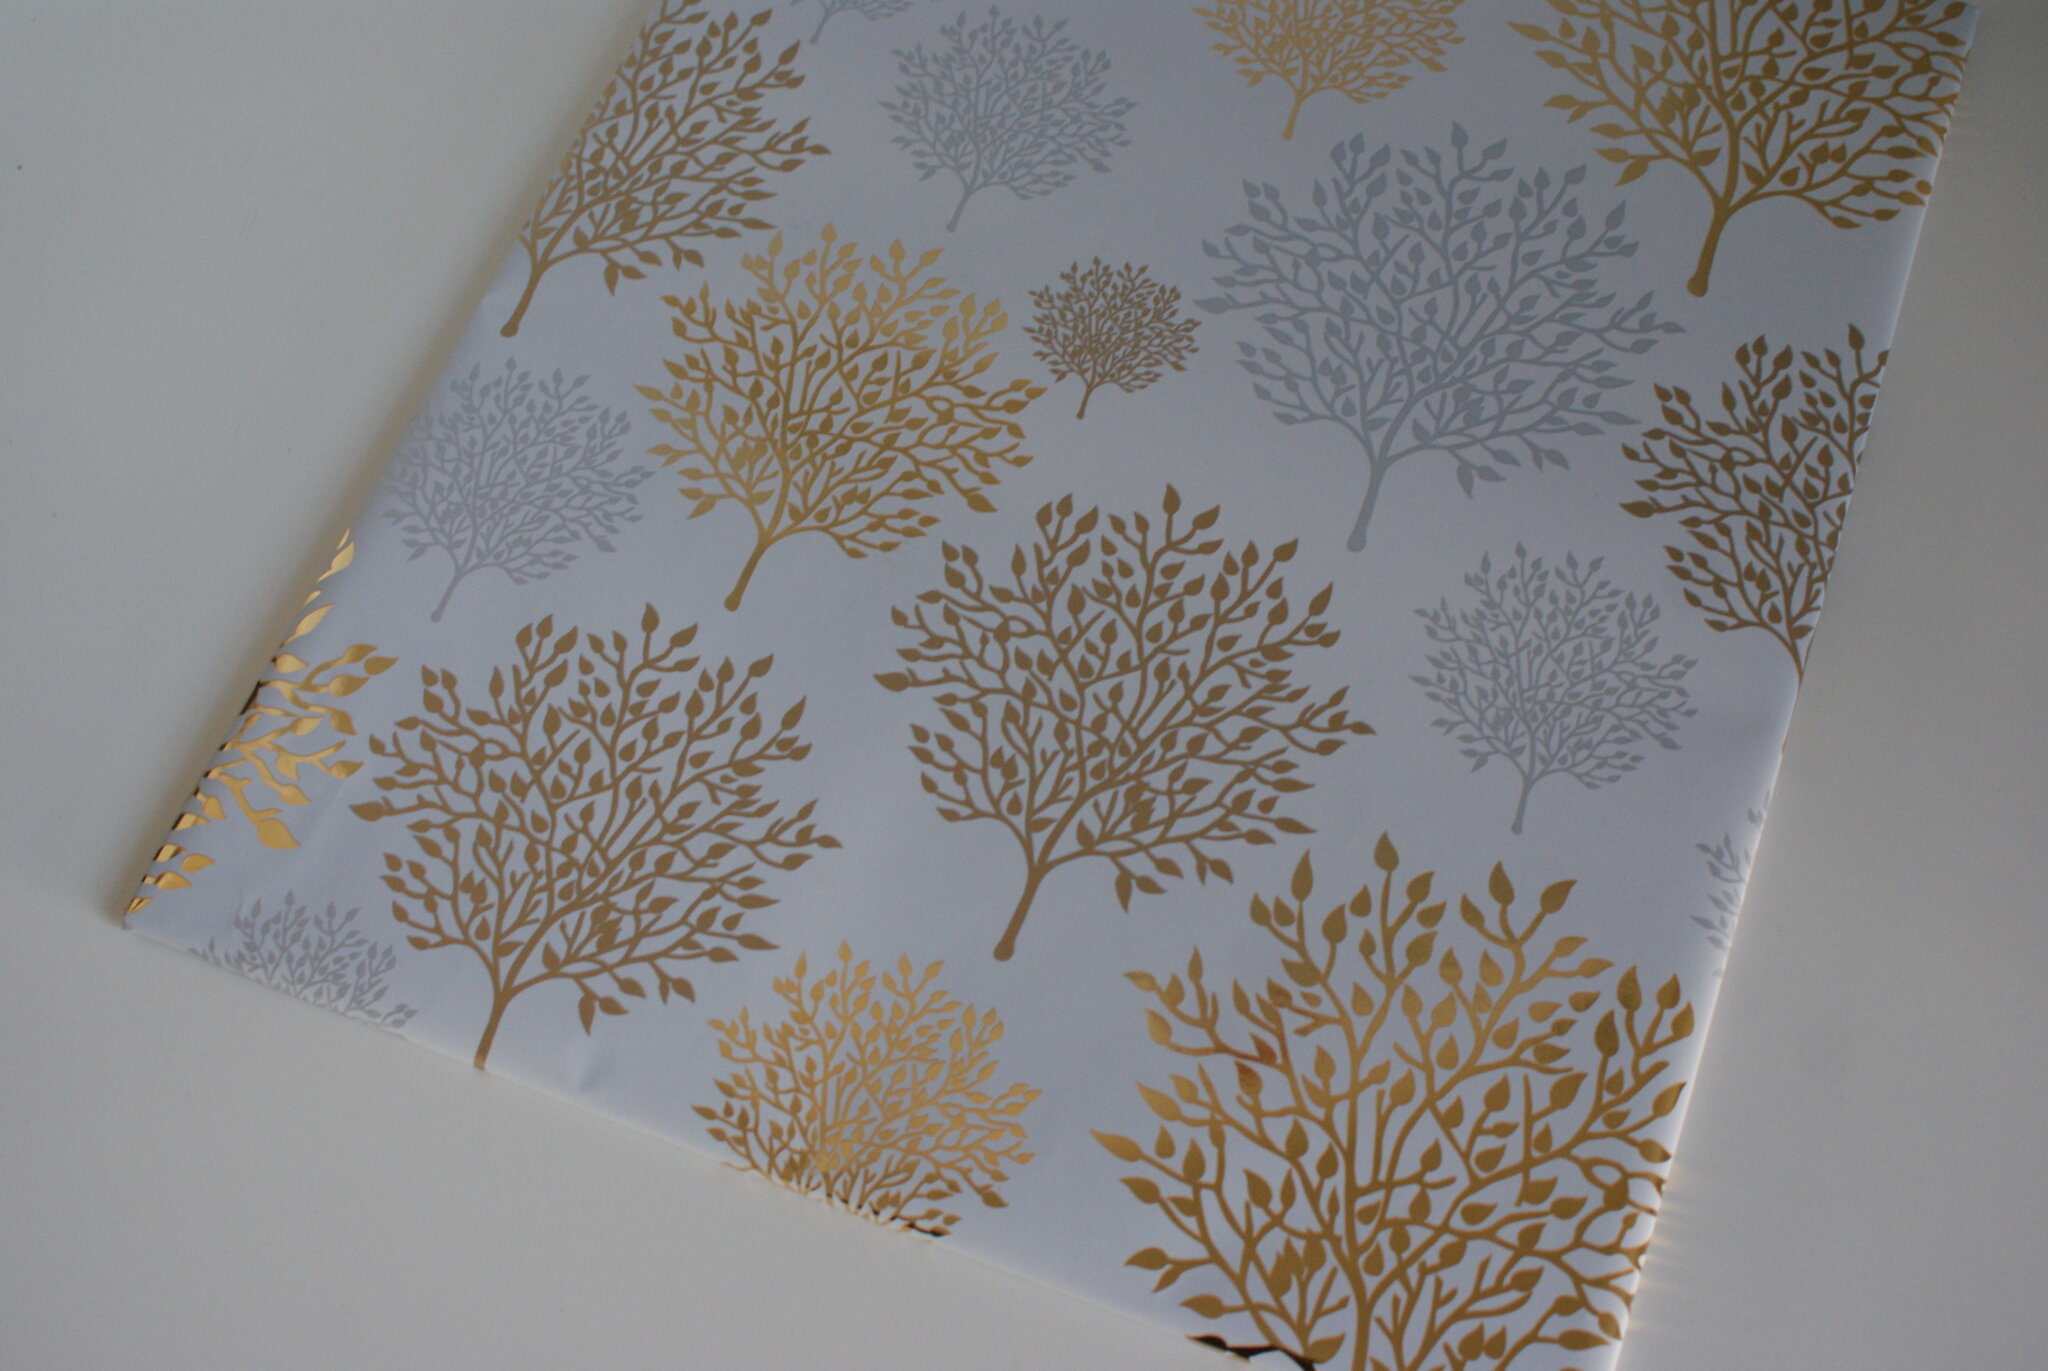
- printed wrapping paper // carta regalo stampata
- glue or adhesive tape // colla o nastro adesivo
- dry erase marker // pennarello cancellabile
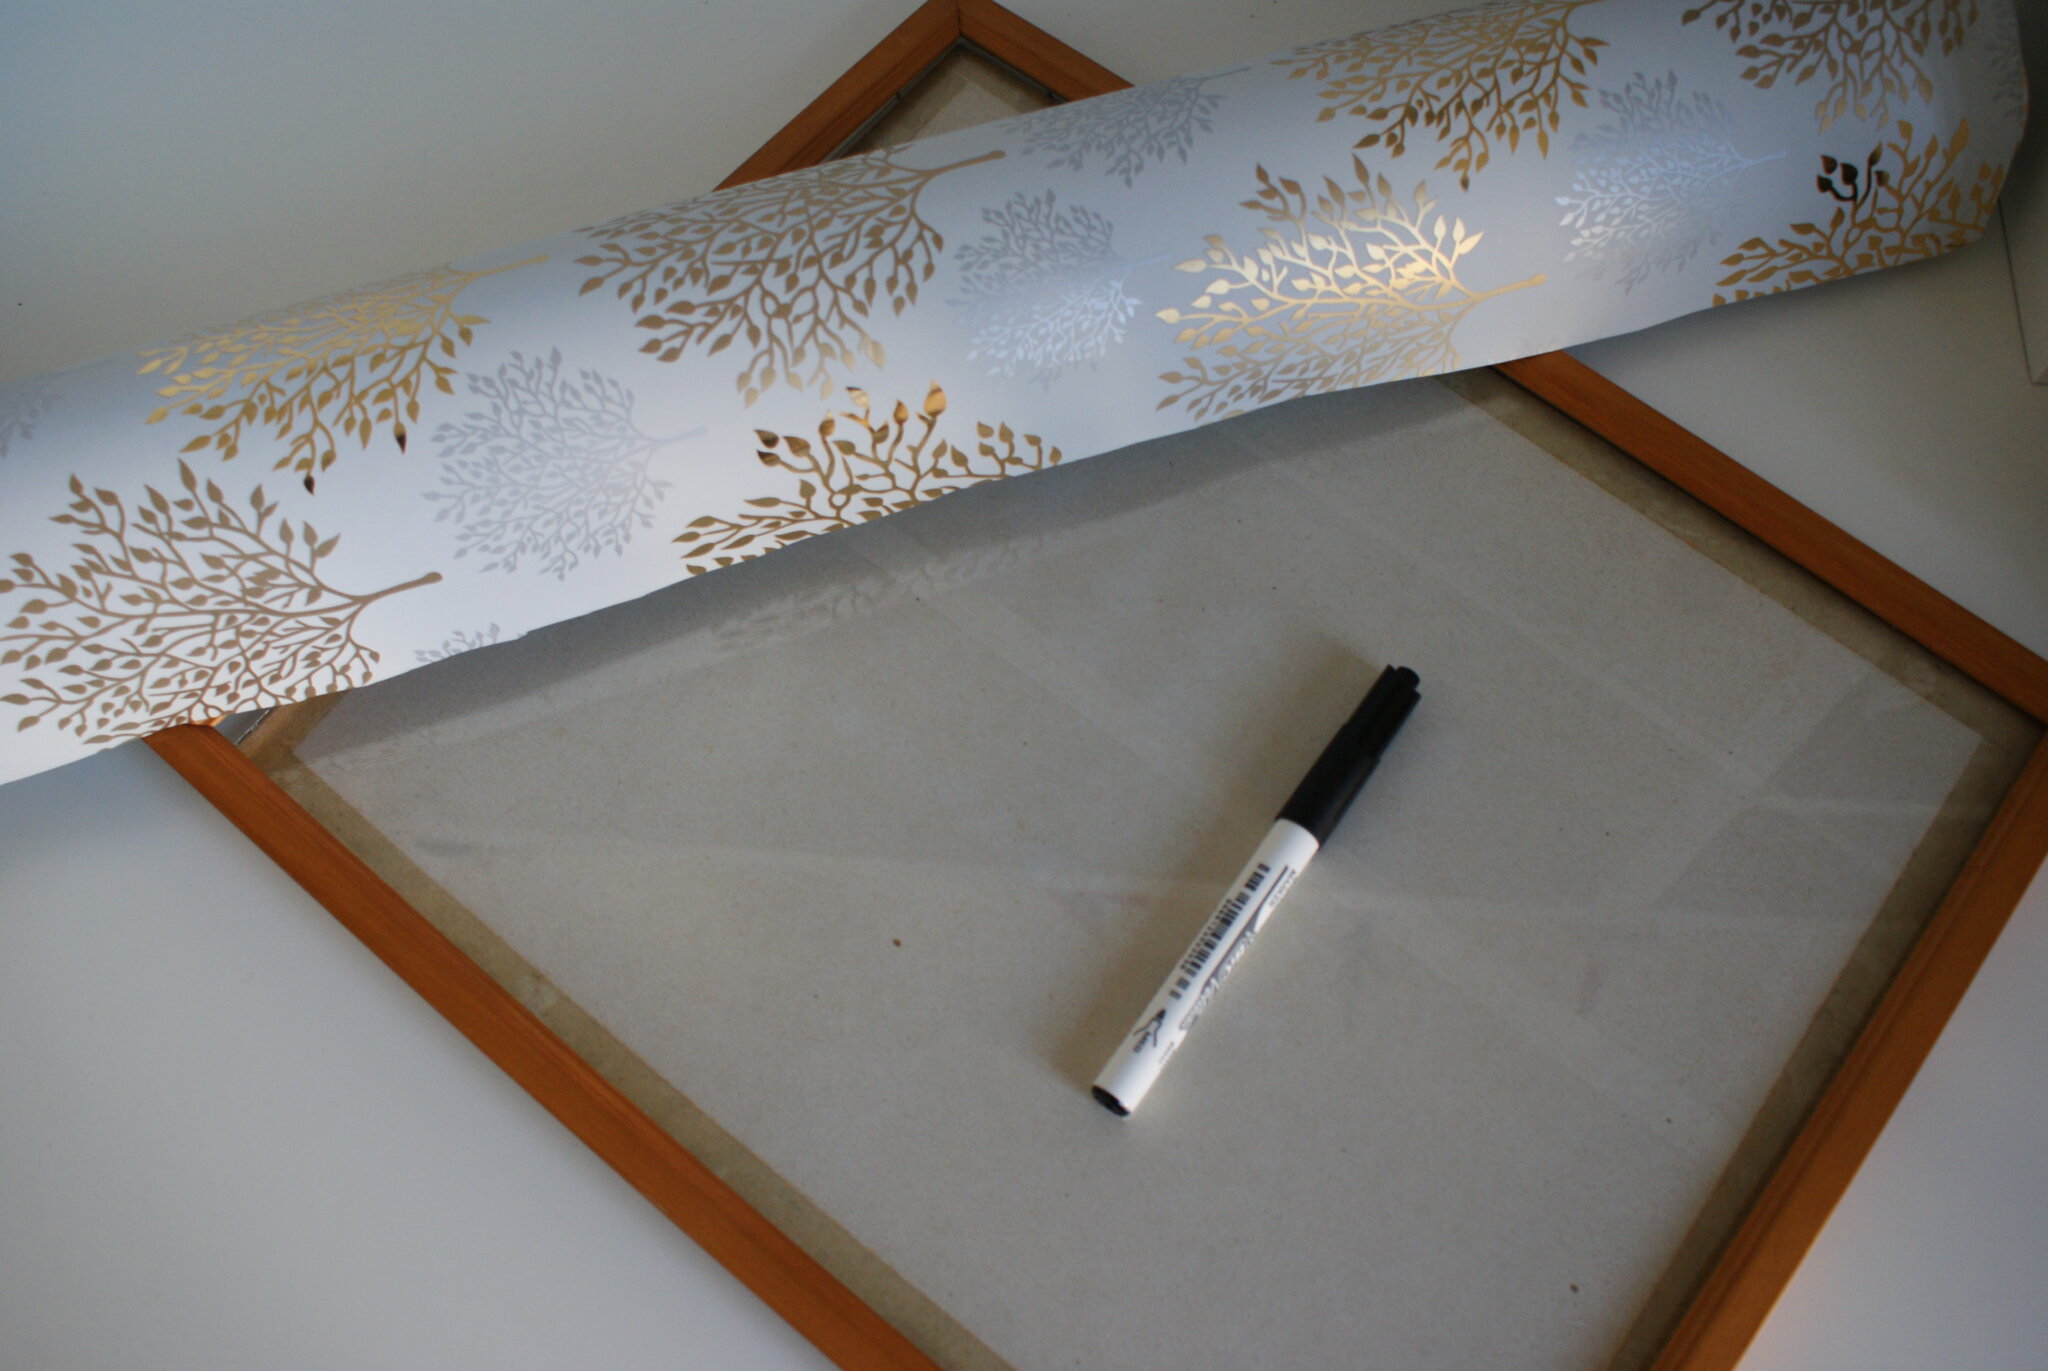
For this craft I’ve spent only 1 € for the marker, since I already had the frame (it was in my room when I was child!) and the wrapping paper (that you may have too since Christmas is “just” over!). If you don’t have a frame, you can easily find one at Ikea for a ridiculous price. // Per questo progetto ho speso solo 1 € per il pennarello. Eh sì! La cornice l’avevo in casa (era di un quadretto di quando ero piccola!) e la carta regalo, con Natale “appena” passato abbondava in casa e lo stesso penso valga per voi. Se, però, non avete una cornice, all’Ikea ne hanno diverse a prezzi minuscoli!
How to // come procedere:
1)
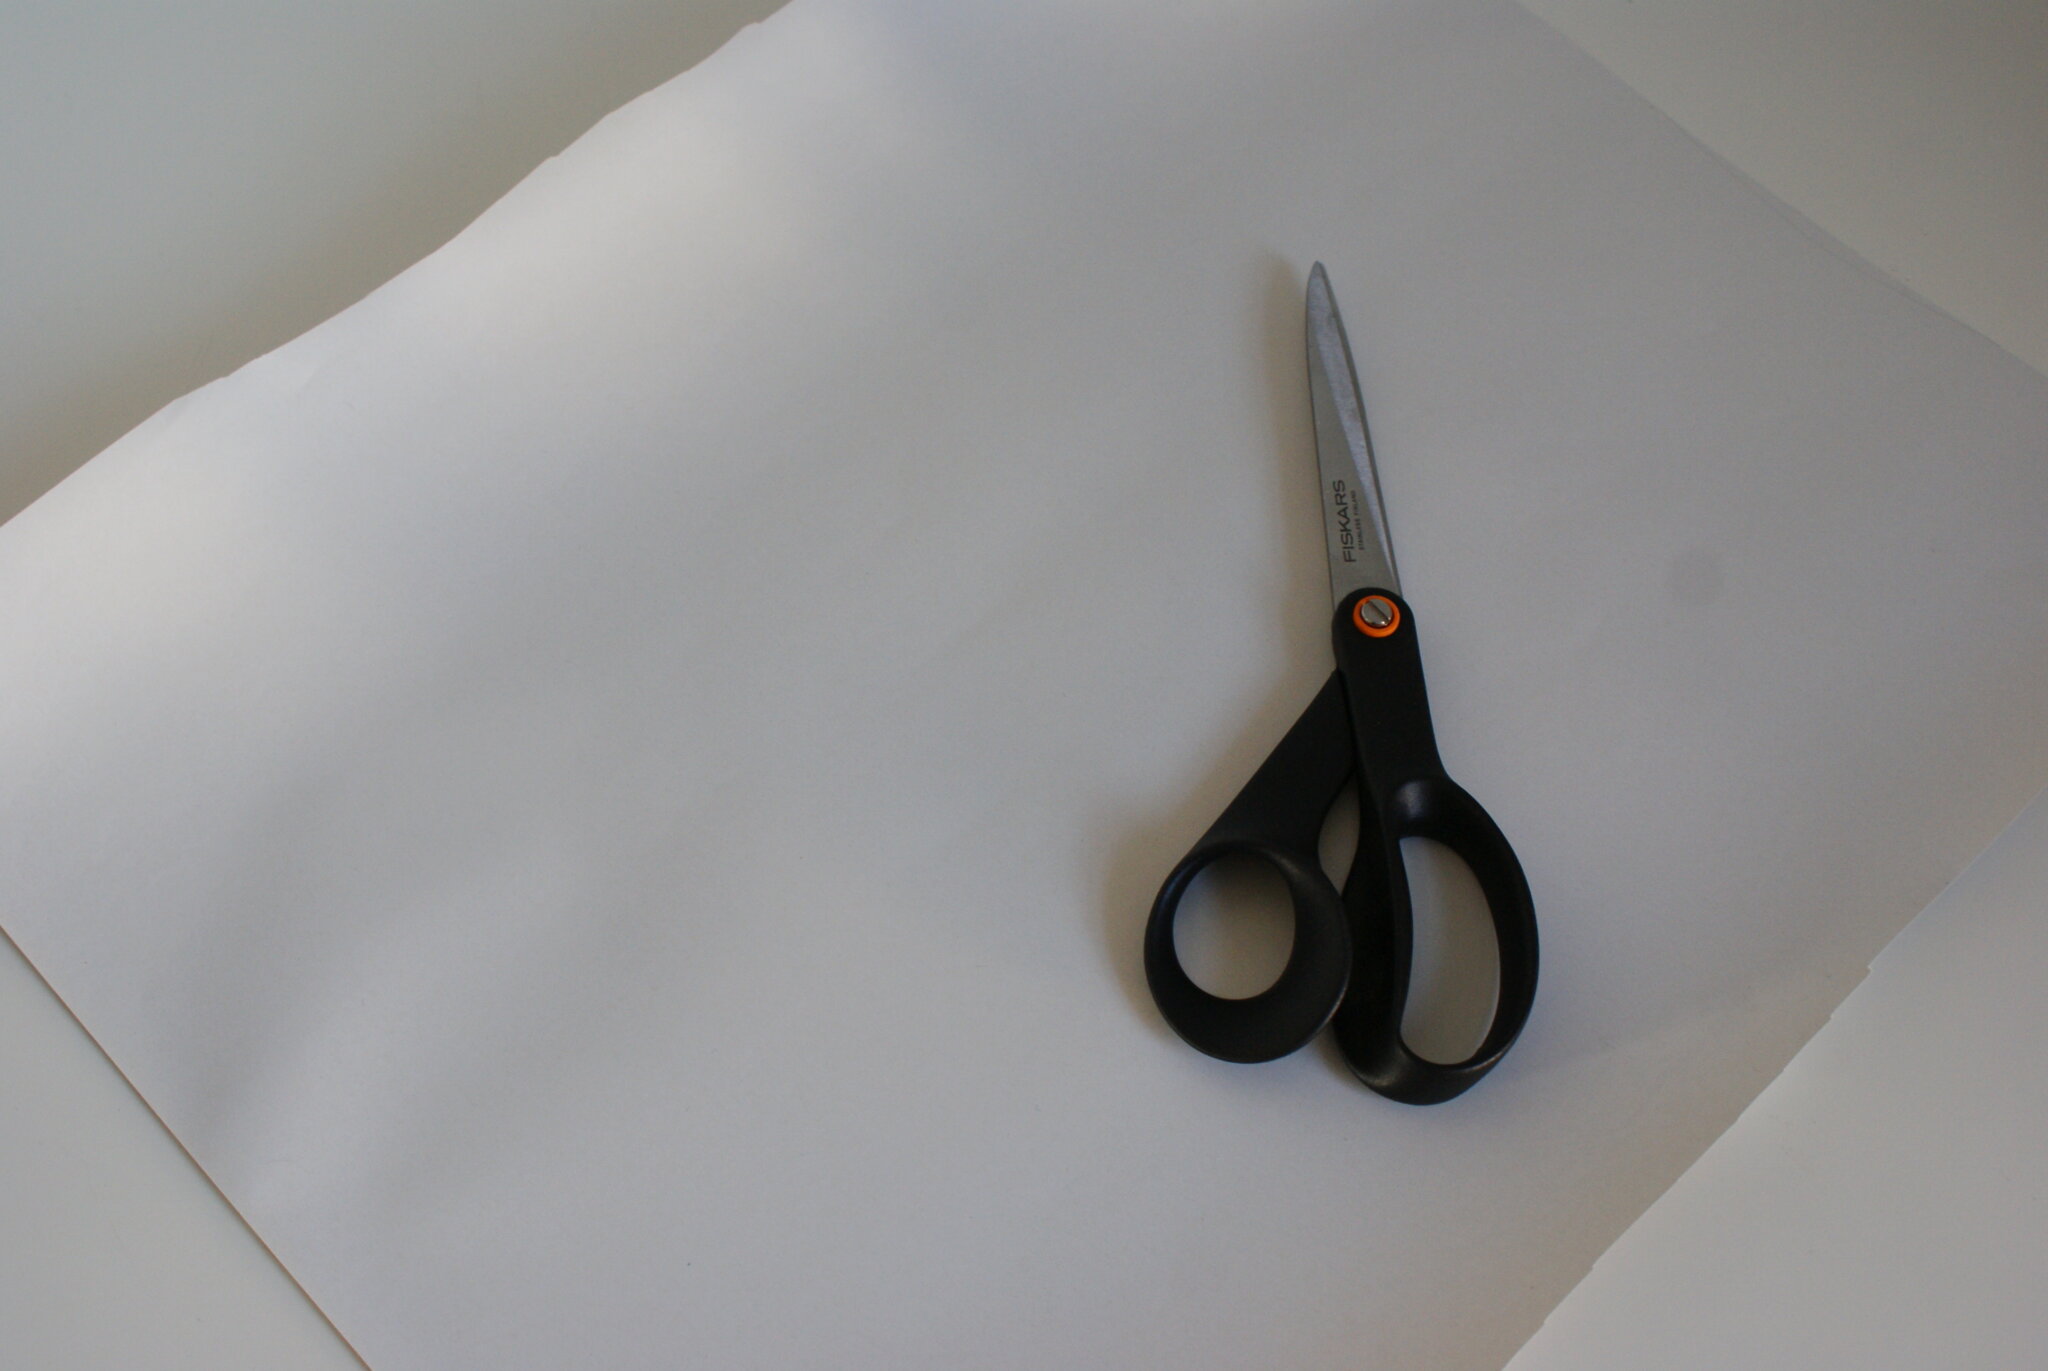
Open the frame and remove the back. Use it to draw a rectangle (or any shape it has) on the paper, leaving a few centimeters from each side, then cut it. // Aprite la cornice e togliete il fondo. Tracciatene i contorni sulla carta abbondando di un paio di centimetri per ottenere un rettangolo (o qualunque forma abbia), poi ritagliatelo.
2)
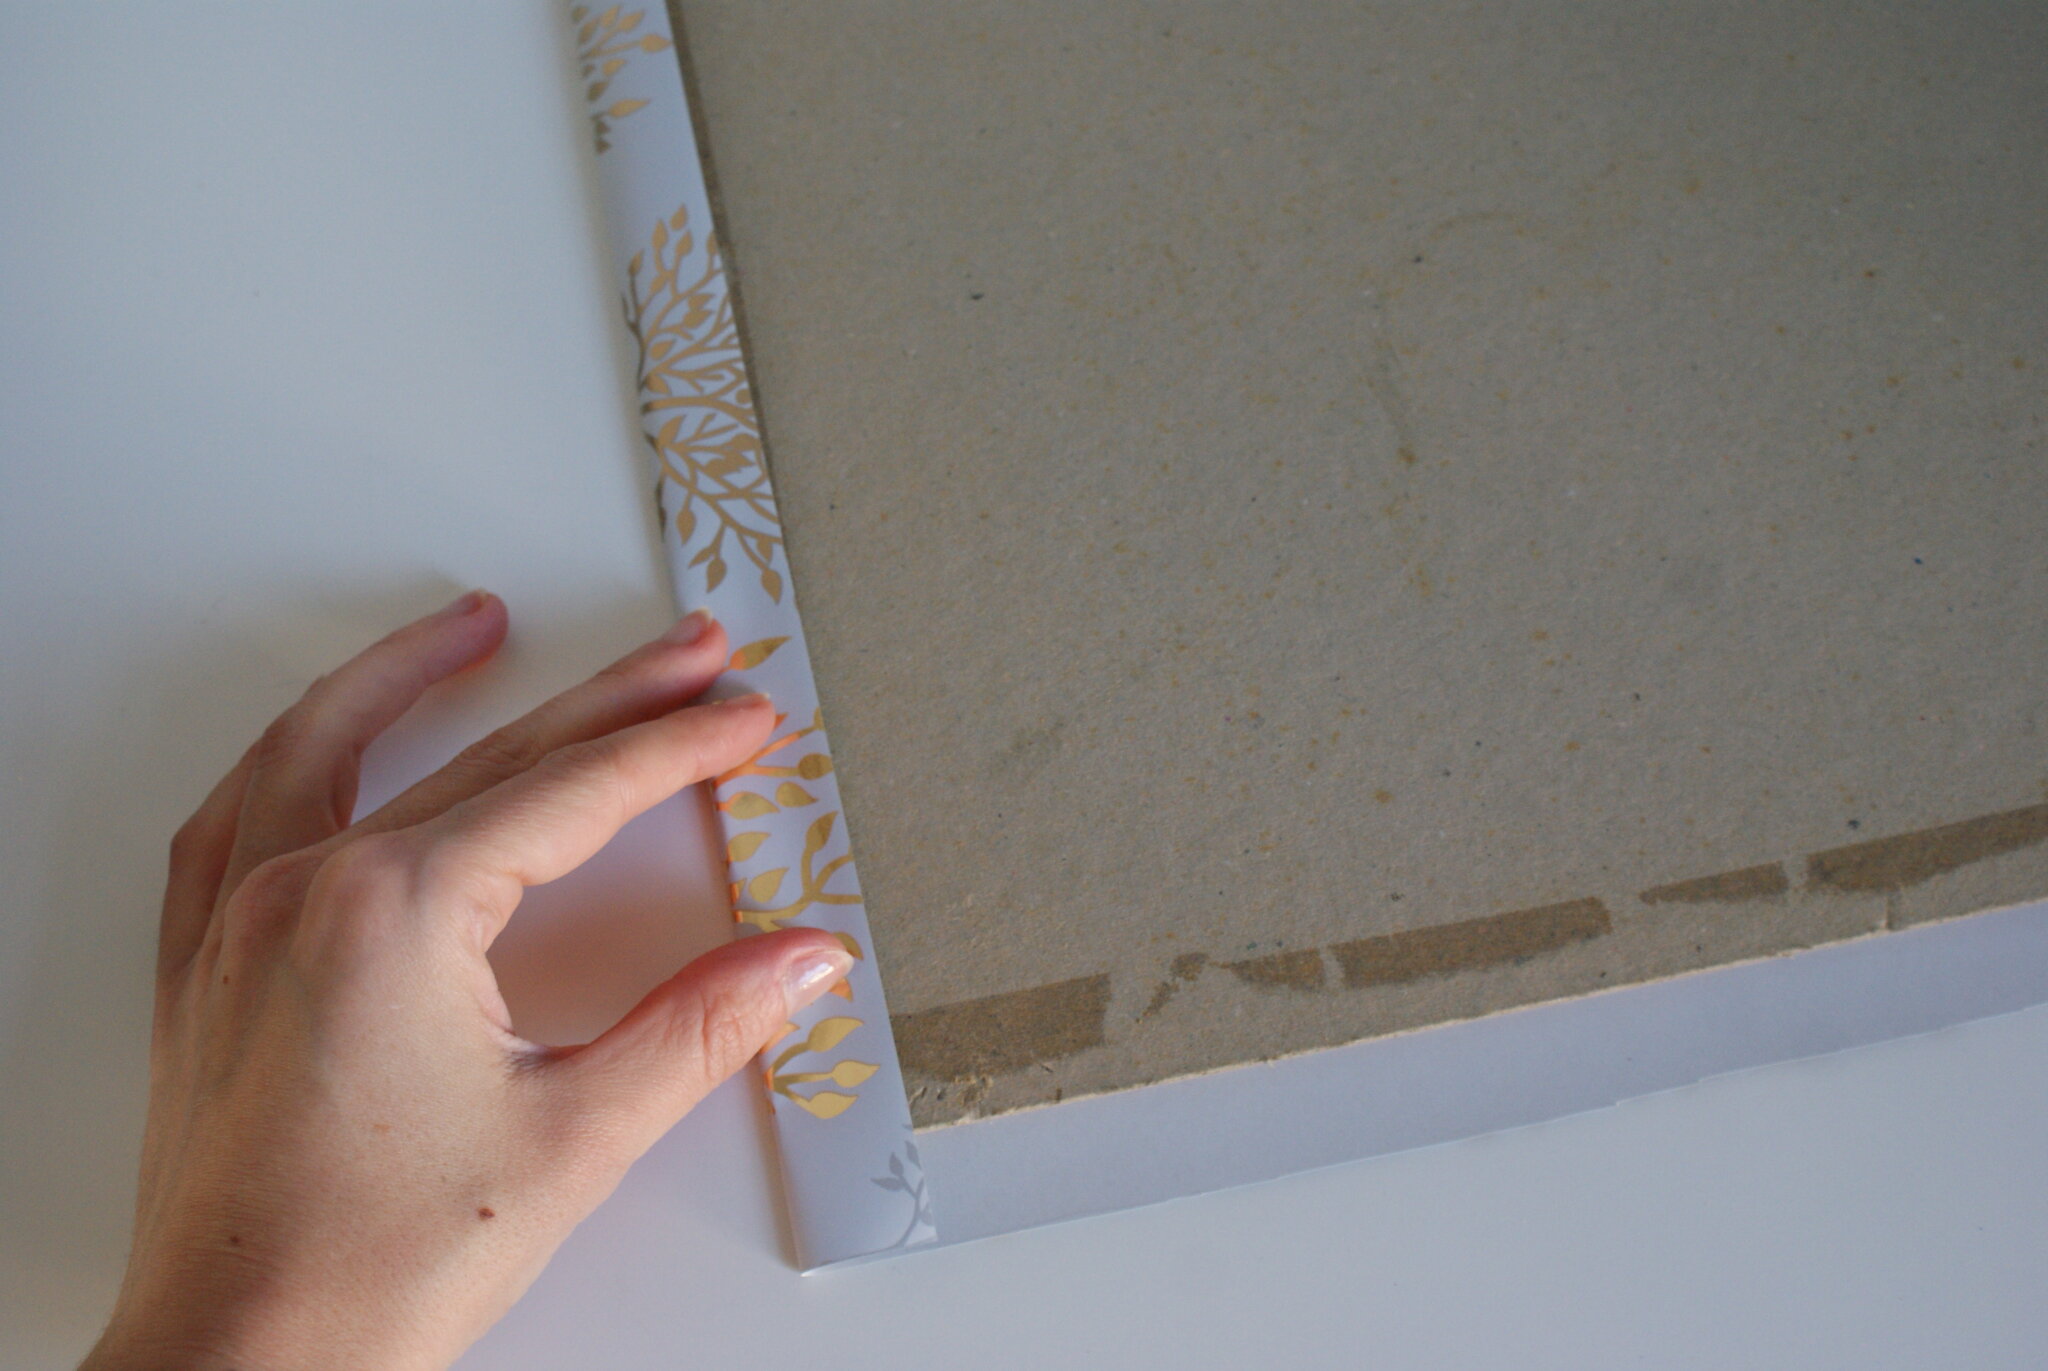
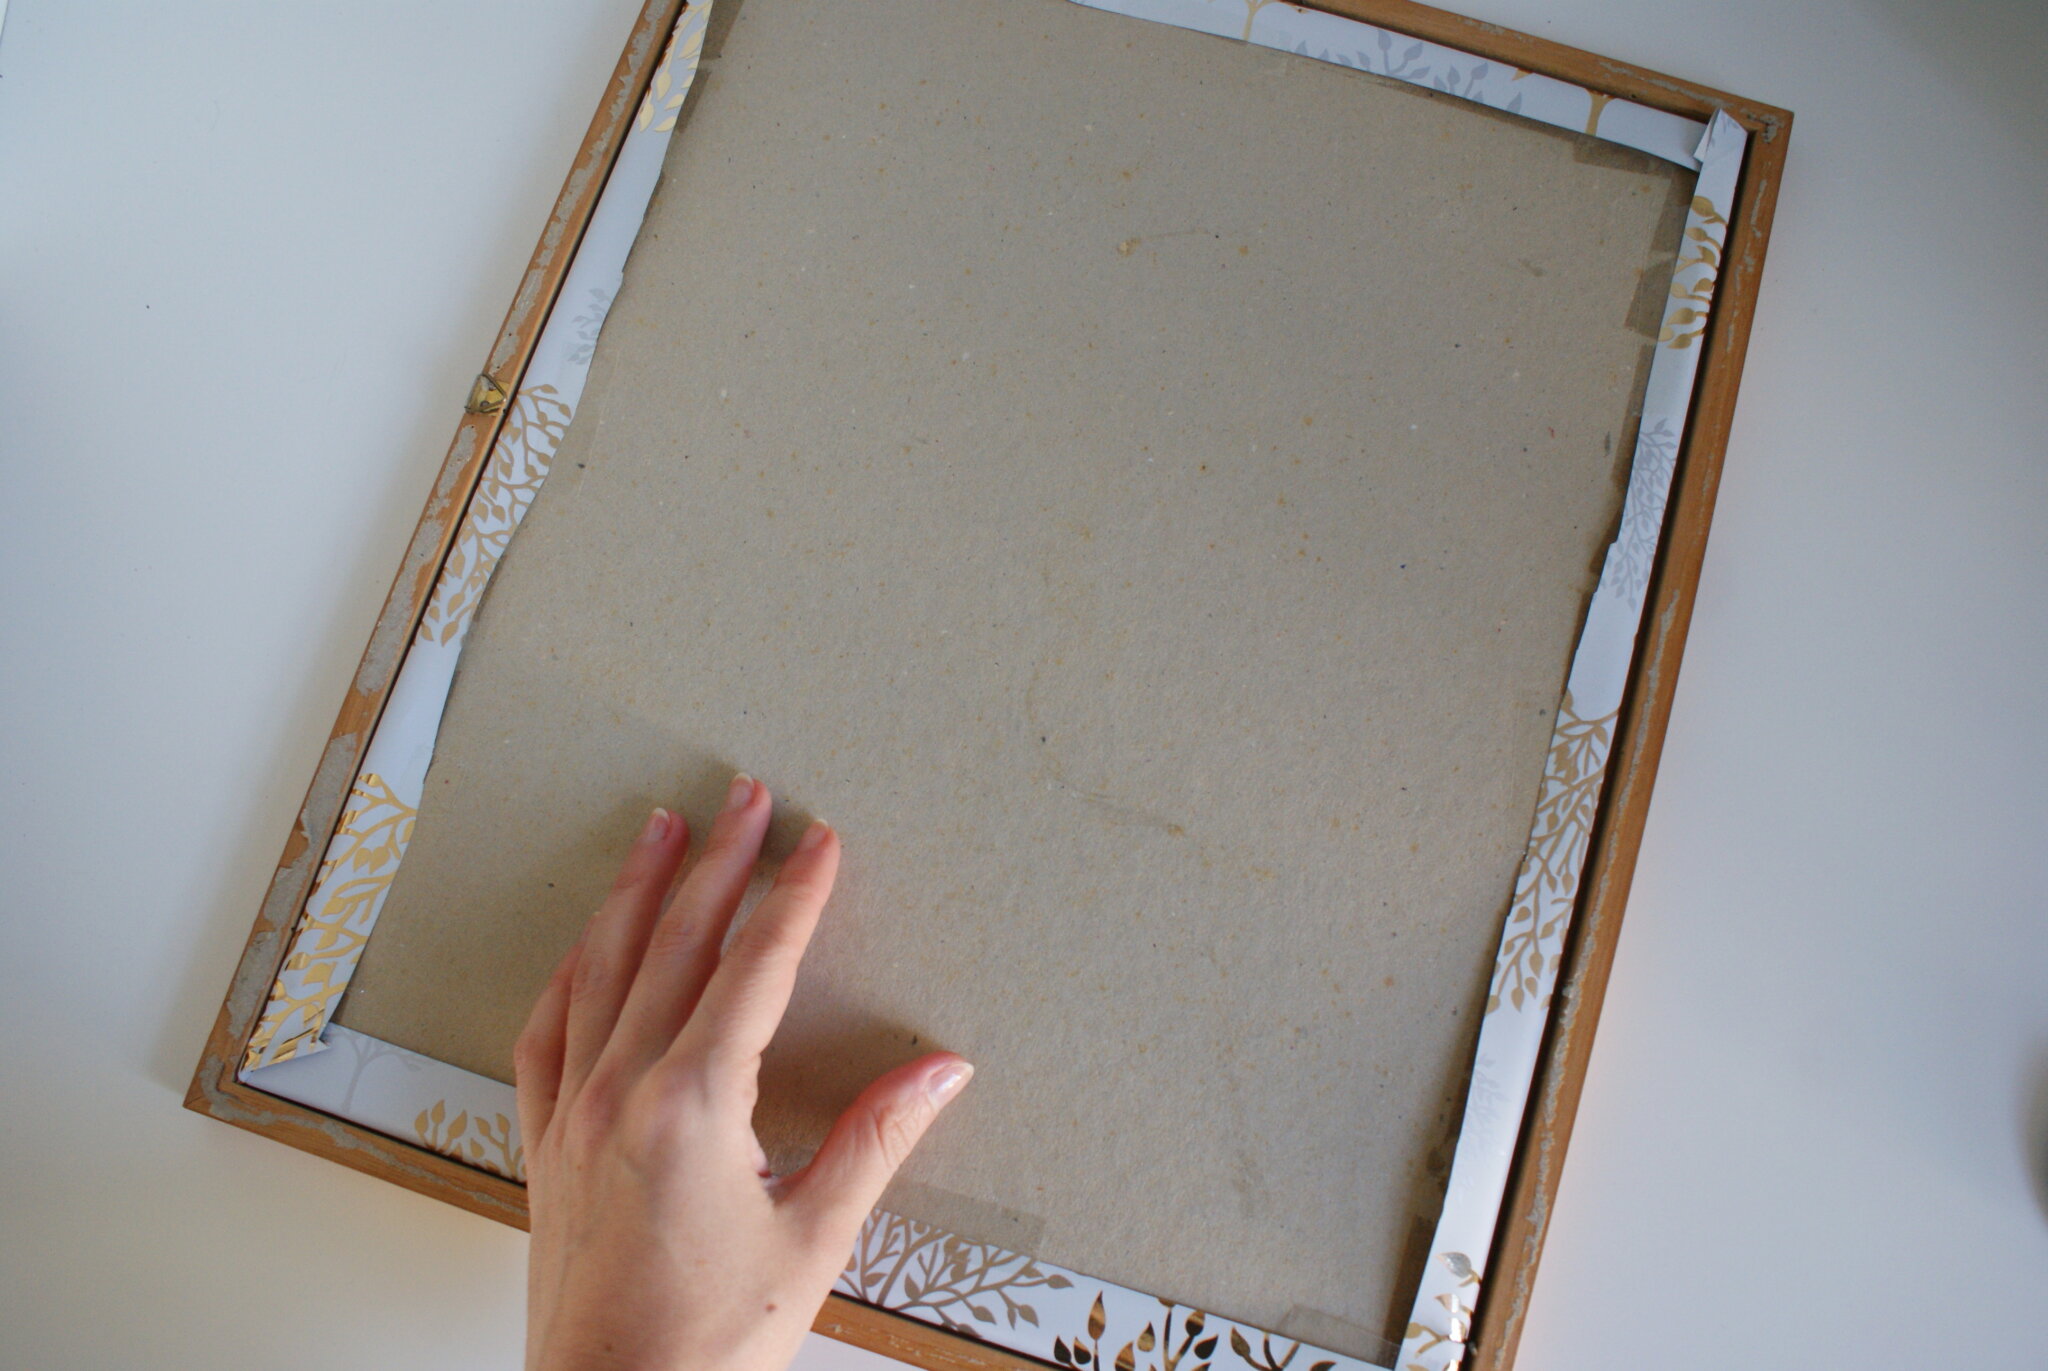
Glue the paper to the back of the frame and fold the edges on the back. // Incollate la carta al fondo della cornice, piegate i bordi ed incollateli sul retro.
3)
Replace the glass or plexiglass and the frame and you’re done! // Rimettete il vetro o plexiglass e la cornice e avete fatto!
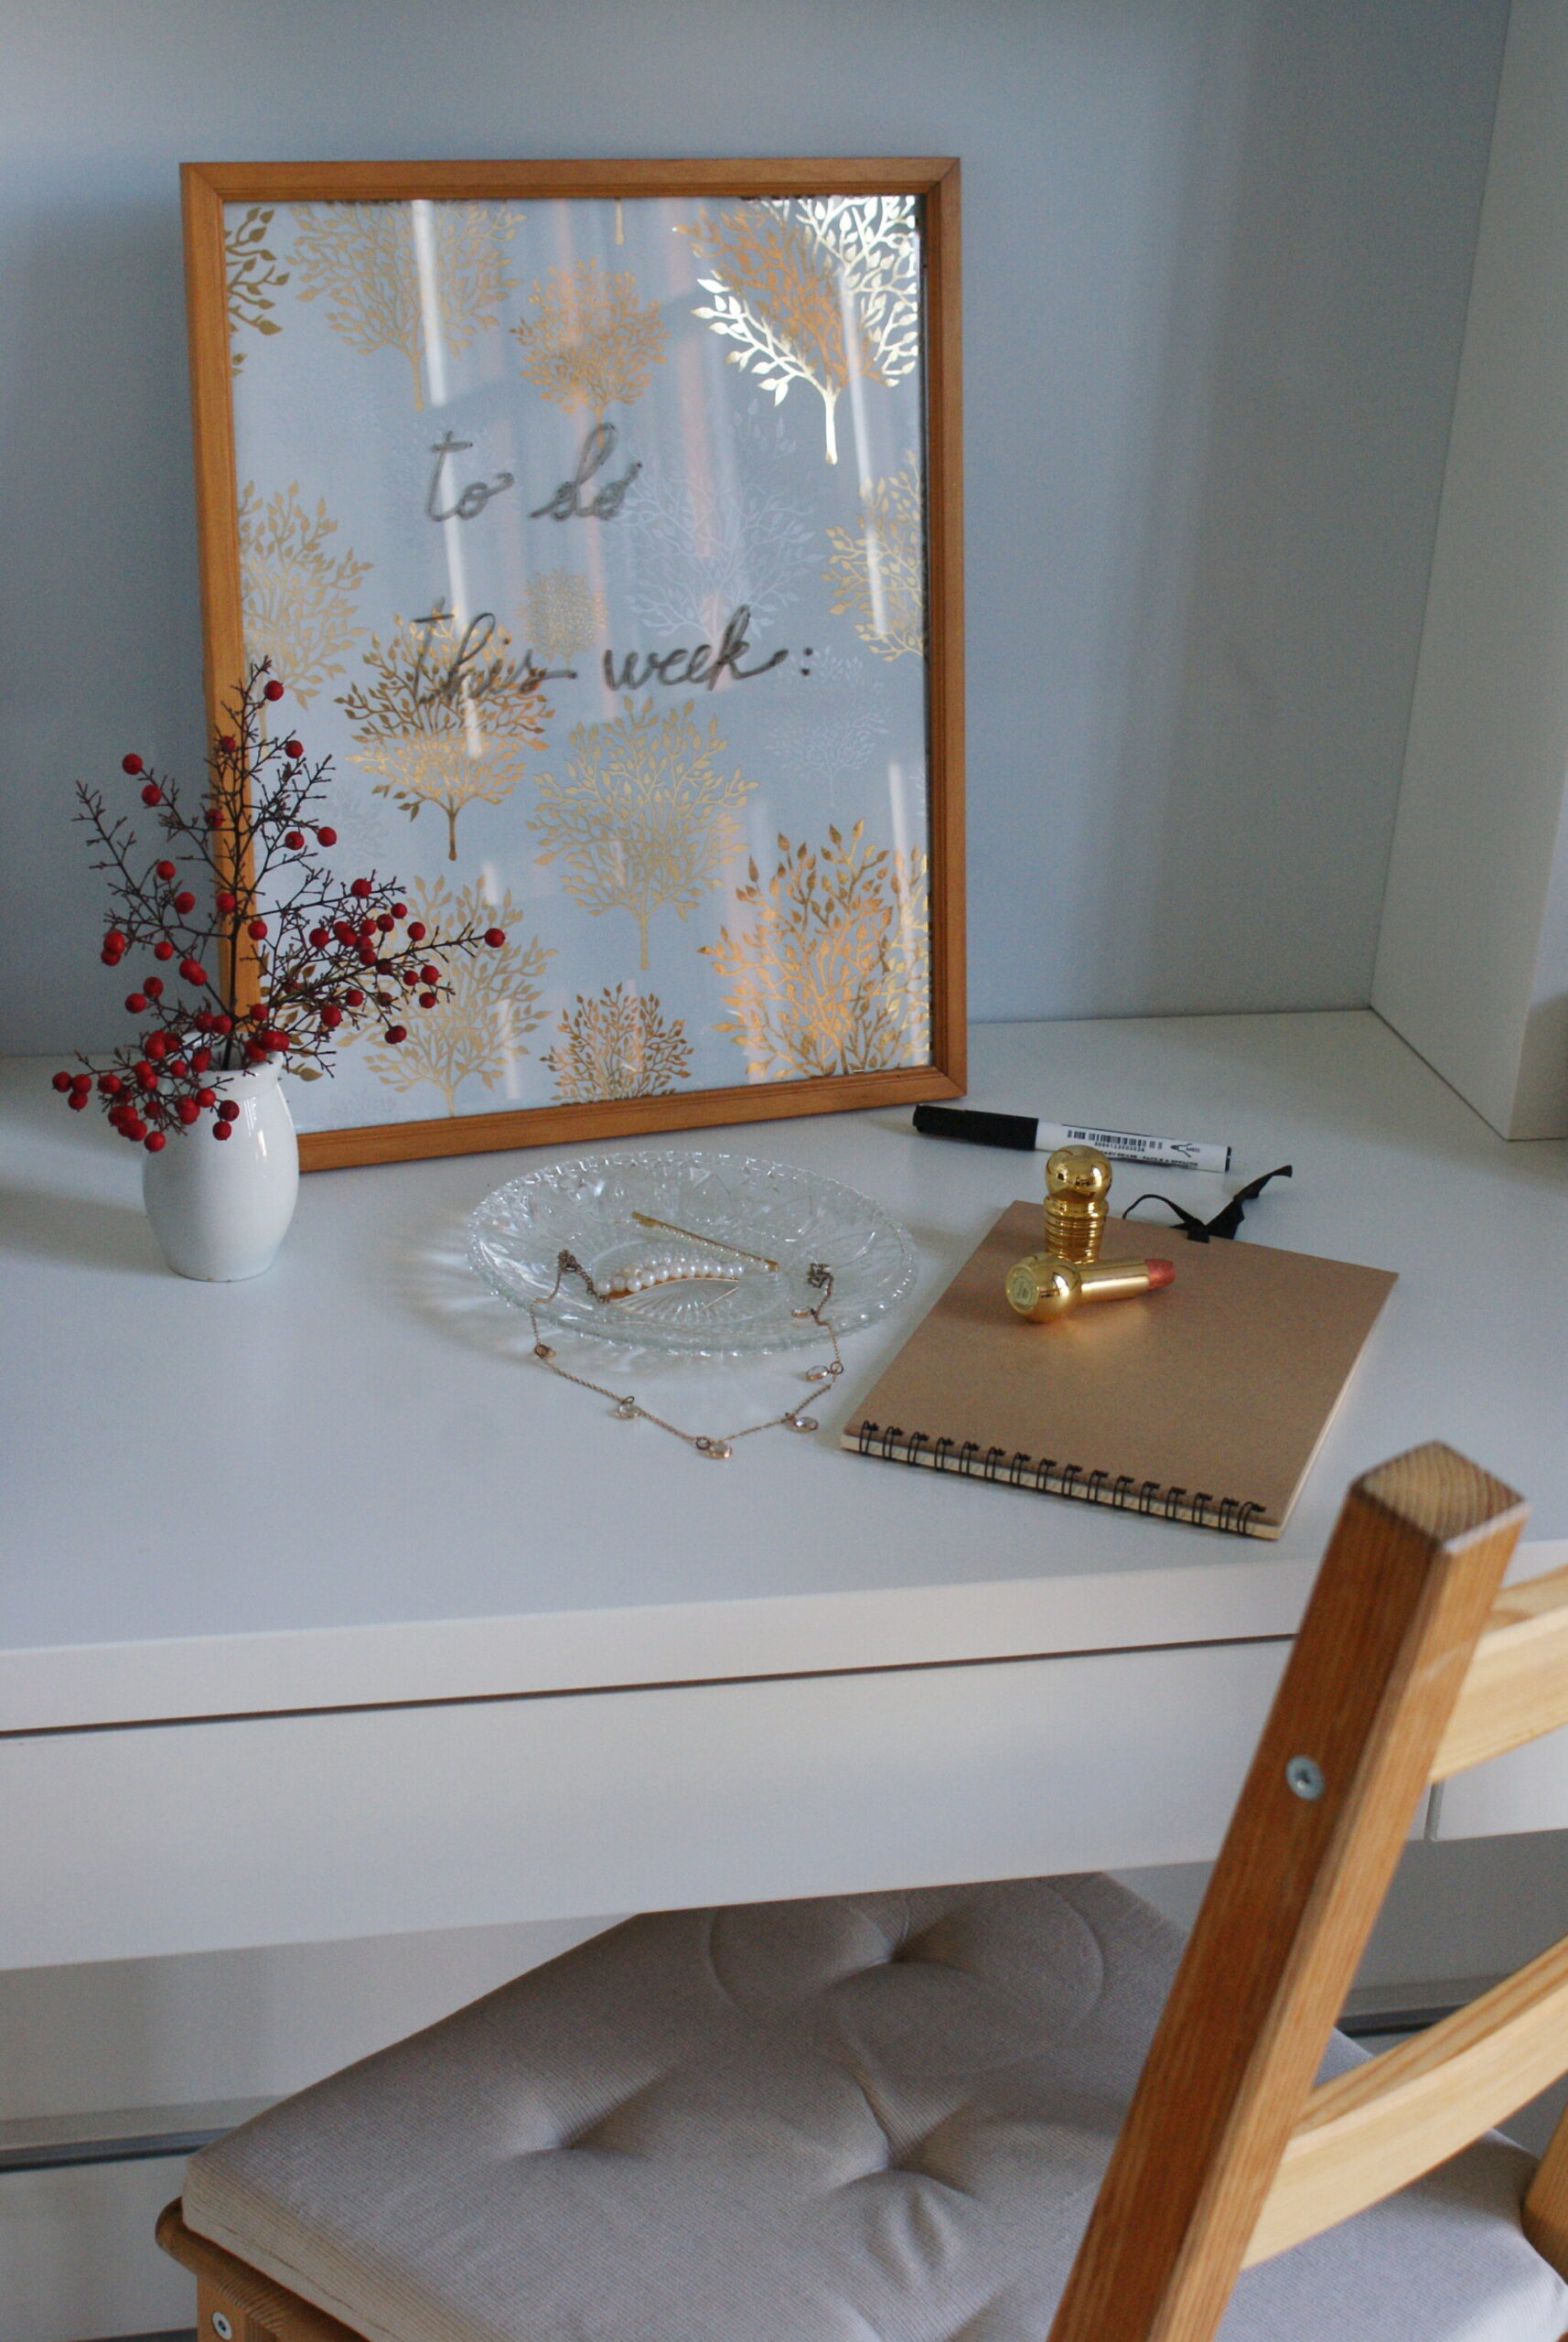
Voilà! You can write on your DIY dry erase board with the marker and erase with a wipe anytime you want! I told you it was easy! Hope you liked this craft and, if you’re looking for more organization ideas, here you find a lot more!
//
Voilà! Ora potete scrivere sulla vostra lavagnetta cancellabile fai da te con il pennarello e cancellare con un panno ogni volta che vorrete! Vi avevo detto che sarebbe stato facile! Spero vi sia piaciuta questa idea e, nel caso cerchiate altri post sull’organizzazione, qui li trovate tutti!
Did you like the post? Pin it on Pinterest! // Piaciuto il post? Condividetelo su Pinterest!
