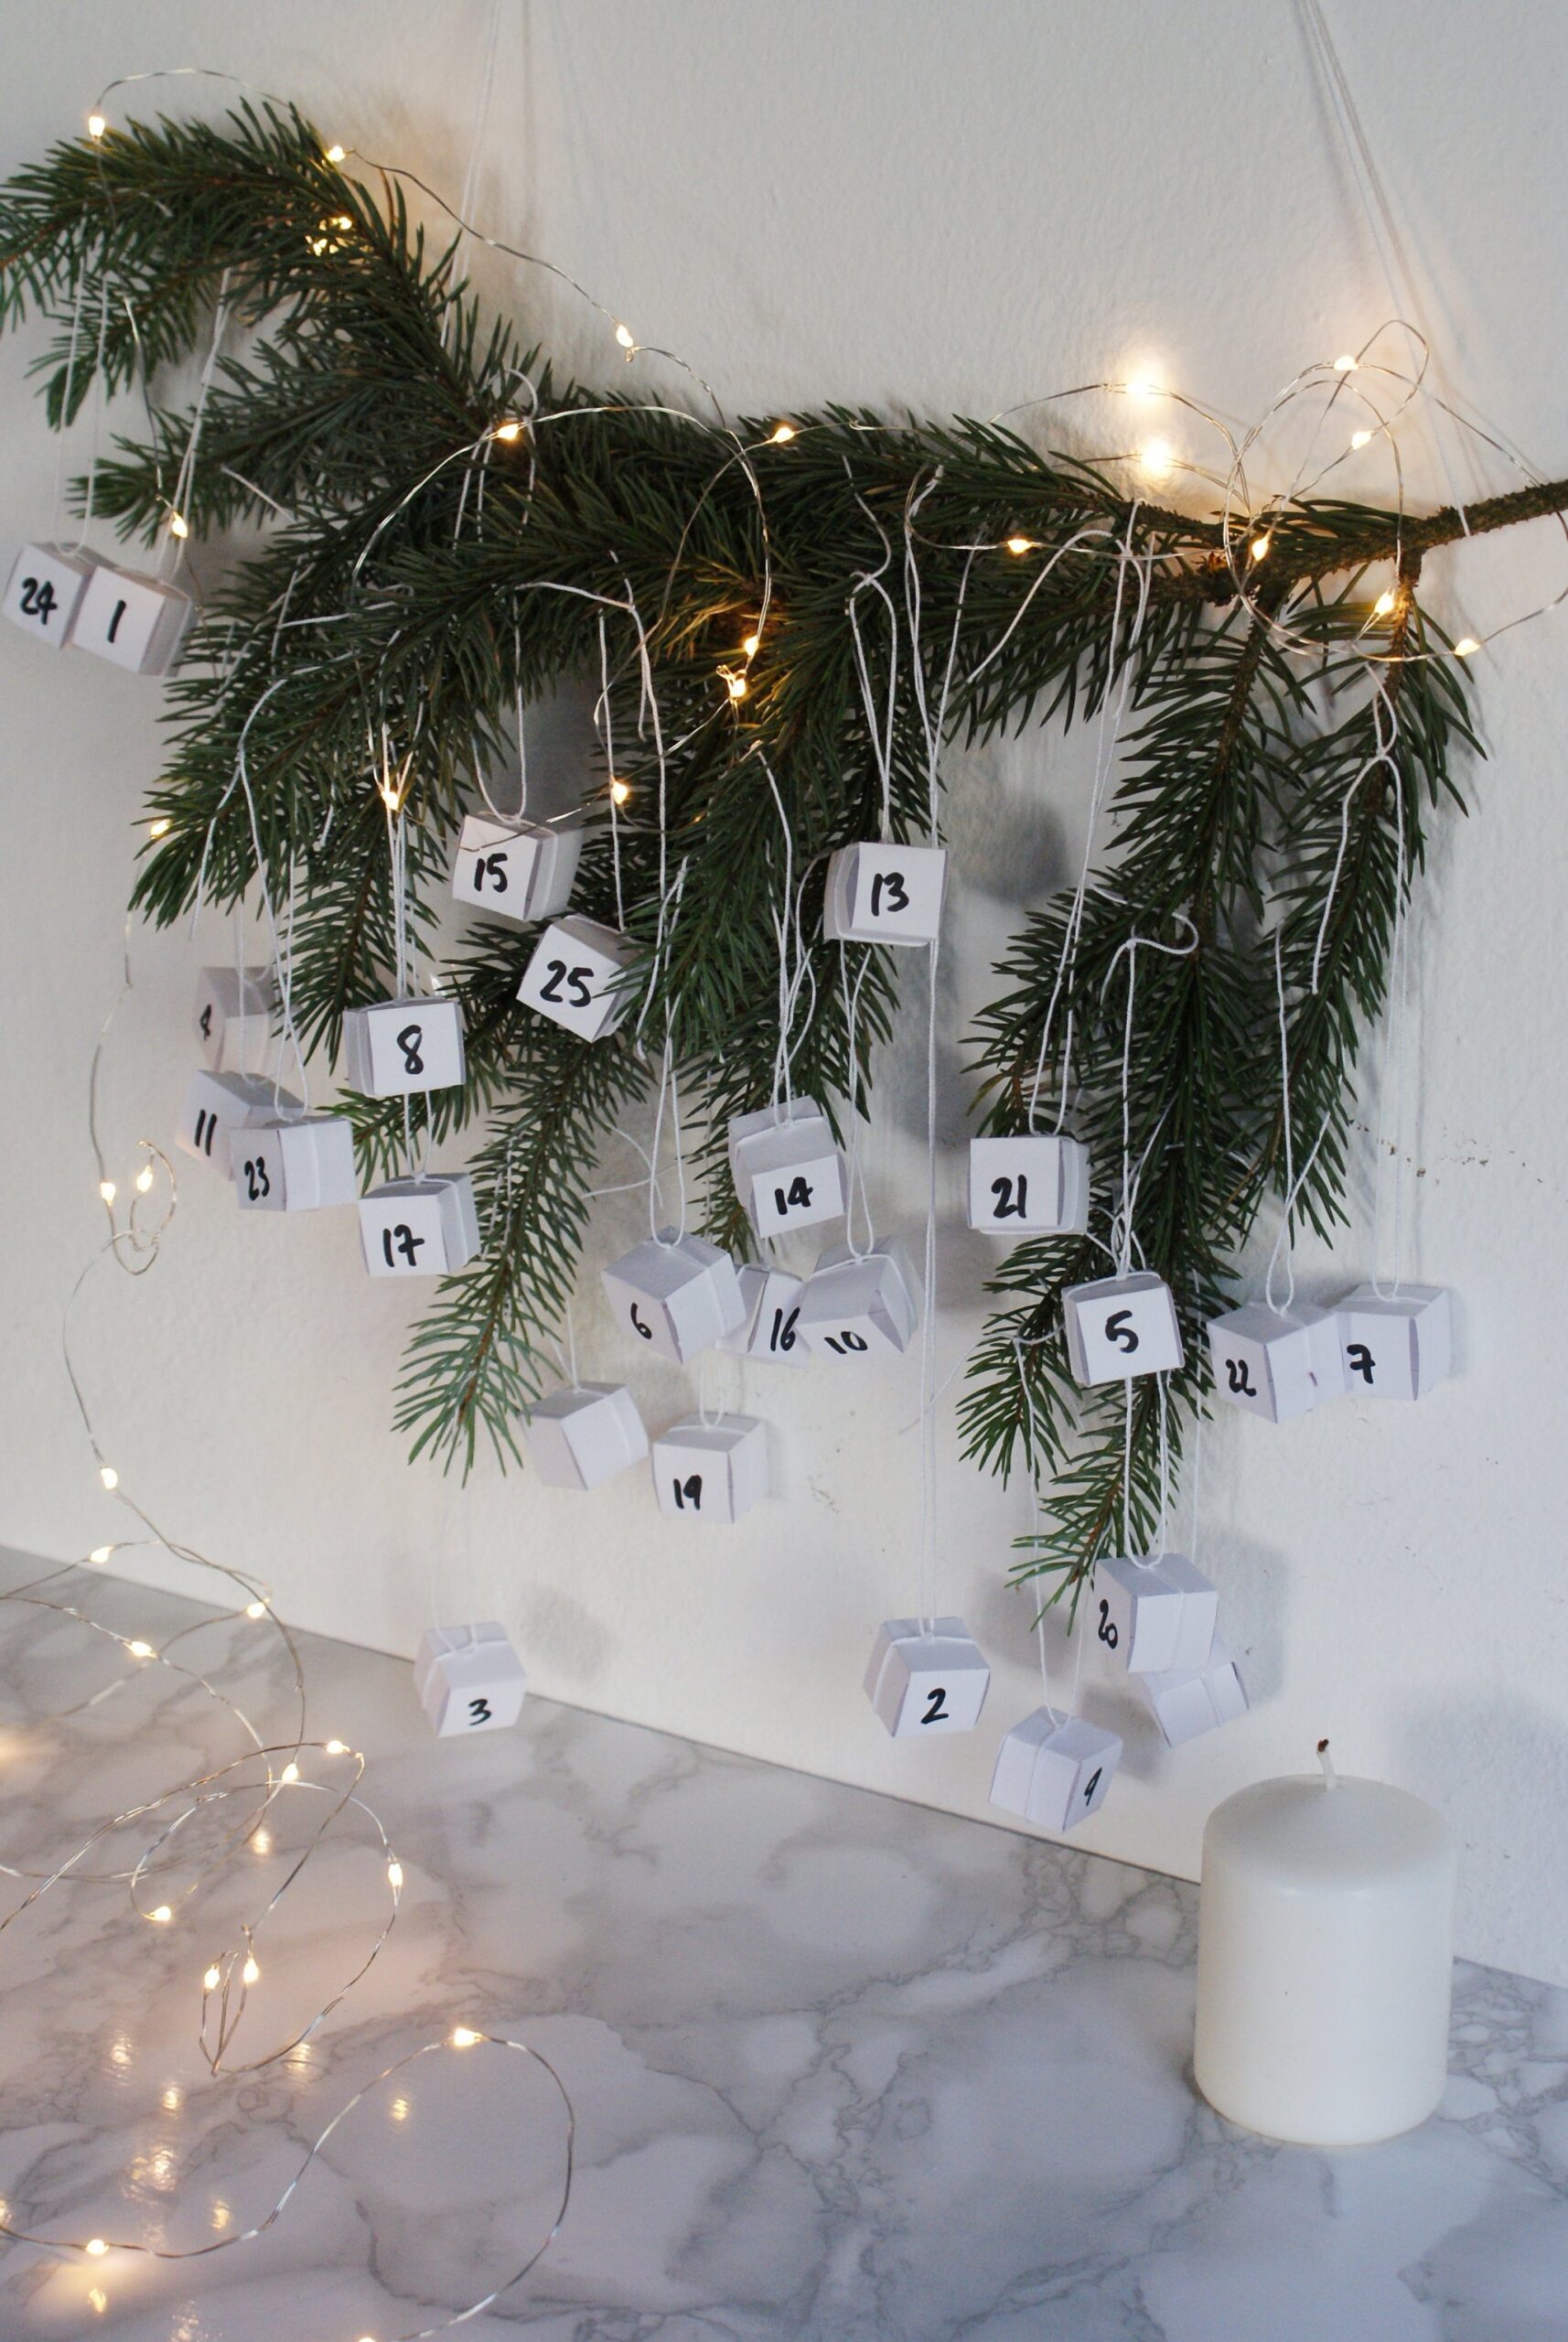
It’s that time of the year again: the countdown to Christmas officially begins!
And year after year the advent calendar is the sweetest and most magical way to make the wait so special. Cause “to await a pleasure, is itself a pleasure”…
//
E’ di nuovo quel periodo dell’anno: inizia ufficialmente il conto alla rovescia per Natale!
E, anno dopo anno, il calendario dell’avvento rende quest’attesa dolce e magica. Perché, si sa, “l’attesa del piacere è essa stessa il piacere”…
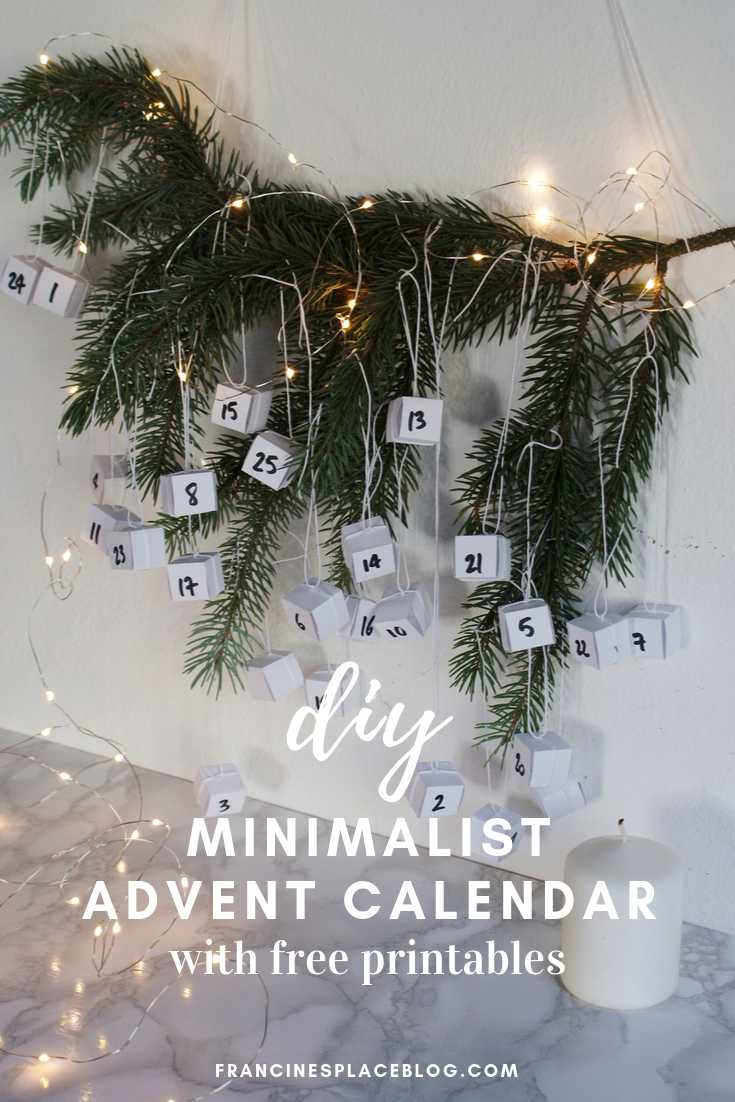
I’ll probably sound reduntant, but where did the year go?! It’s already almost December which means that Christmas is basically tomorrow. Time flies! So, the first #fpblogxmas DIY of this 2018 couldn’t be anything but an advent calendar, for all you lovers of little sweet boxes to open! It took me about one hour but it’s super easy to make so the time you’ll spend will be totally worth it! The perfect DIY to make this weekend 😀
//
Sarò ripetitiva, ma dove è andato l’anno?! Dicembre è quasi iniziato e questo significa che Natale è praticamente domani. Il tempo vola! Dunque, come primo progetto #fpblogxmas, quest’anno non poteva non esserci il calendario dell’avvento, per voi amanti delle dolci scatoline da aprire! Io ci ho messo quasi un’ora ma è davvero semplicissimo da realizzare, varrà il tempo speso! Insomma, il fai da te perfetto per il weekend 😀
***
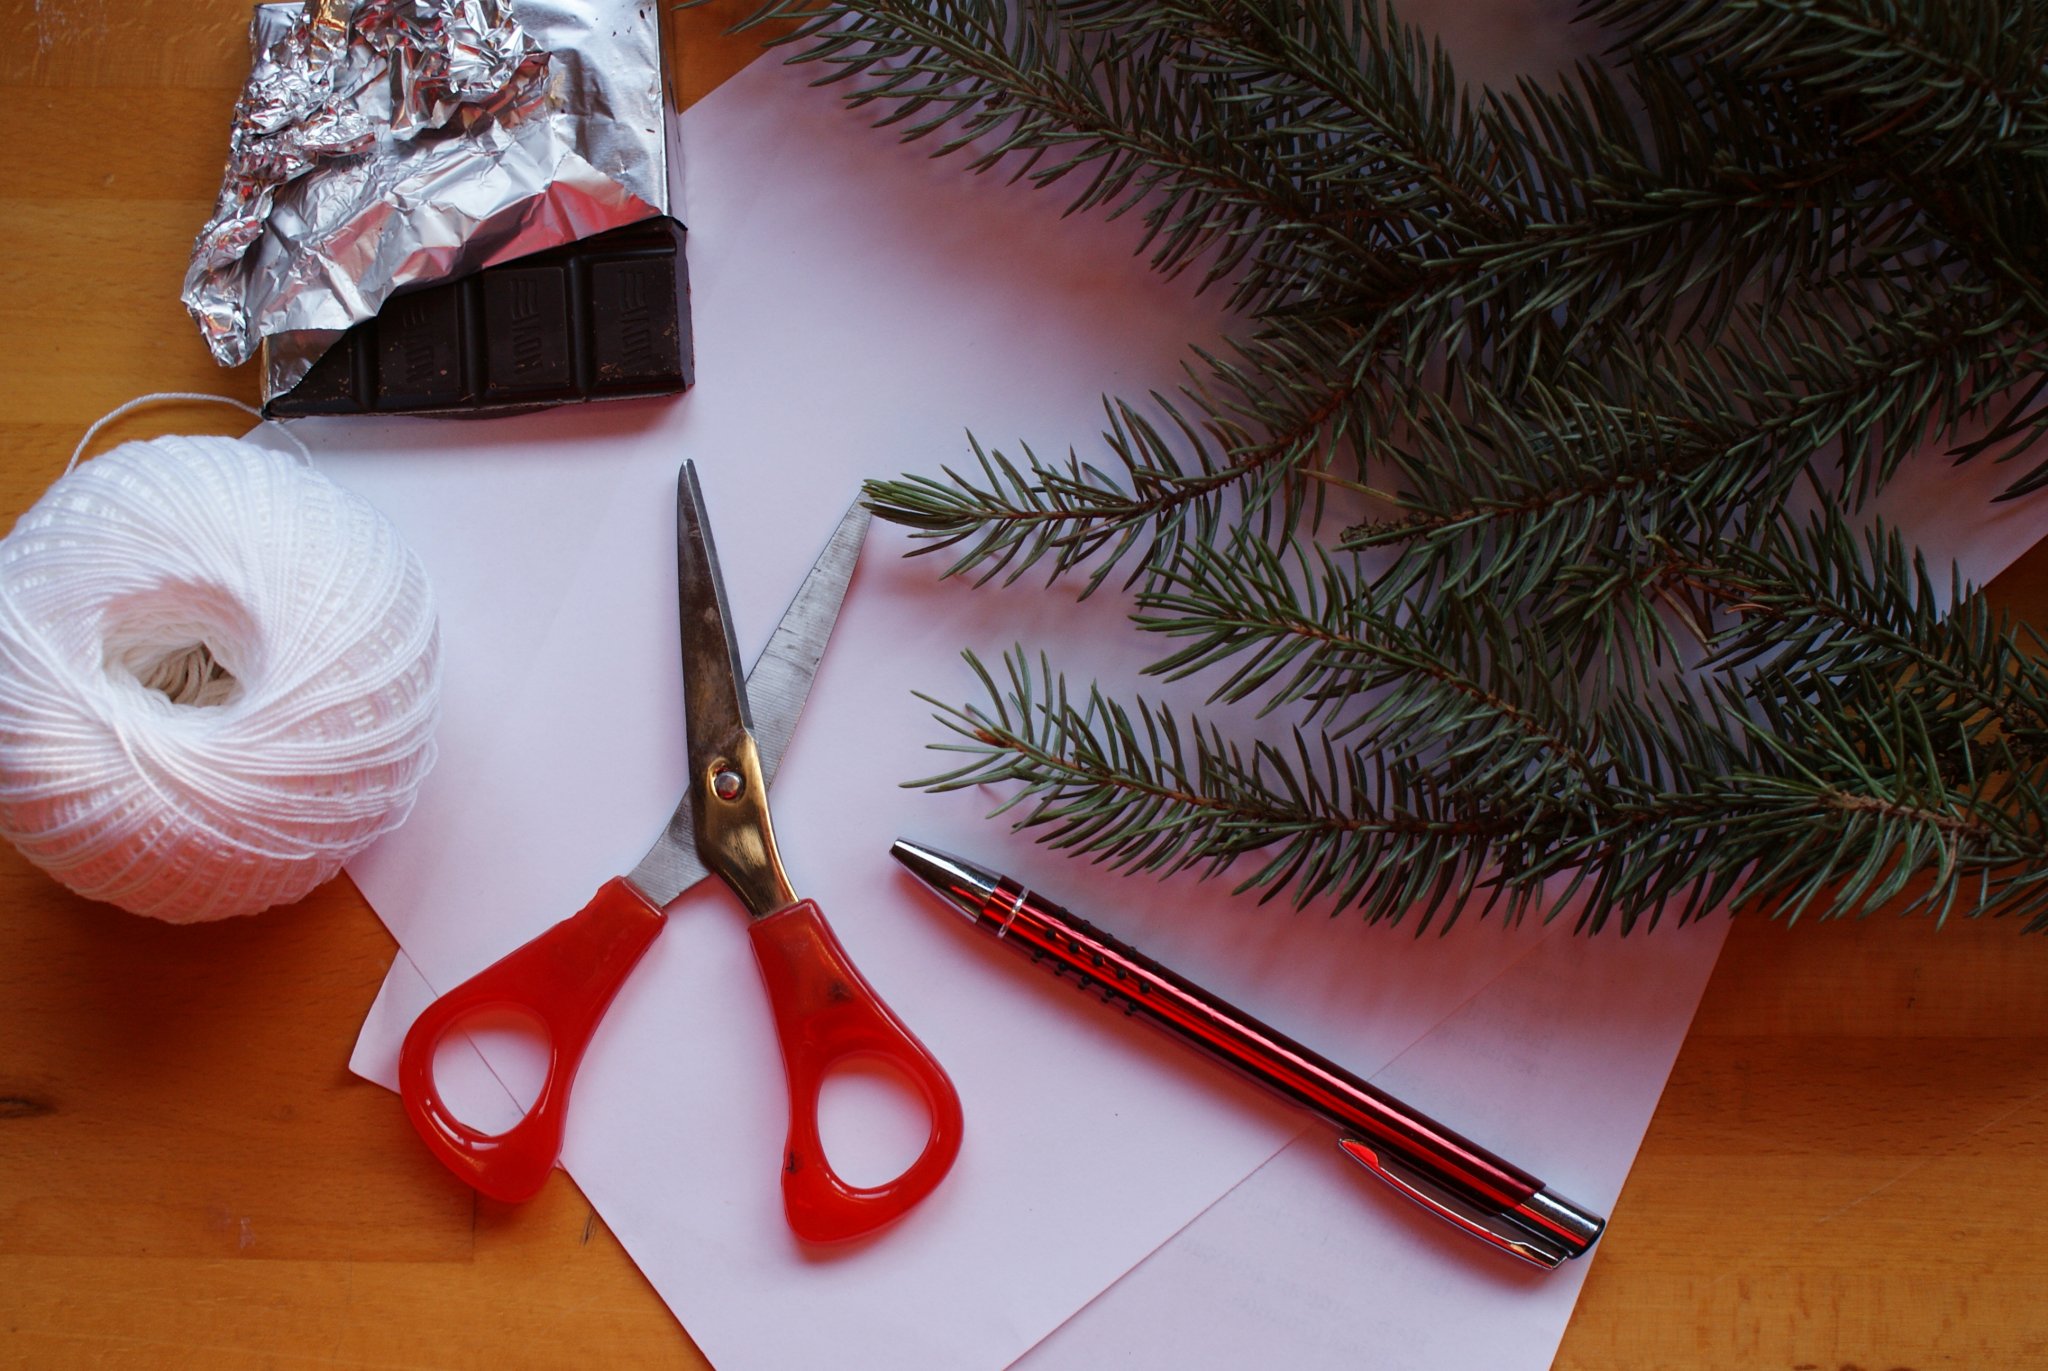
You need // Vi occorre:
- paper, ruler, pencil, scissors, stapler // carta, righello, matita, forbici, pinzatrice
- chocolate bar // tavoletta di cioccolato
- silver foil // alluminio da cucina
- rope // cordino
- pine tree branch // ramo di pino
How to // Come procedere:
1)
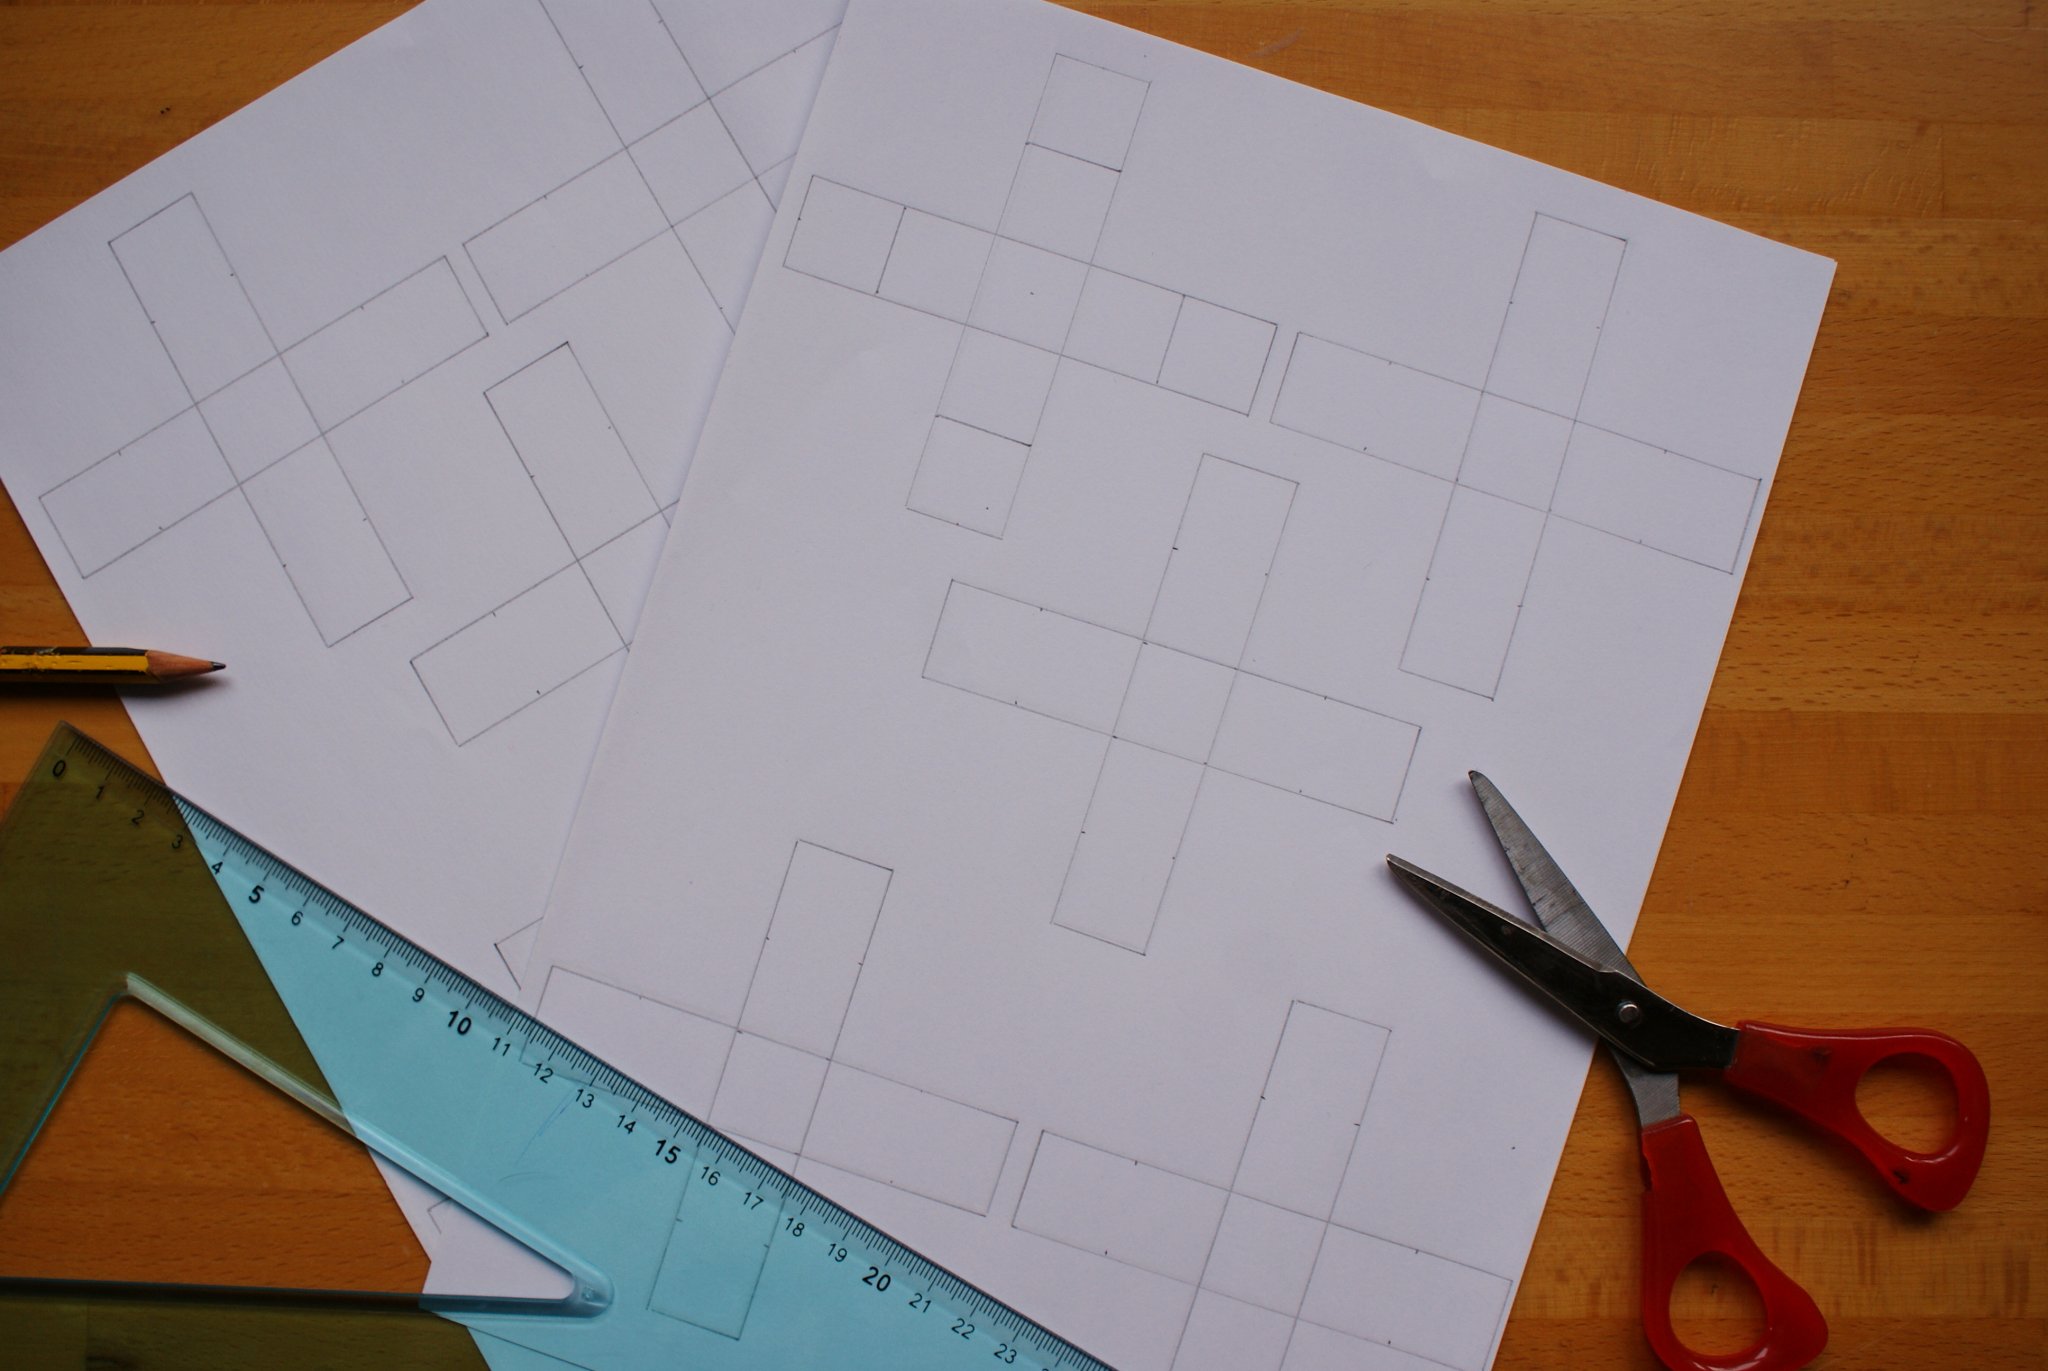
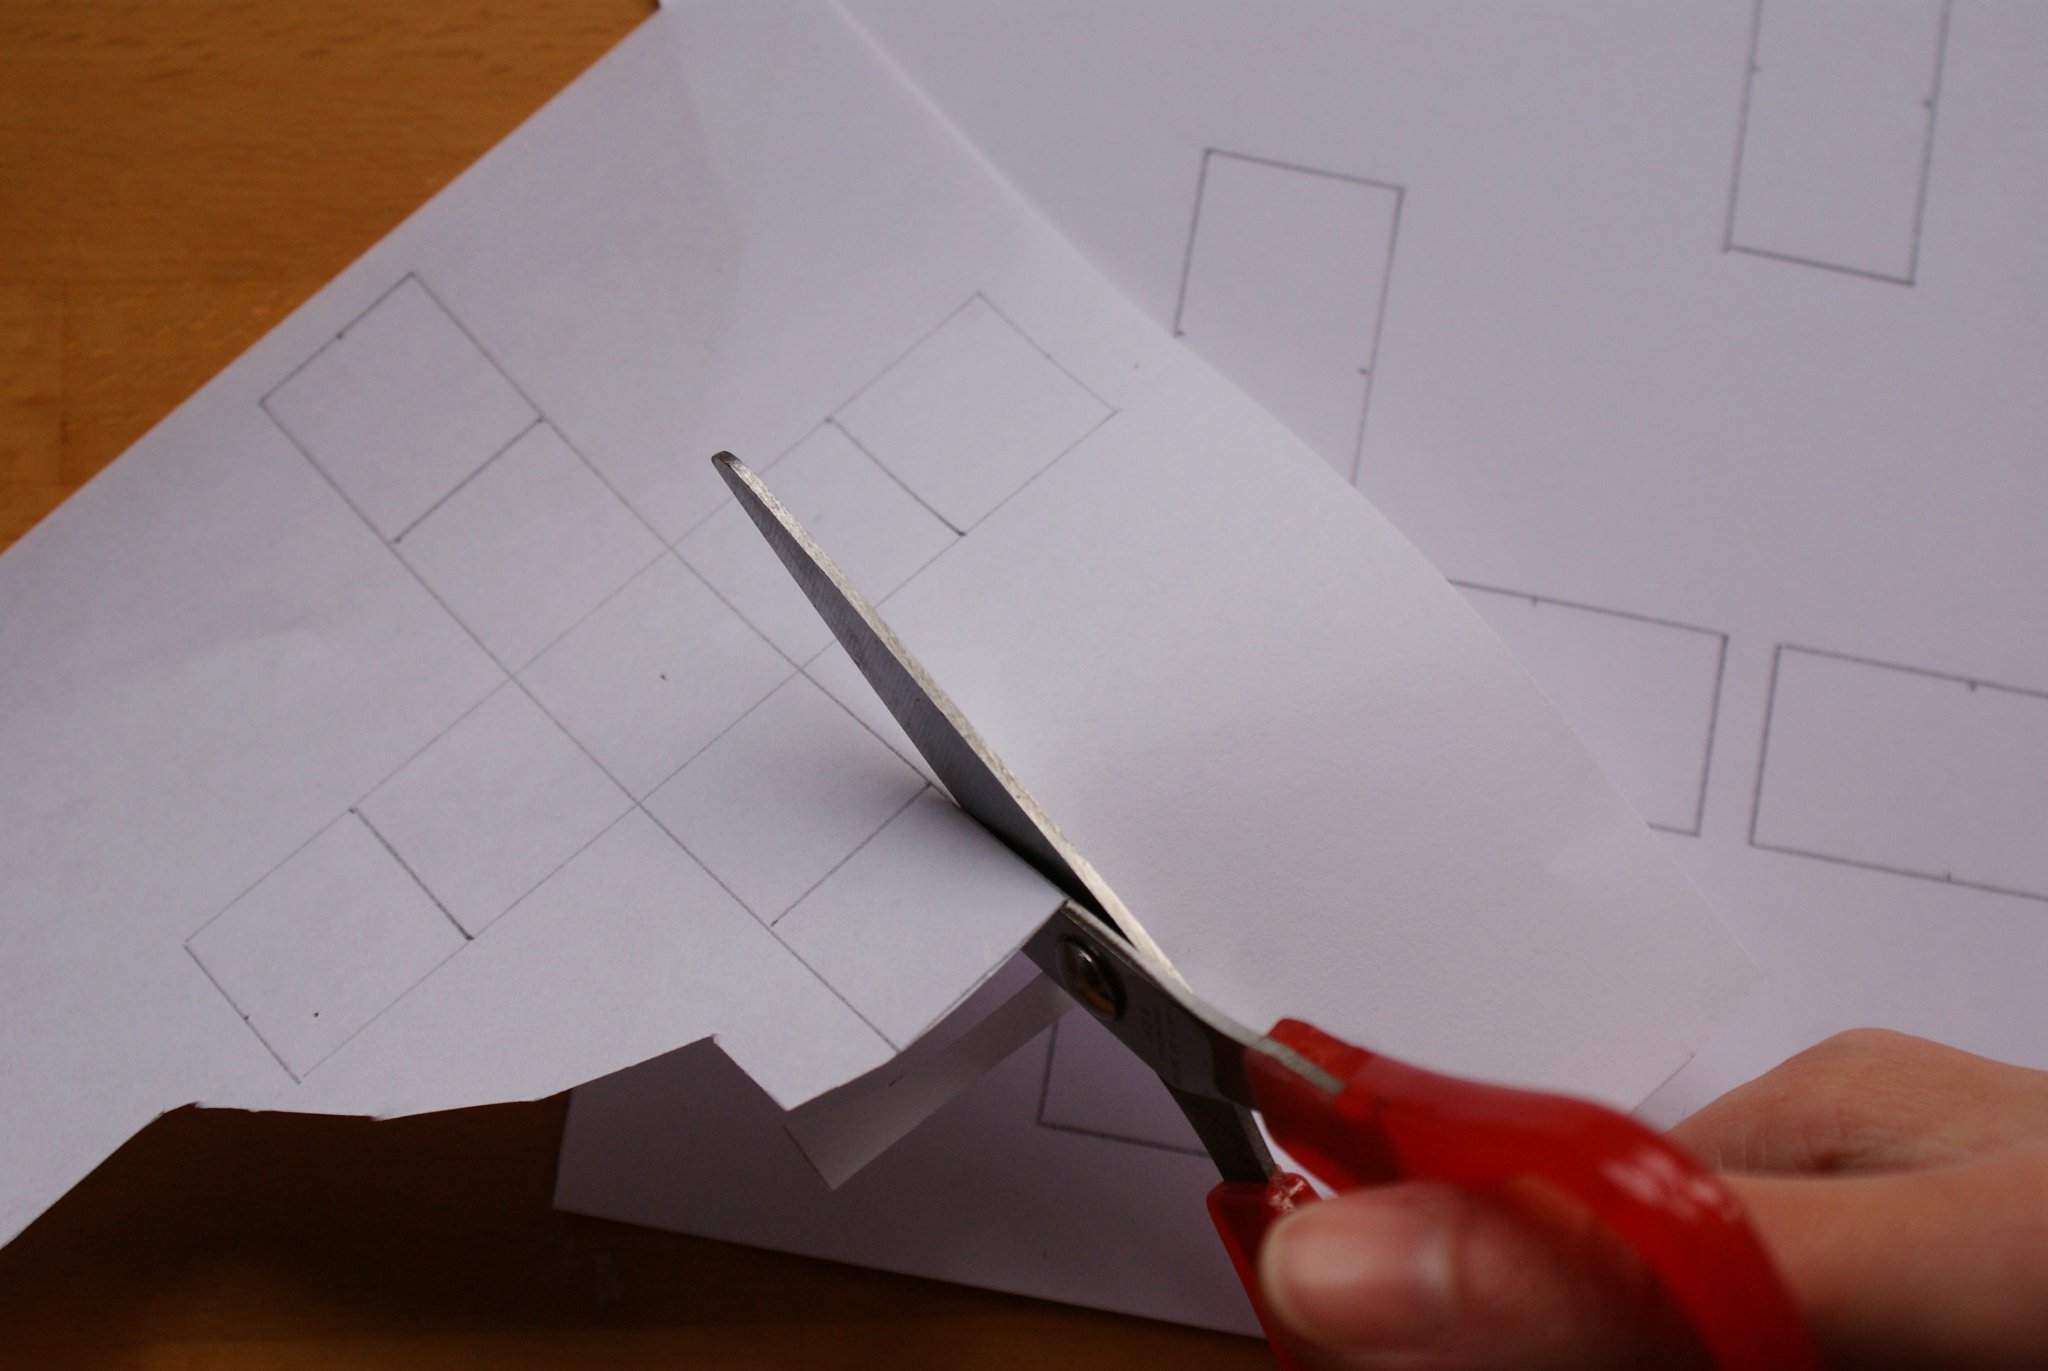
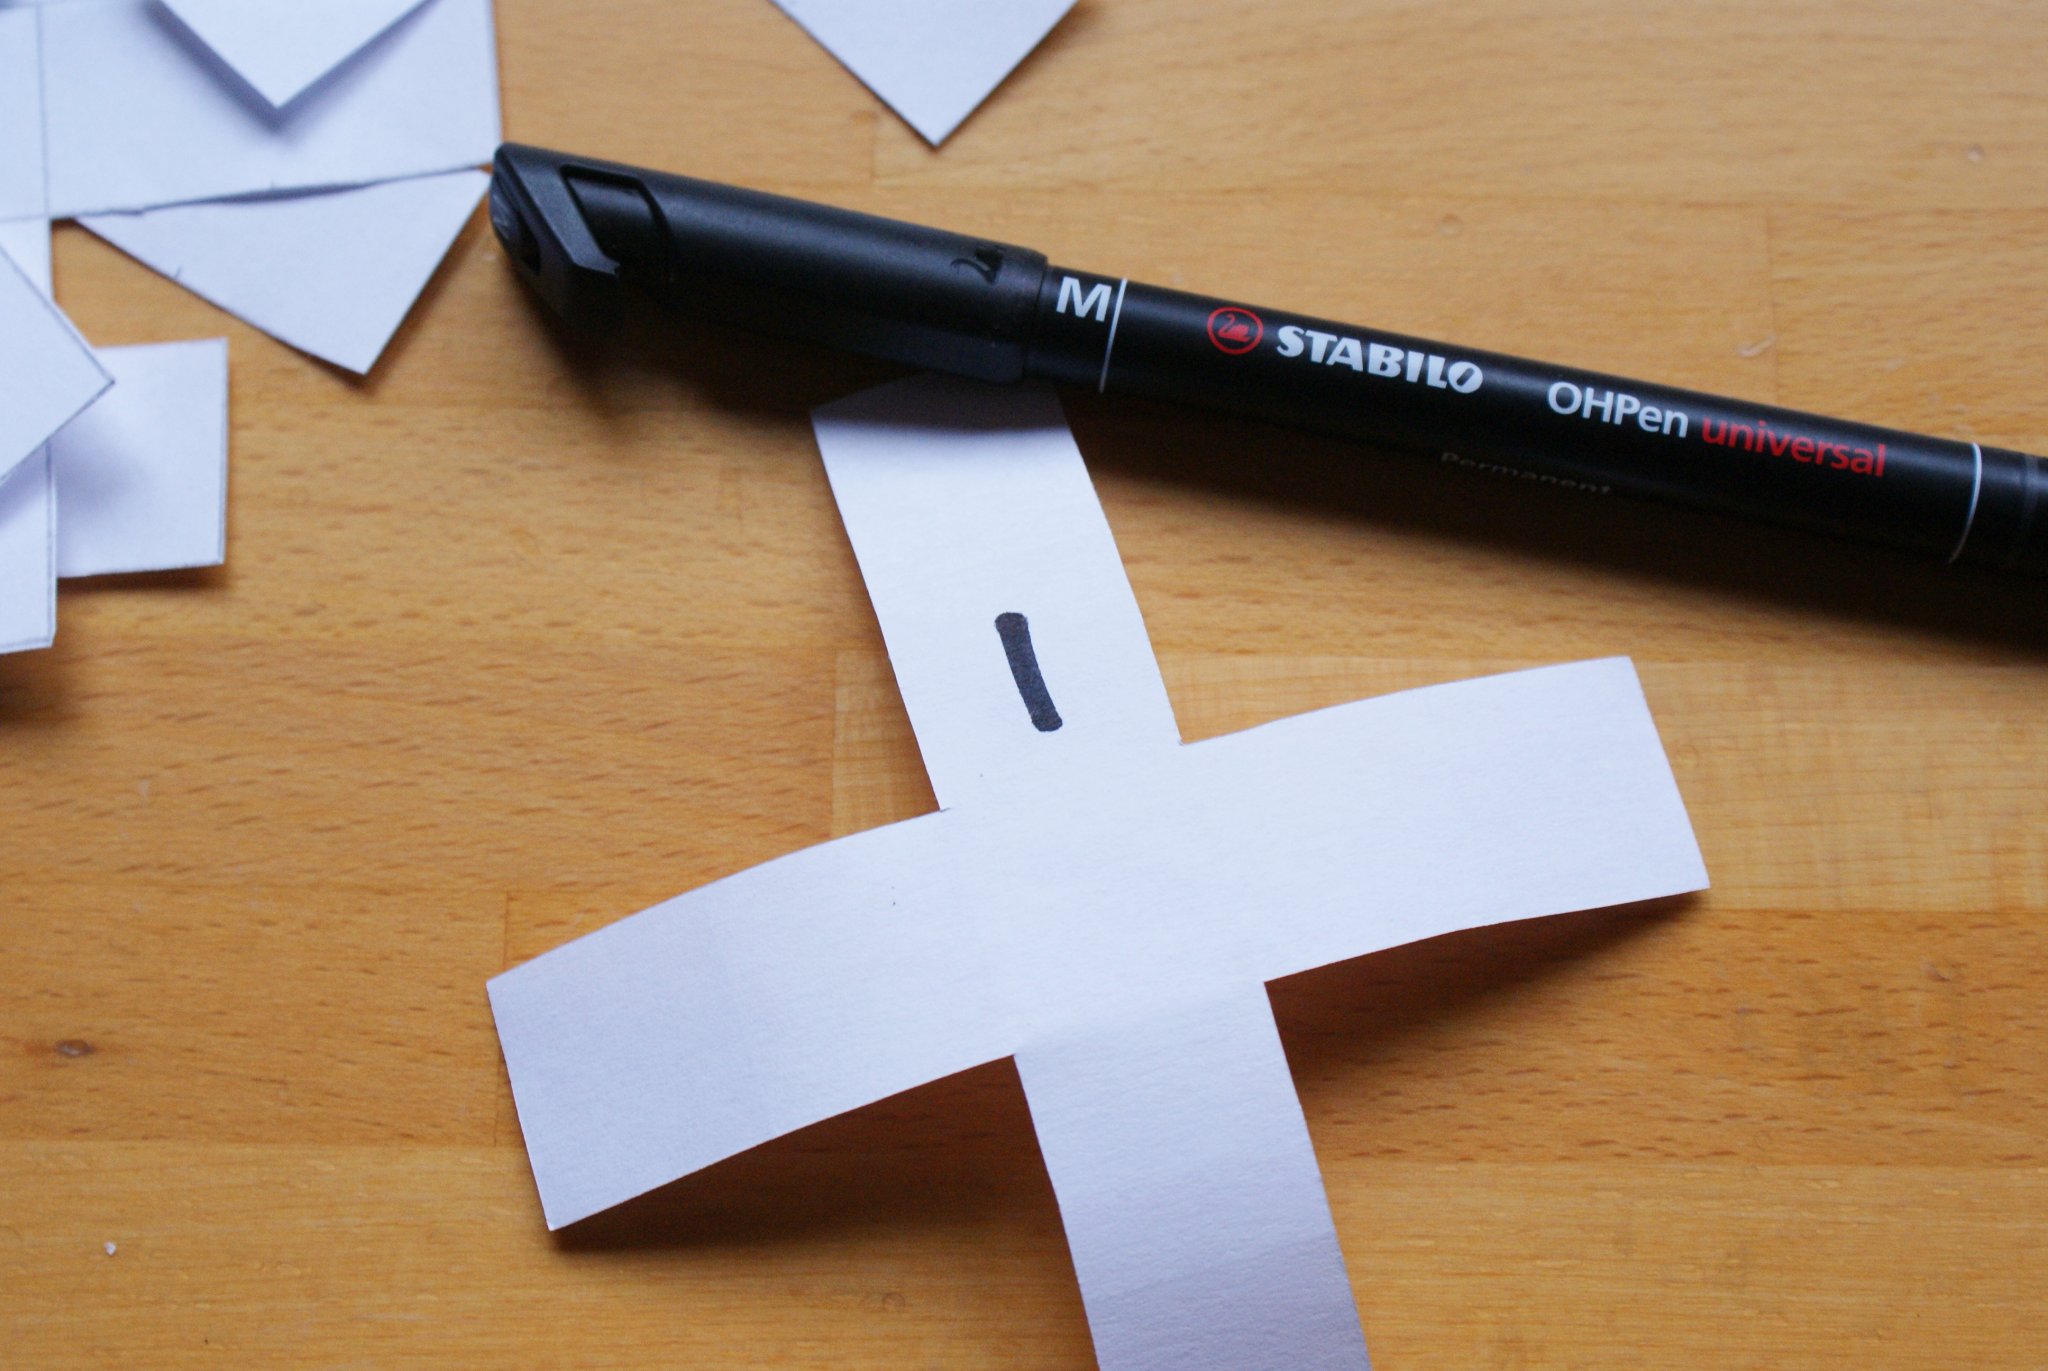
Draw and cut 25 Greek crosses made of 5 squares for each side. Each square must be about 3 cm (1 in) side. If you’re too lazy for this passage (or it’s you reading, busy gal), you can print the image below (print 5 copies). Yes, I made them for you and yes, you can love me now haha! Thank me later 😉 // Disegnate e ritagliate 25 croci greche composte da 5 quadrati per ogni lato. Ogni quadrato deve avere il lato di circa 3 cm. Se siete troppo pigre per questo passaggio (o troppo impegnate), potete stampare l’immagine qui sotto (fate 5 copie). Sì, le ho preparate apposta per voi e sì, adesso amatemi pure ahah! Ringraziatemi dopo 😉


2)
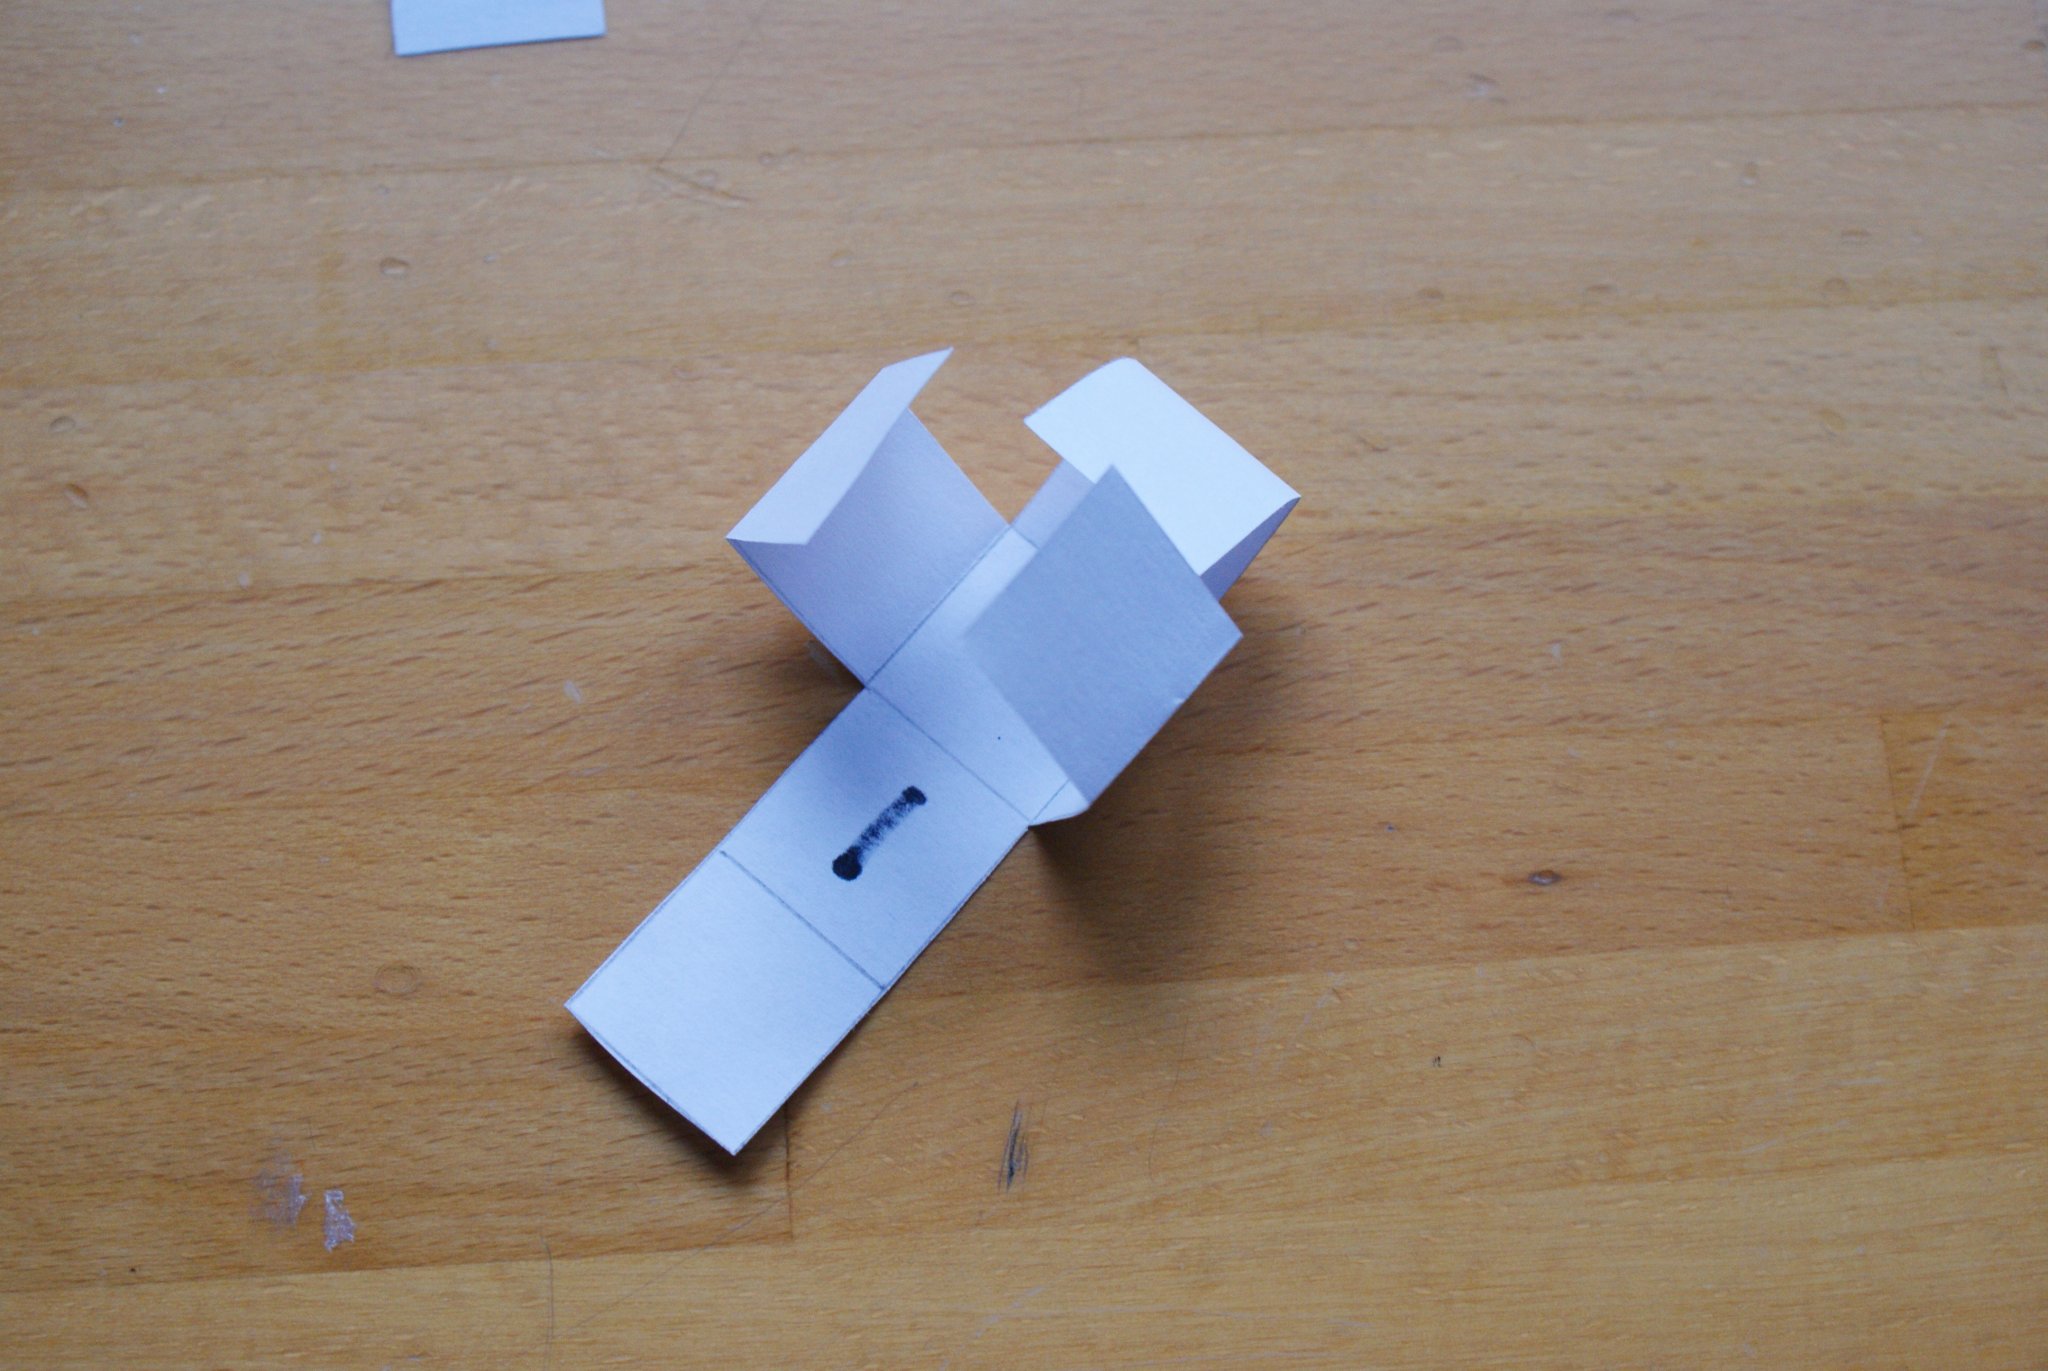
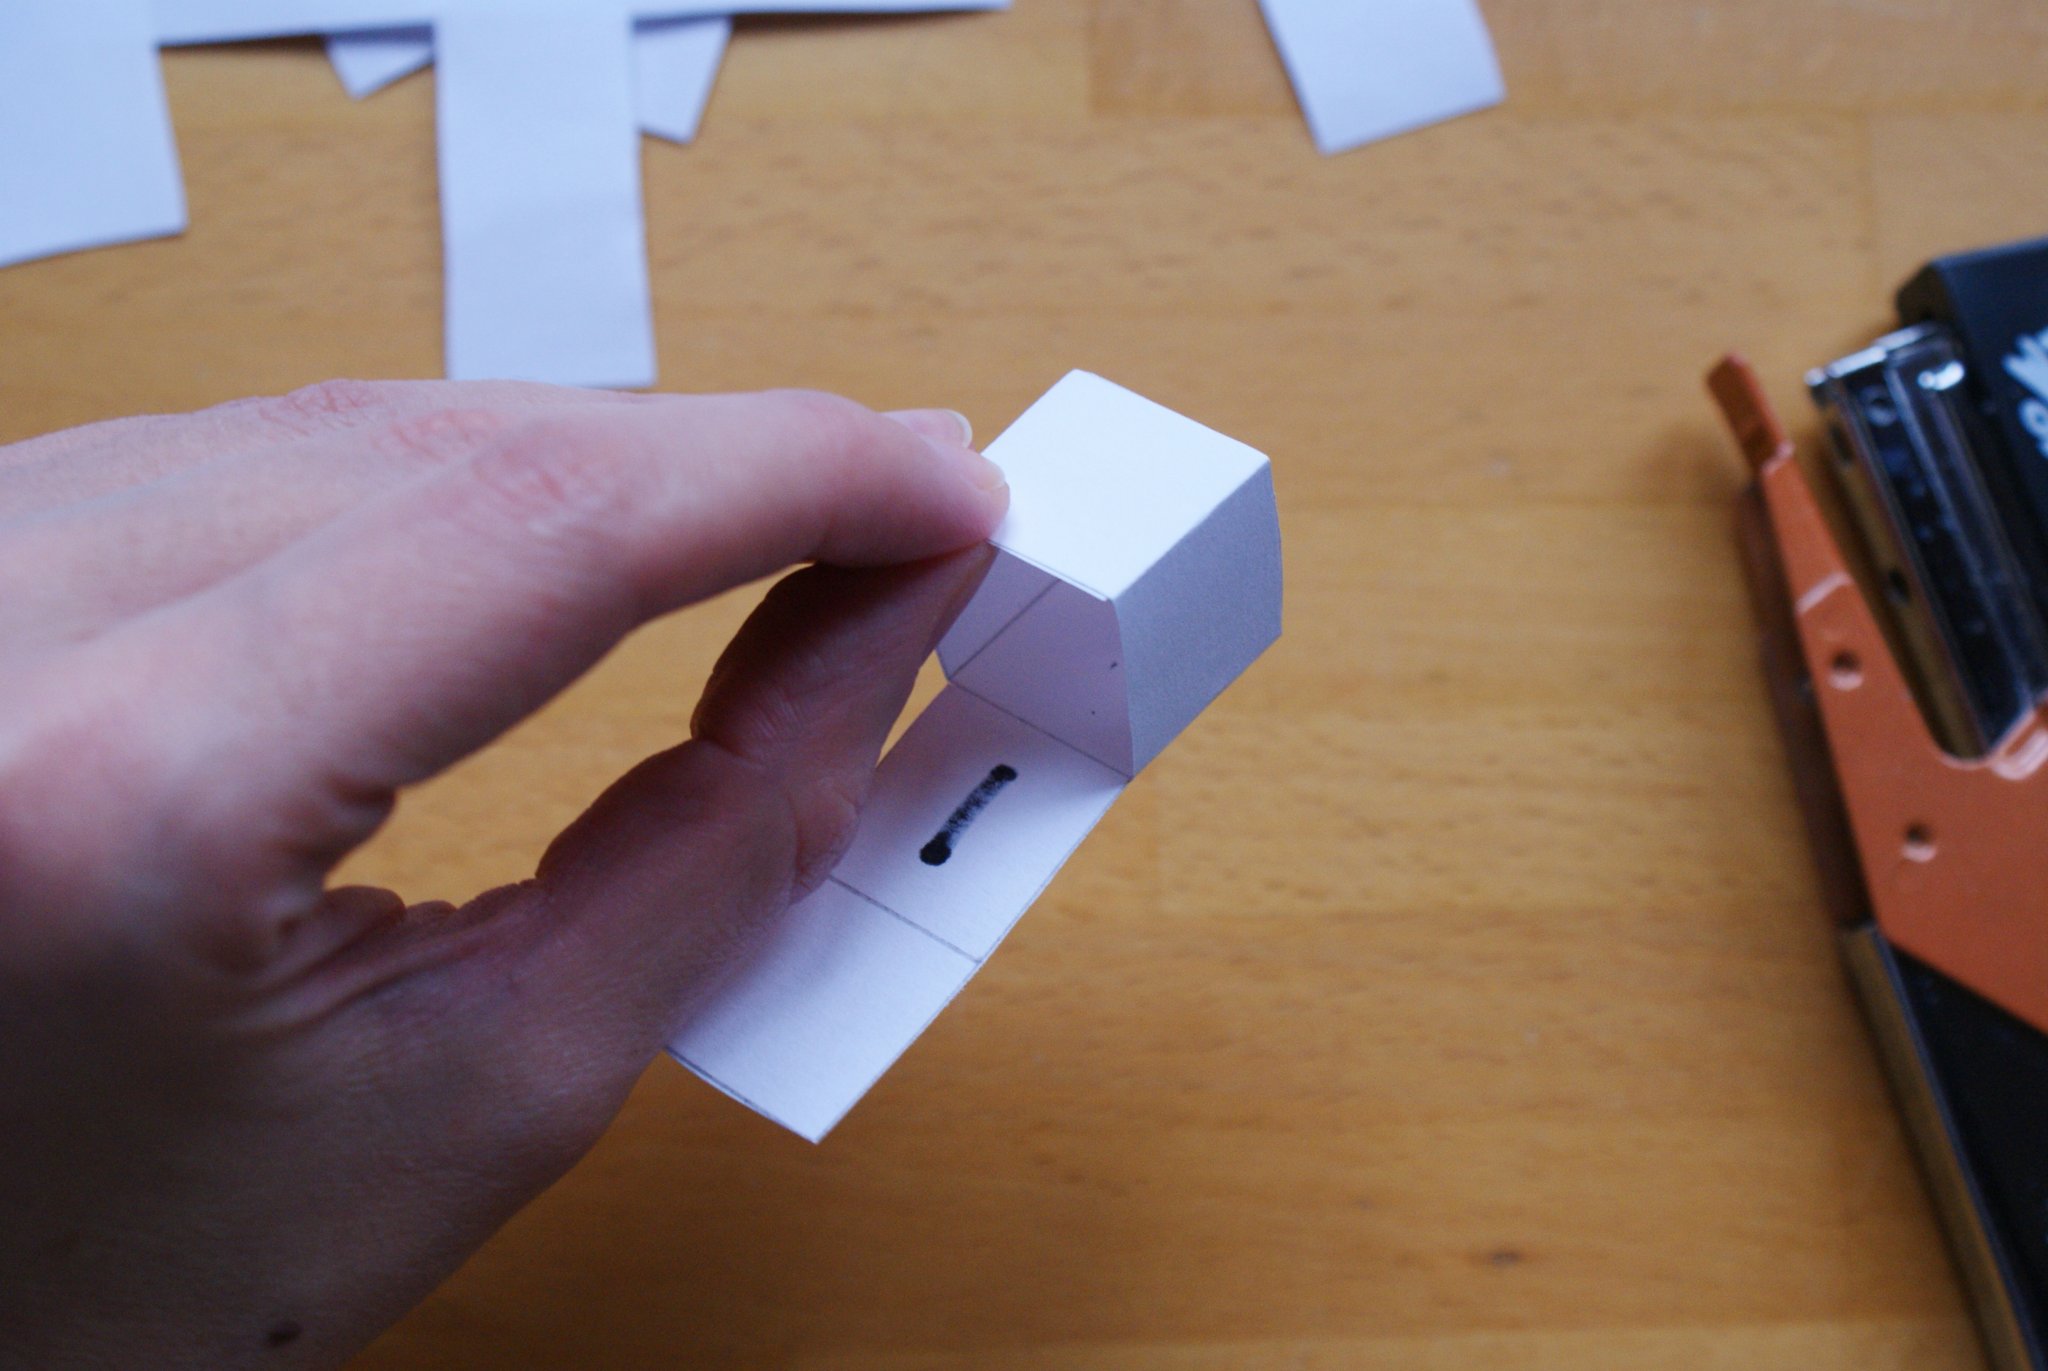
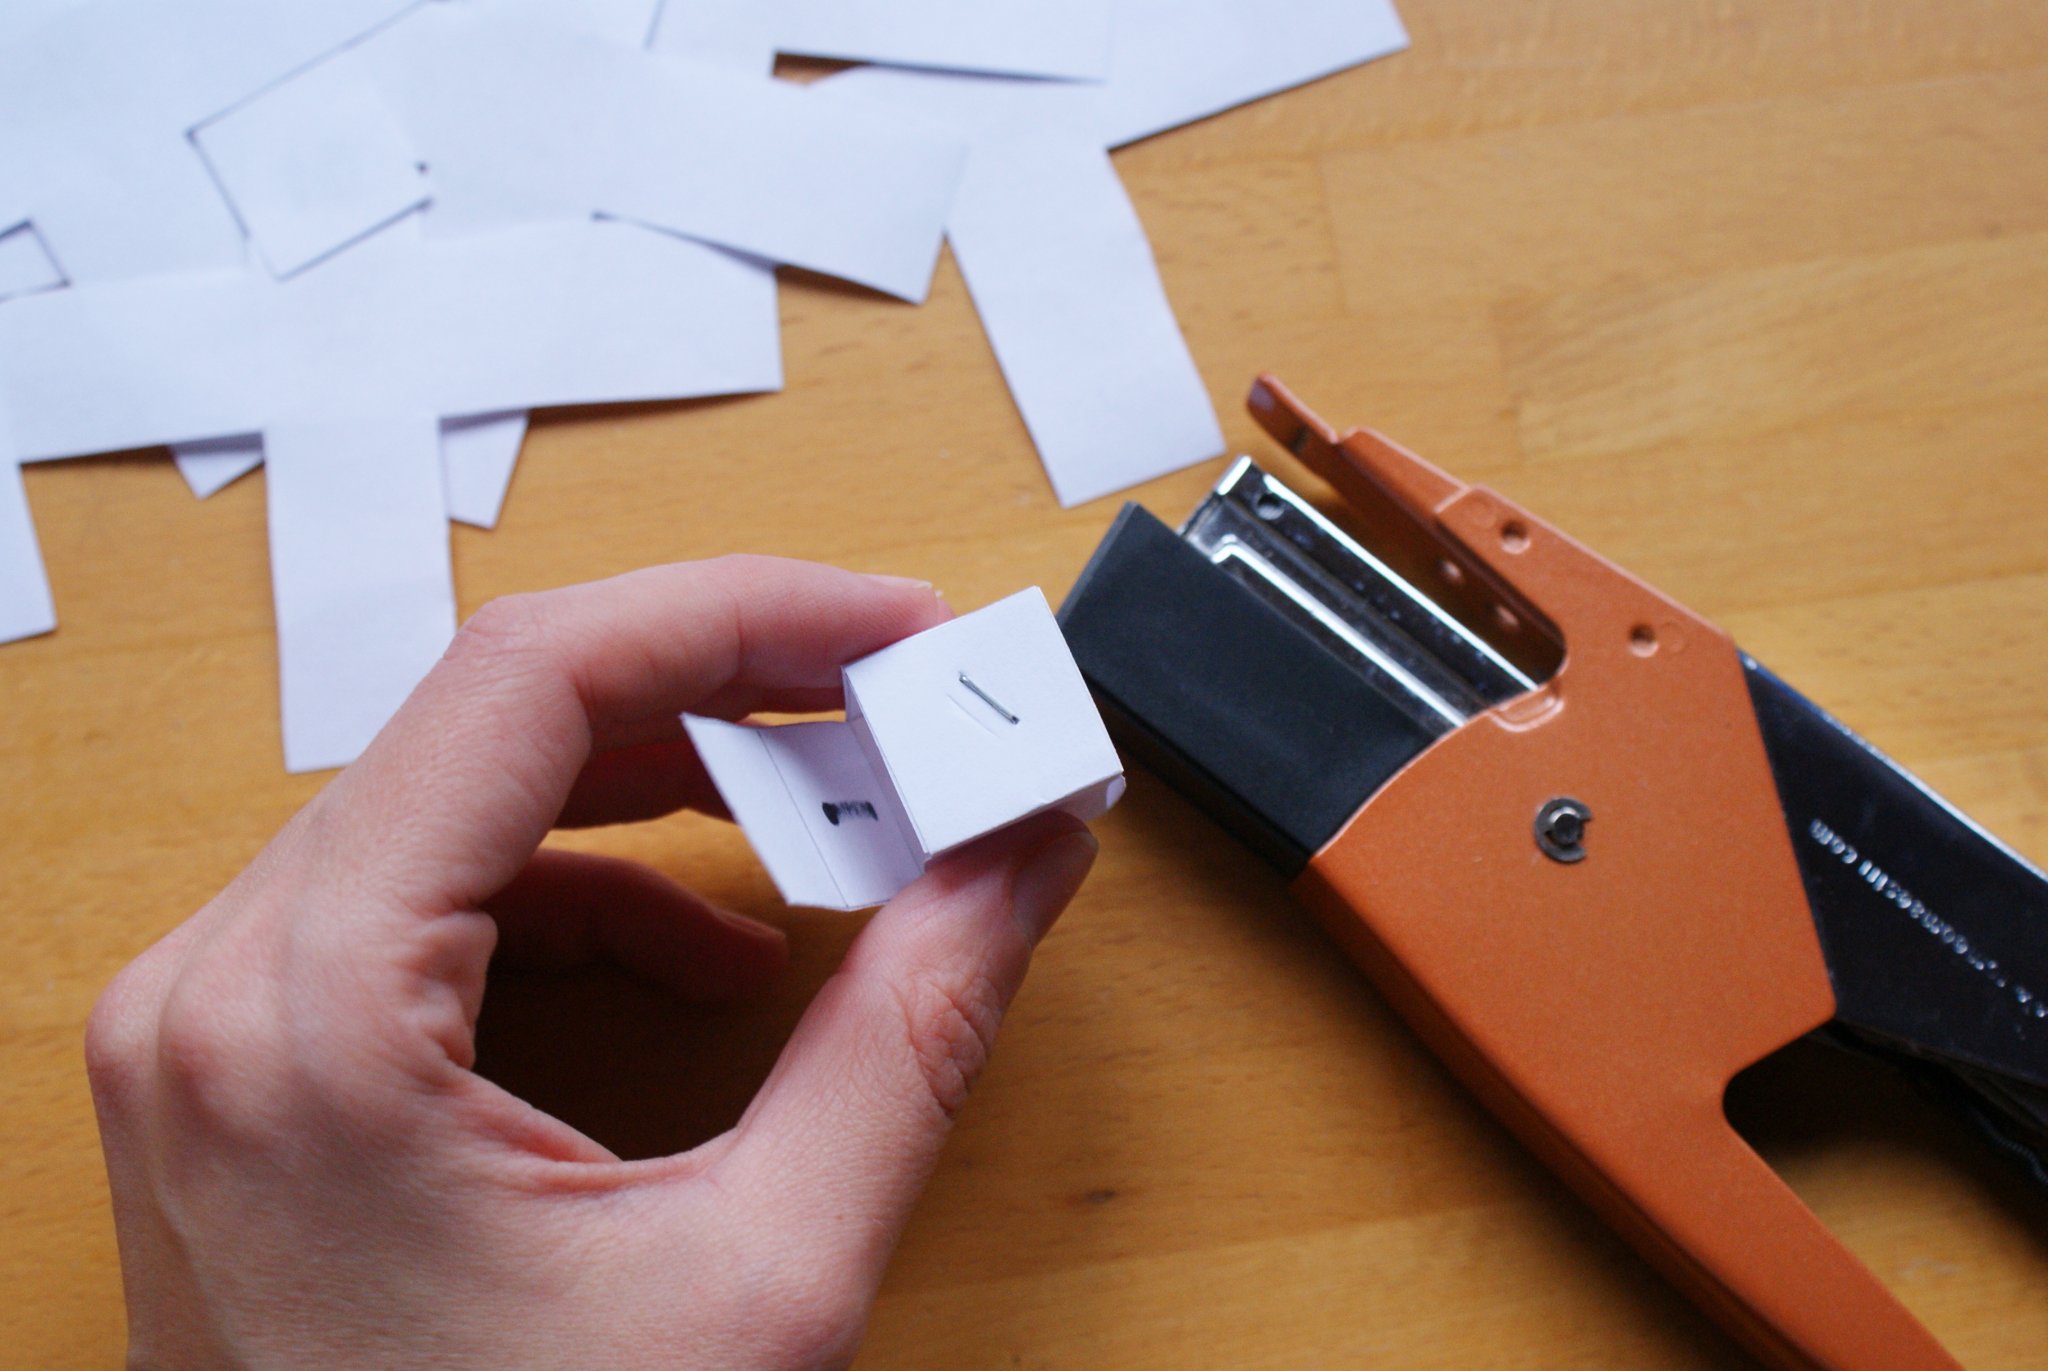
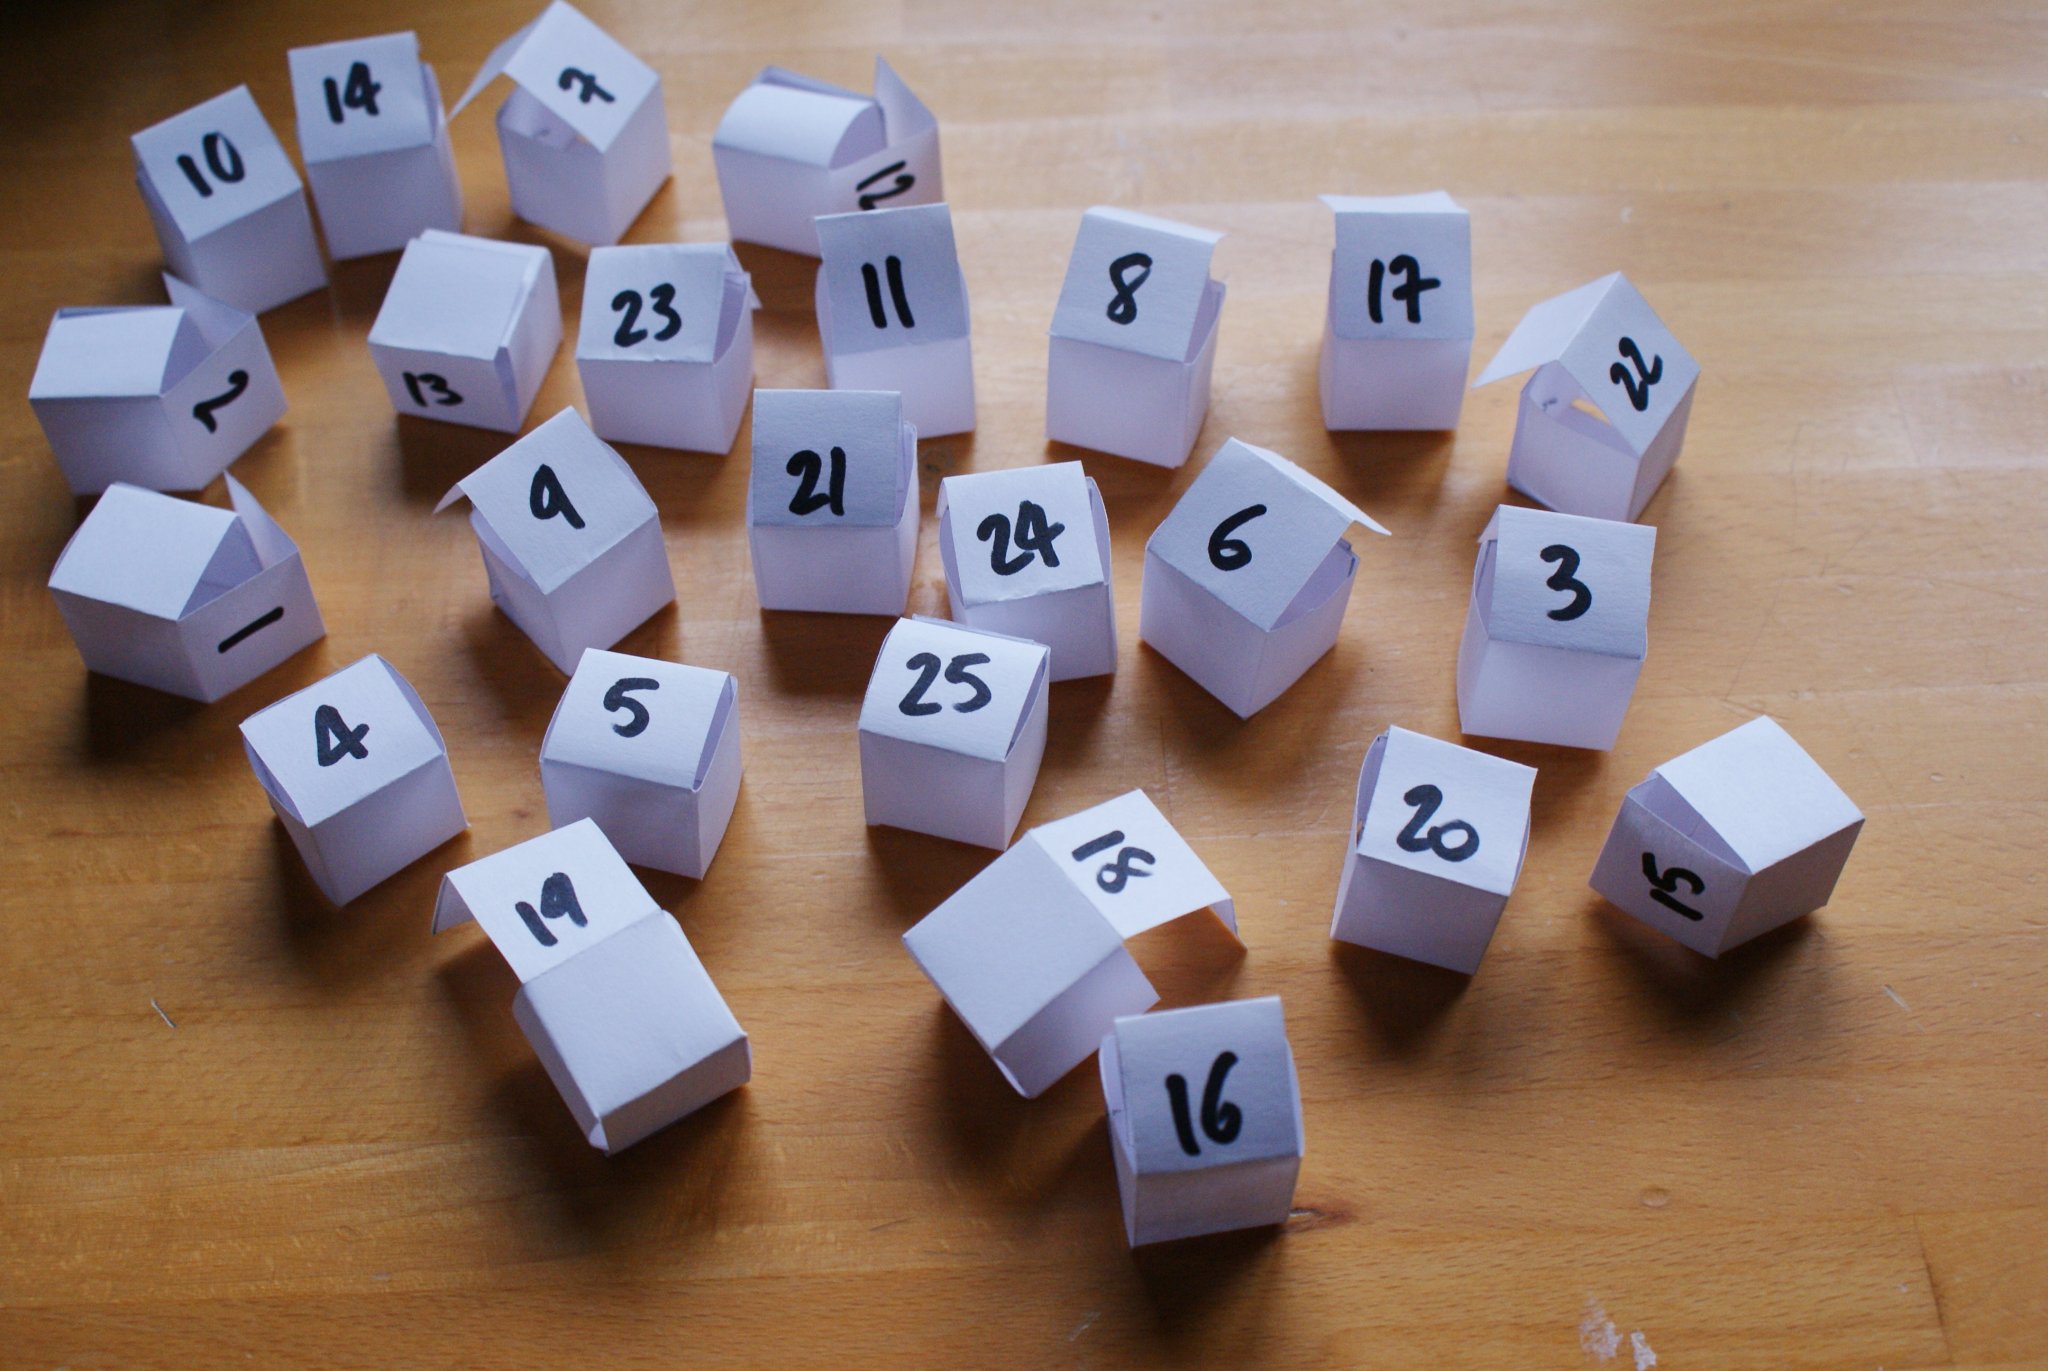
Write the numbers on one face on the back (so you won’t see pencil signs) and, keeping the middle square as the centre, fold in the left, up and right sides and pinch them together to get an open box. // Scrivete i numeri su una faccia sul retro di ogni croce (così non si vedranno i segni della matita) poi, tenendo il quadrato centrale come base, piegate all’interno i lati sinistro, alto e destro e pinzateli insieme (o usate il nastro adesivo) per ottenere una scatolina aperta.
3)
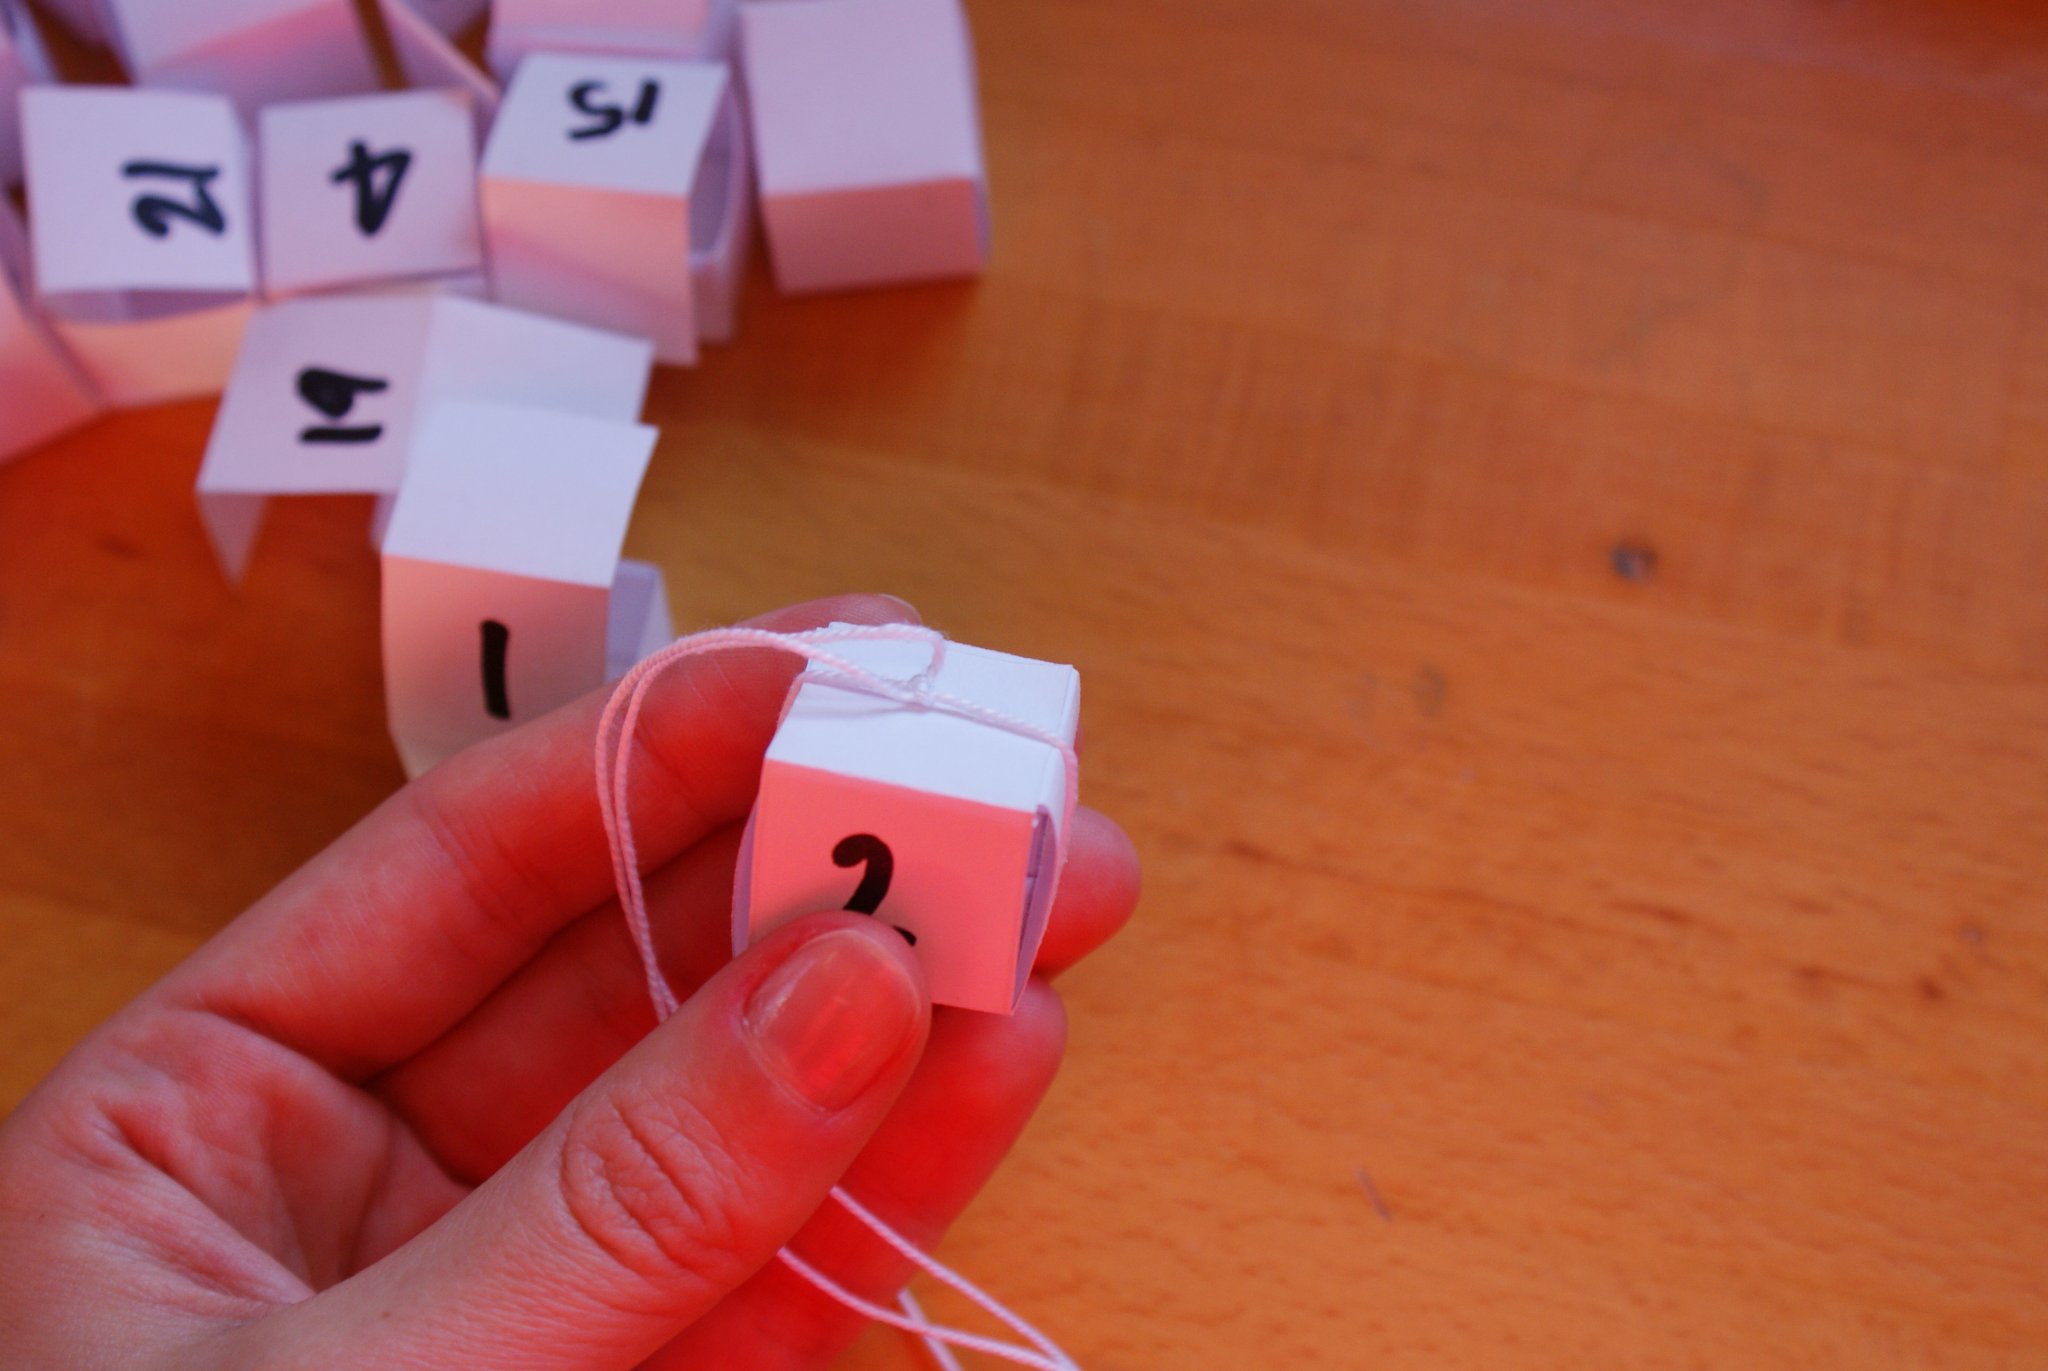
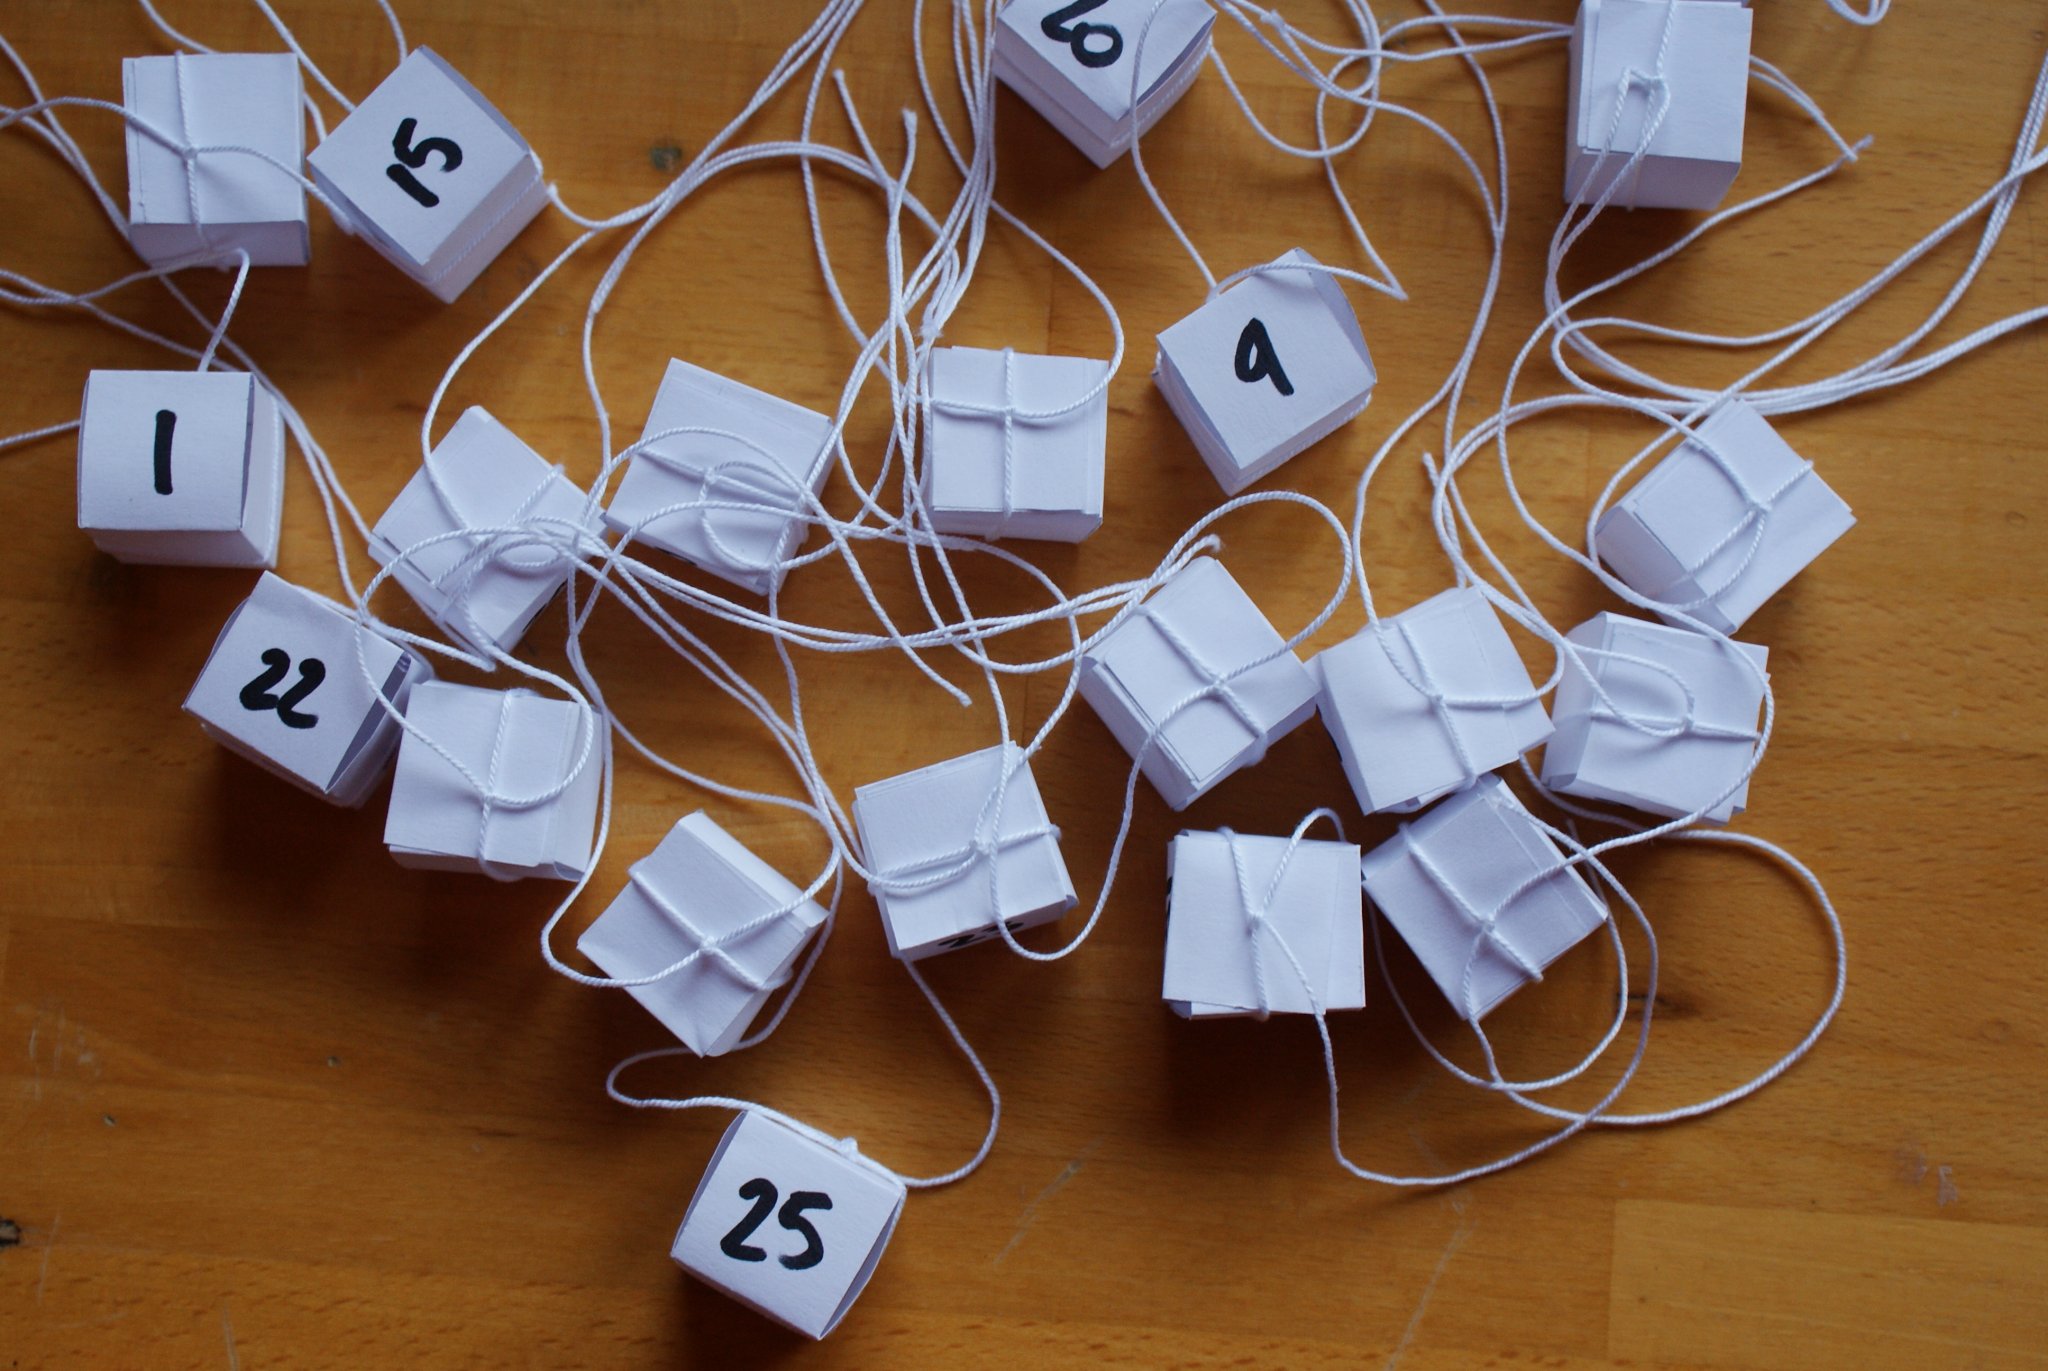
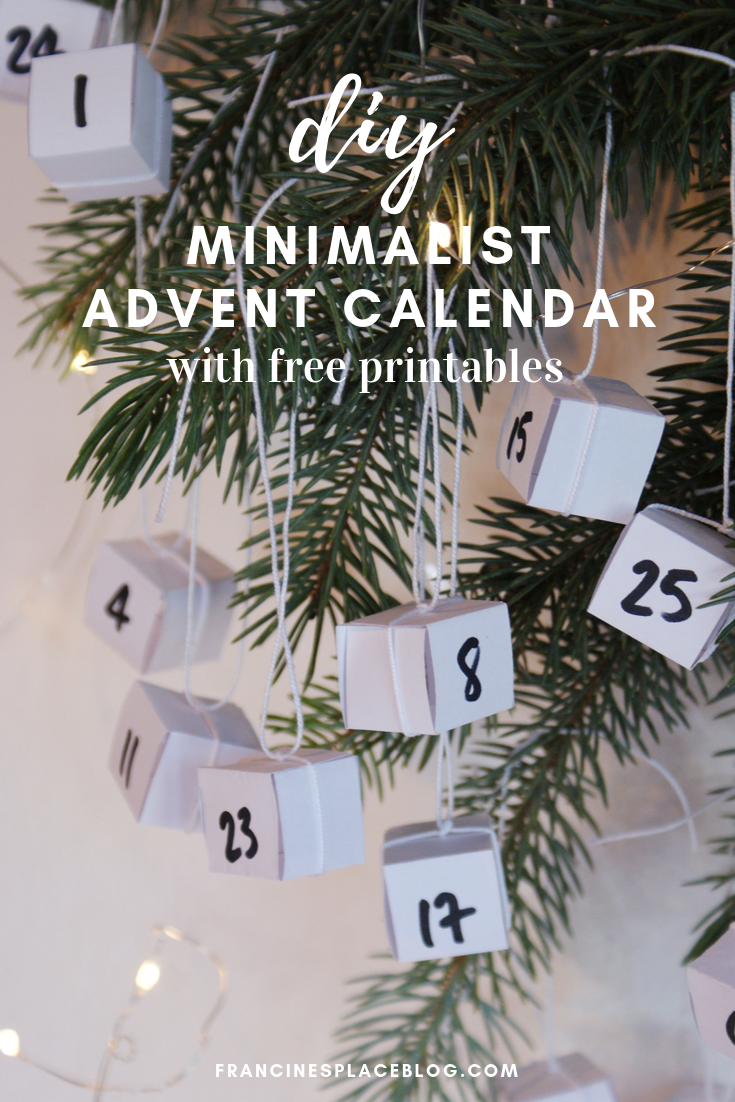
Put a piece of chocolate inside one box then fold the last side and close it making a knot with a piece of rope (or with adhesive tape). Repeat with all the boxes. // Mettete un pezzo di cioccolato in una scatolina poi piegate l’ultimo lato e chiudetelo facendo un nodo con il cordino (o con il nastro adesivo). Ripetete con tutte le scatoline.
4)
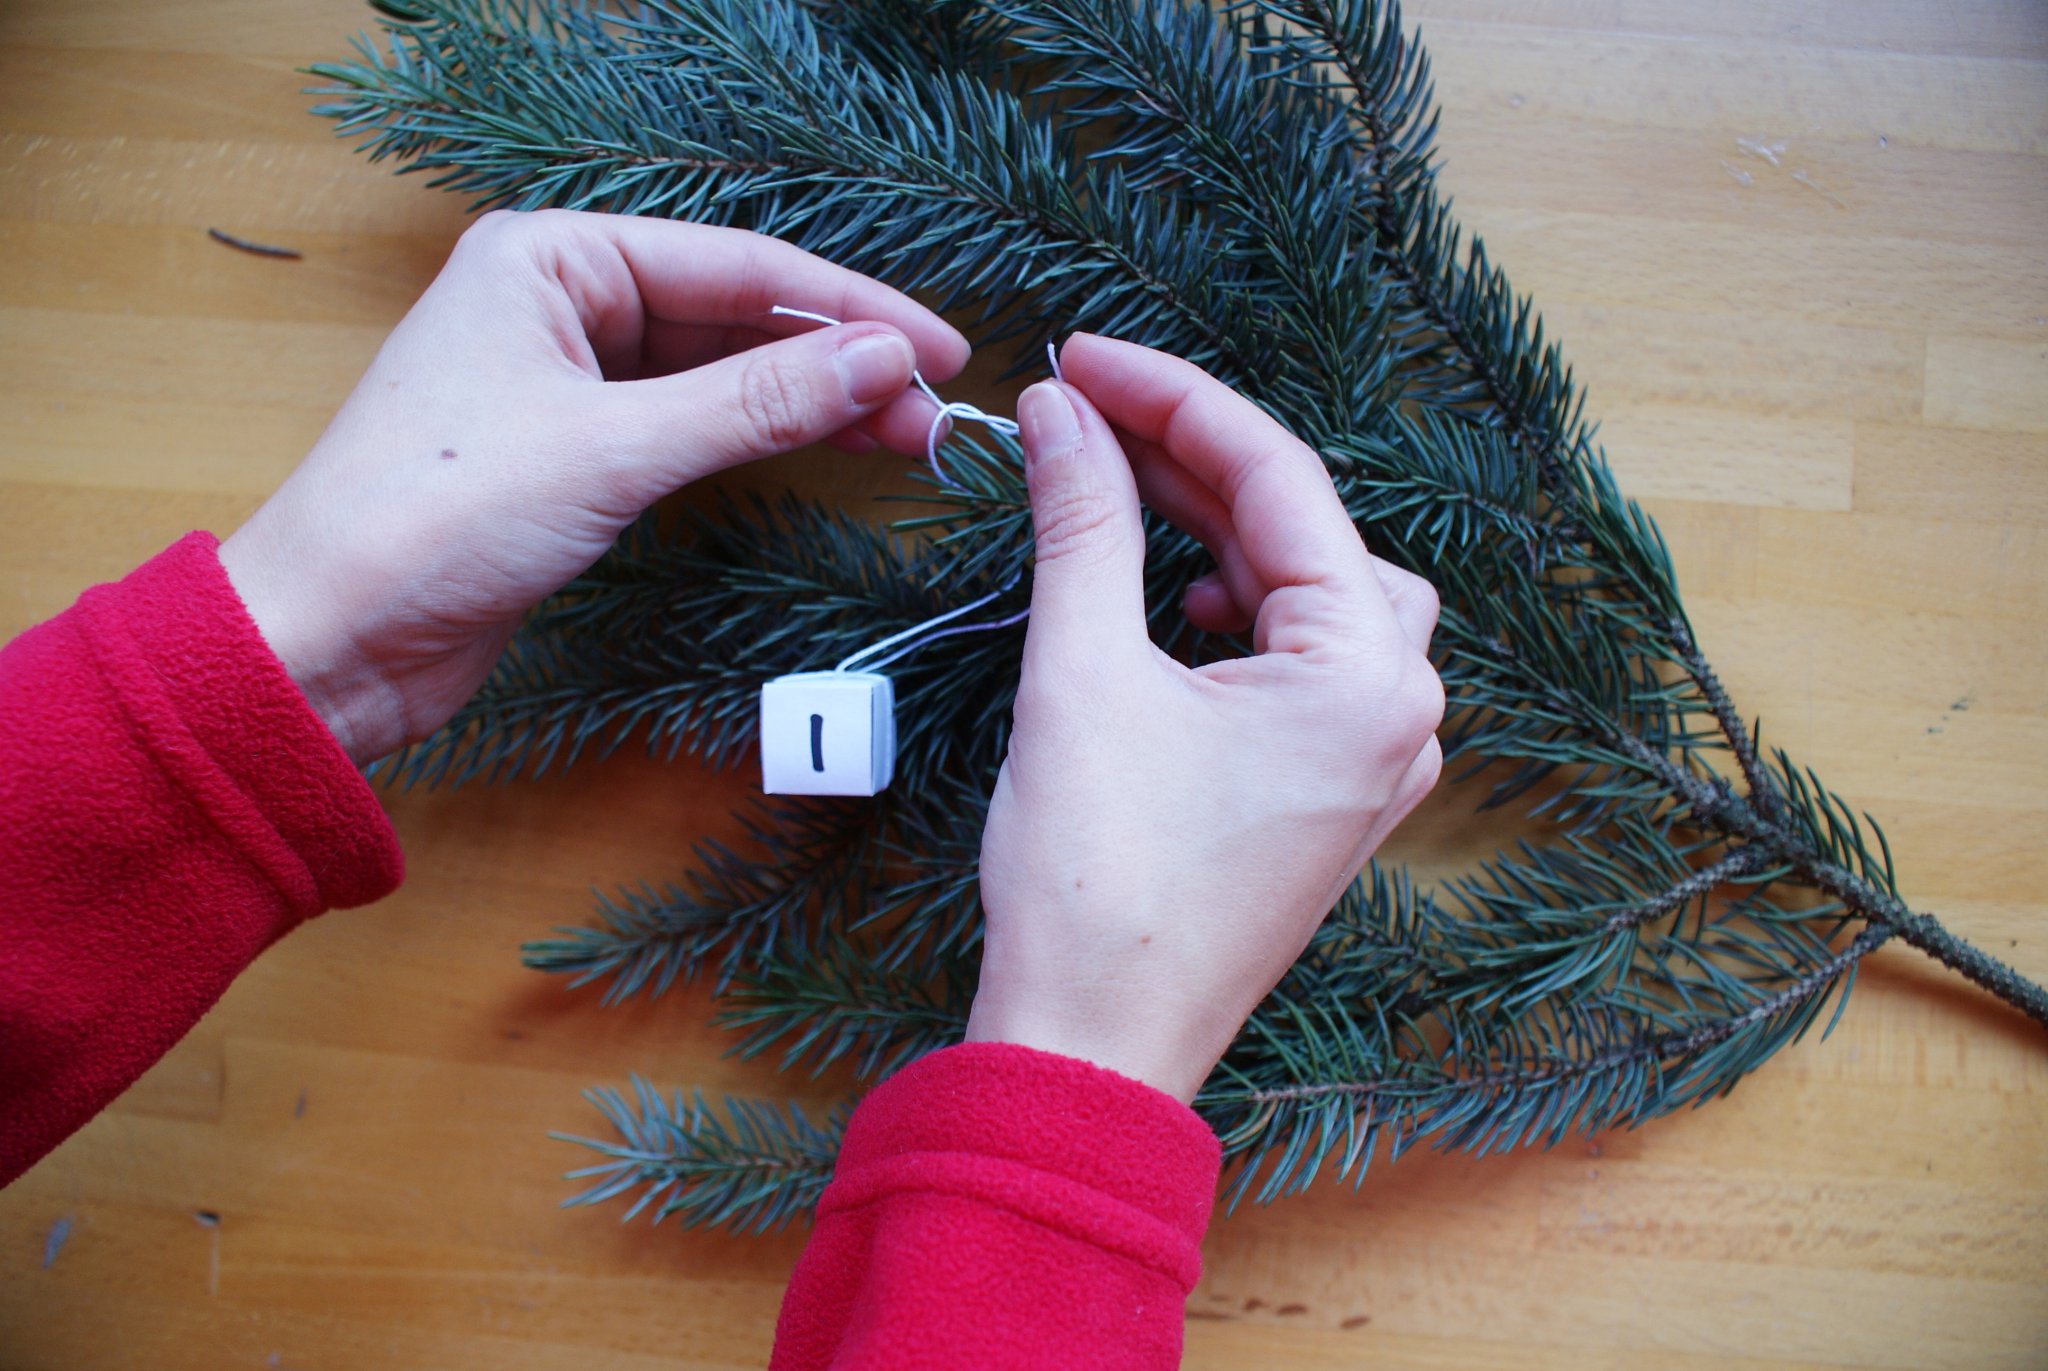
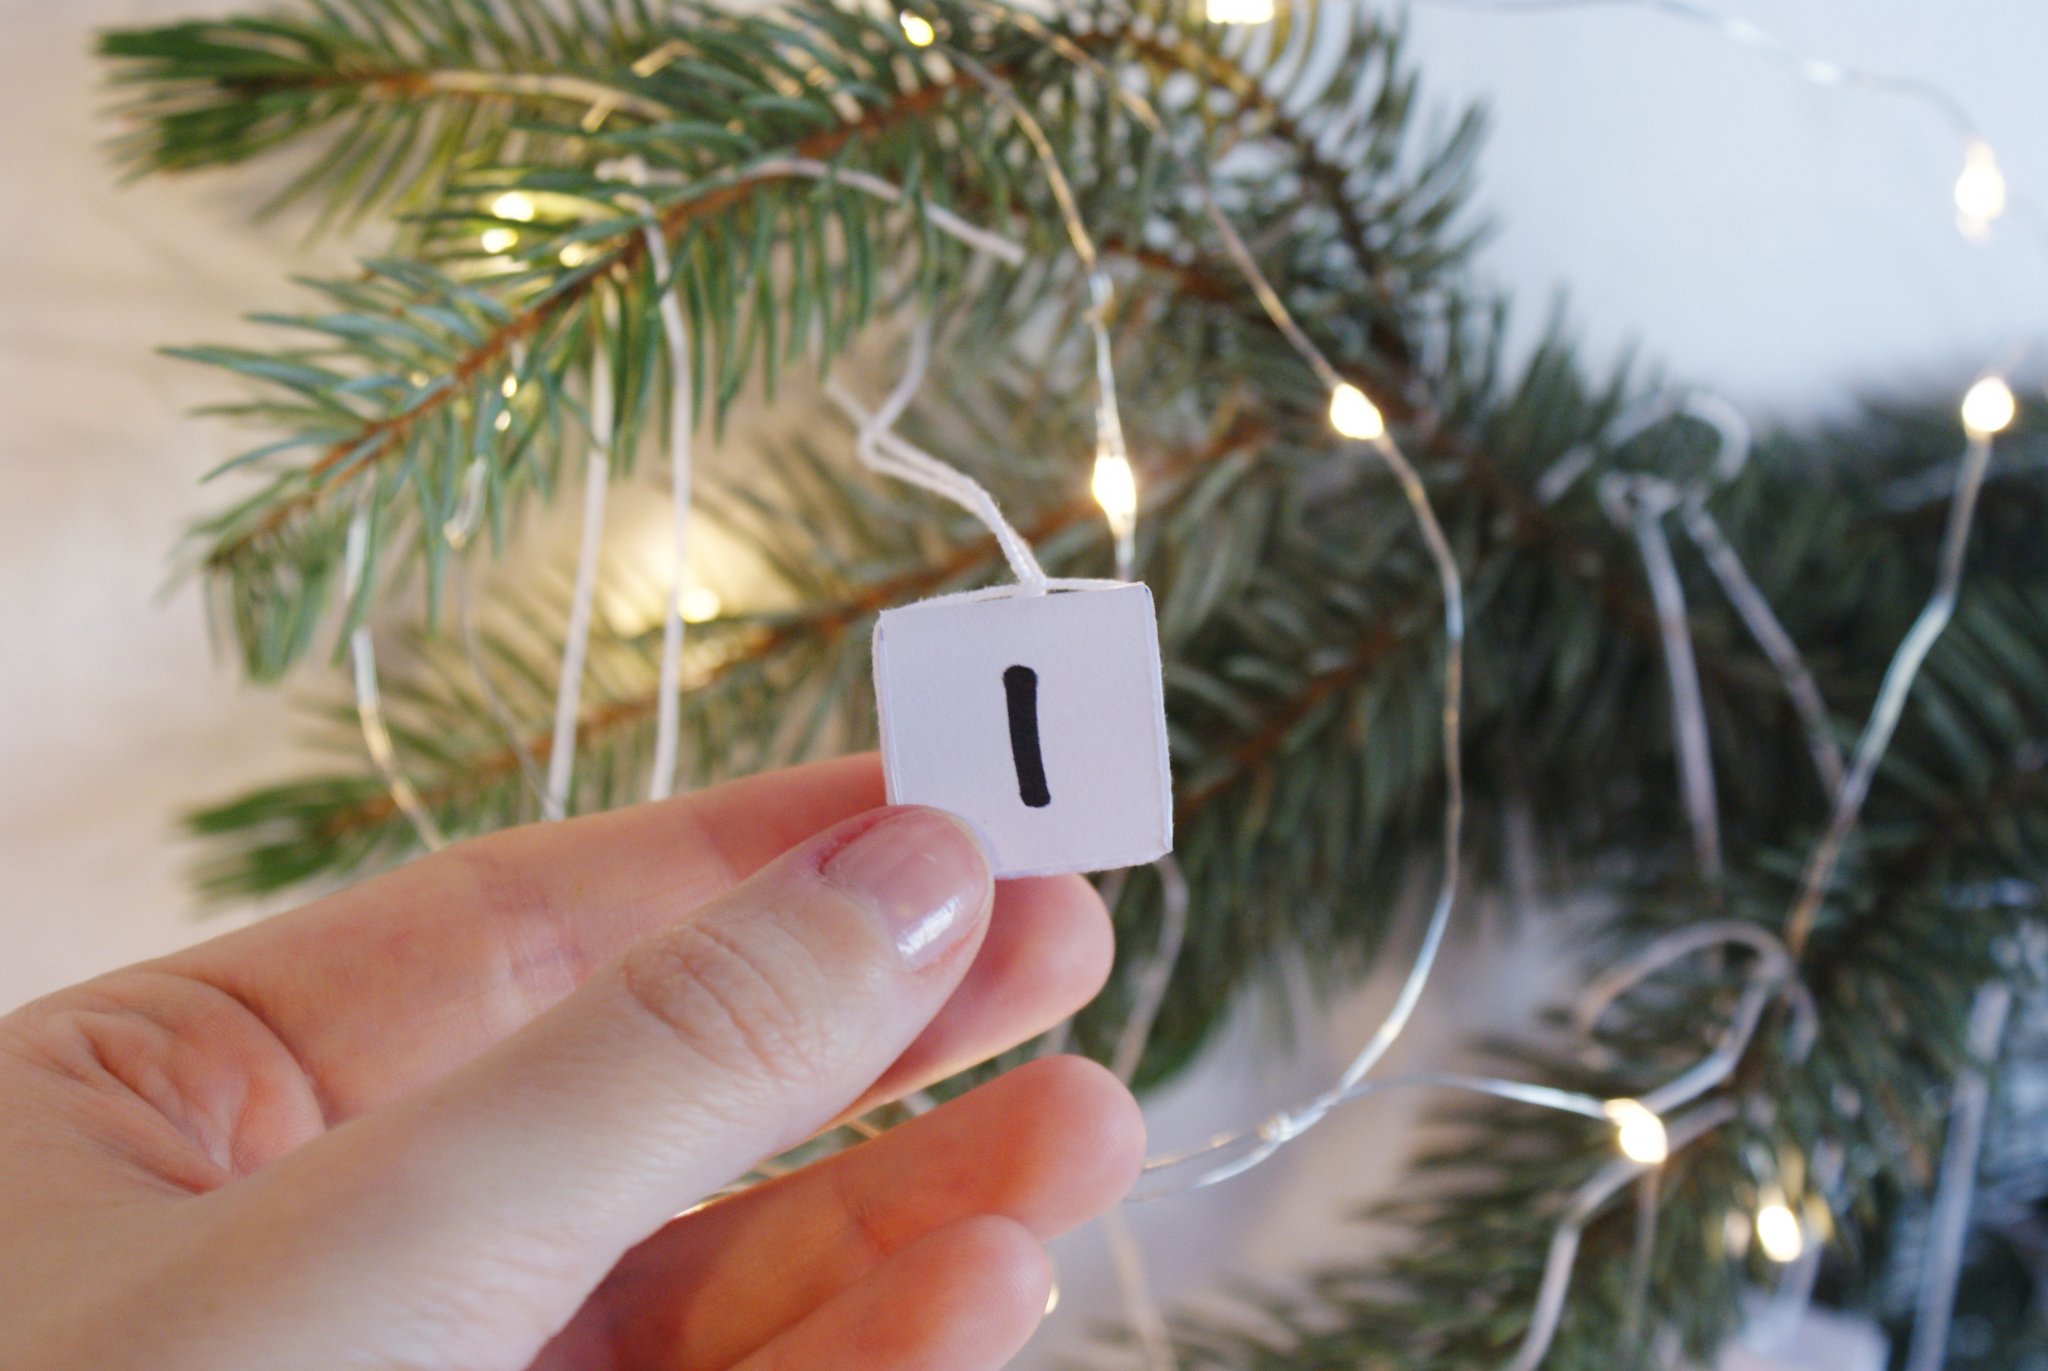
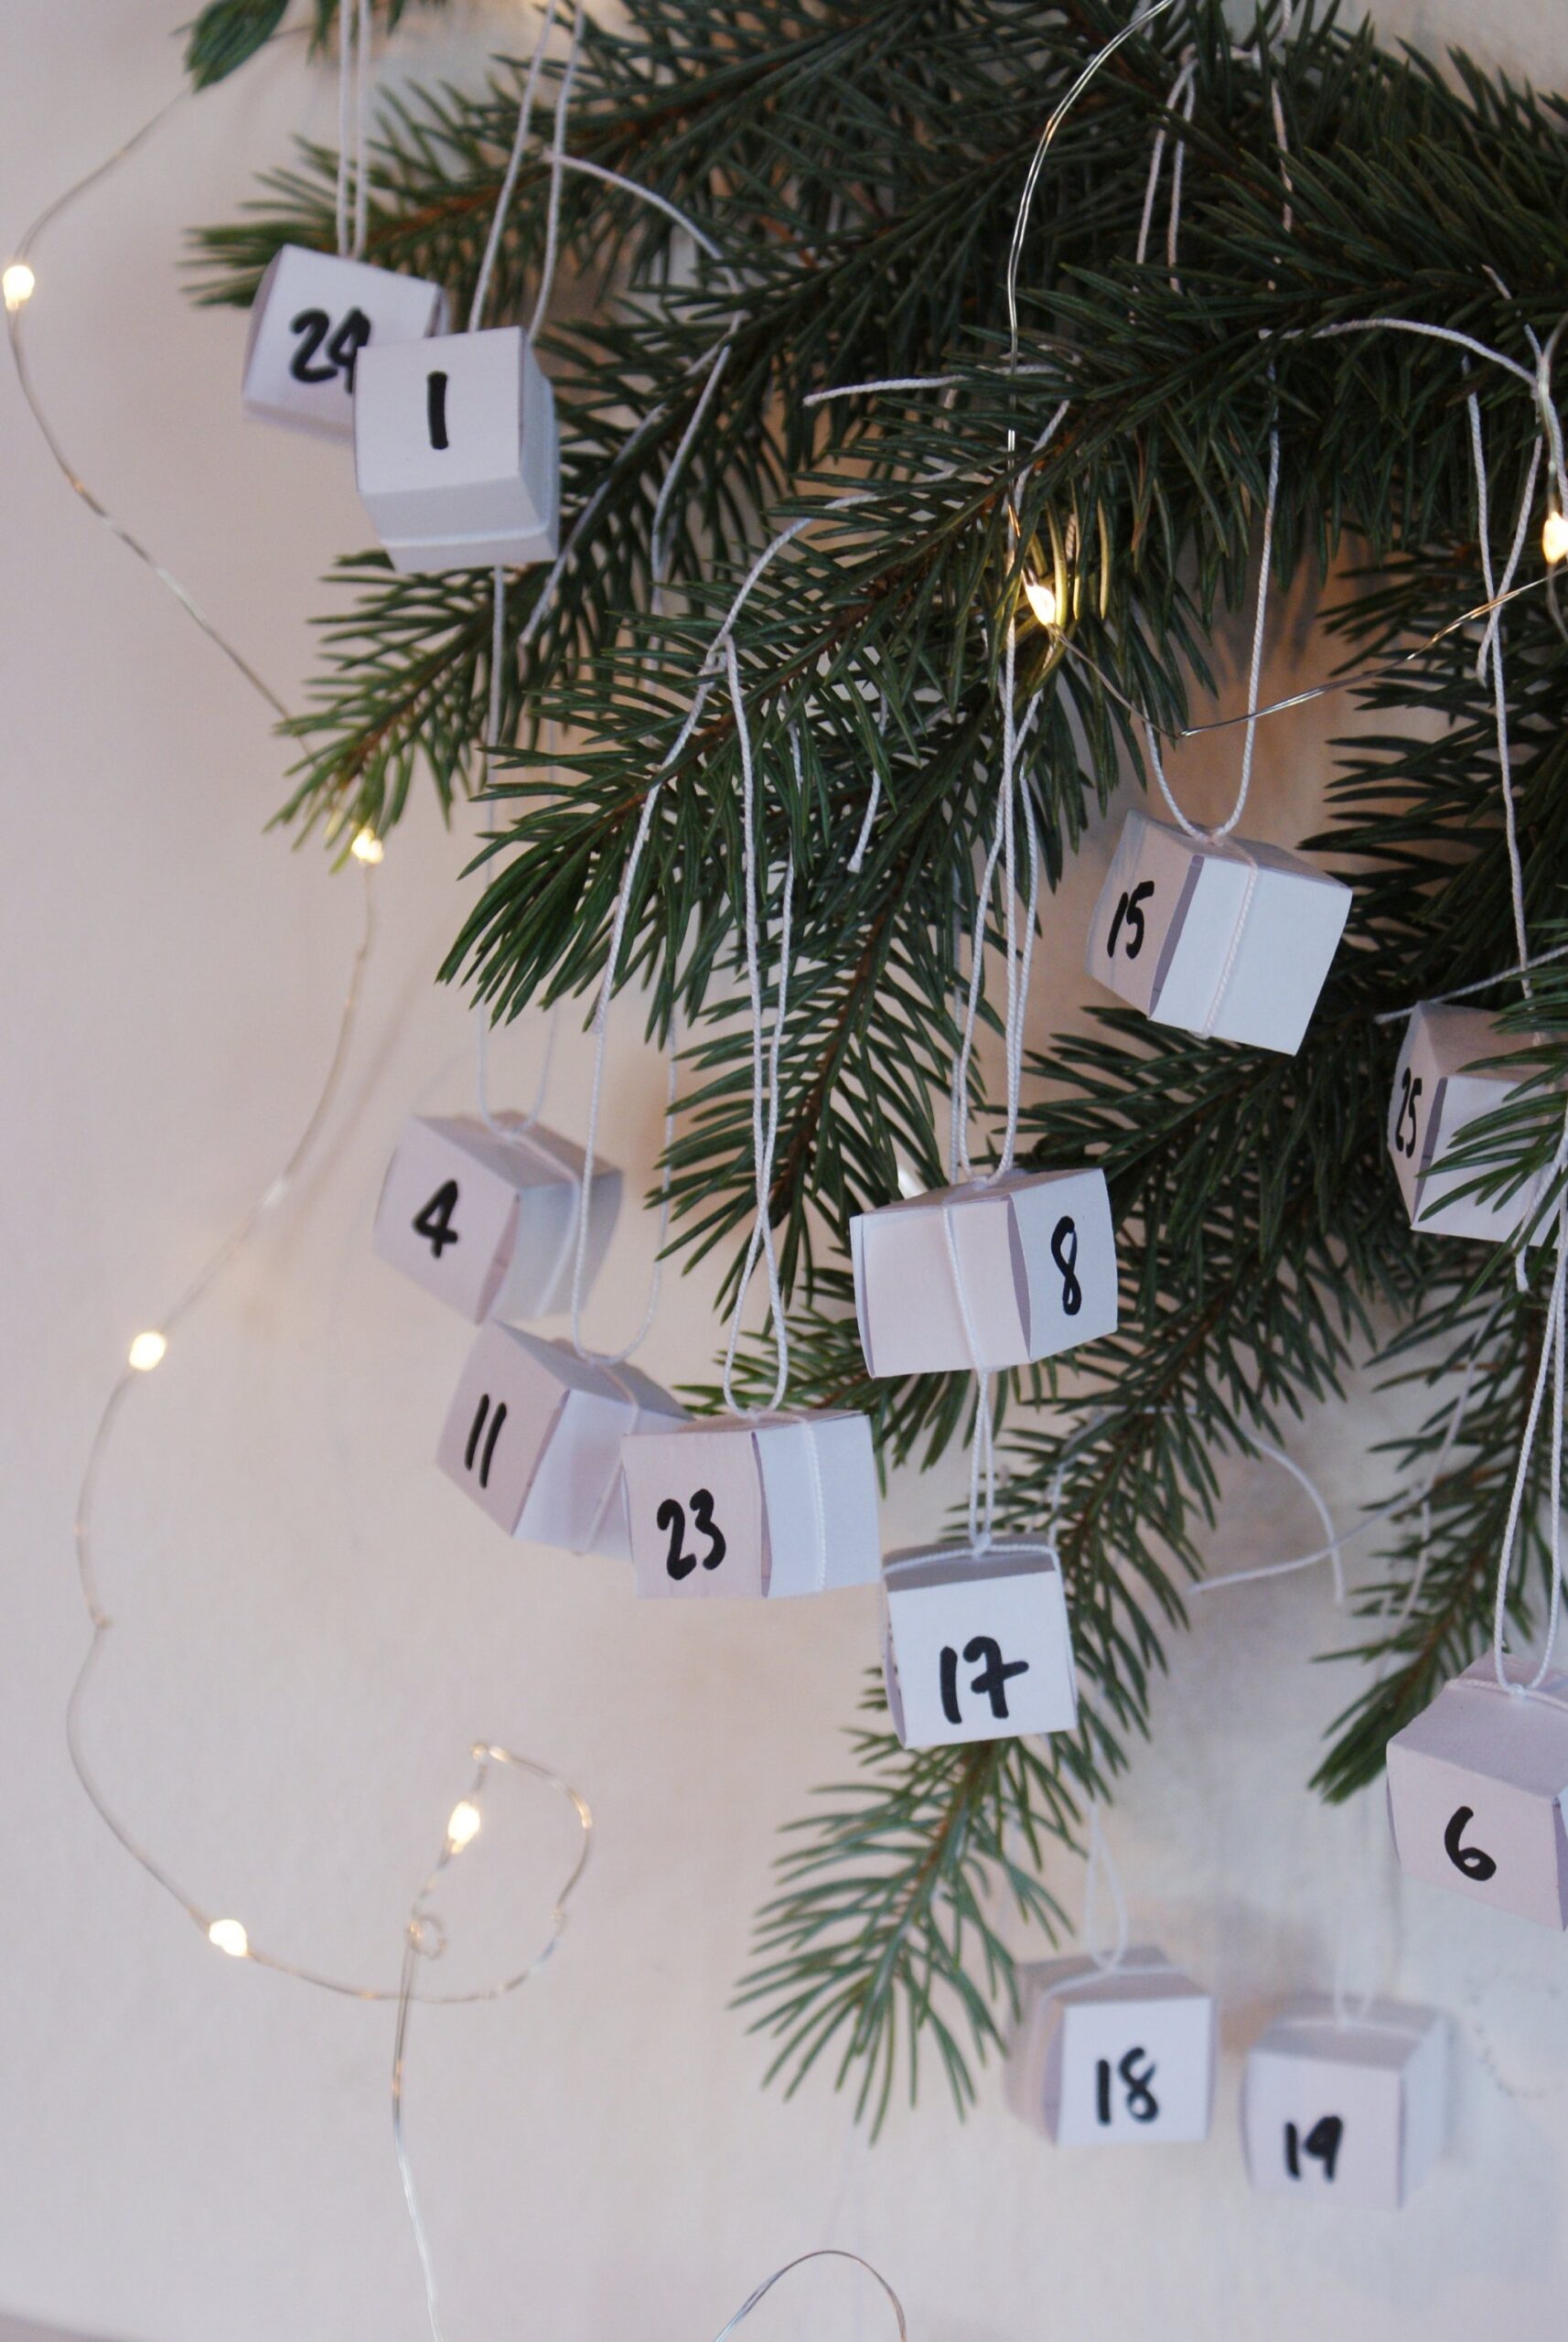
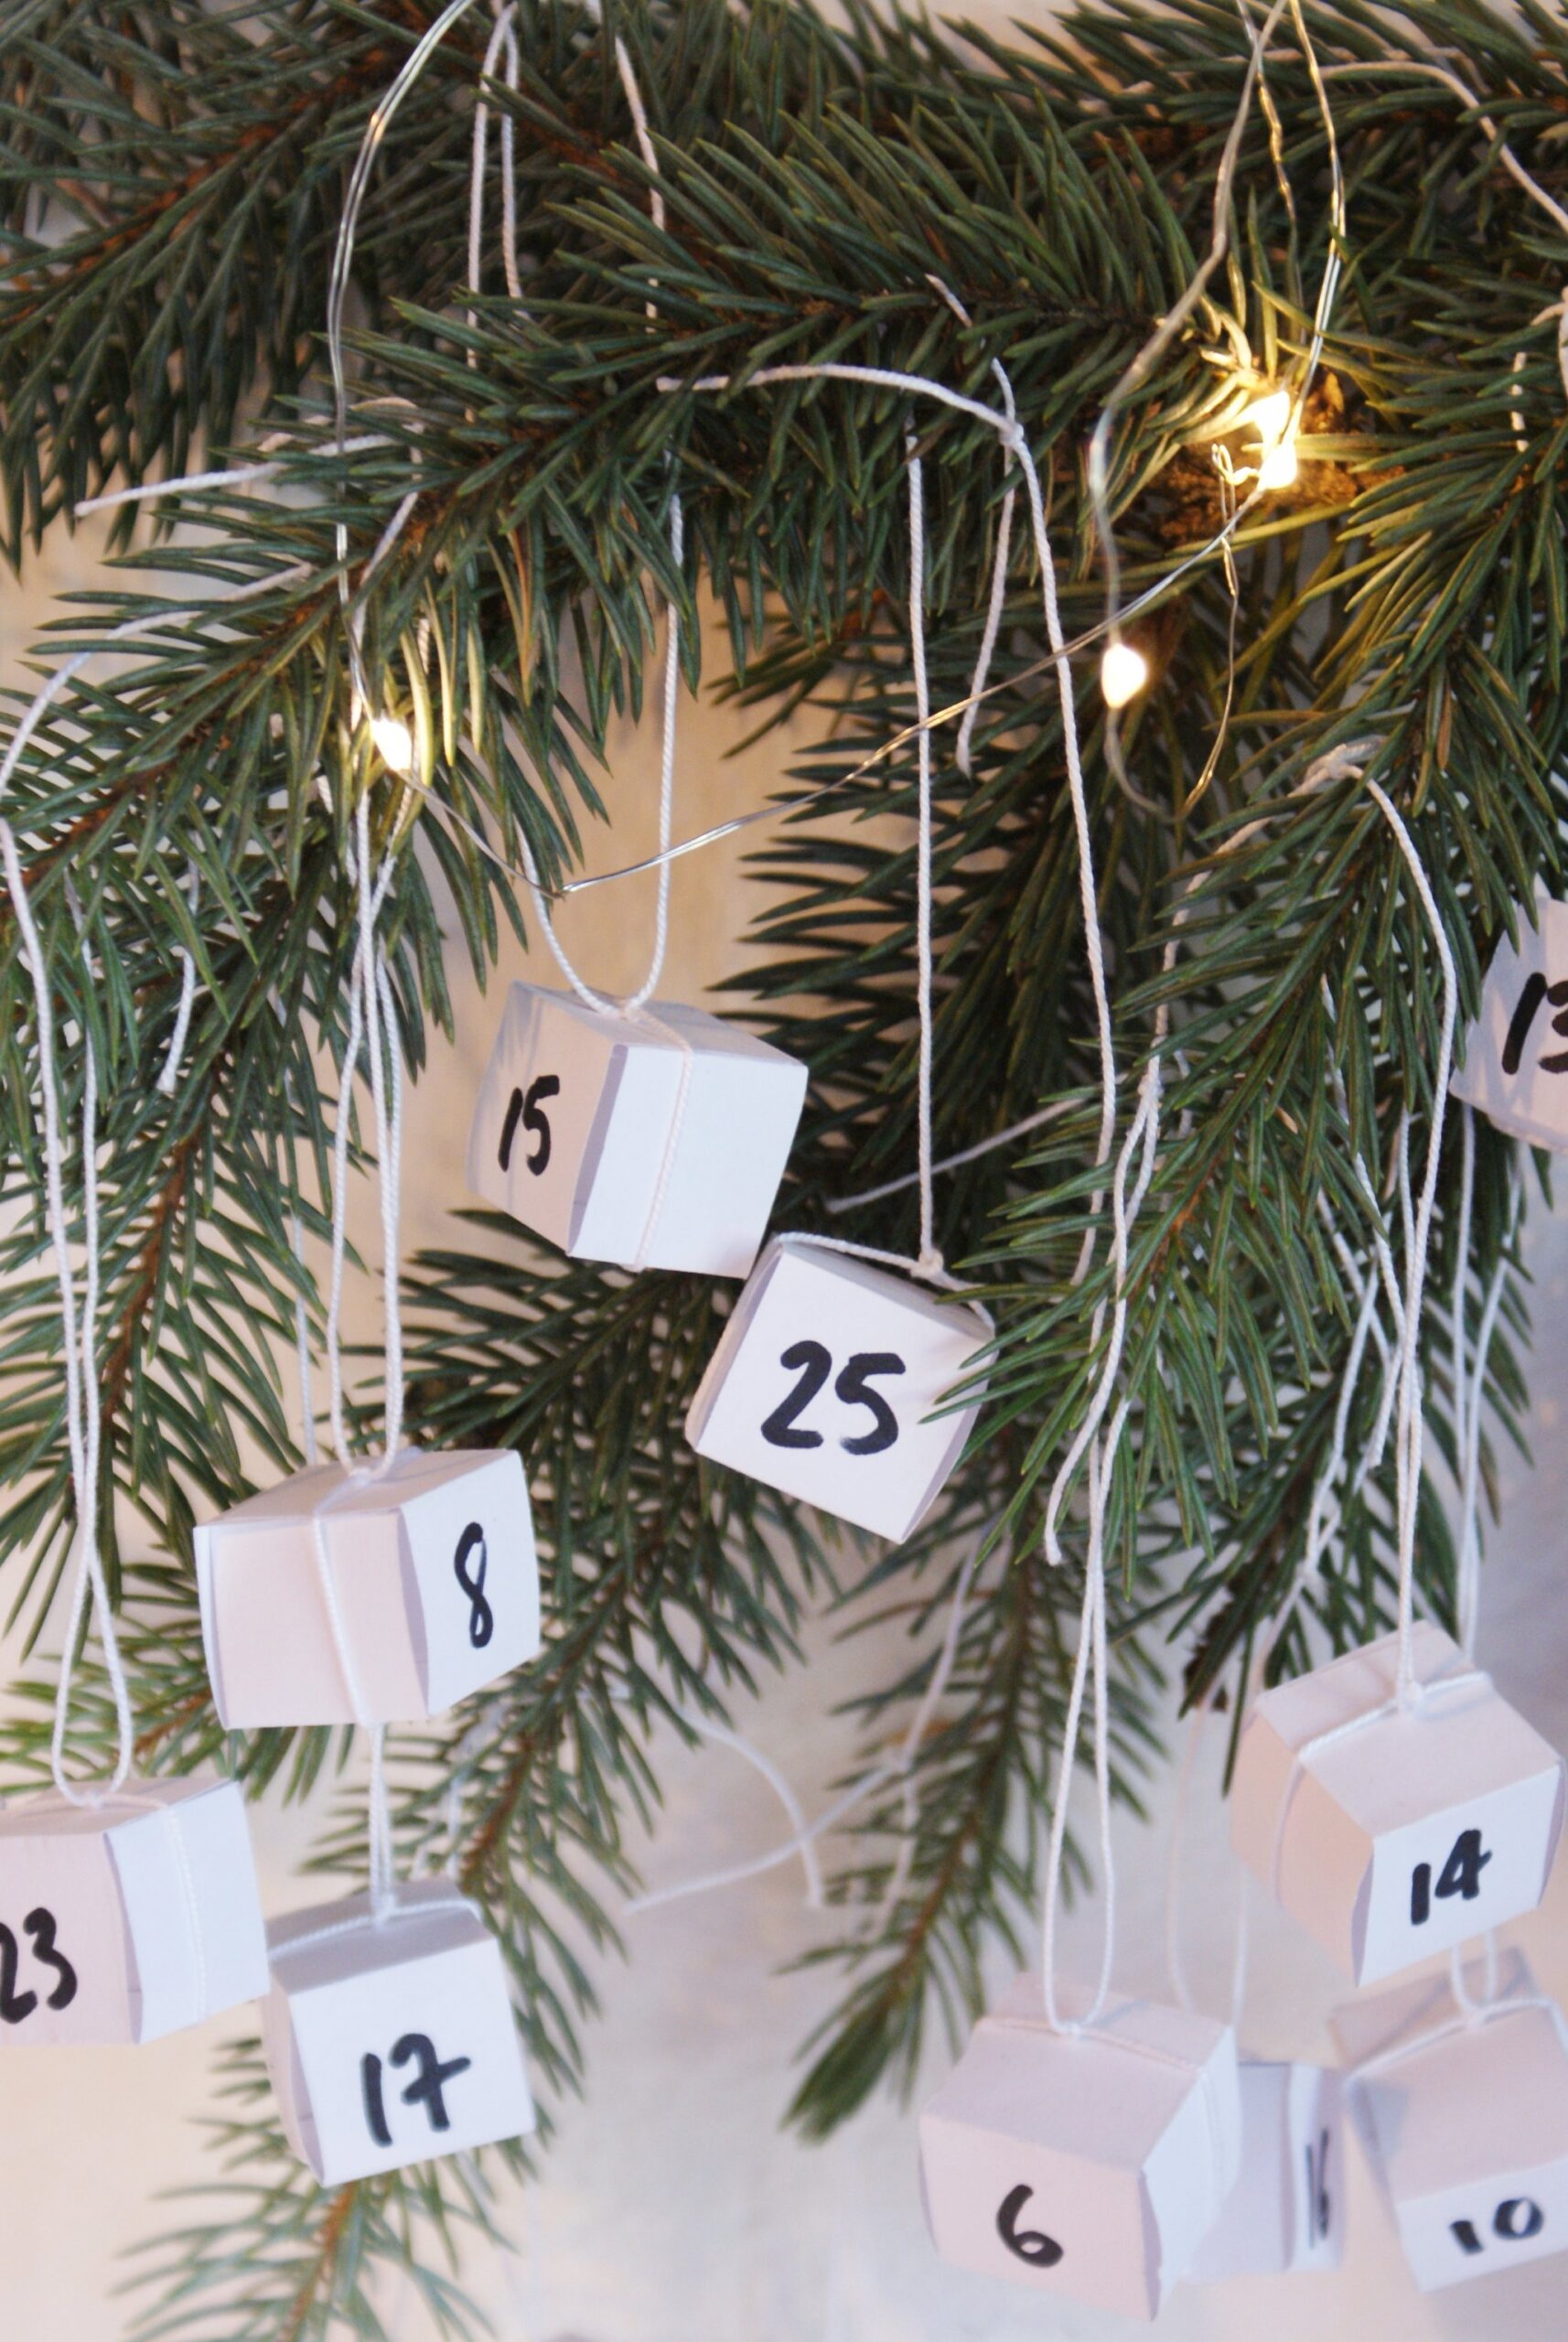
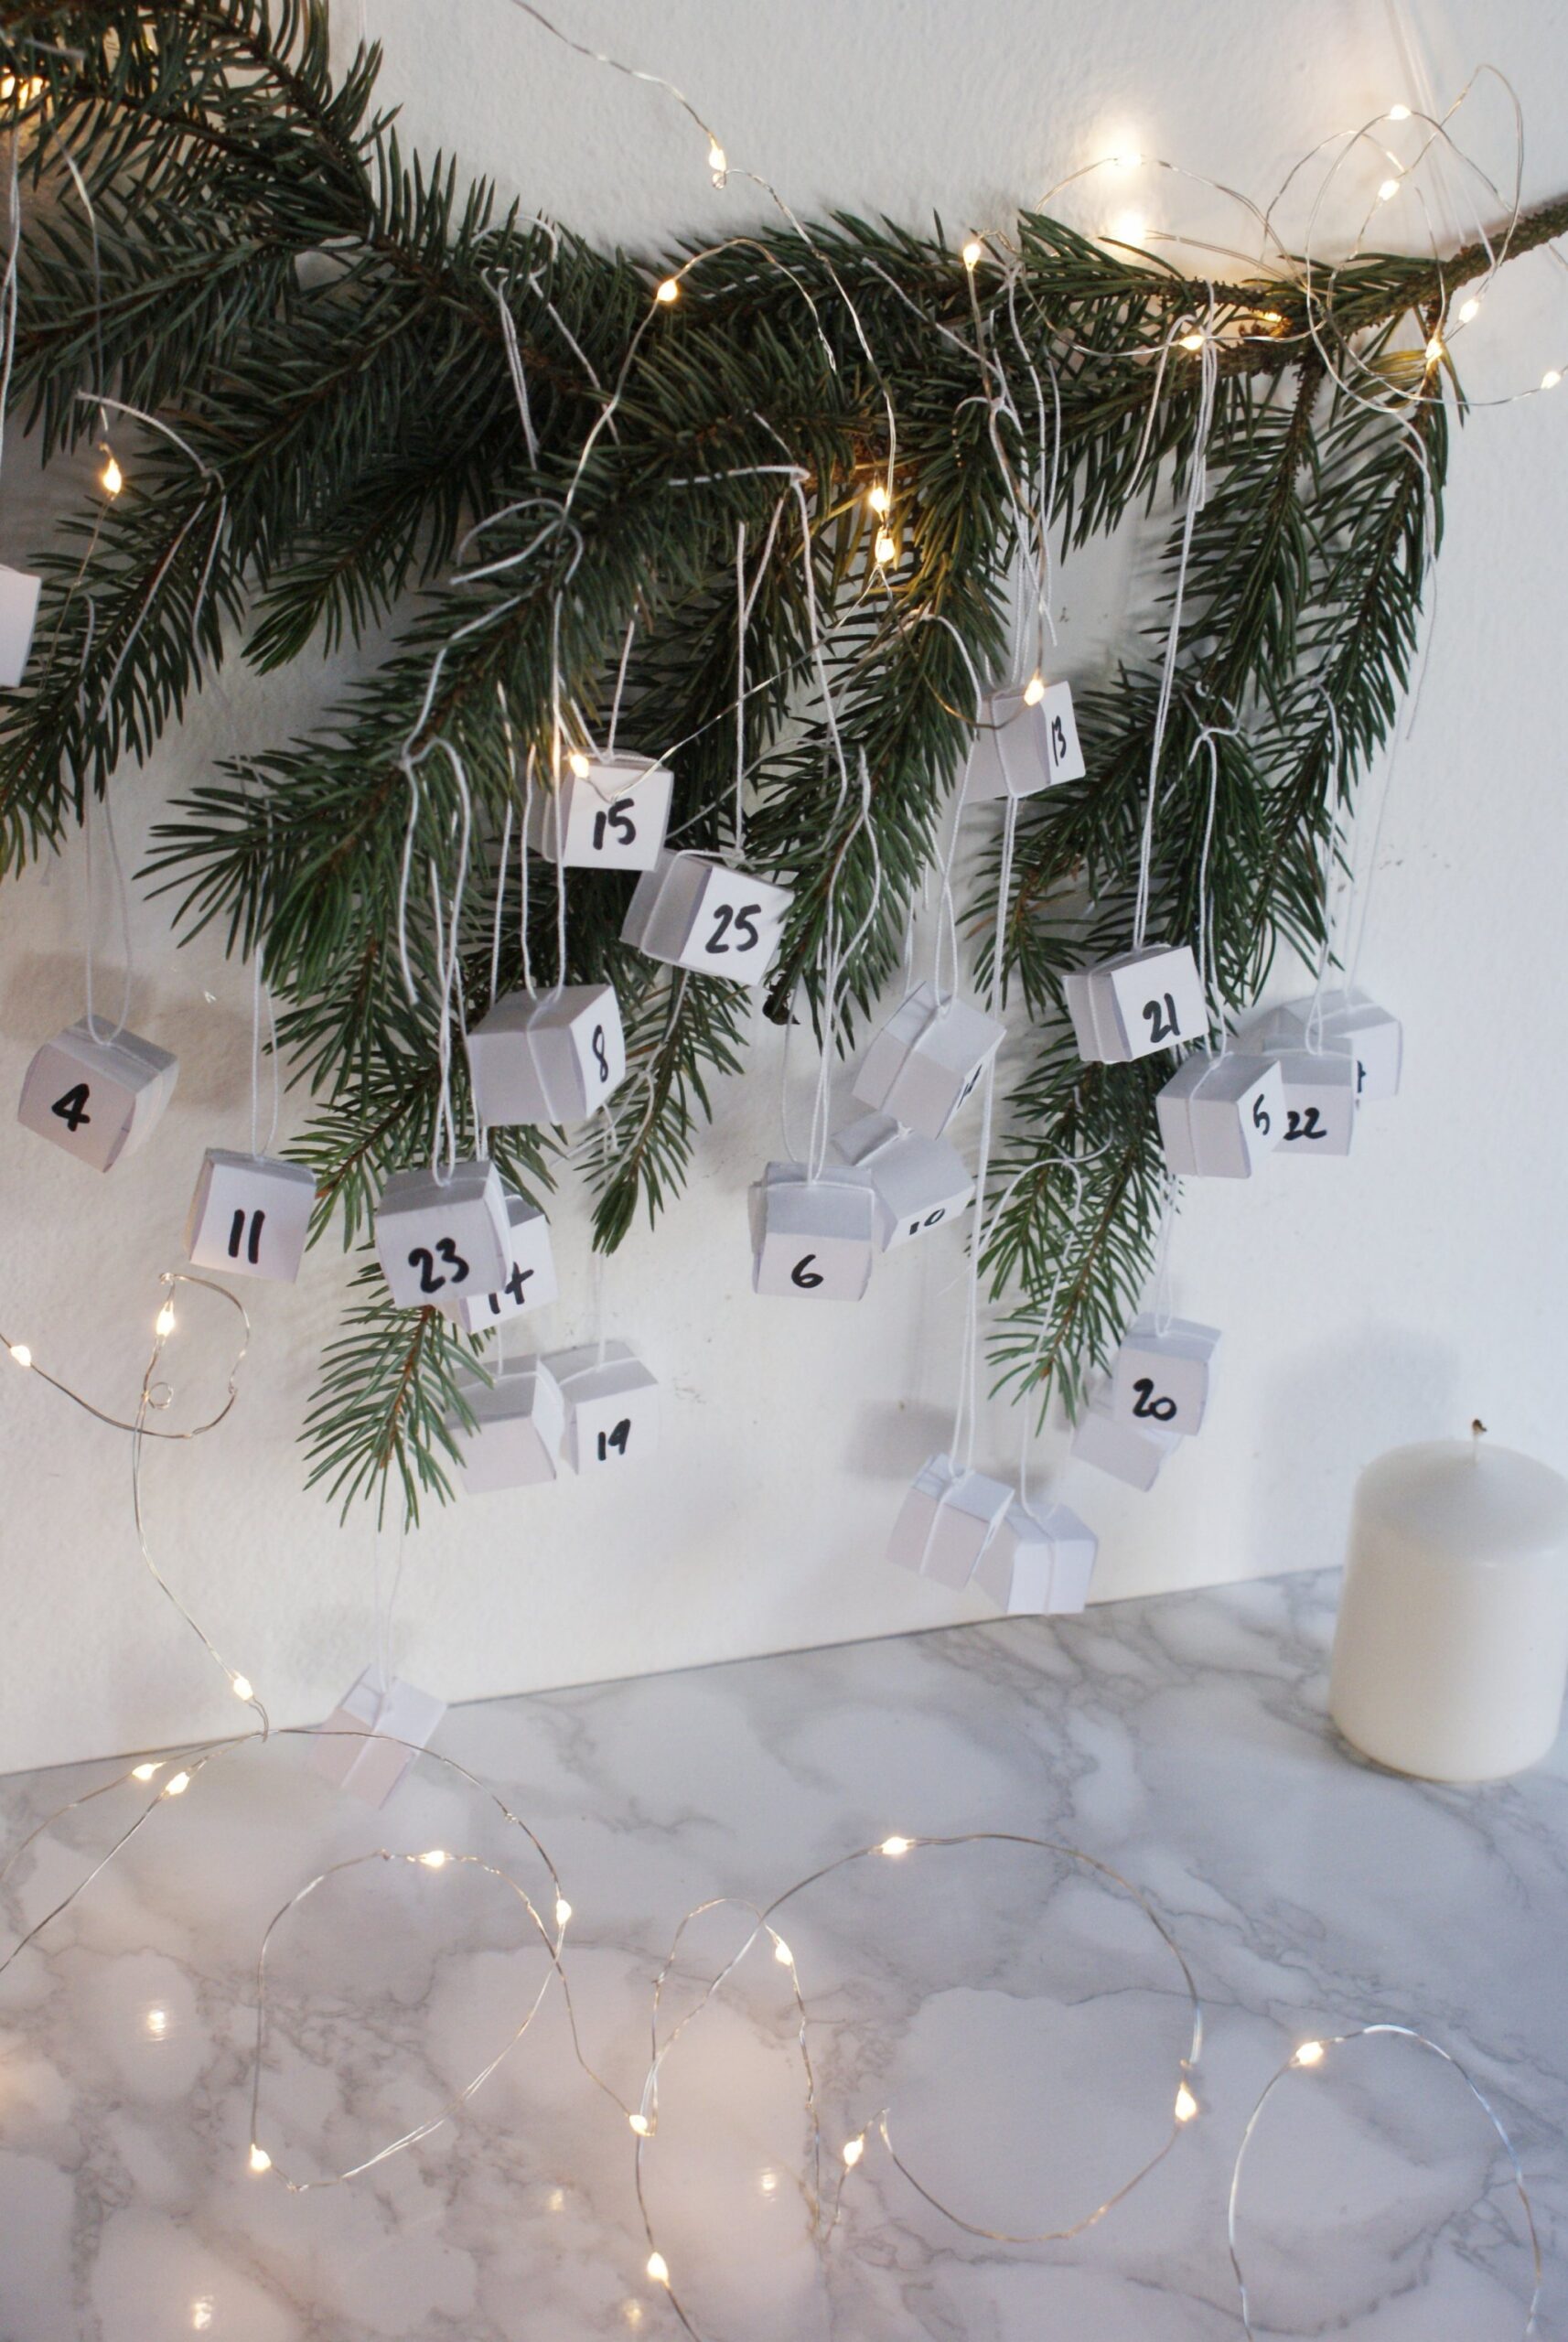
Hang your boxes to the branch, then add two pieces of rope to the extremities of the branch to hang it and you’re done! // Appendete le scatoline al ramo poi aggiungete del cordino alle estremità del ramo per appenderlo e avete finito!
Voilà!
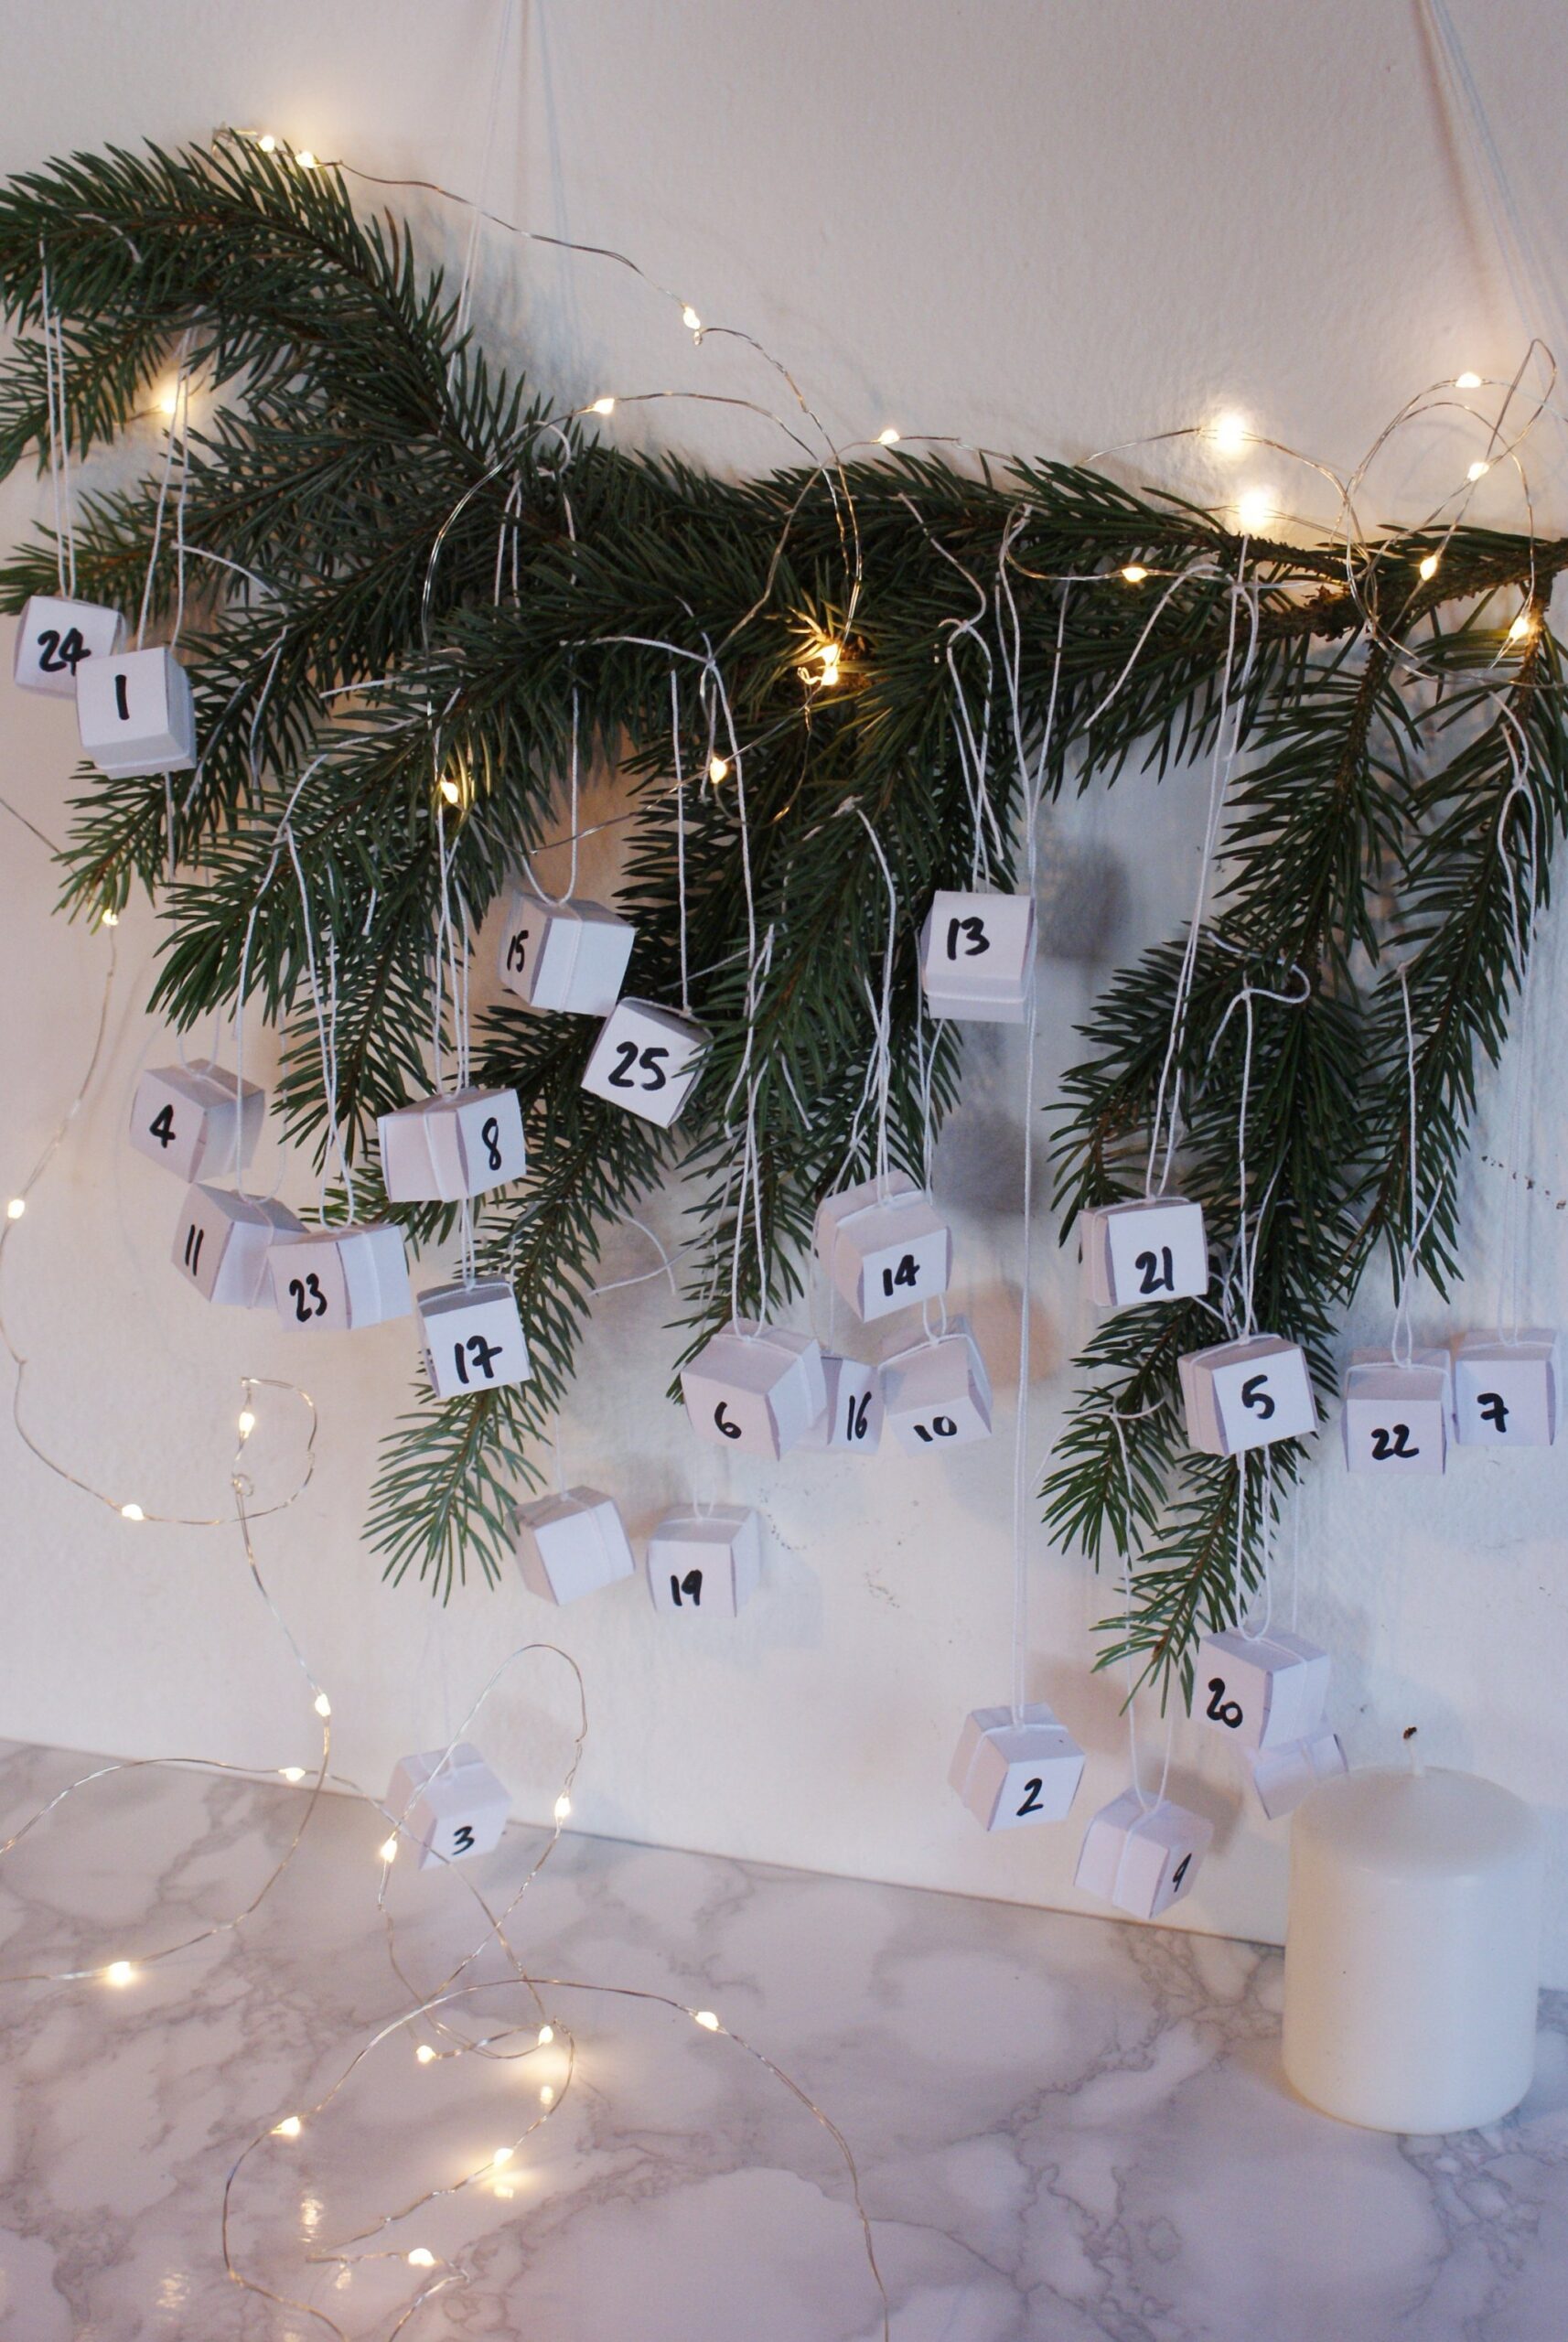
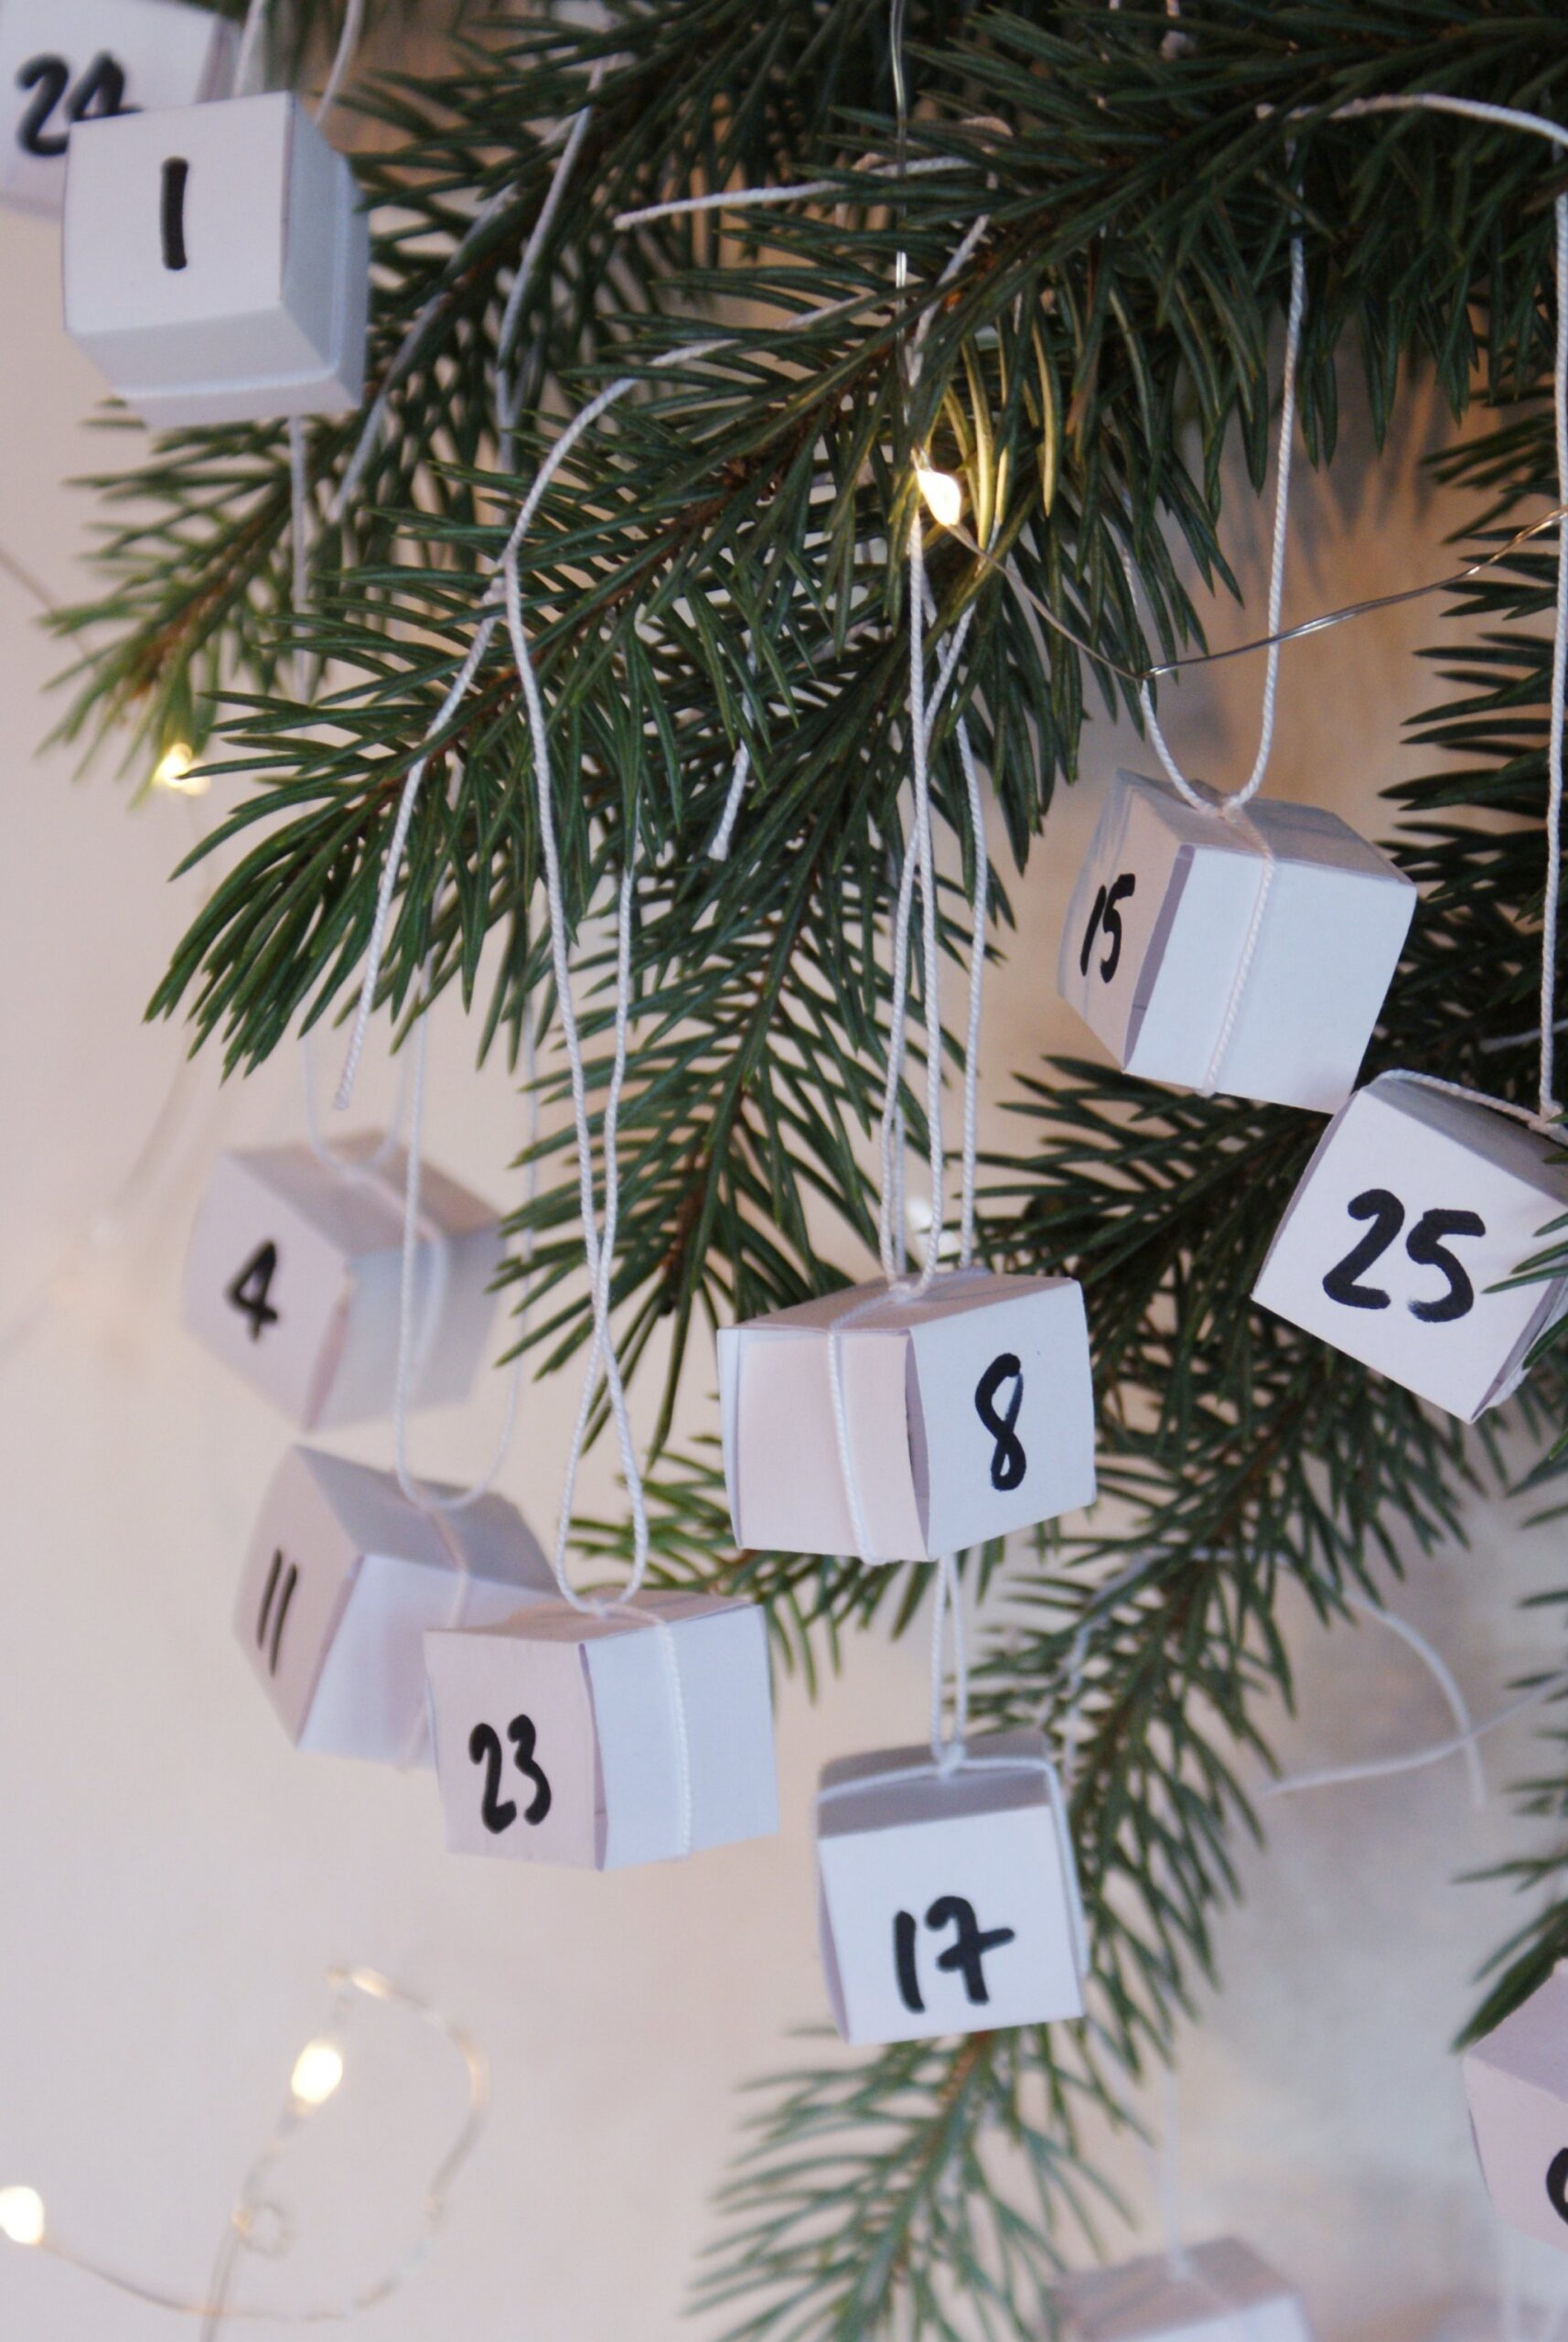
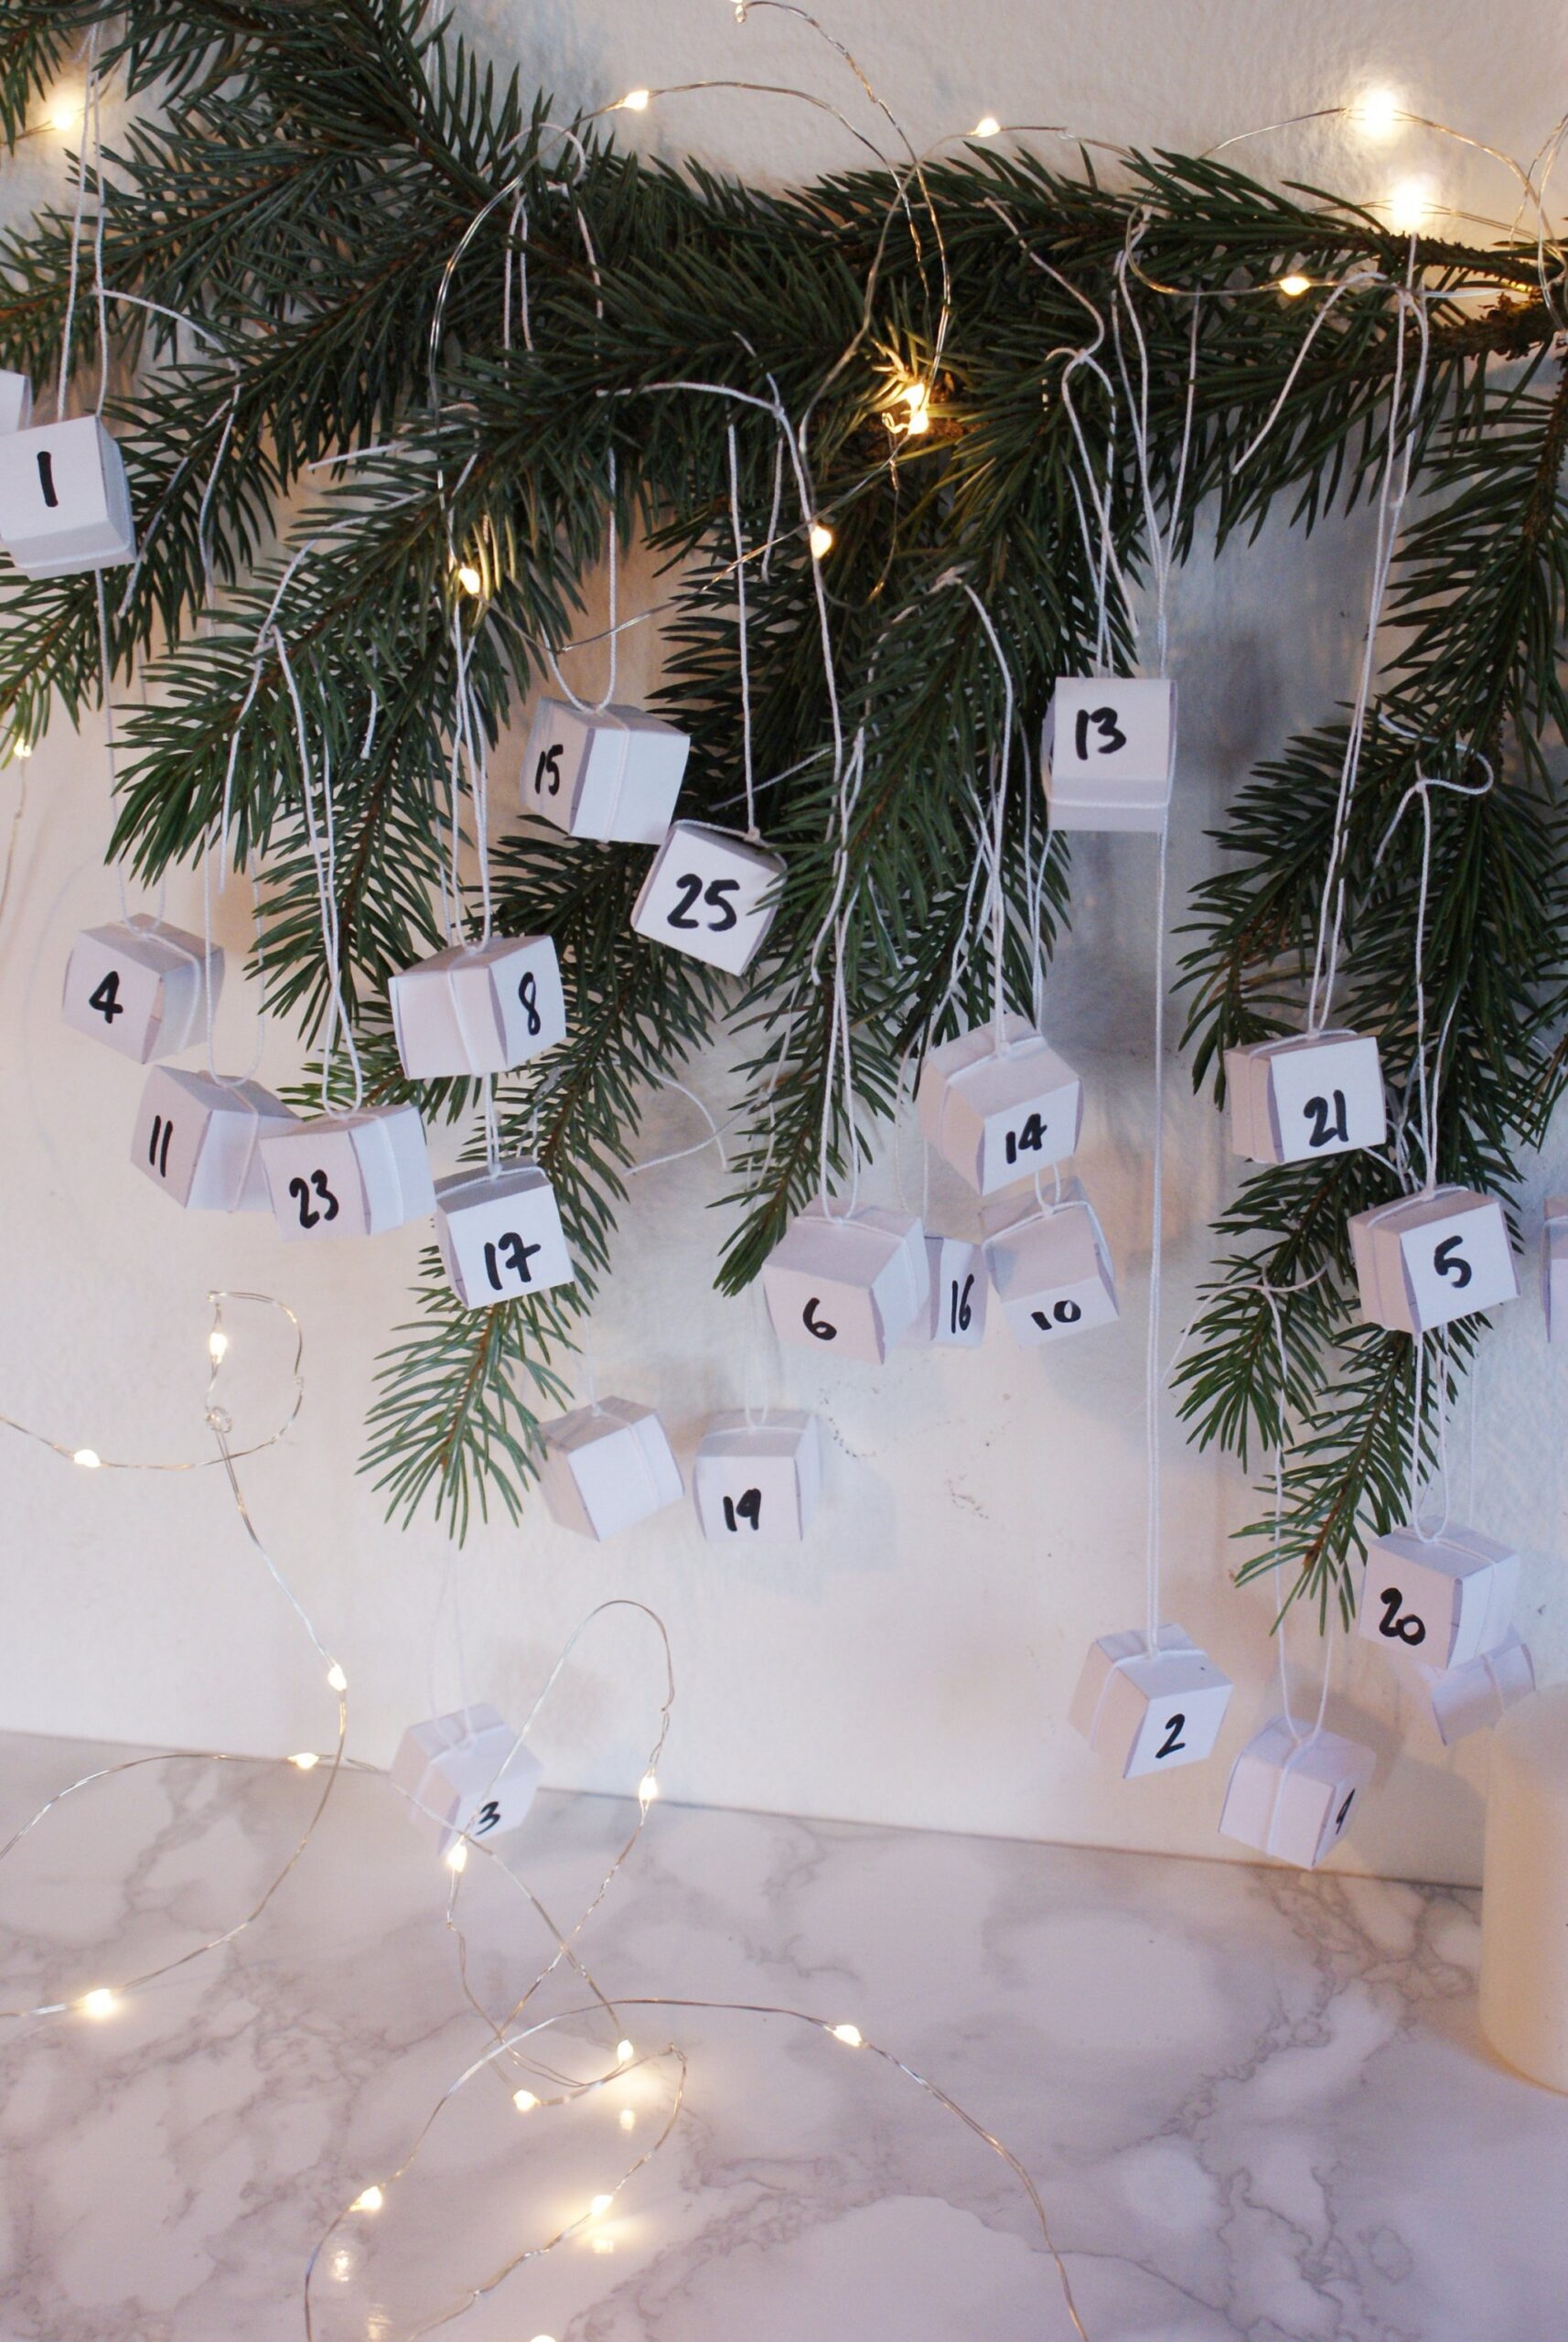
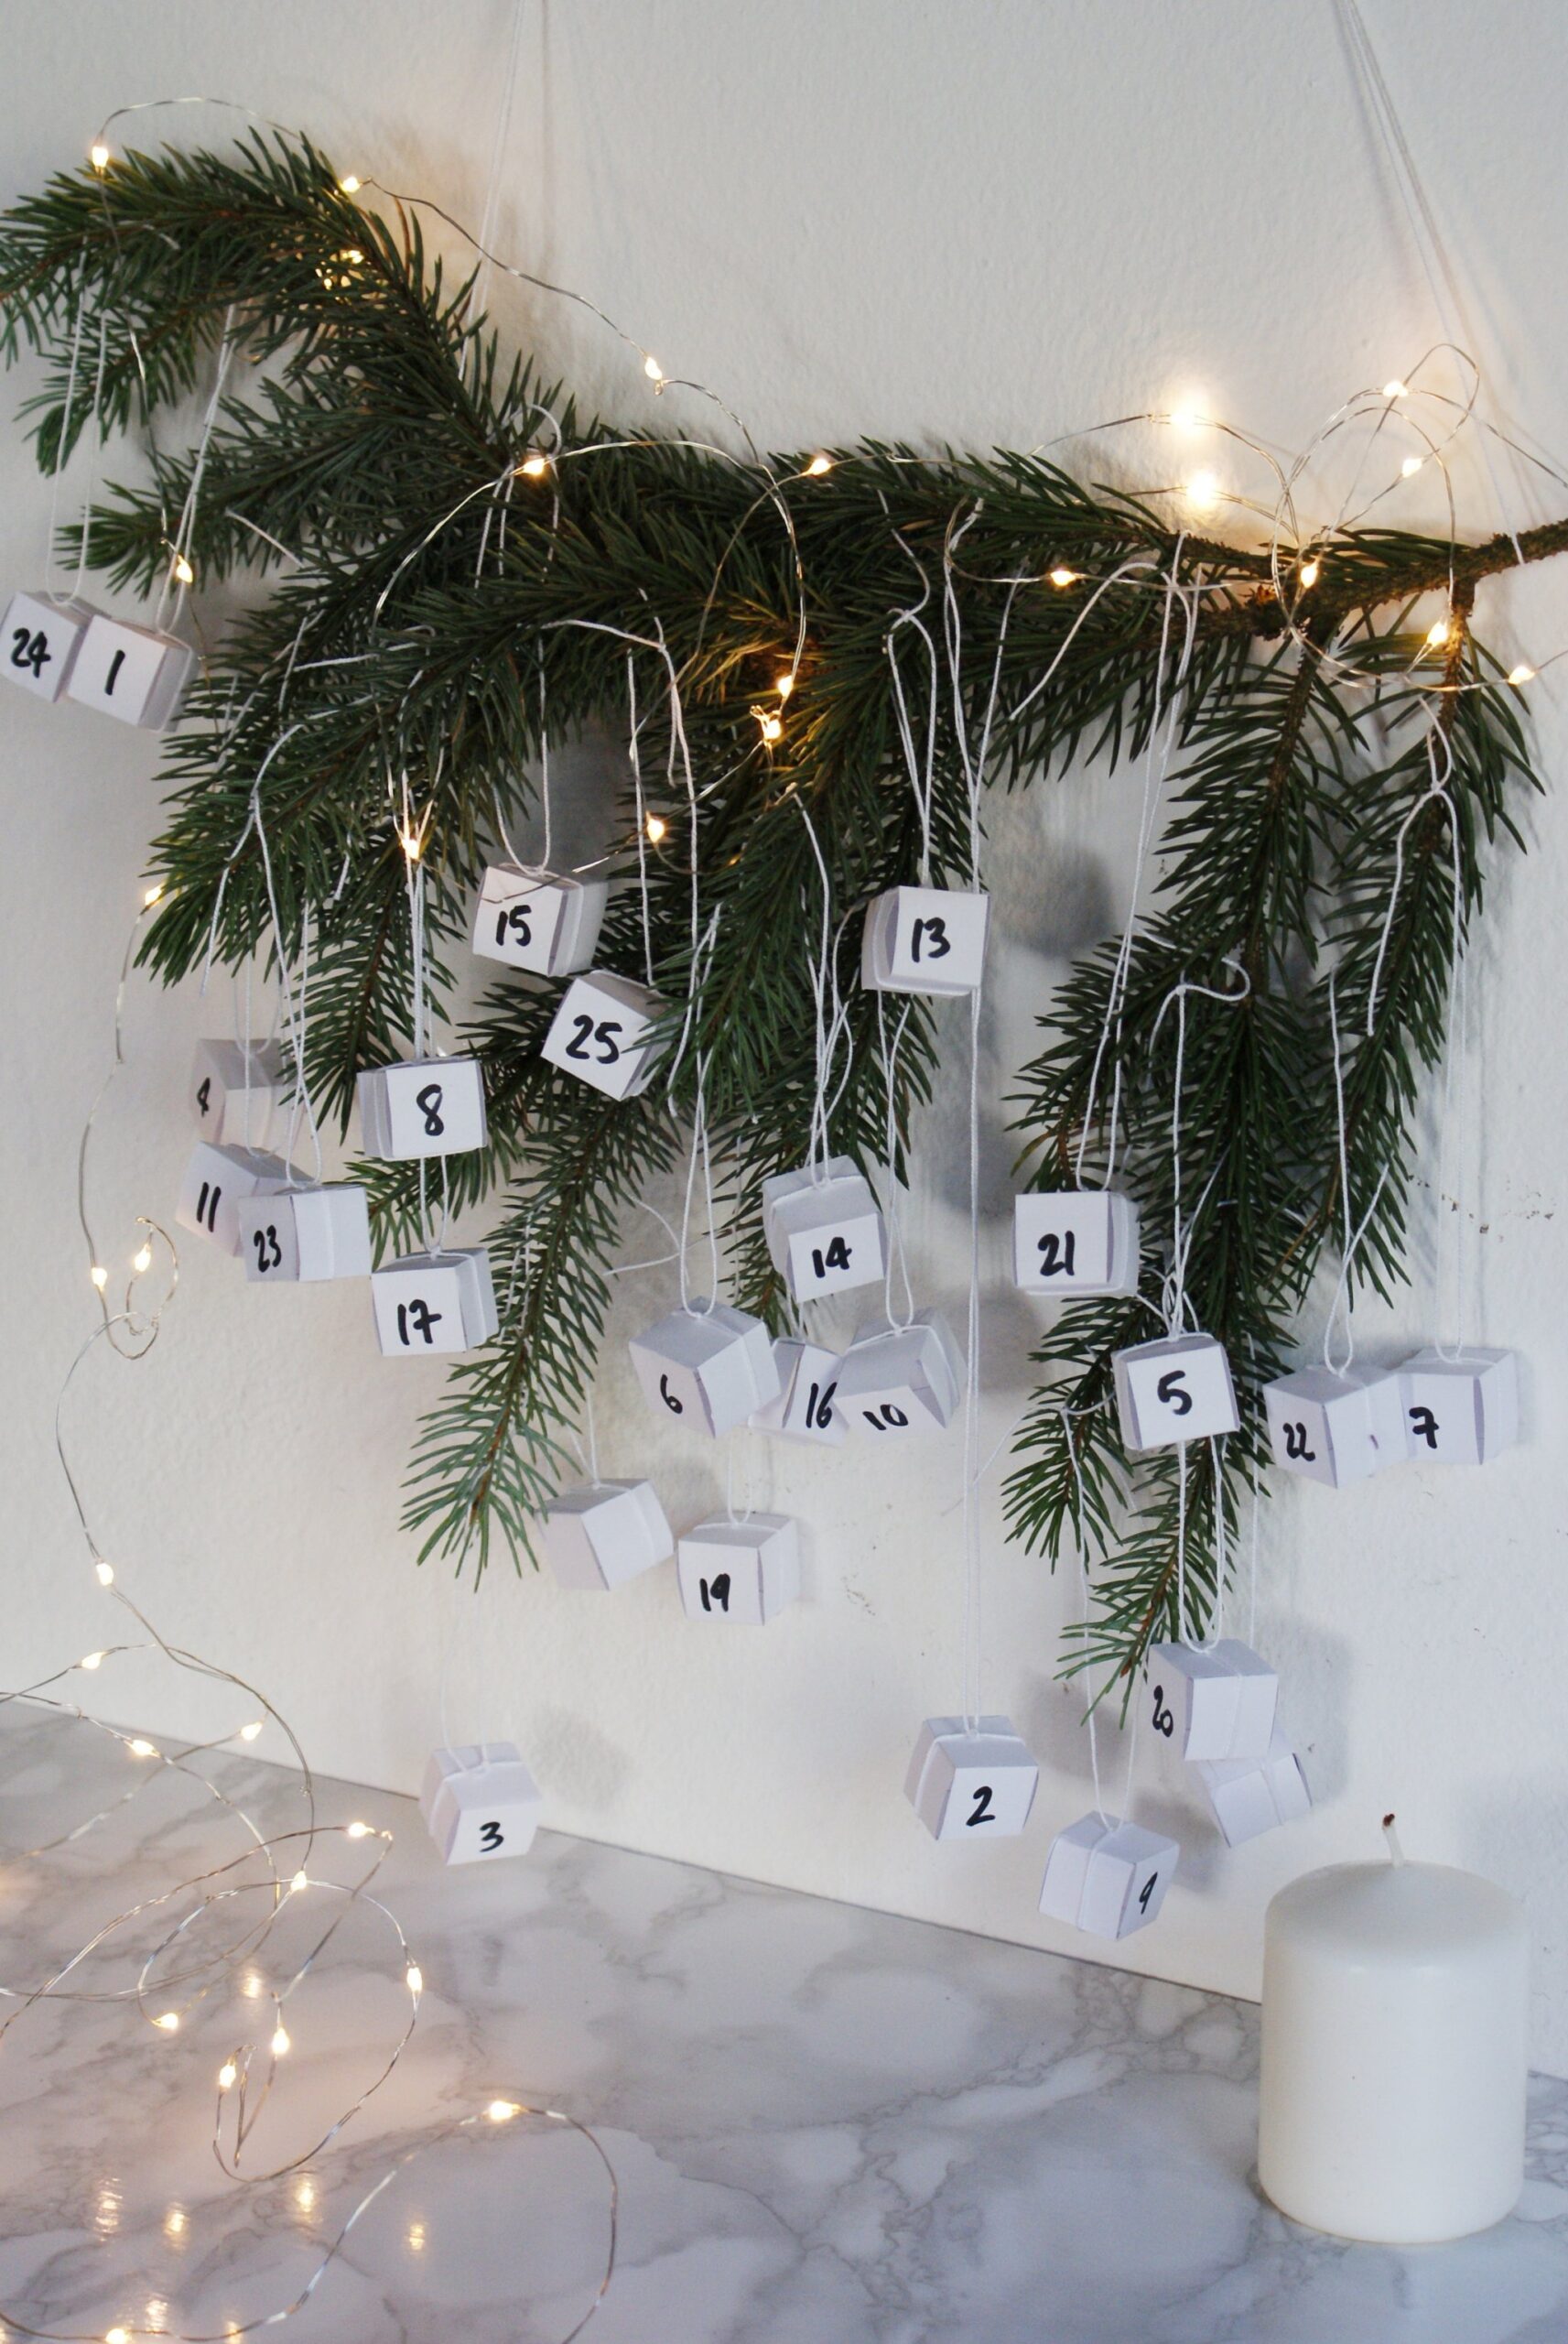
Did you like this post? Pin it on Pinterest! // Piaciuto il post? Condividetelo su Pinterest!
P.S. Just in case you’re looking for affordable evening gowns 🙂

