If you’re looking for a beautiful, easy and statement Christmas decoration, you should definitely try to make this DIY standing miniature winter scenery ornament.
If you like last minute, simple but high impact Christmas crafts, you’ll definitely love this one. Follow the easy tutorial to make this DIY standing ornament with a miniature winter scenery.
When it comes to DIY Christmas projects and crafts, it’s never too much! I like decorating my home for the festive season and every year I try to make new ornamets to add to the collection. Christmas DIYs are definitely my fave! This DIY standing miniature winter scenery ornament is perfect as a centrepiece for your holiday table or simply as a statement decoration to display on your countertop, your coffee table and so on. The nice thing about it is that you can personalize by your taste and fantasy, starting from a wooden base and a wire circle!
Keep on reading to discover how to make it!
***
You need:
- Wire circle
- Fake (ore real) branches
- Cotton snow
- Miniatures / mini ornaments
- Wooden base
- Hot glue gun / adhesive tape
- Cutter
- Wire thread
- Transparent thread
or shop them

How to:
1) Fix the branch with some wire thread and add the little ornaments with transparent thread.


2) Use a pencil to sign the centre of the base then use something pointed to make a little groove where you’ll place the bottom of circle (so that it can stand). Fix it with some adhesive tape and glue and wait for it to dry.

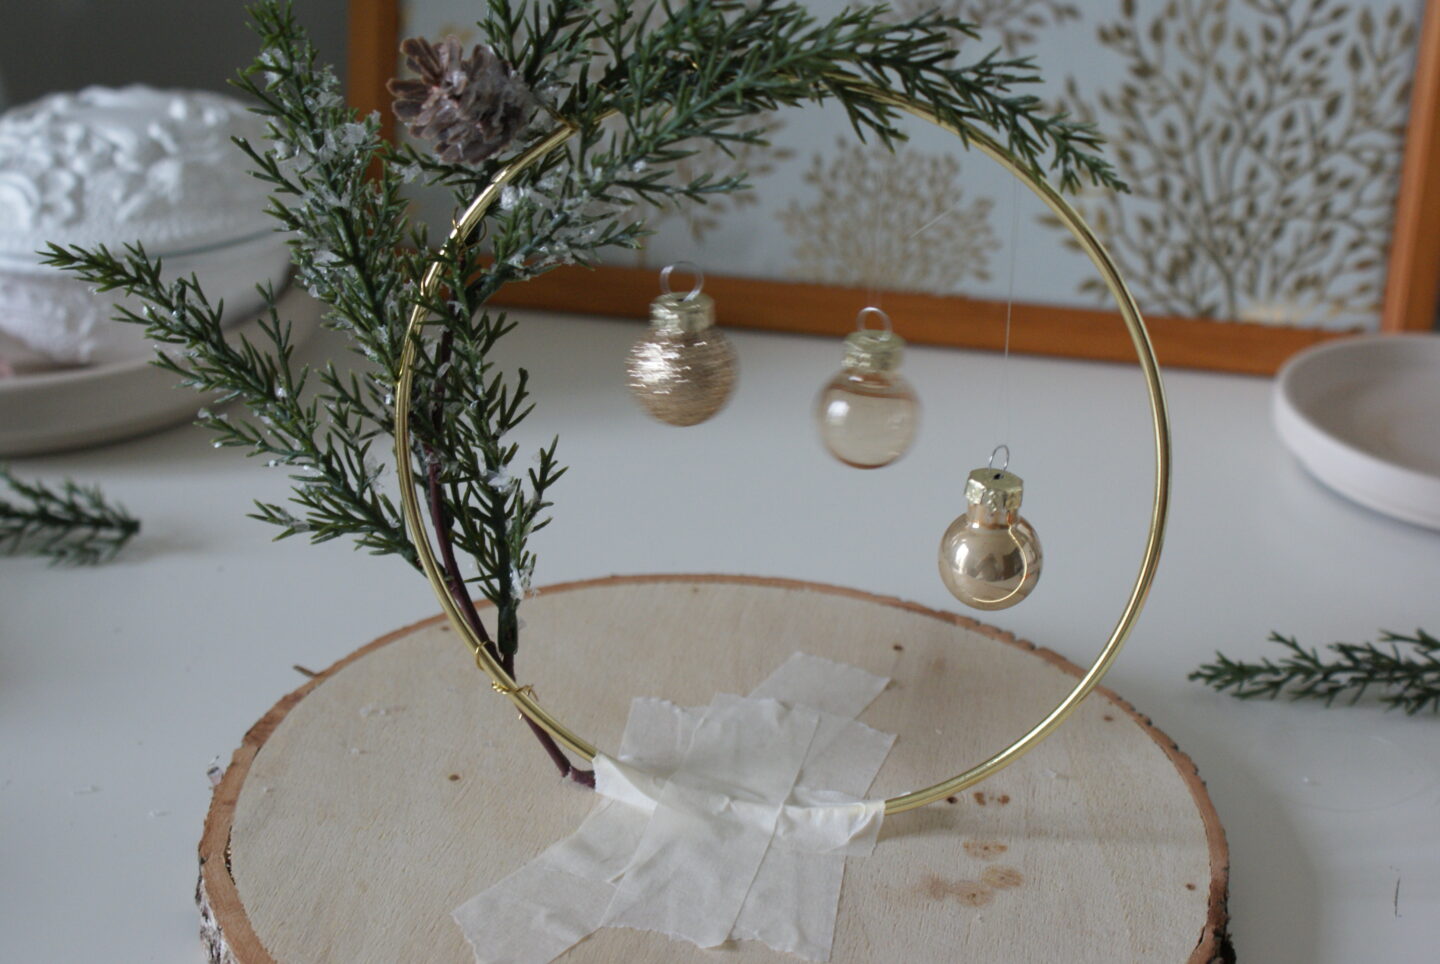
3) Add some fake snow to the base to cover the groove.

4) Add all the miniatures you have! The more fairy, the better!

Voilà! Your DIY standing miniature Christmas scenery ornament is ready!




Did you like the post? Pin it on Pinterest!

This post contains Amazon affiliate links.
