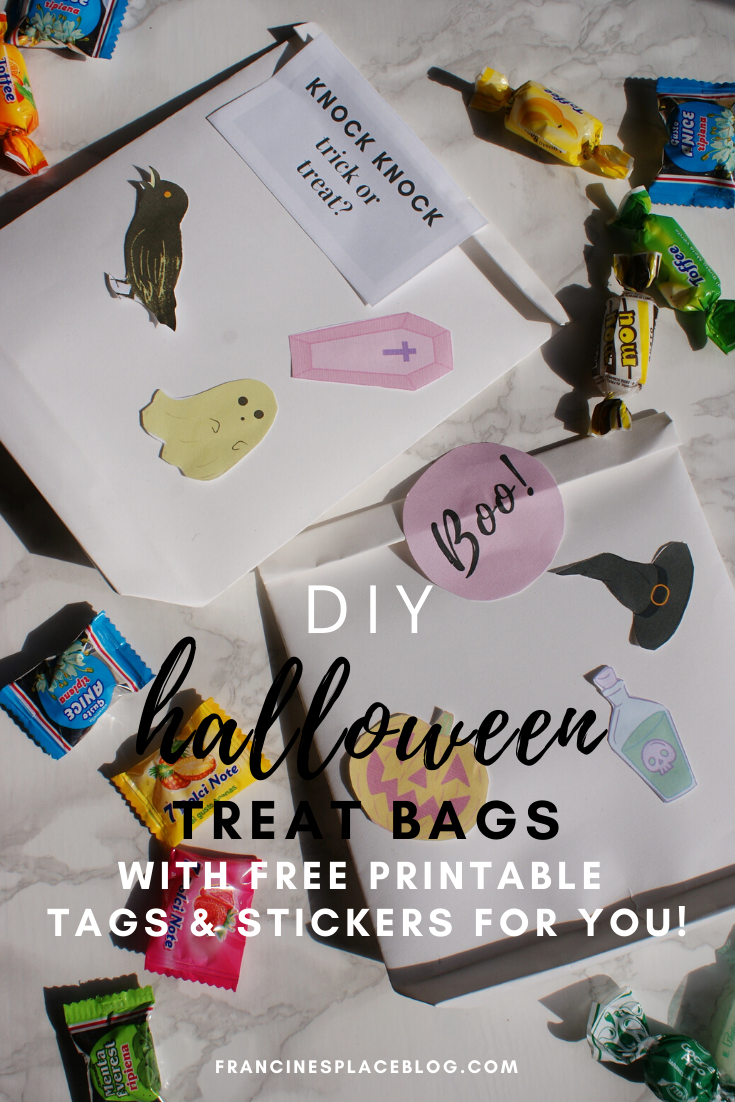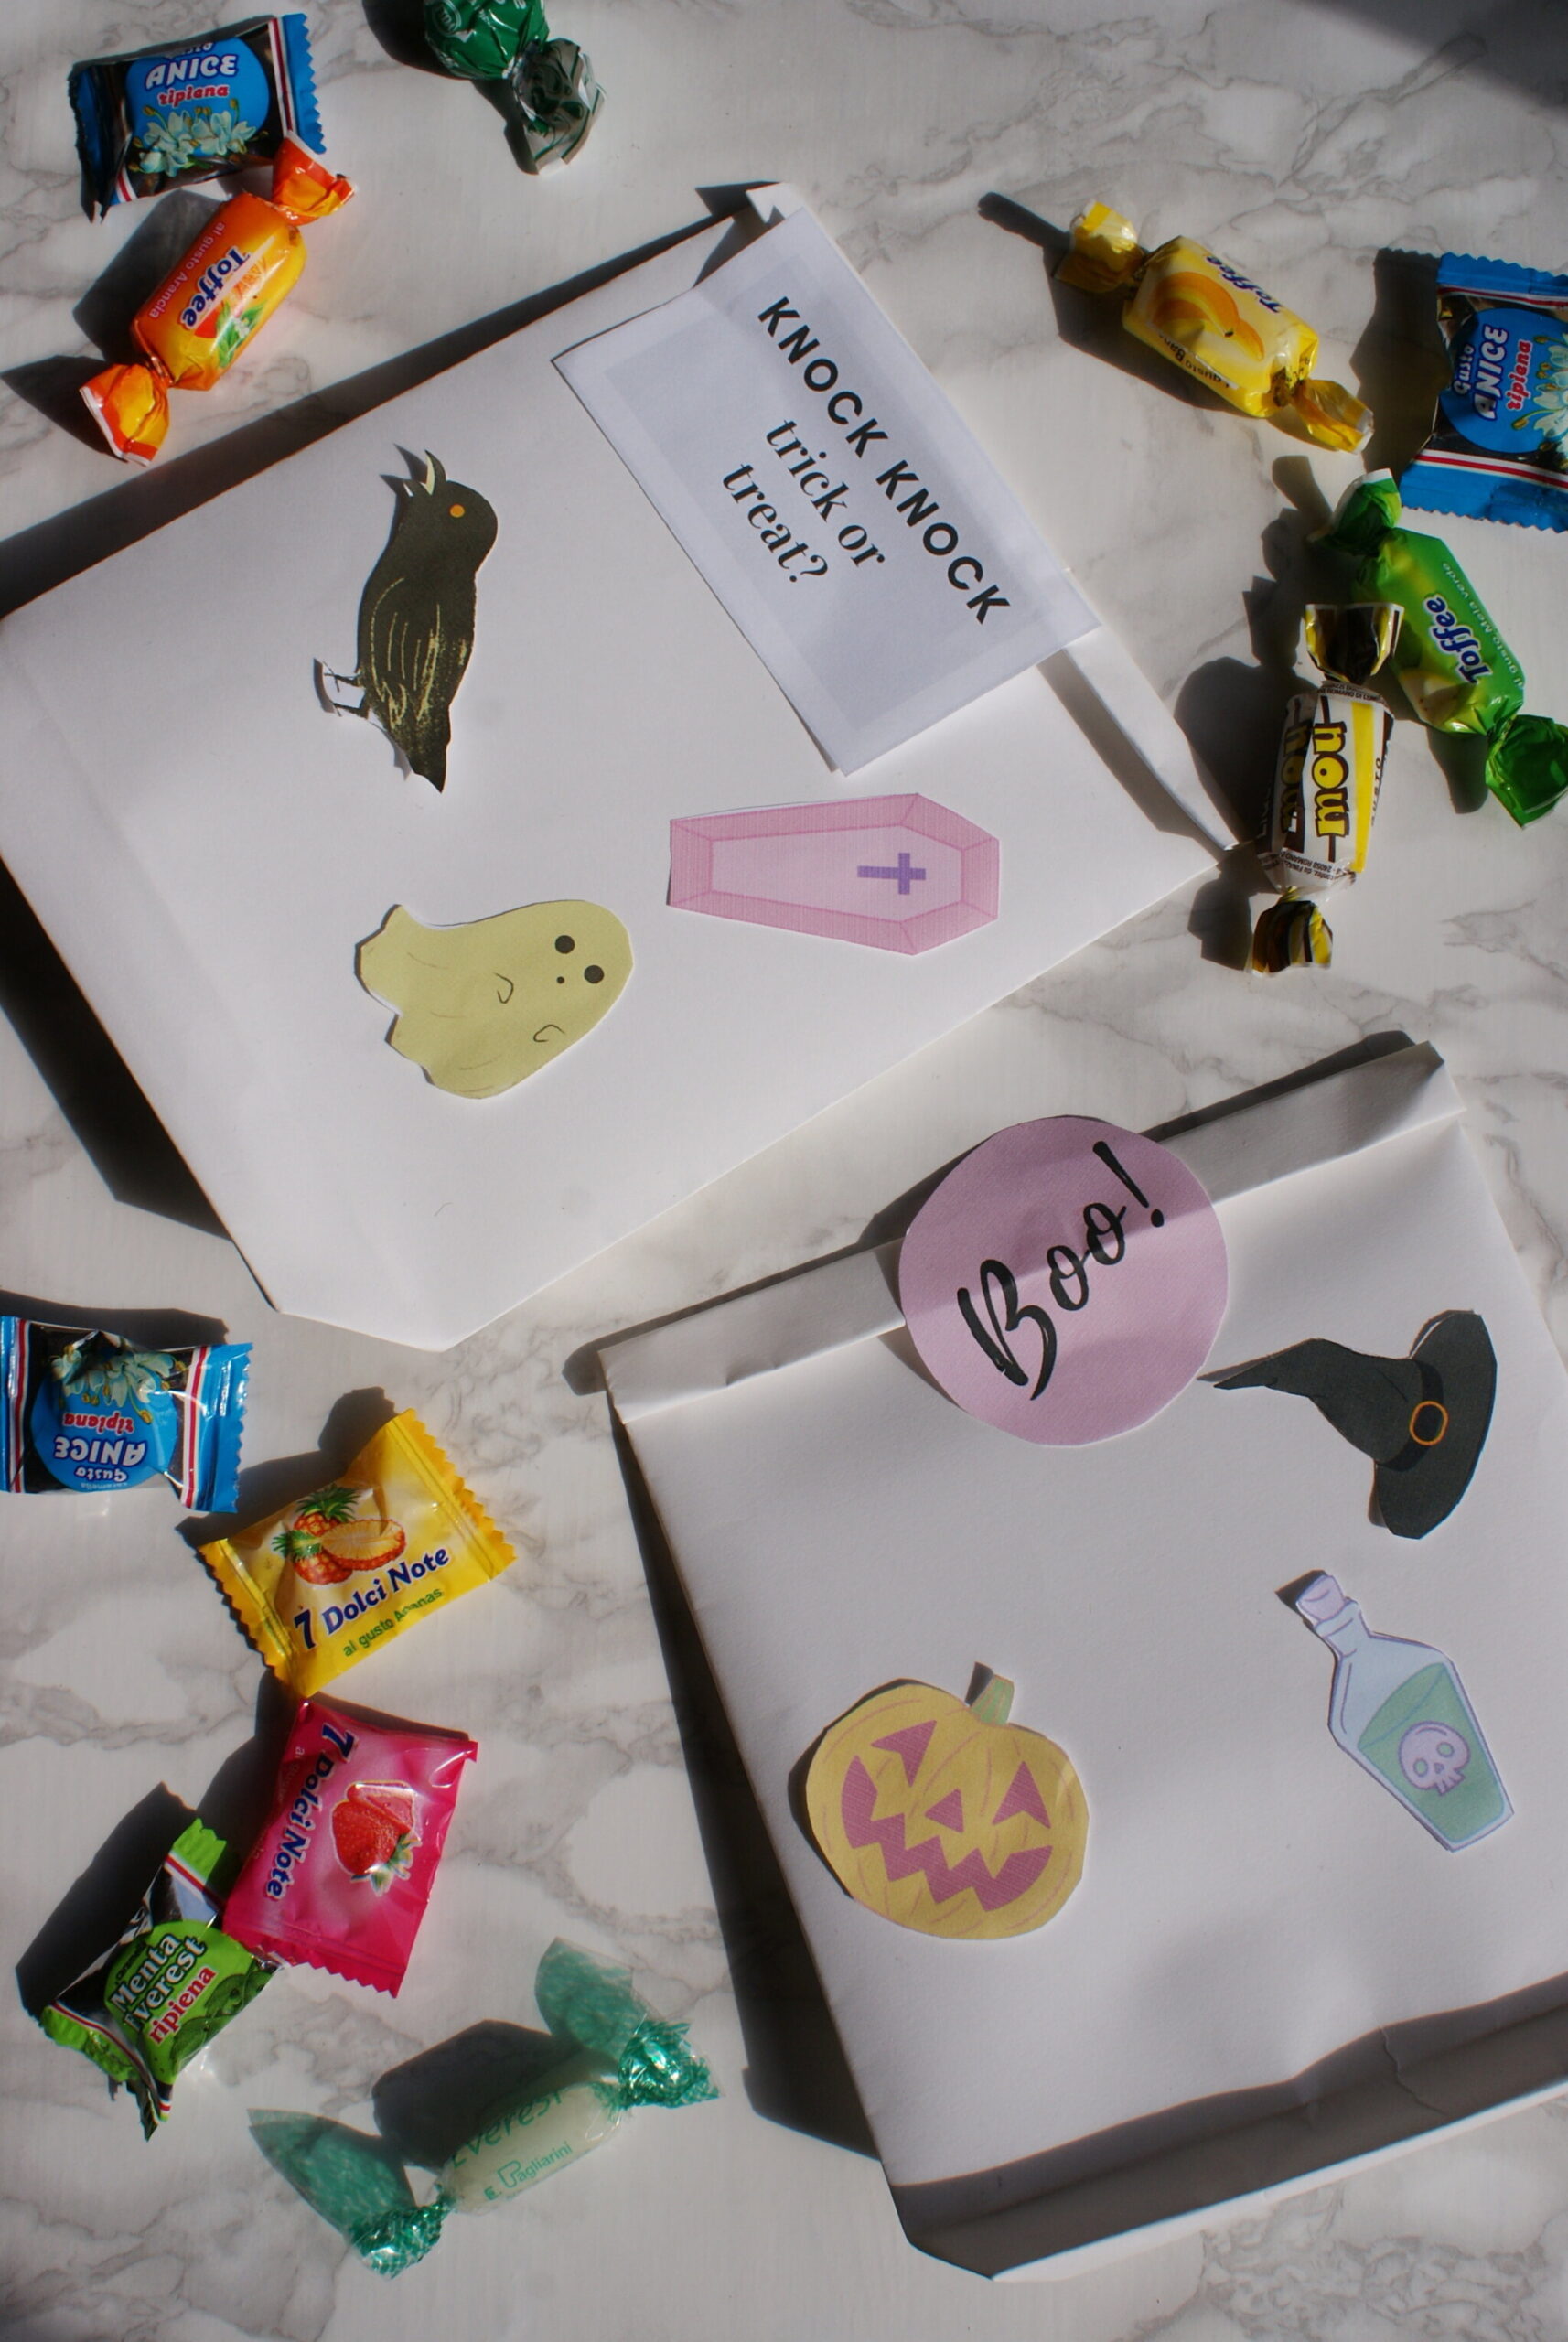
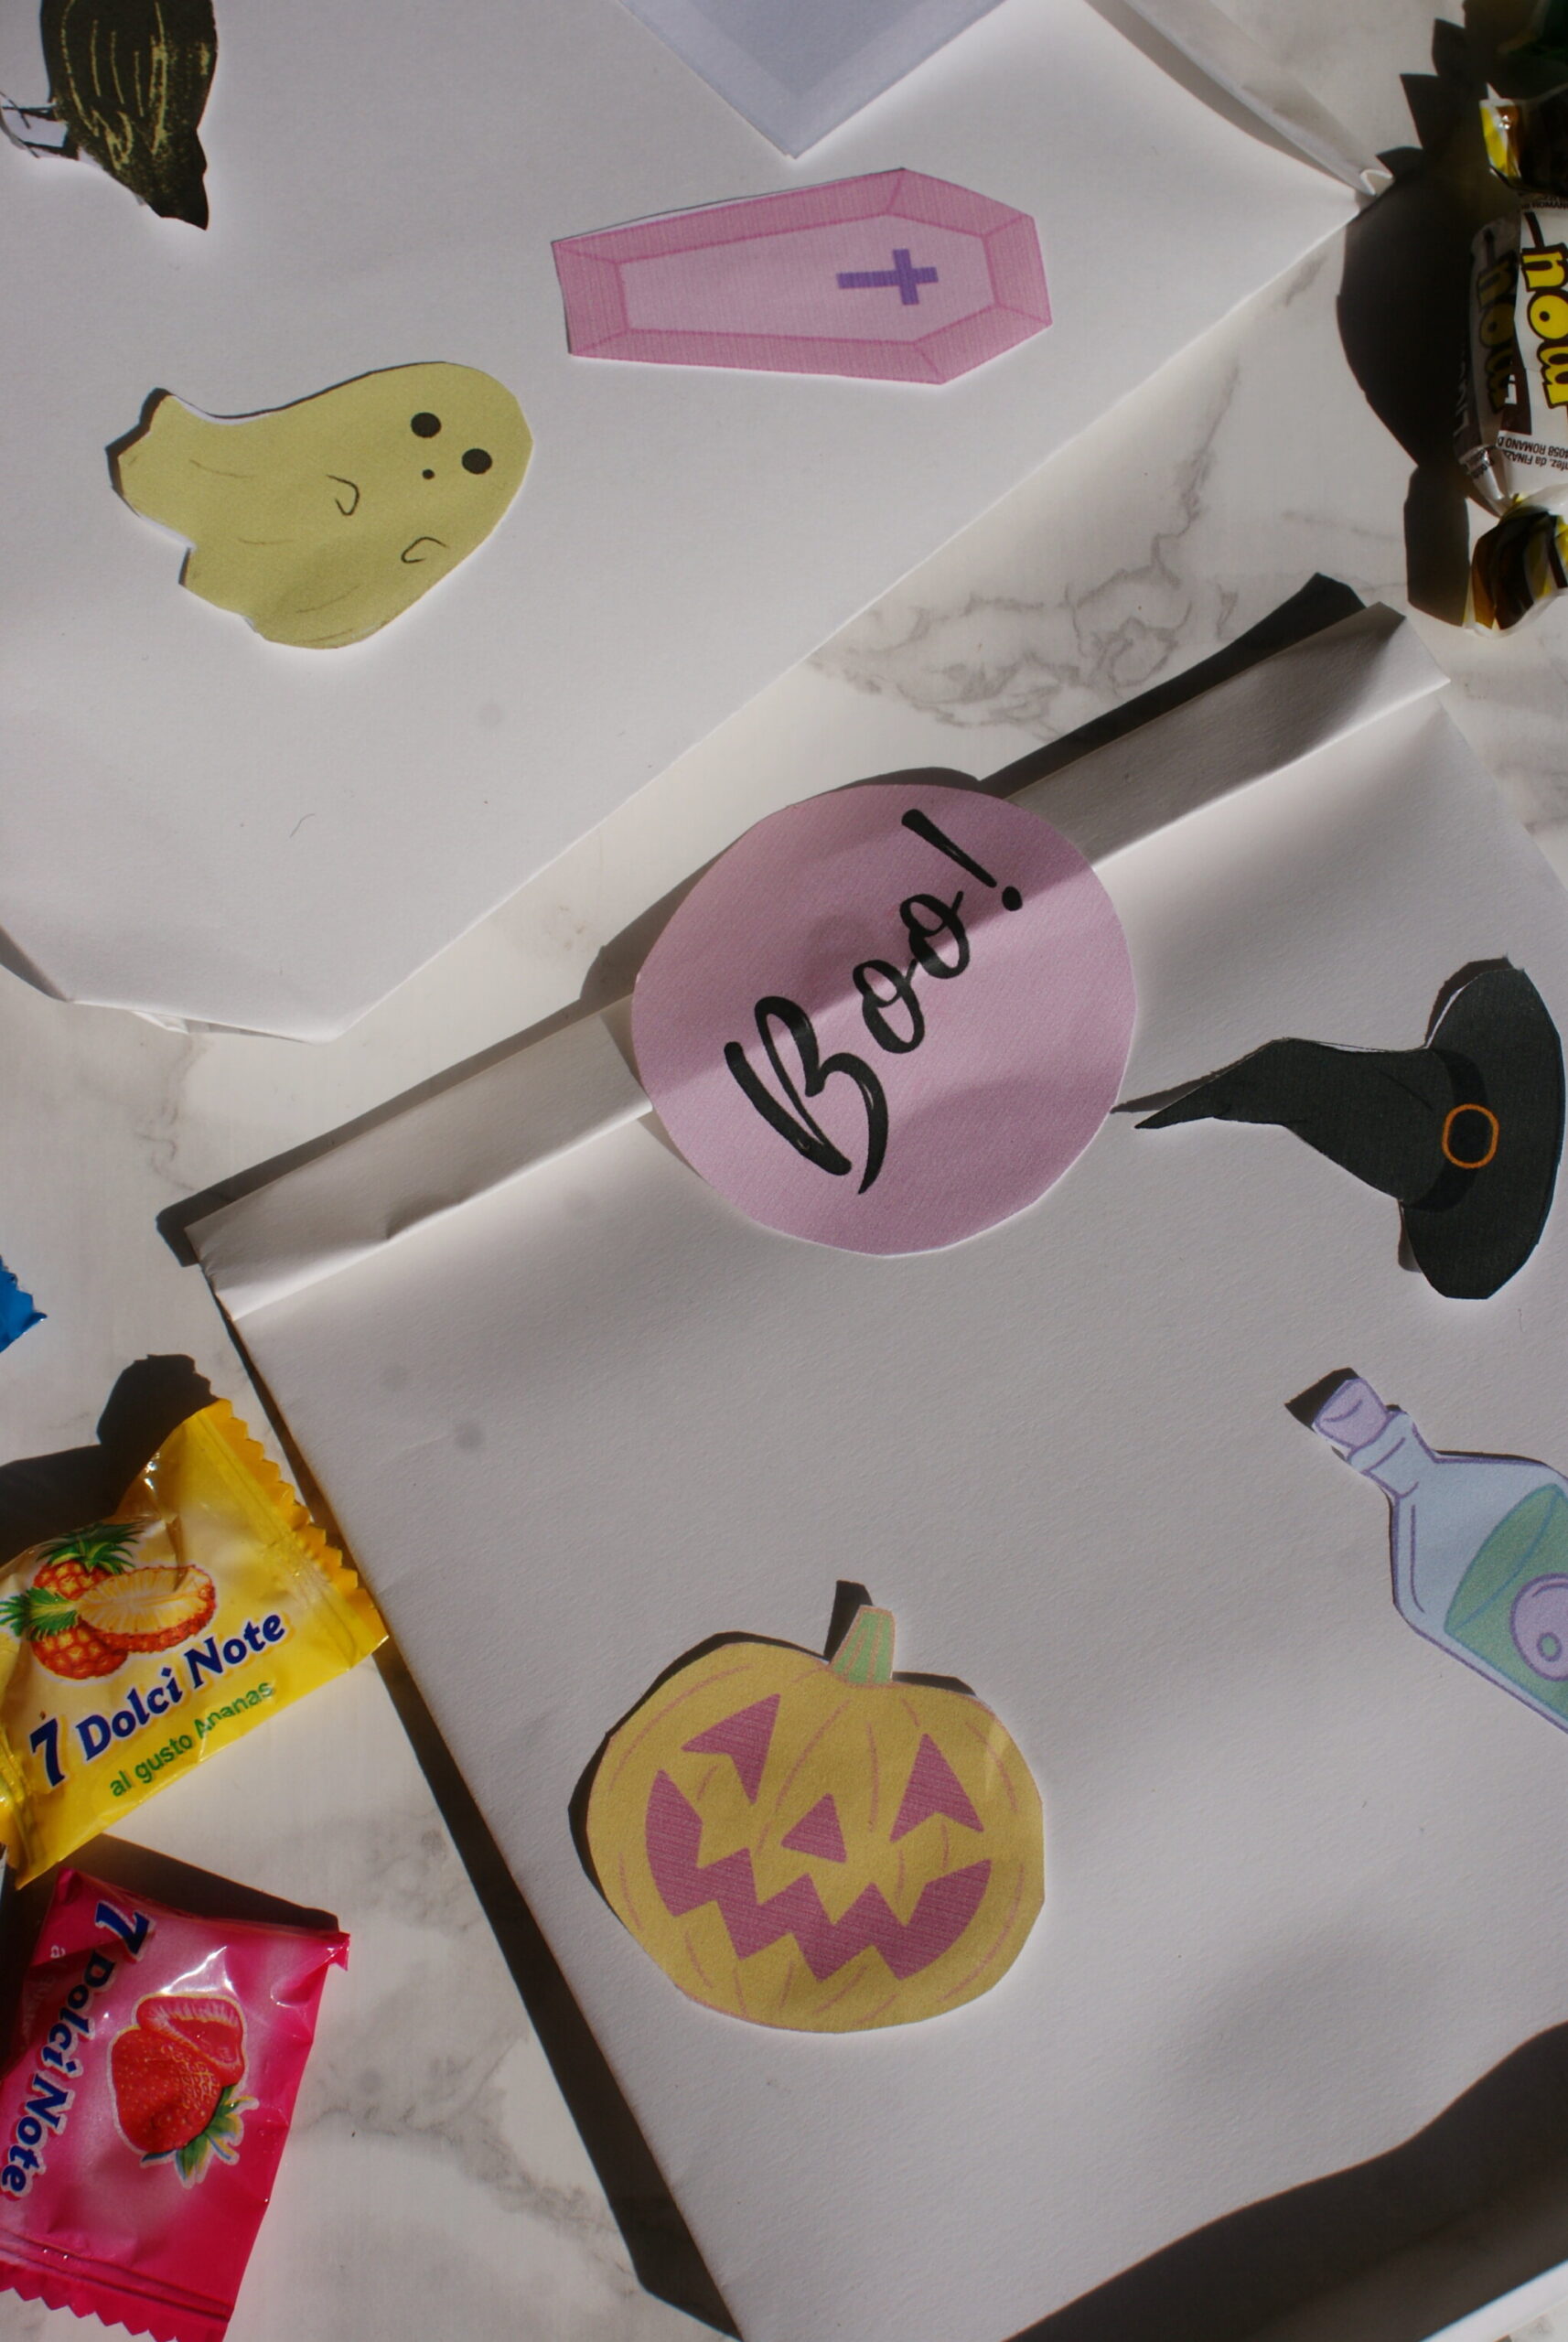
Looking for a last minute yet awesome Halloween idea? Discover how to make these DIY paper treat bags and decorate them with the free printable tags and stickers I’ve made for you!
Halloween is just around the corner guys! I know that you are busy and that probably finding a DIY Halloween craft idea is the last thing you can think about, so I opted for a last minute one that you can make also with your kids in a few minutes. The busy gal will thank!
//
Siete alla ricerca di idee carine ma last minute per Halloween? Scoprite come realizzare questi sacchettini di carta fai da te e decorateli con gli sticker che ho fatto per voi!
Halloween è dietro l’angolo! So che siete occupate e che magari lo festeggiate poco, quindi trovare un’idea fai da te è l’ultimo dei vostri pensieri. Ecco perché vi mostro questo progetto fai da te che potete realizzare anche con i bambini e che vi ruberà solo qualche minuto! Ragazze impegnate, questo è per voi!
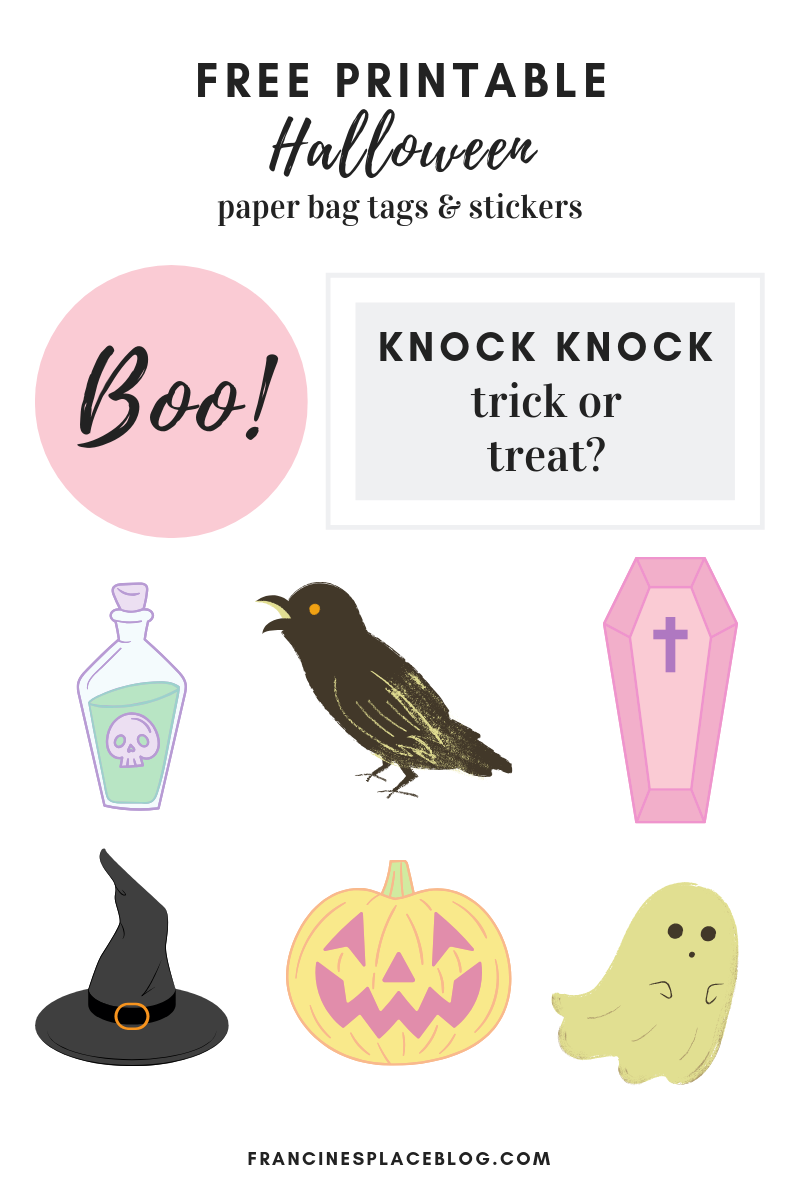
The last years I shared two Halloween decor ideas: luxury painted pumpkins and creepy last minute decorations. So, this time I’ve opted for something different. Paper treat bags are perfect if you have kids who love to celebrate Halloween or as a little gift for your guests if you’re hosting a party on that night. Follow the tutorial and discover how easy they are to make and the plus? The free printable tags and stickers I’ve made for you that you can print and use to decorate the bags or anything you want!
//
Gli anni passati ho condiviso due idee decor di Halloween: zucche dipinte luxury e delle decorazioni creepy last minute. Ecco, quest’anno ho optato per qualcosa di diverso. Questi sacchettini in carta sono perfetti sia se avete dei bambini che amano festeggiare Halloween, sia come regalo per i vostri ospiti se darete una festa quella sera. Seguite il tutorial e scoprite quanto è facile realizzarli! Stampate poi le etichette e gli adesivi che ho fatto per voi e decorate i sacchettini o qualunque cosa vogliate!
***
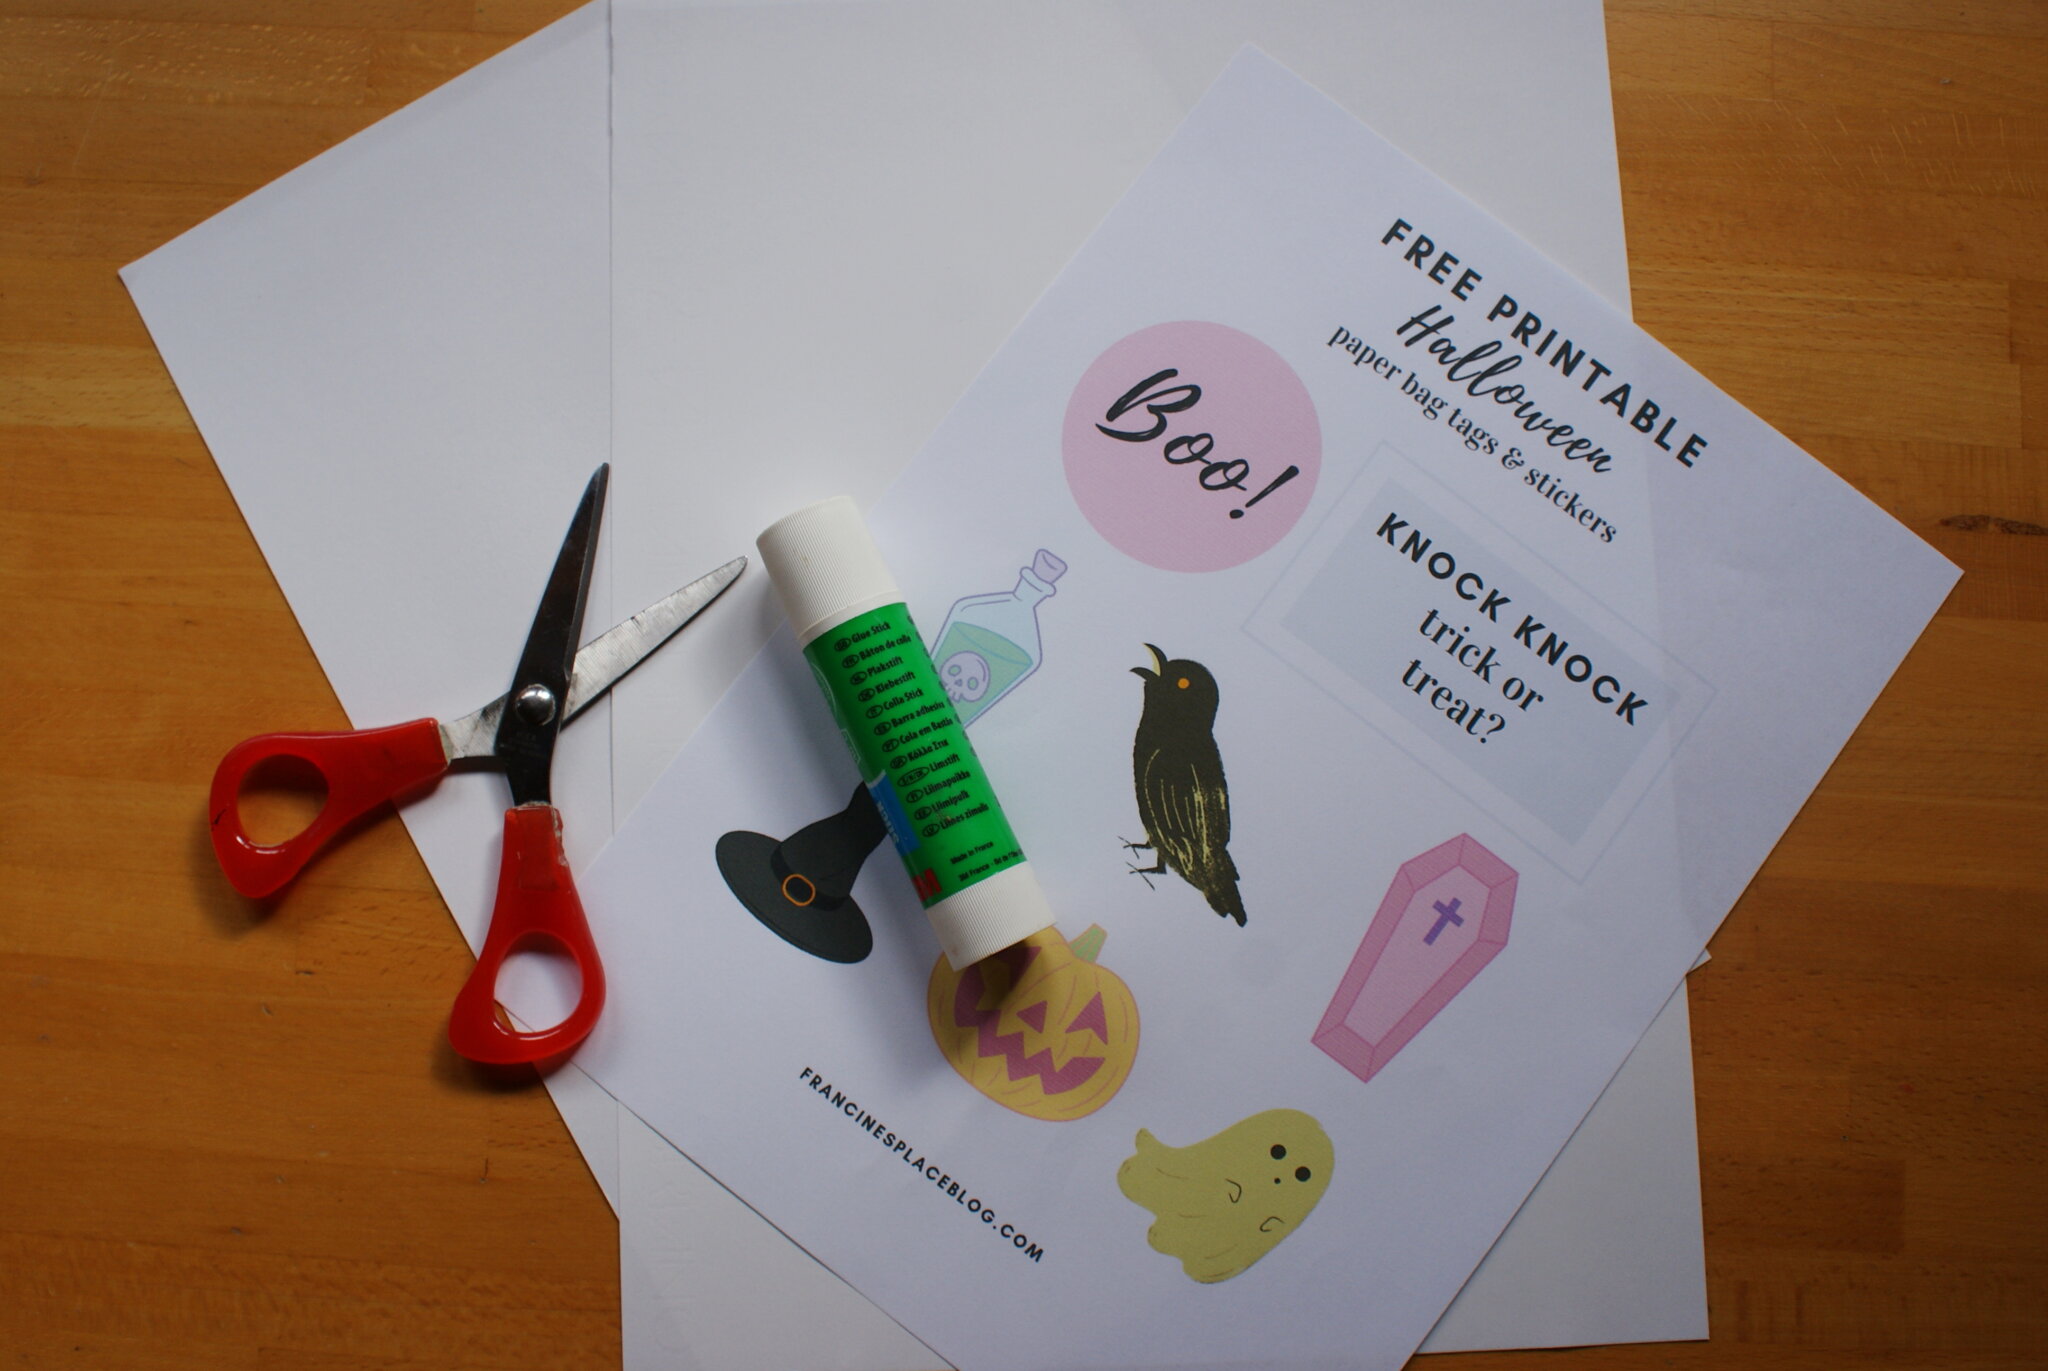
You need // Vi occorre:
- paper // carta
- scissors // forbici
- glue // colla
- click to download // cliccate per scaricare gratis: free printable halloween tags and stickers
How to // Come procedere:
1)
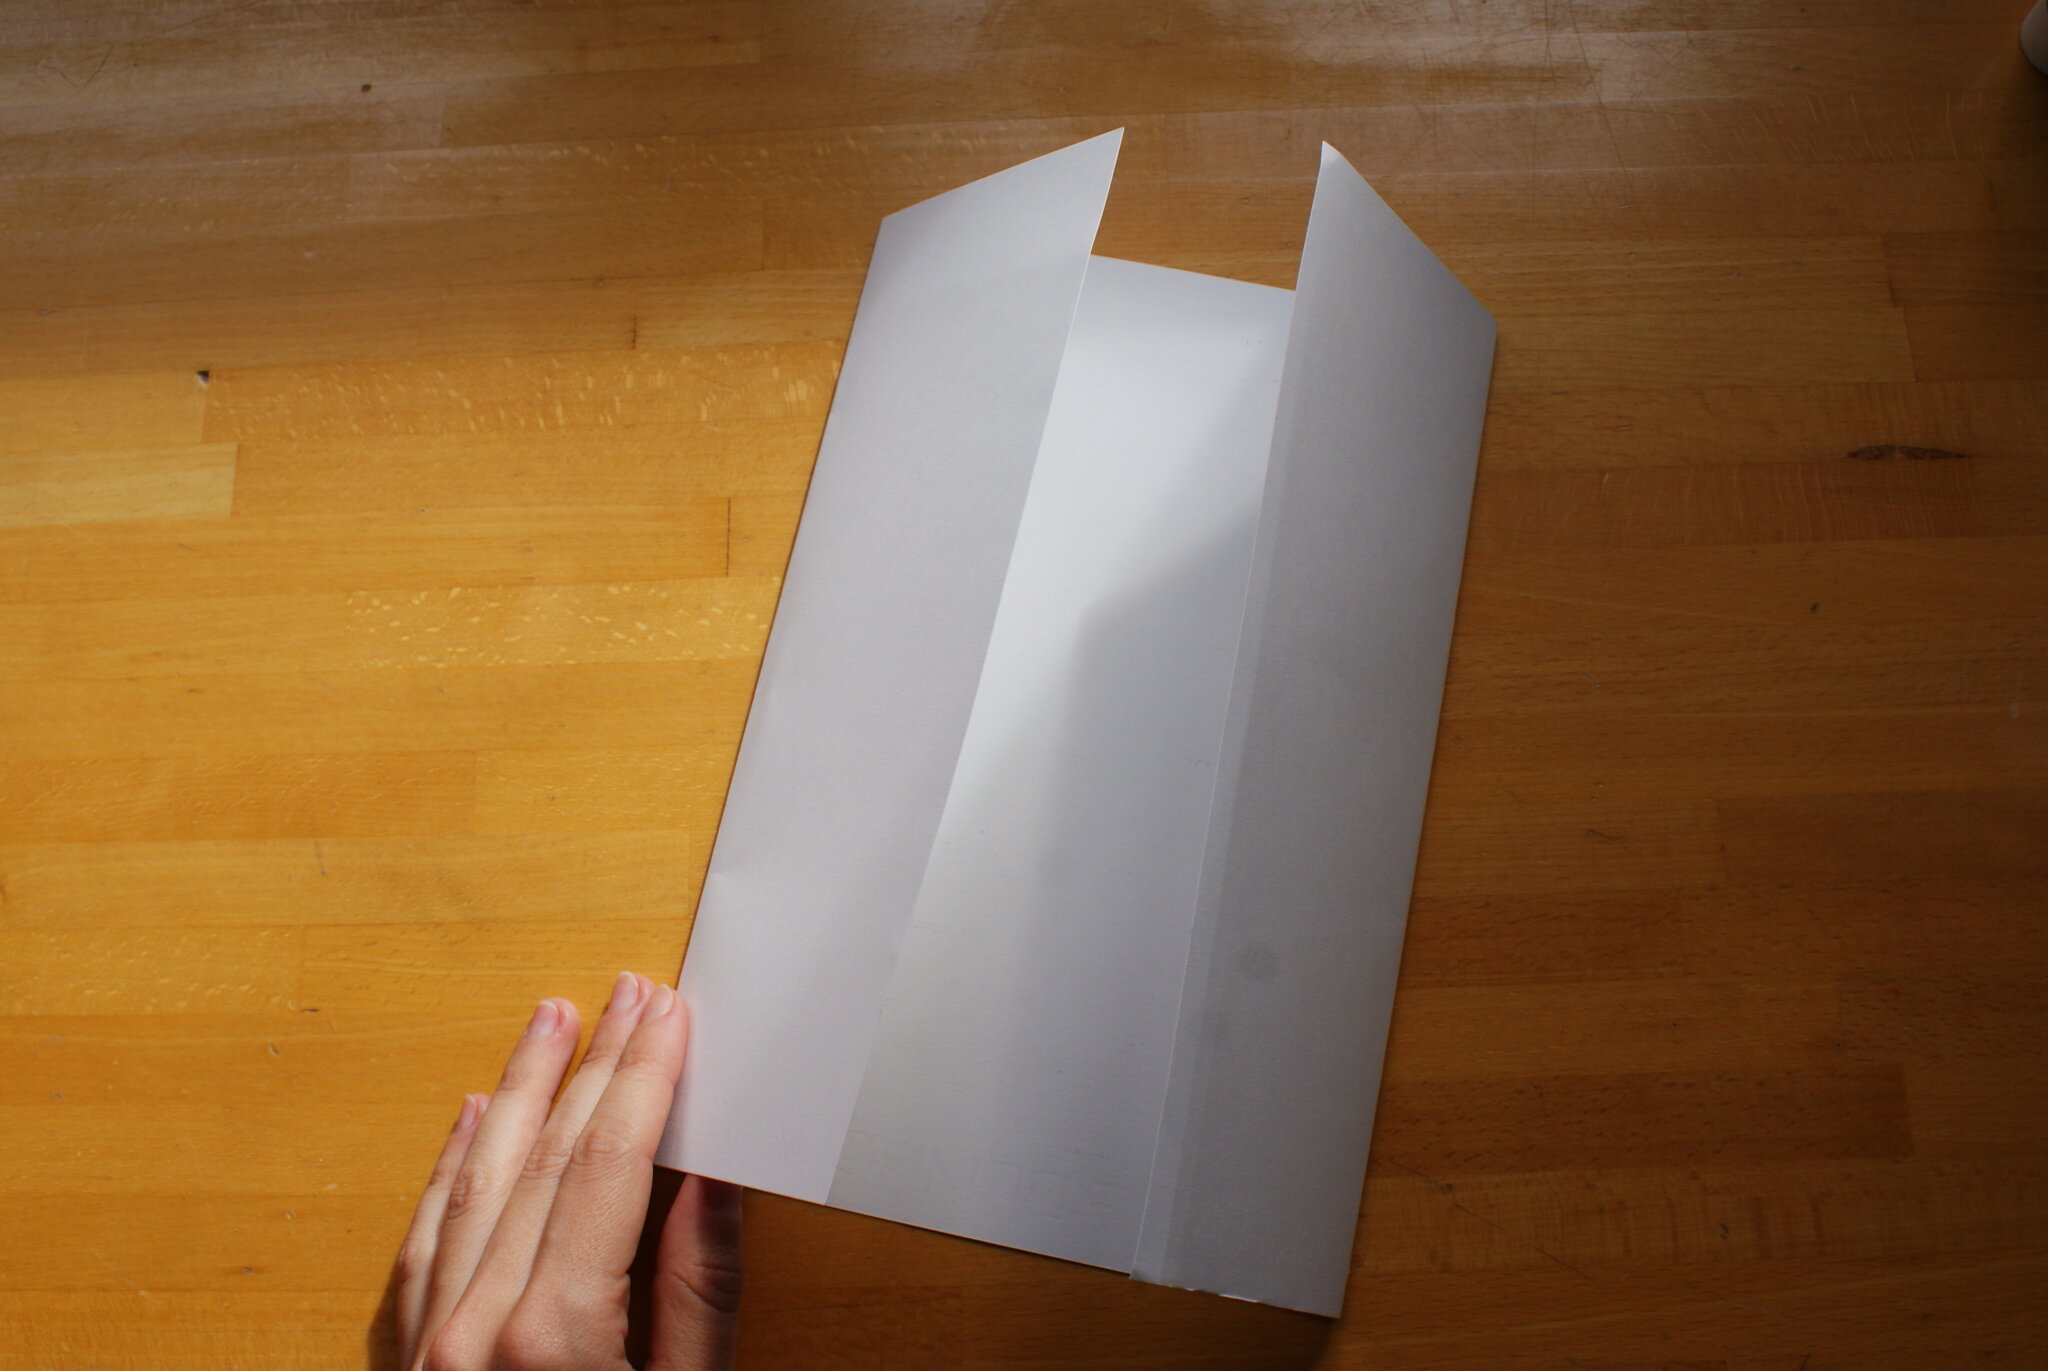
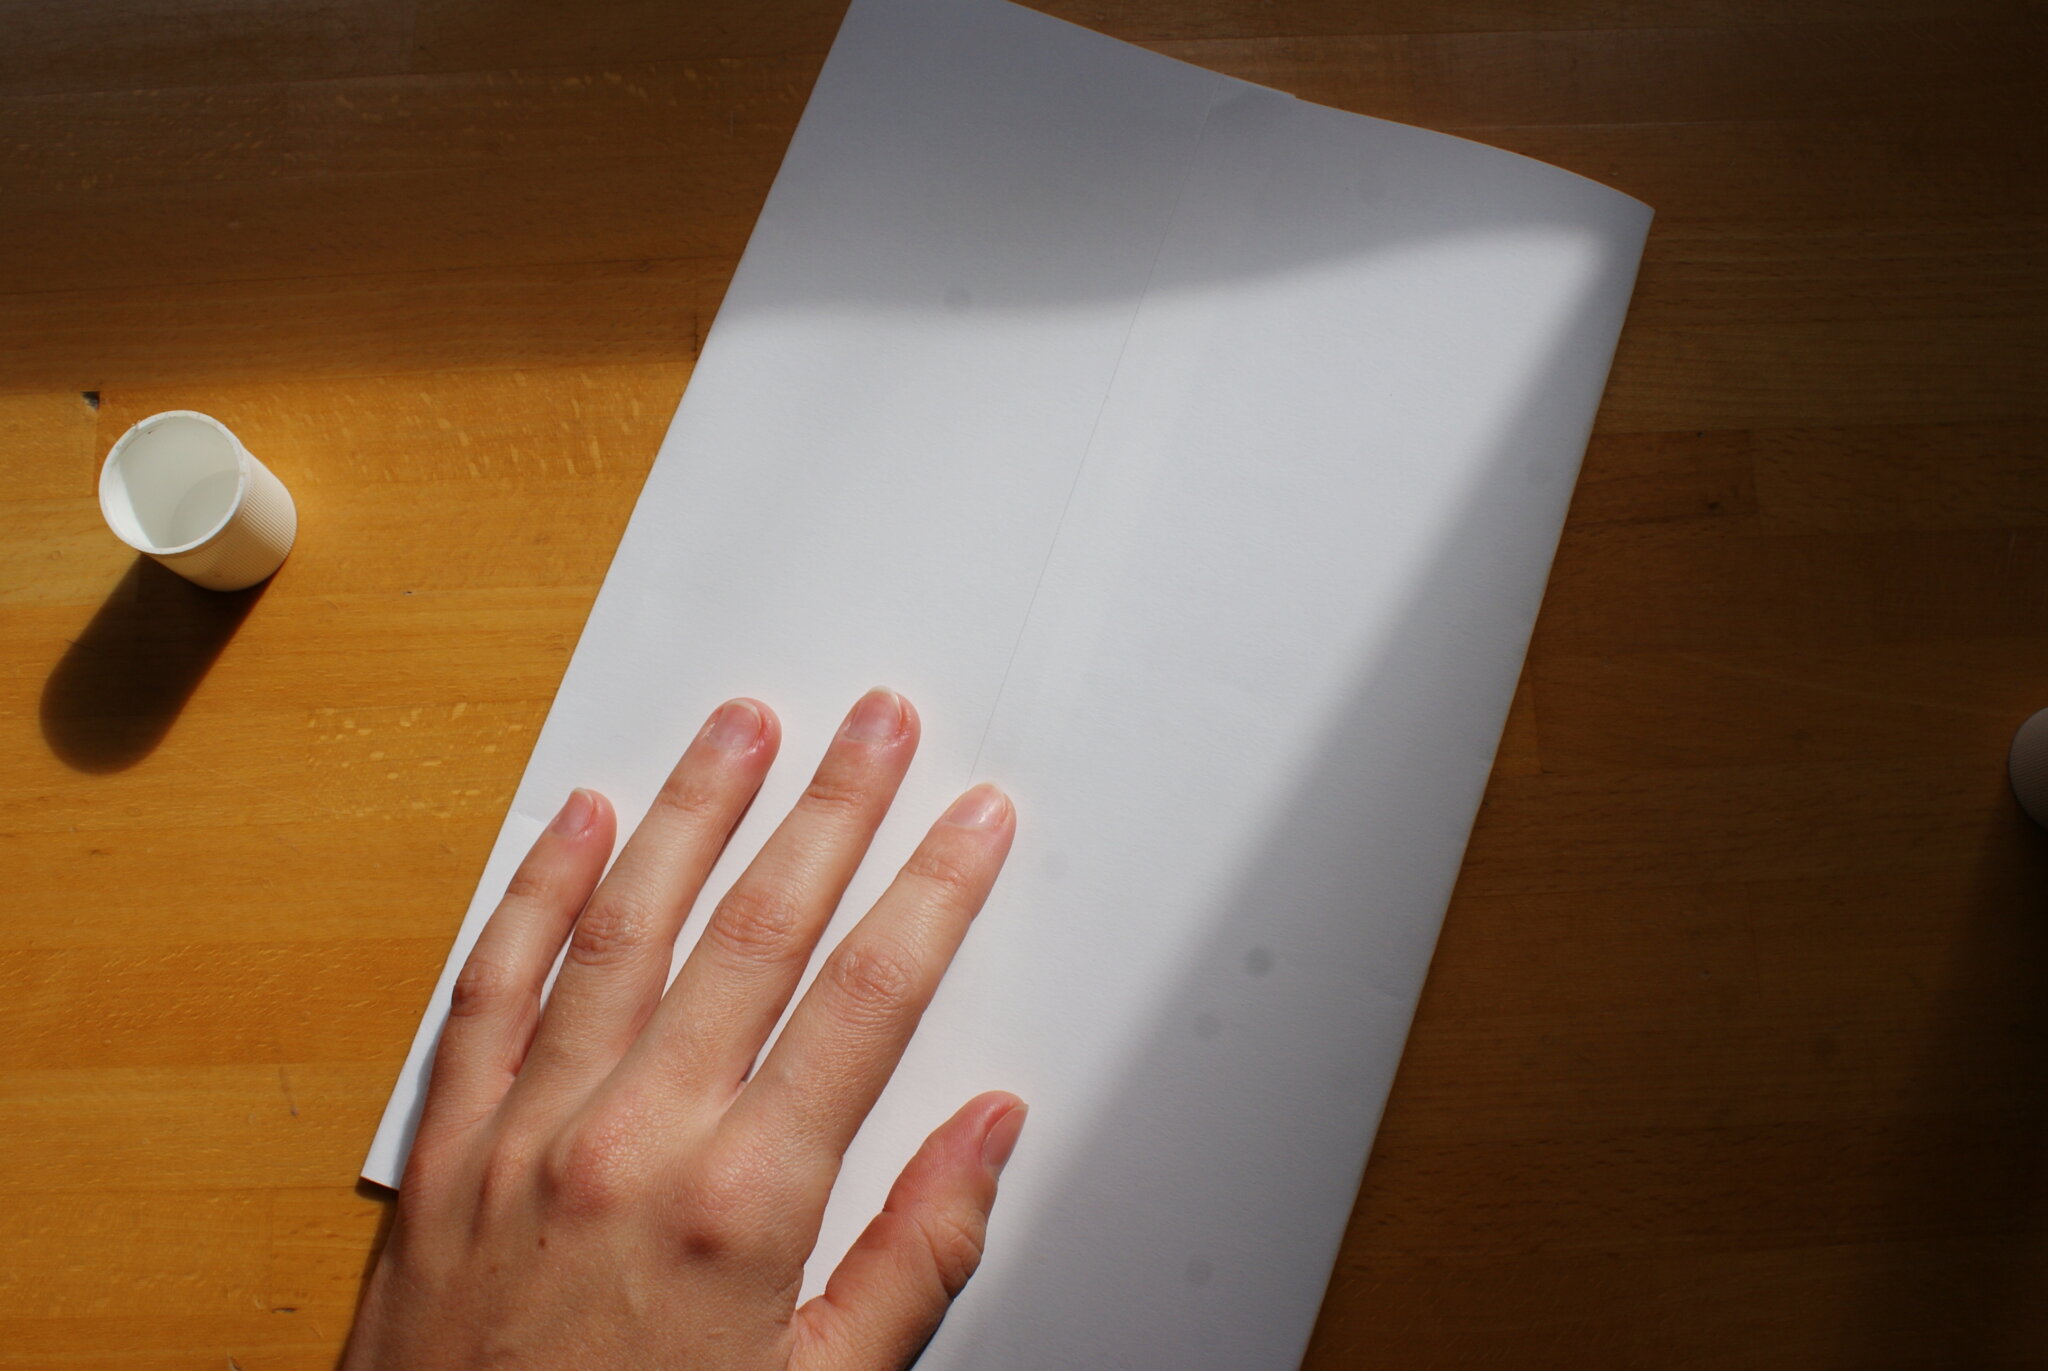
Fold the paper sides inward, then glue them together (superimpose one of about 1 cm). // Piegate il foglio così che le estremità si tocchino, poi incollatele insieme (sovrapponendone una di circa 1 cm).
2)
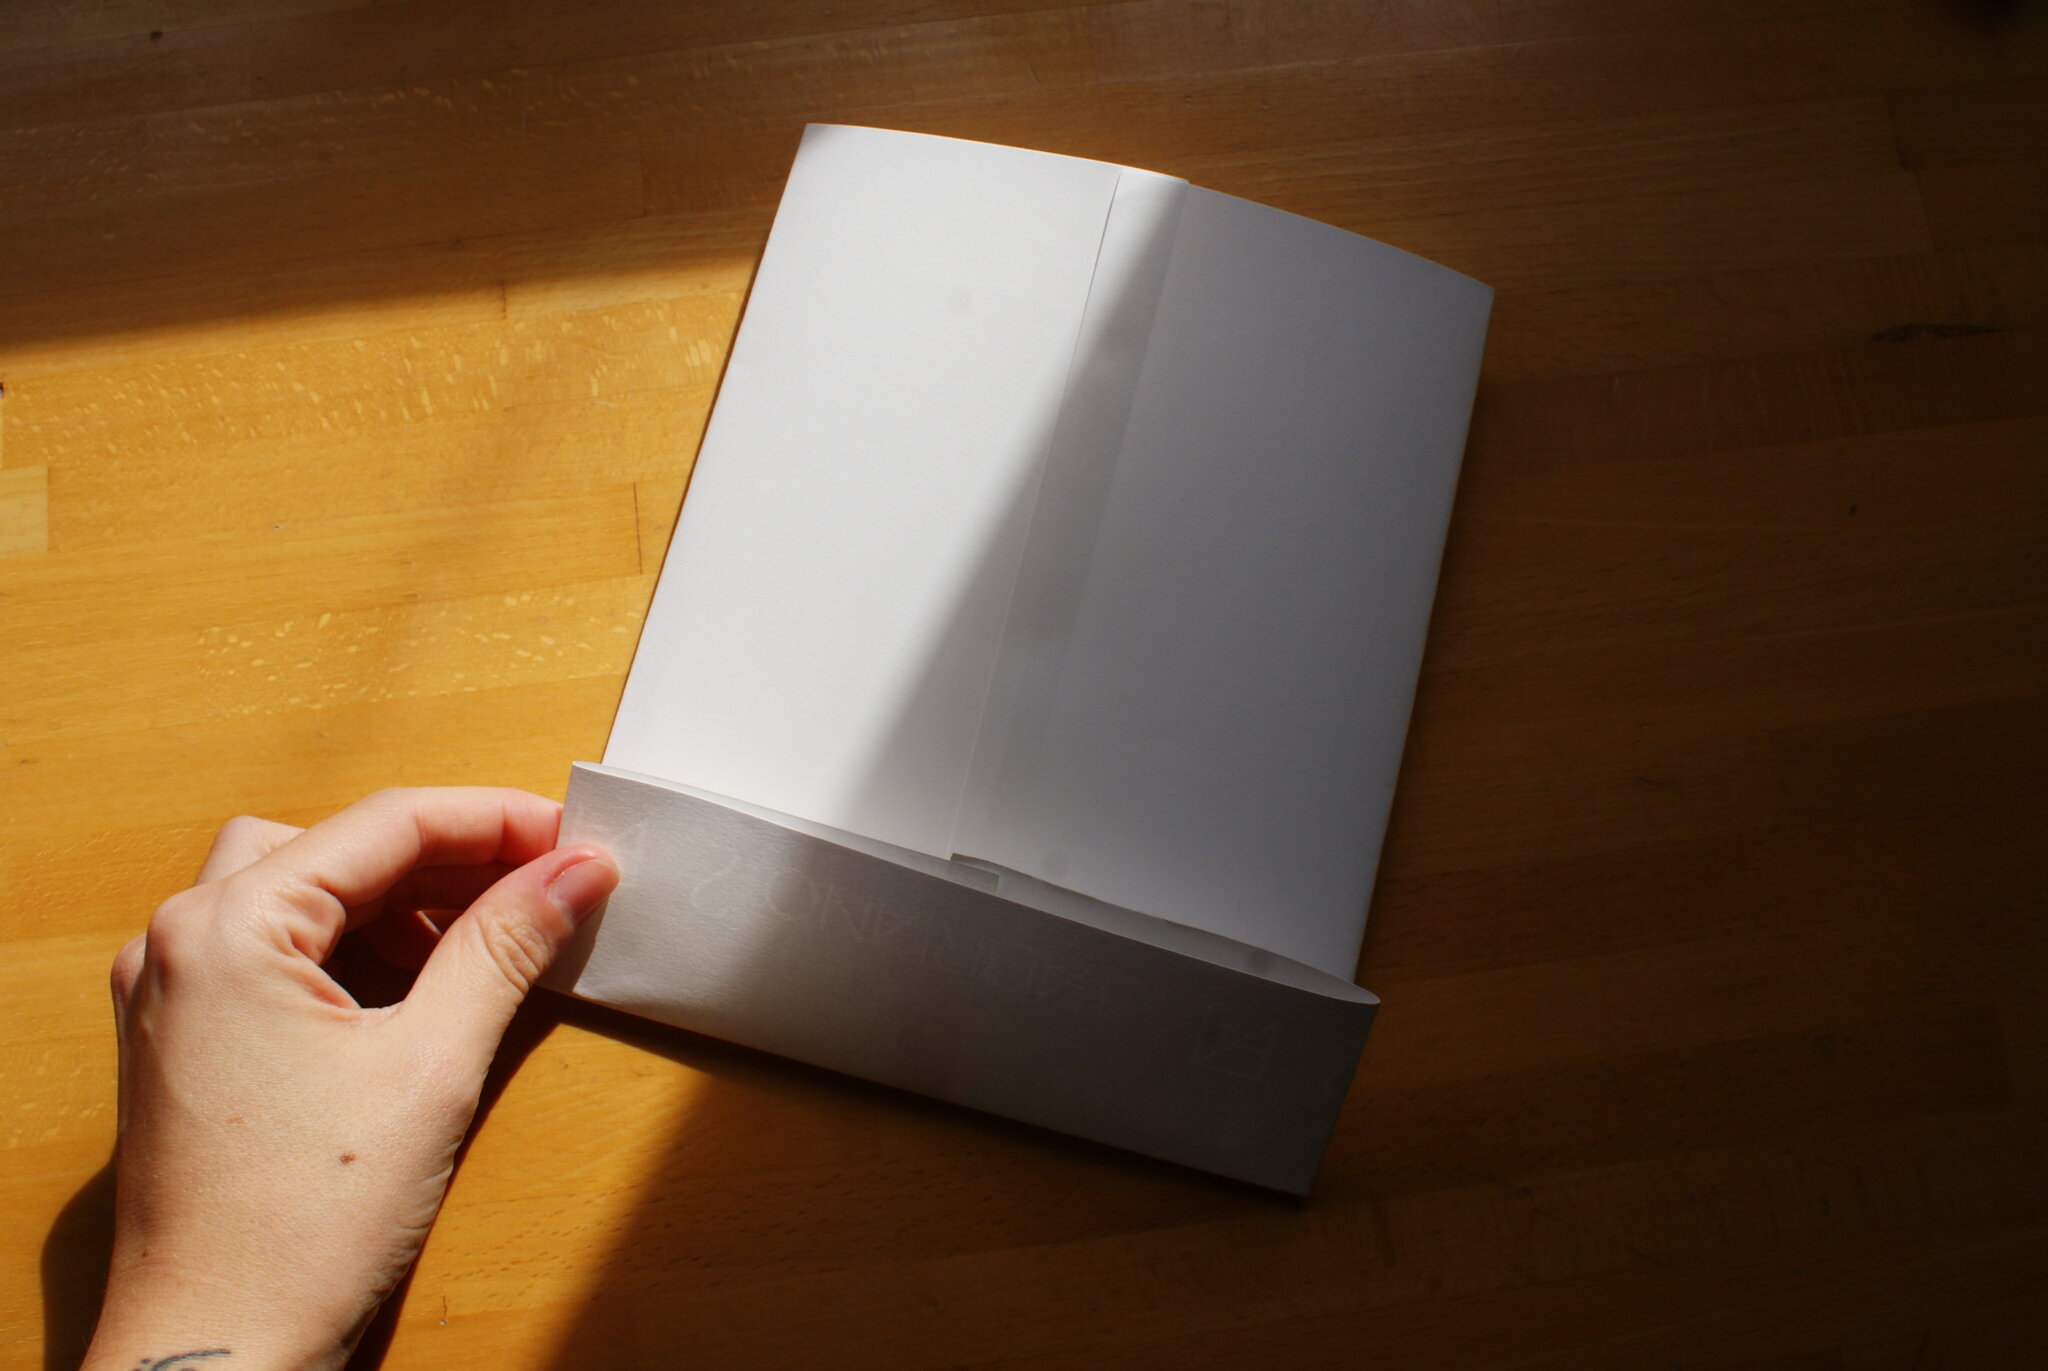
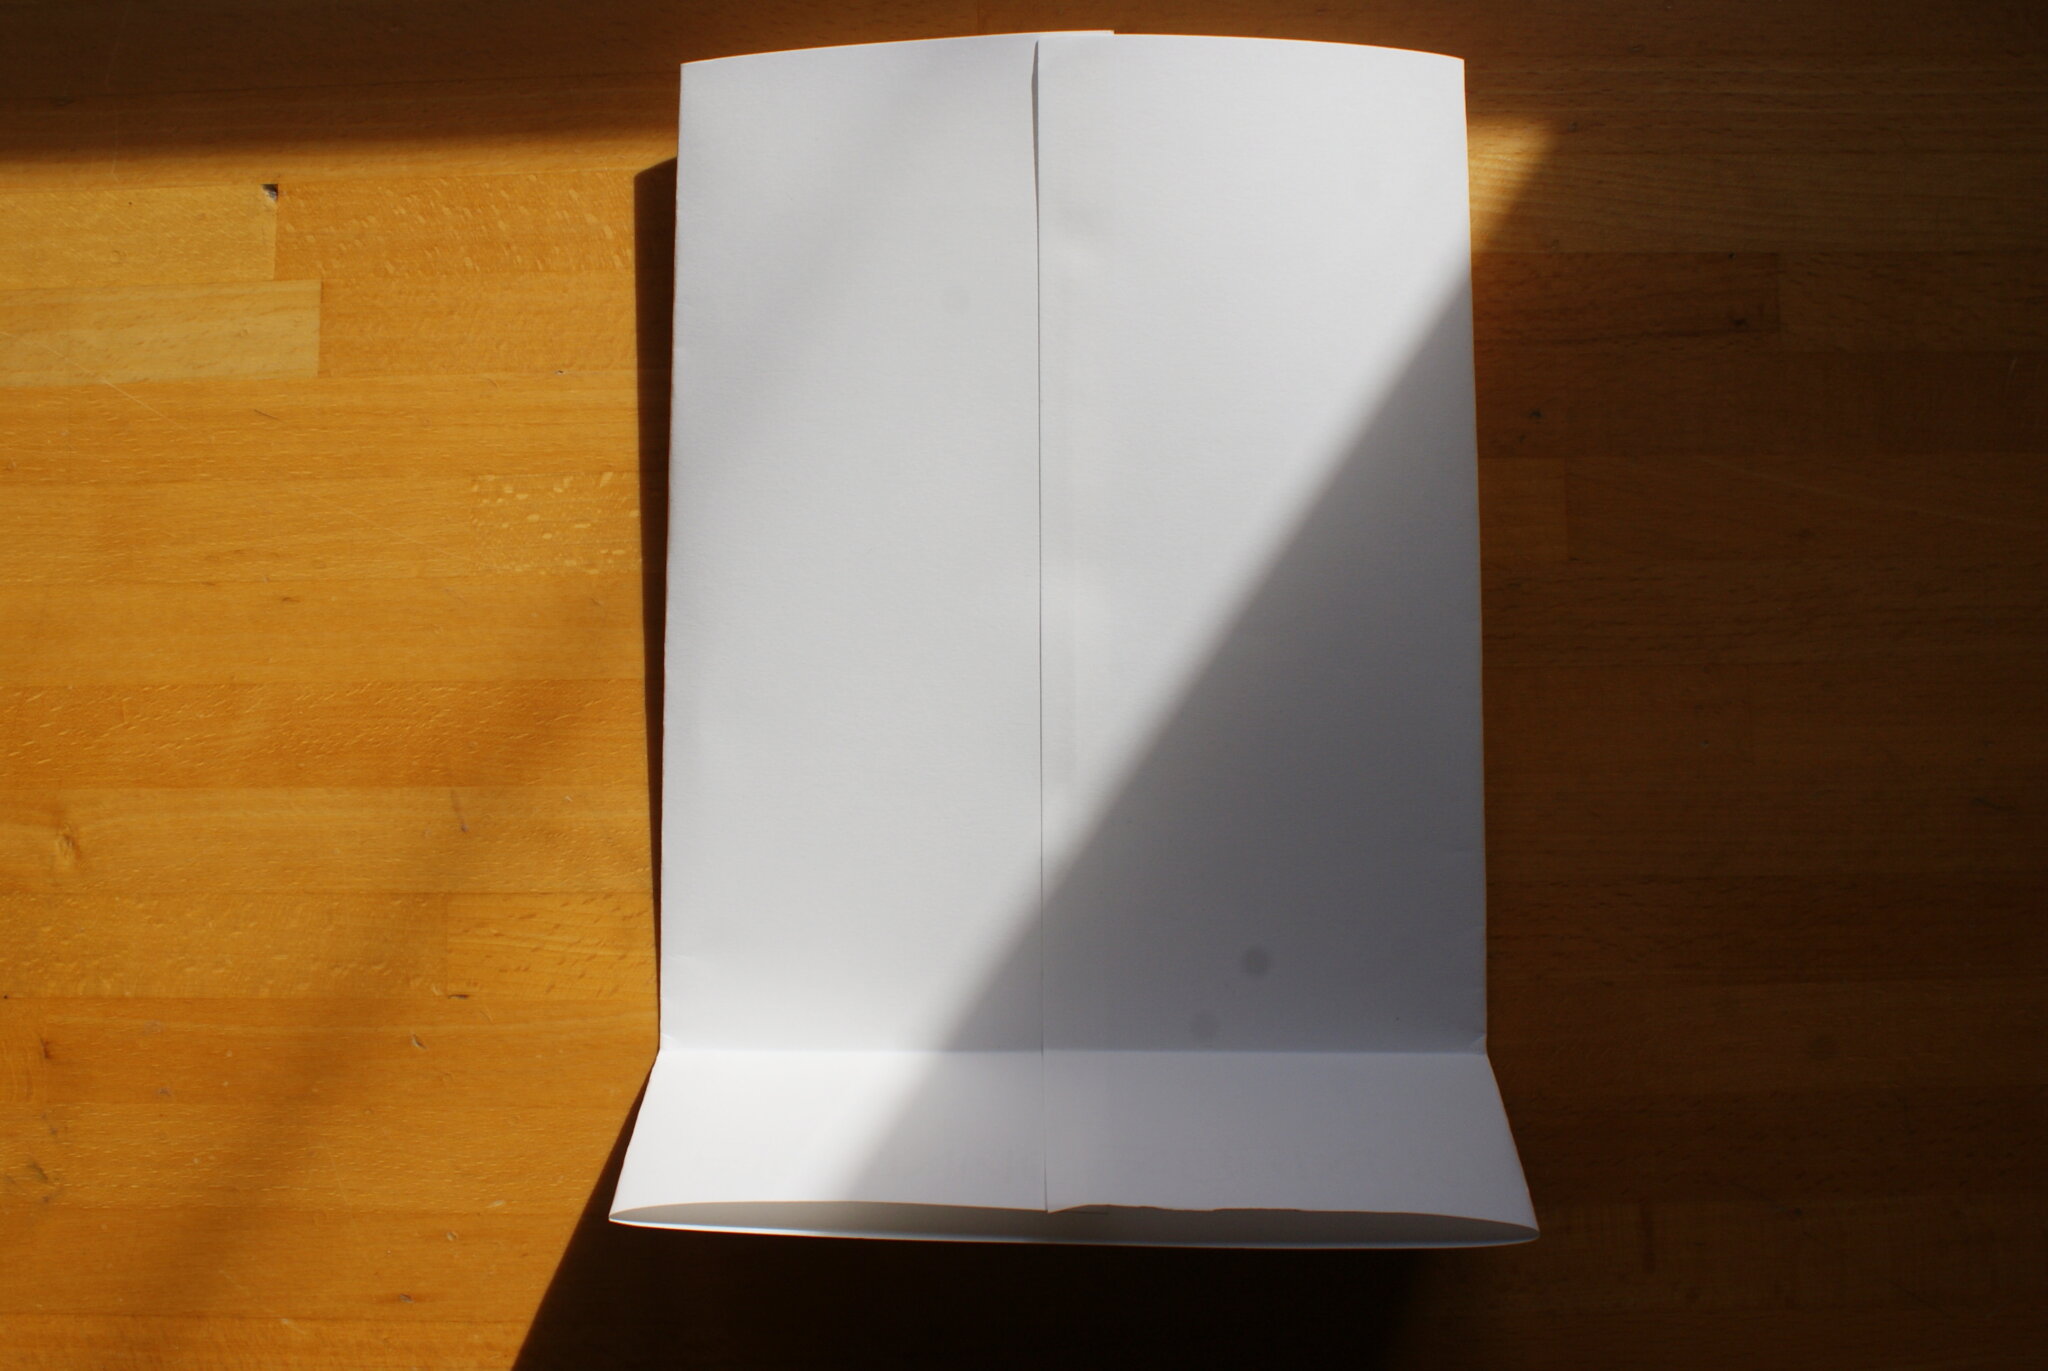
Fold the bottom at about 5 cm (1,9 in) from the edge. // Piegate la parte inferiore a circa 5 cm dal fondo.
3)
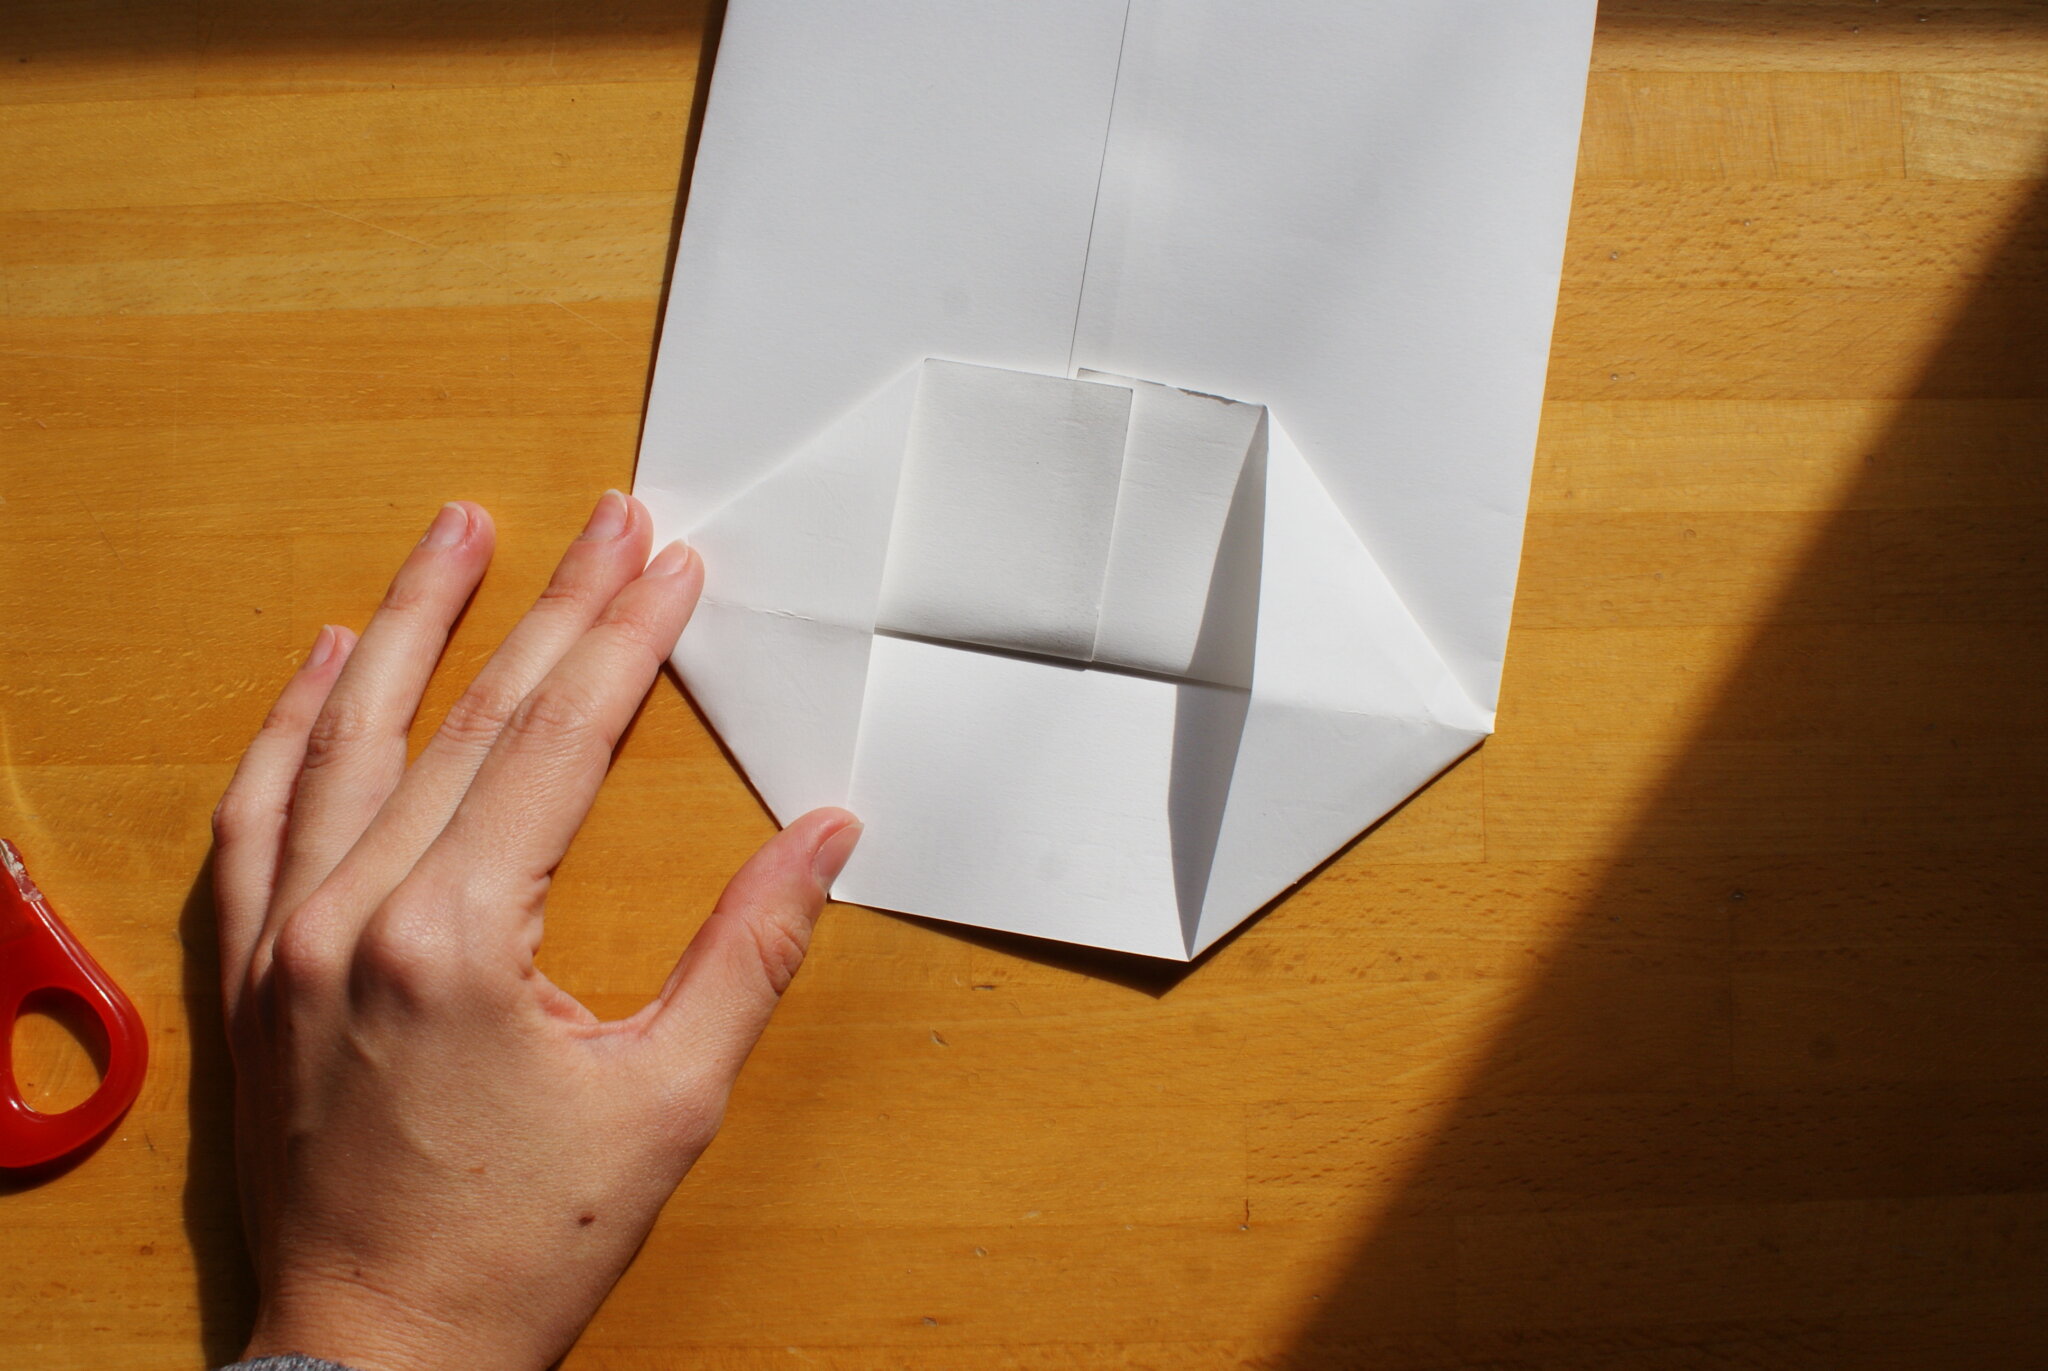
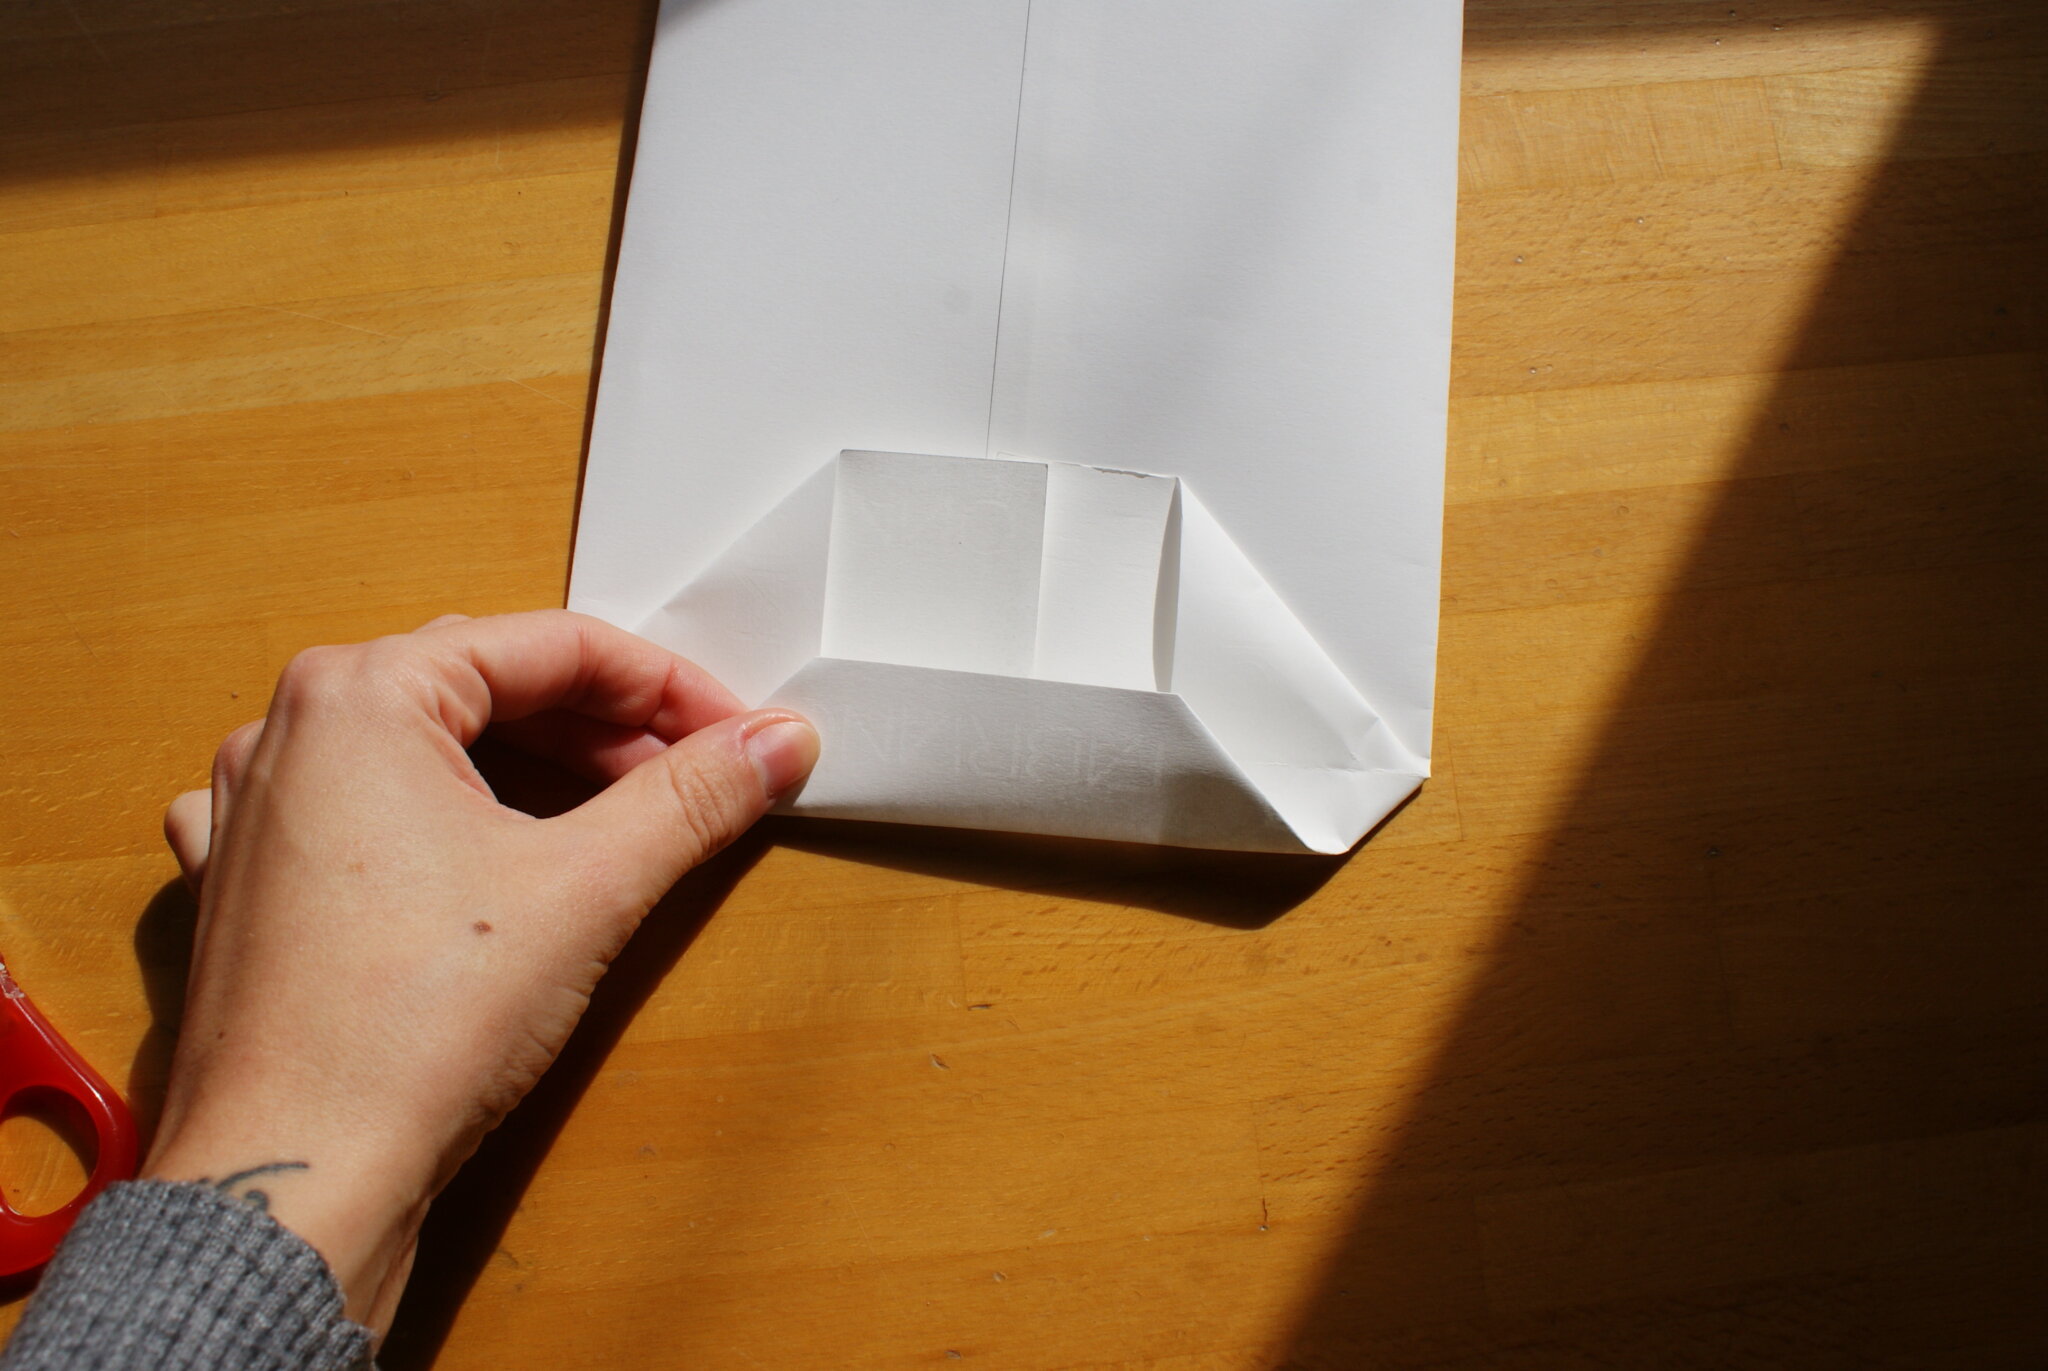
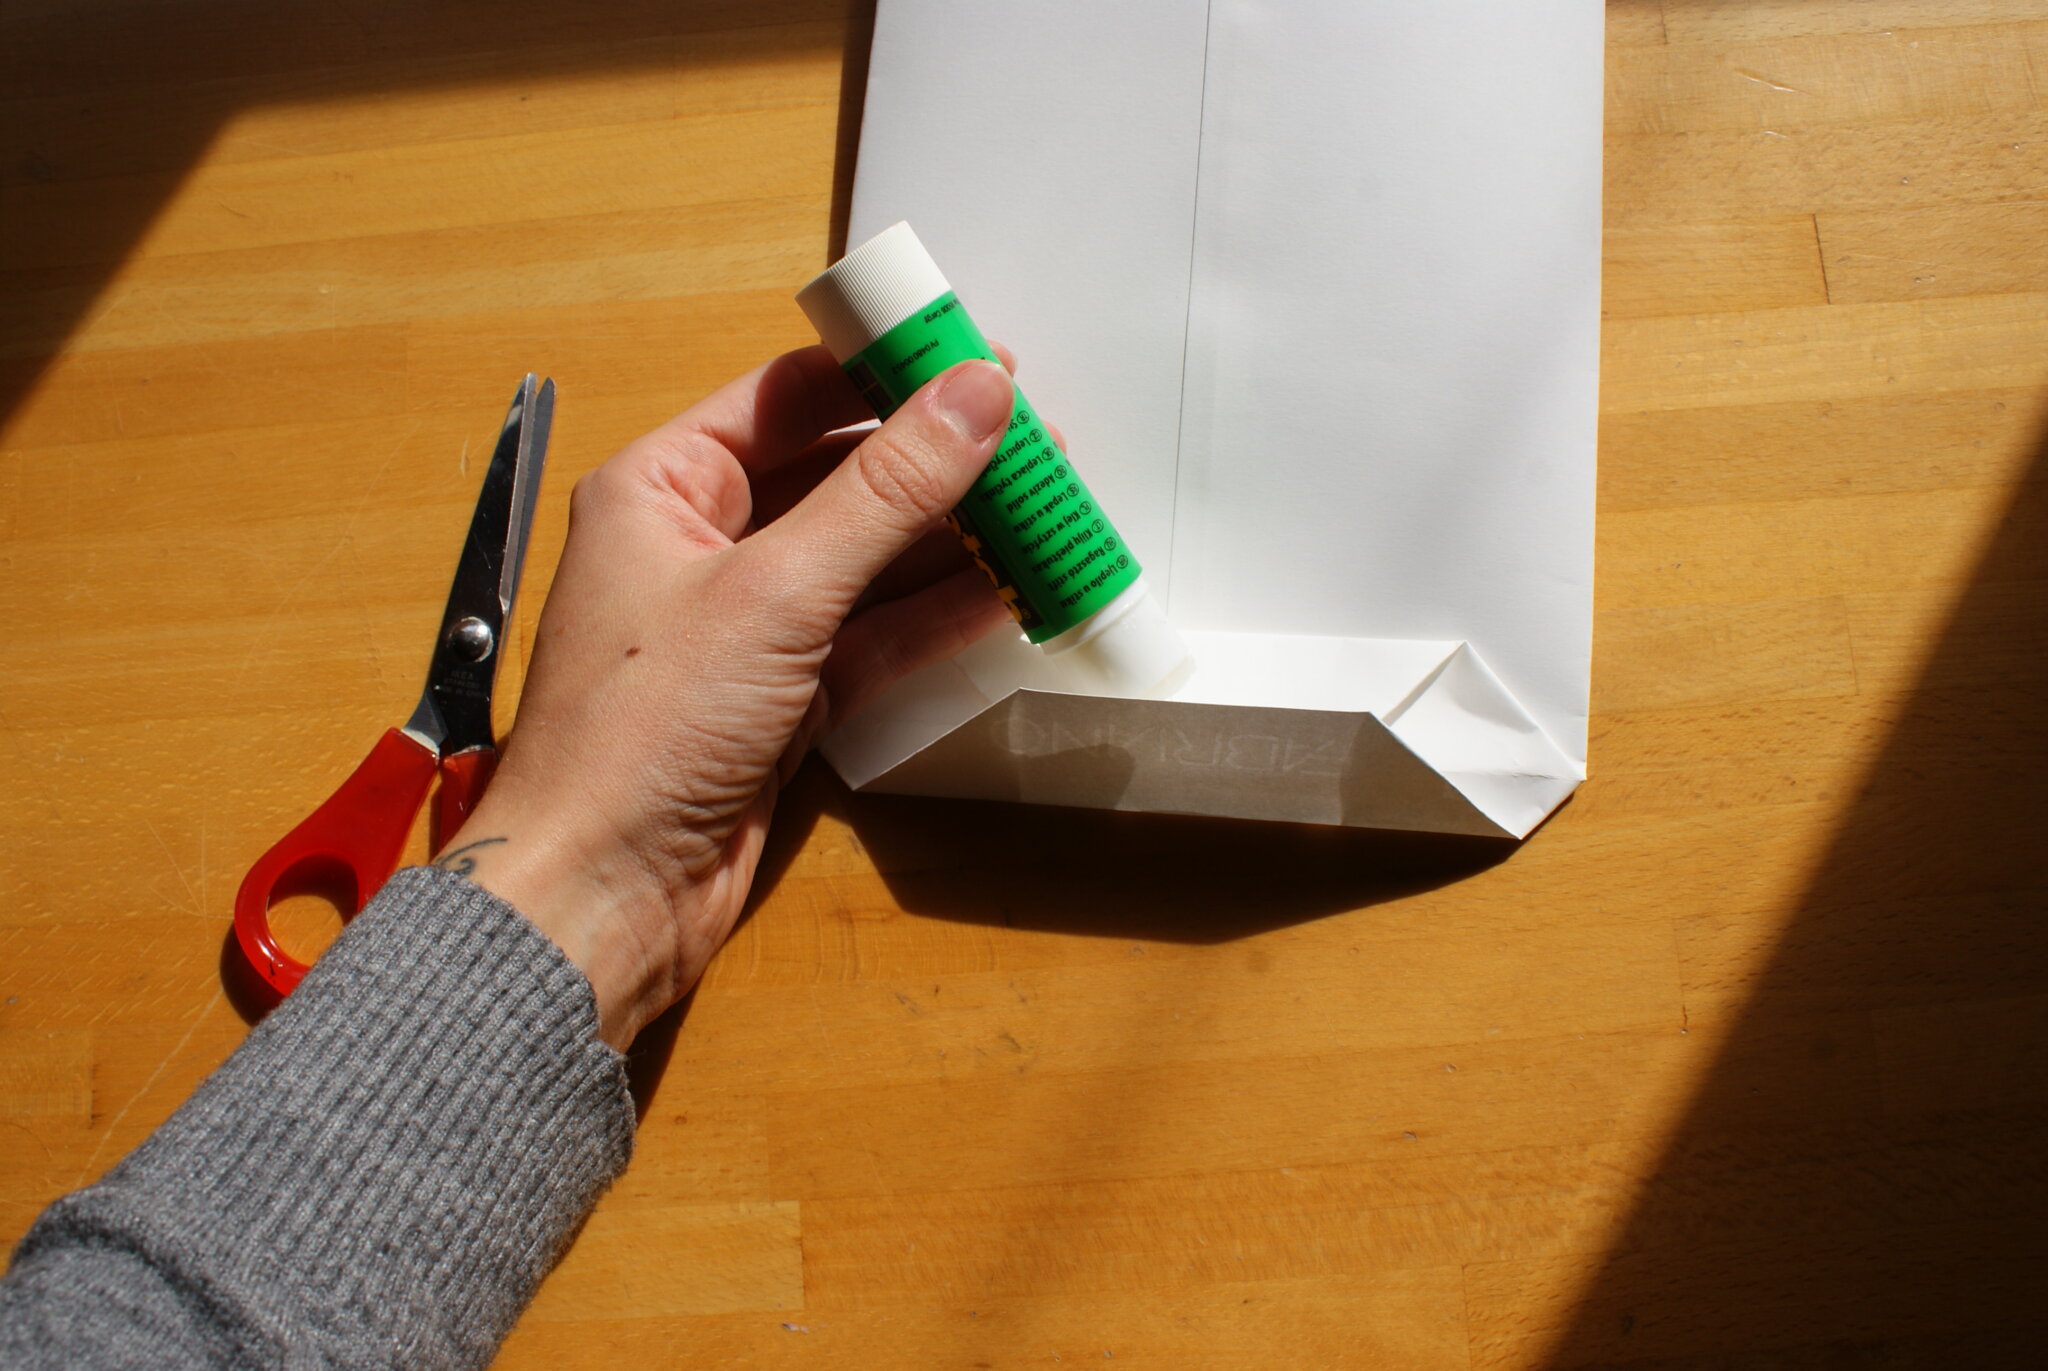
Separate the two sides of the paper that form the bottom. Start with one side, and at the side crease, push one side inward so that you can line up the side crease with the bottom crease to get a triangle. Repeat with the other side. When you get two triangles, fold the top and the bottom inward and glue them together. The bottom of the bag is done! // Separate i due lati del fondo e, iniziando da uno dei due, piegate la parte esterna verso il dentro, così da ottenere un triangolo. Ripetete poi con l’altro lato. Ora piegate all’indentro la parte superiore e inferiore, incollandole poi insieme. Il fondo del sacchetto è fatto!
4)
Now fill the bag with candies and glue the stickers onto it! // Ora rimpite il sacchettino con caramelle e attaccate gli adesivi!
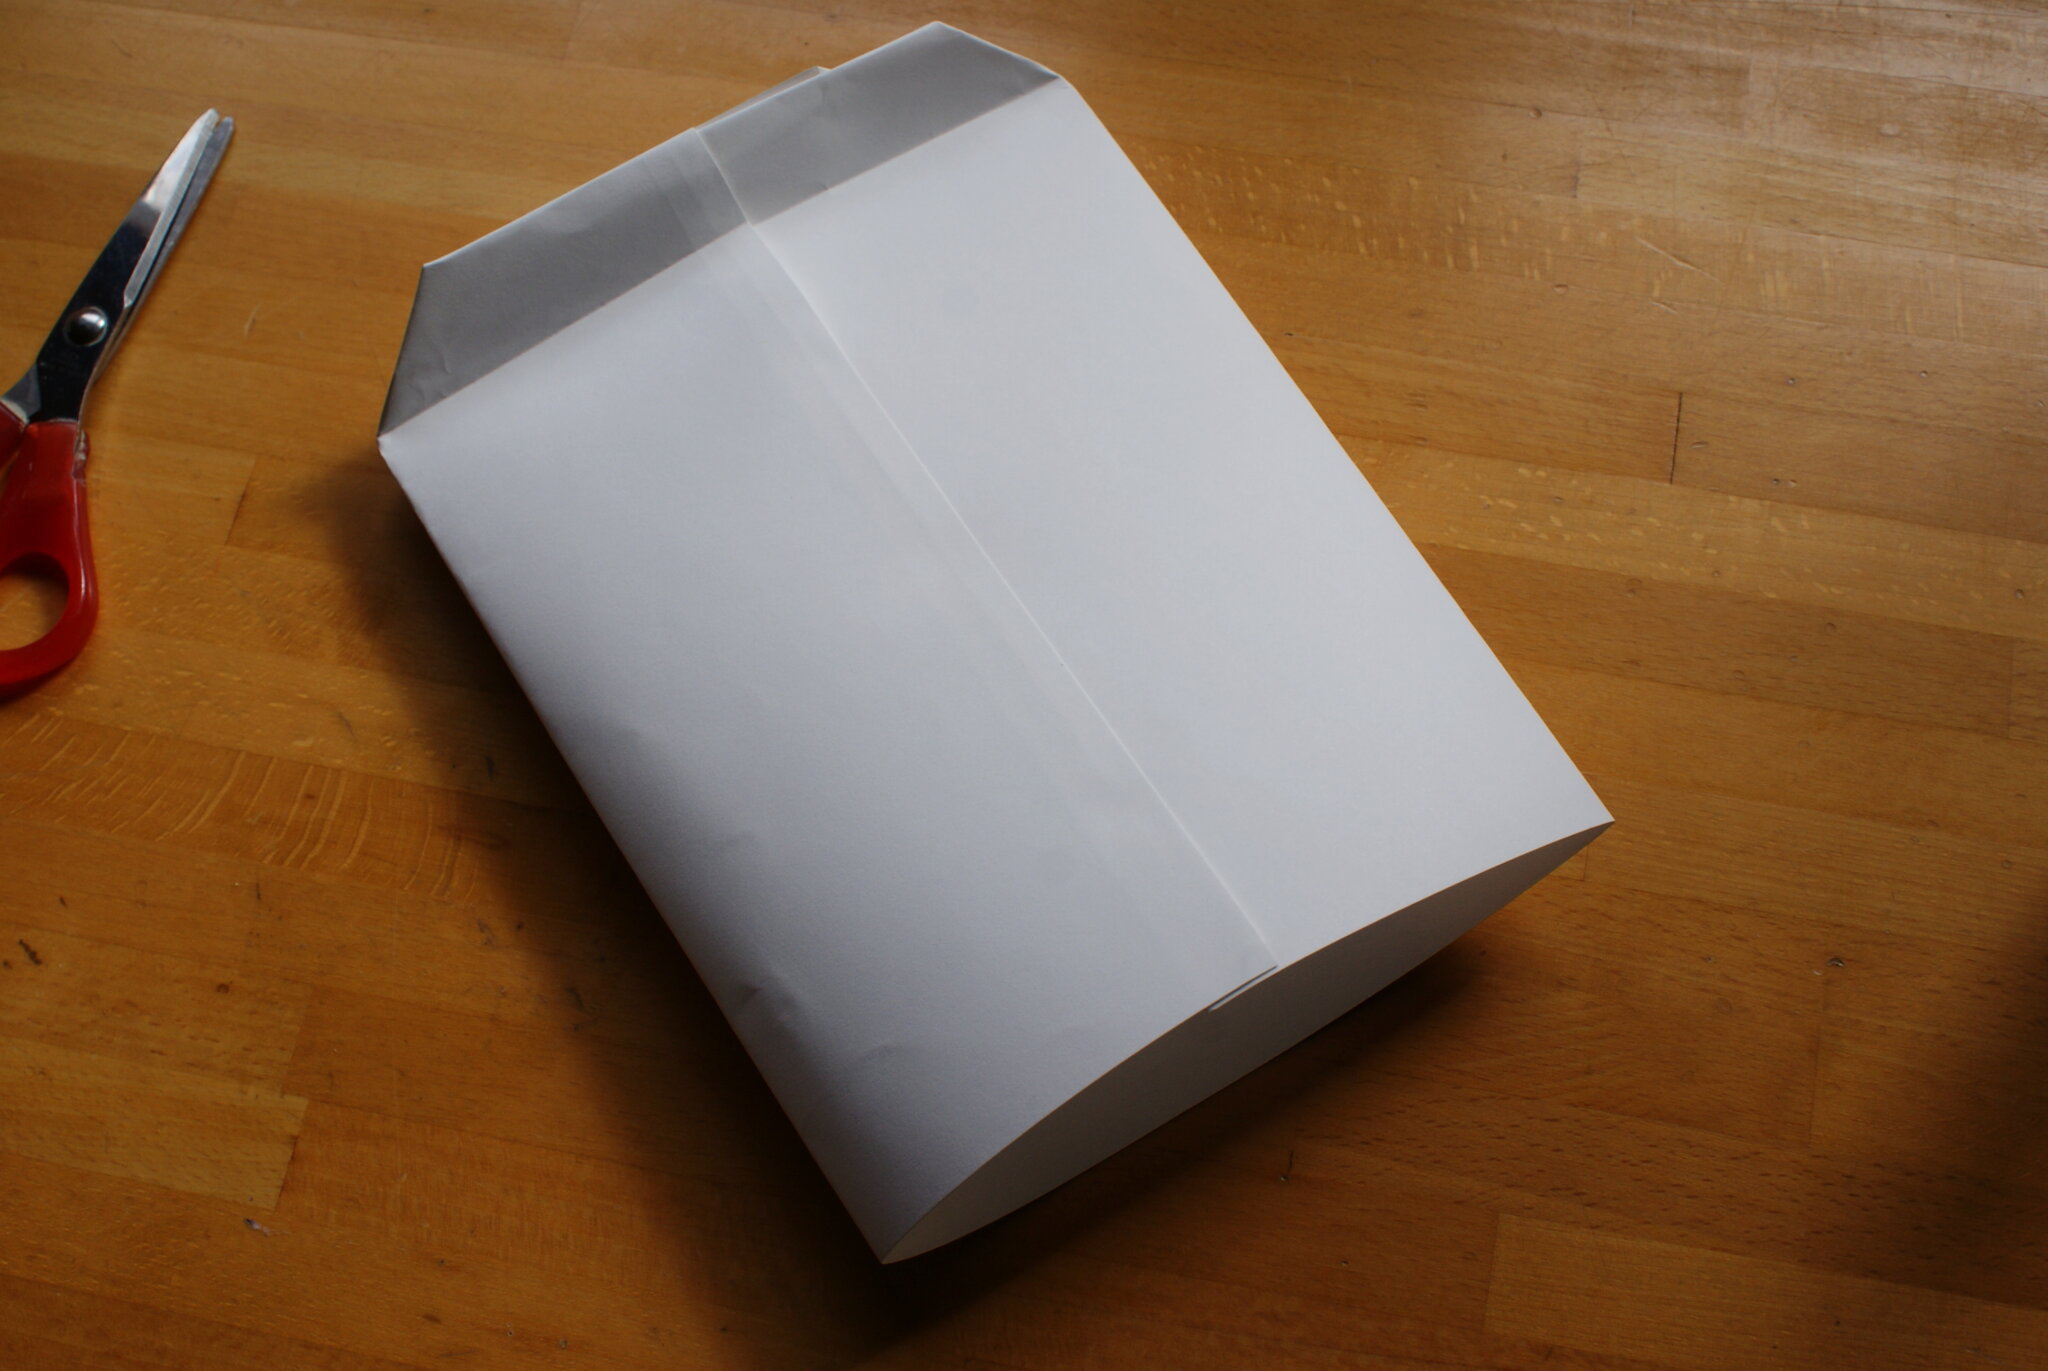
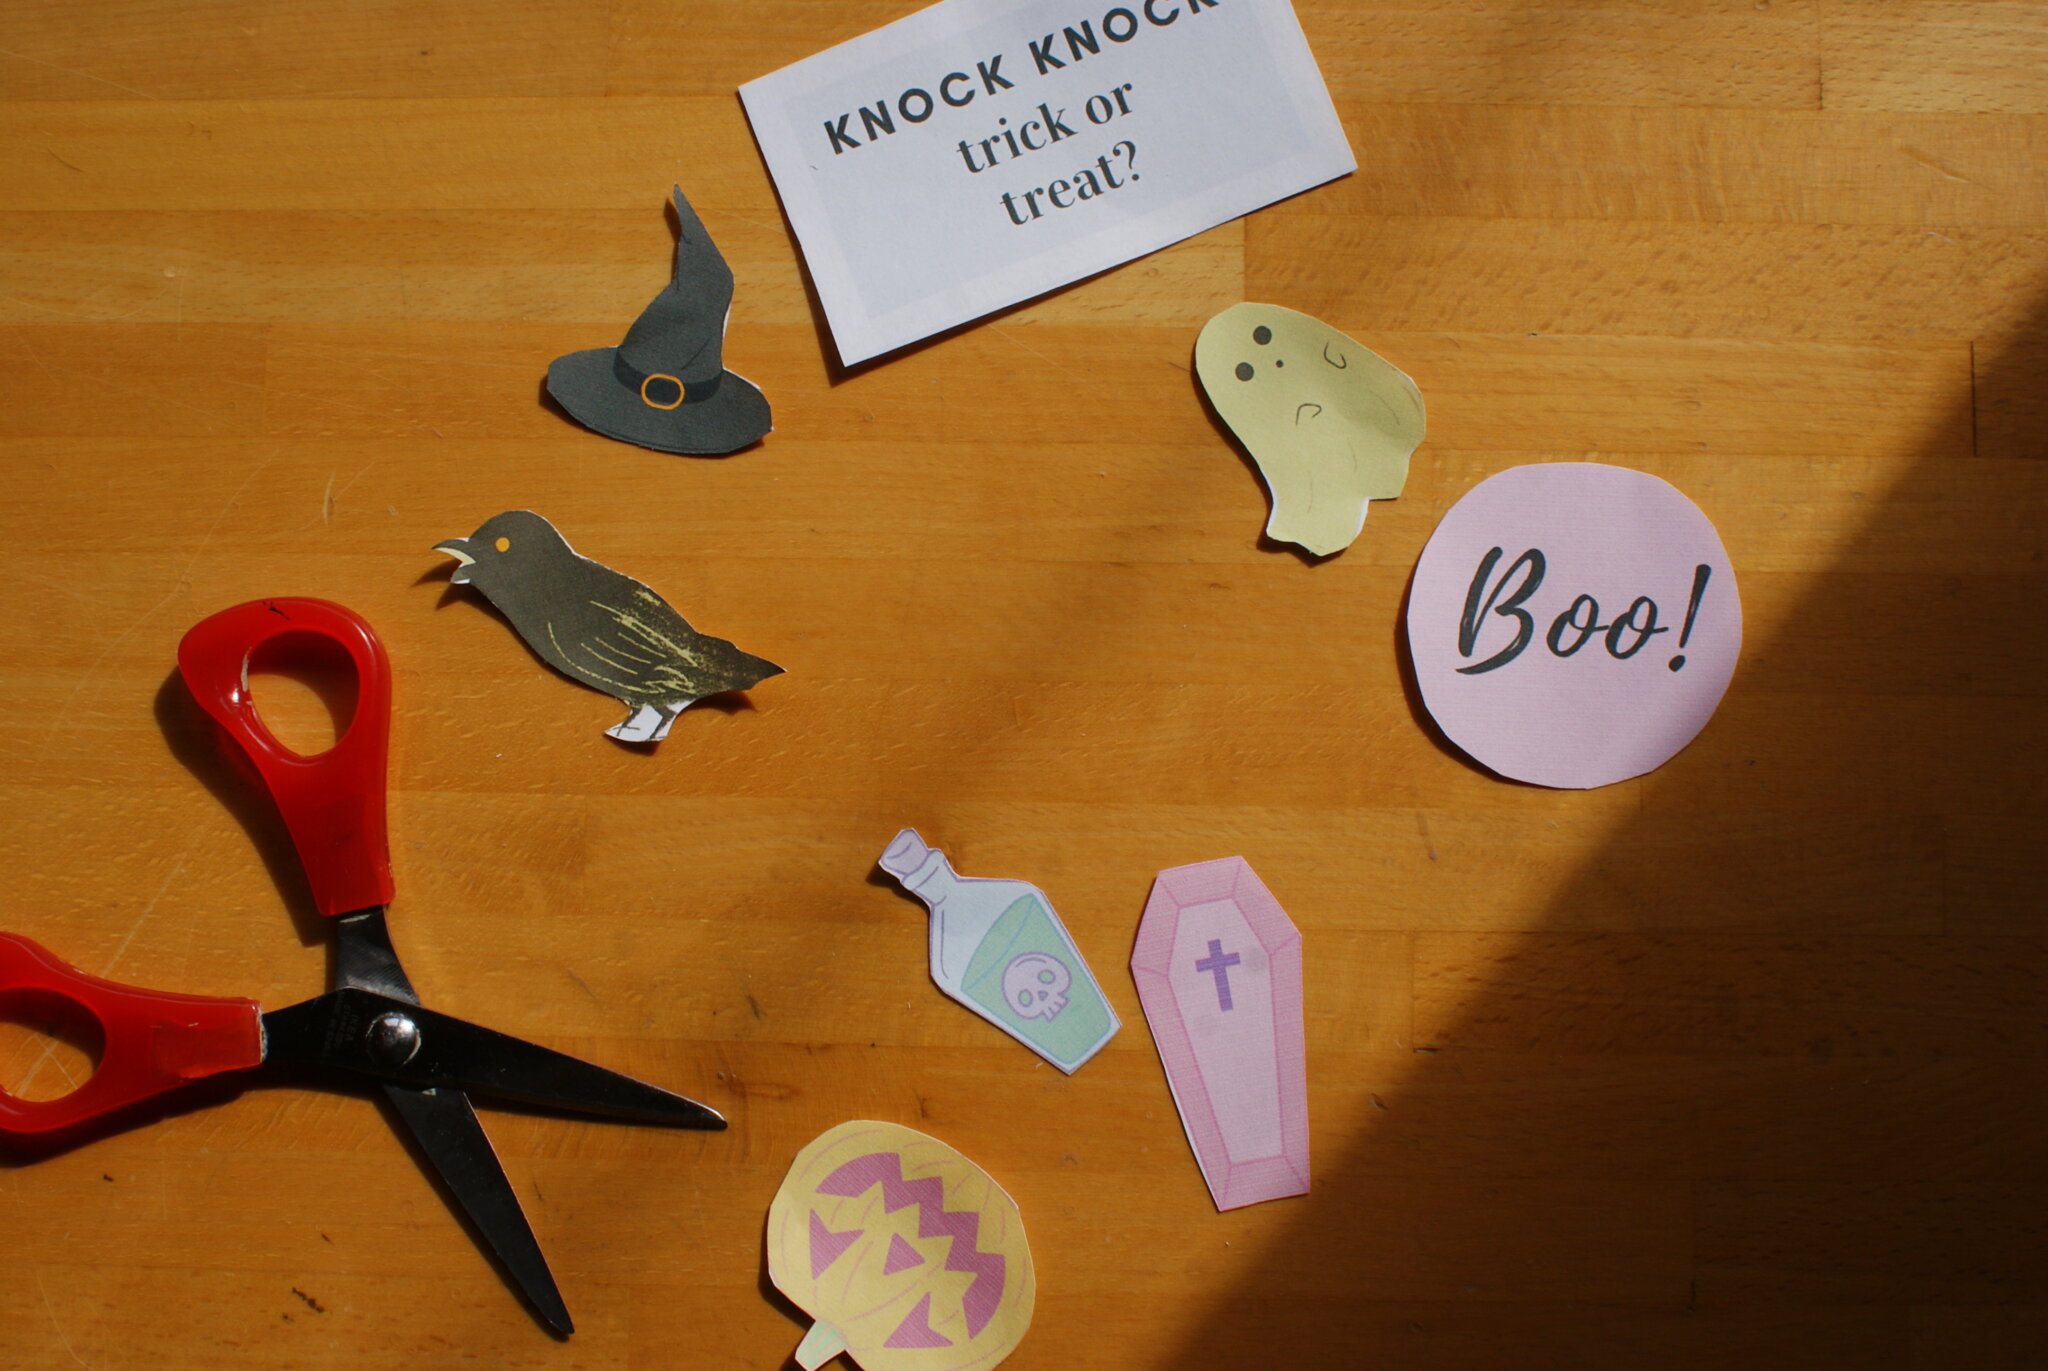
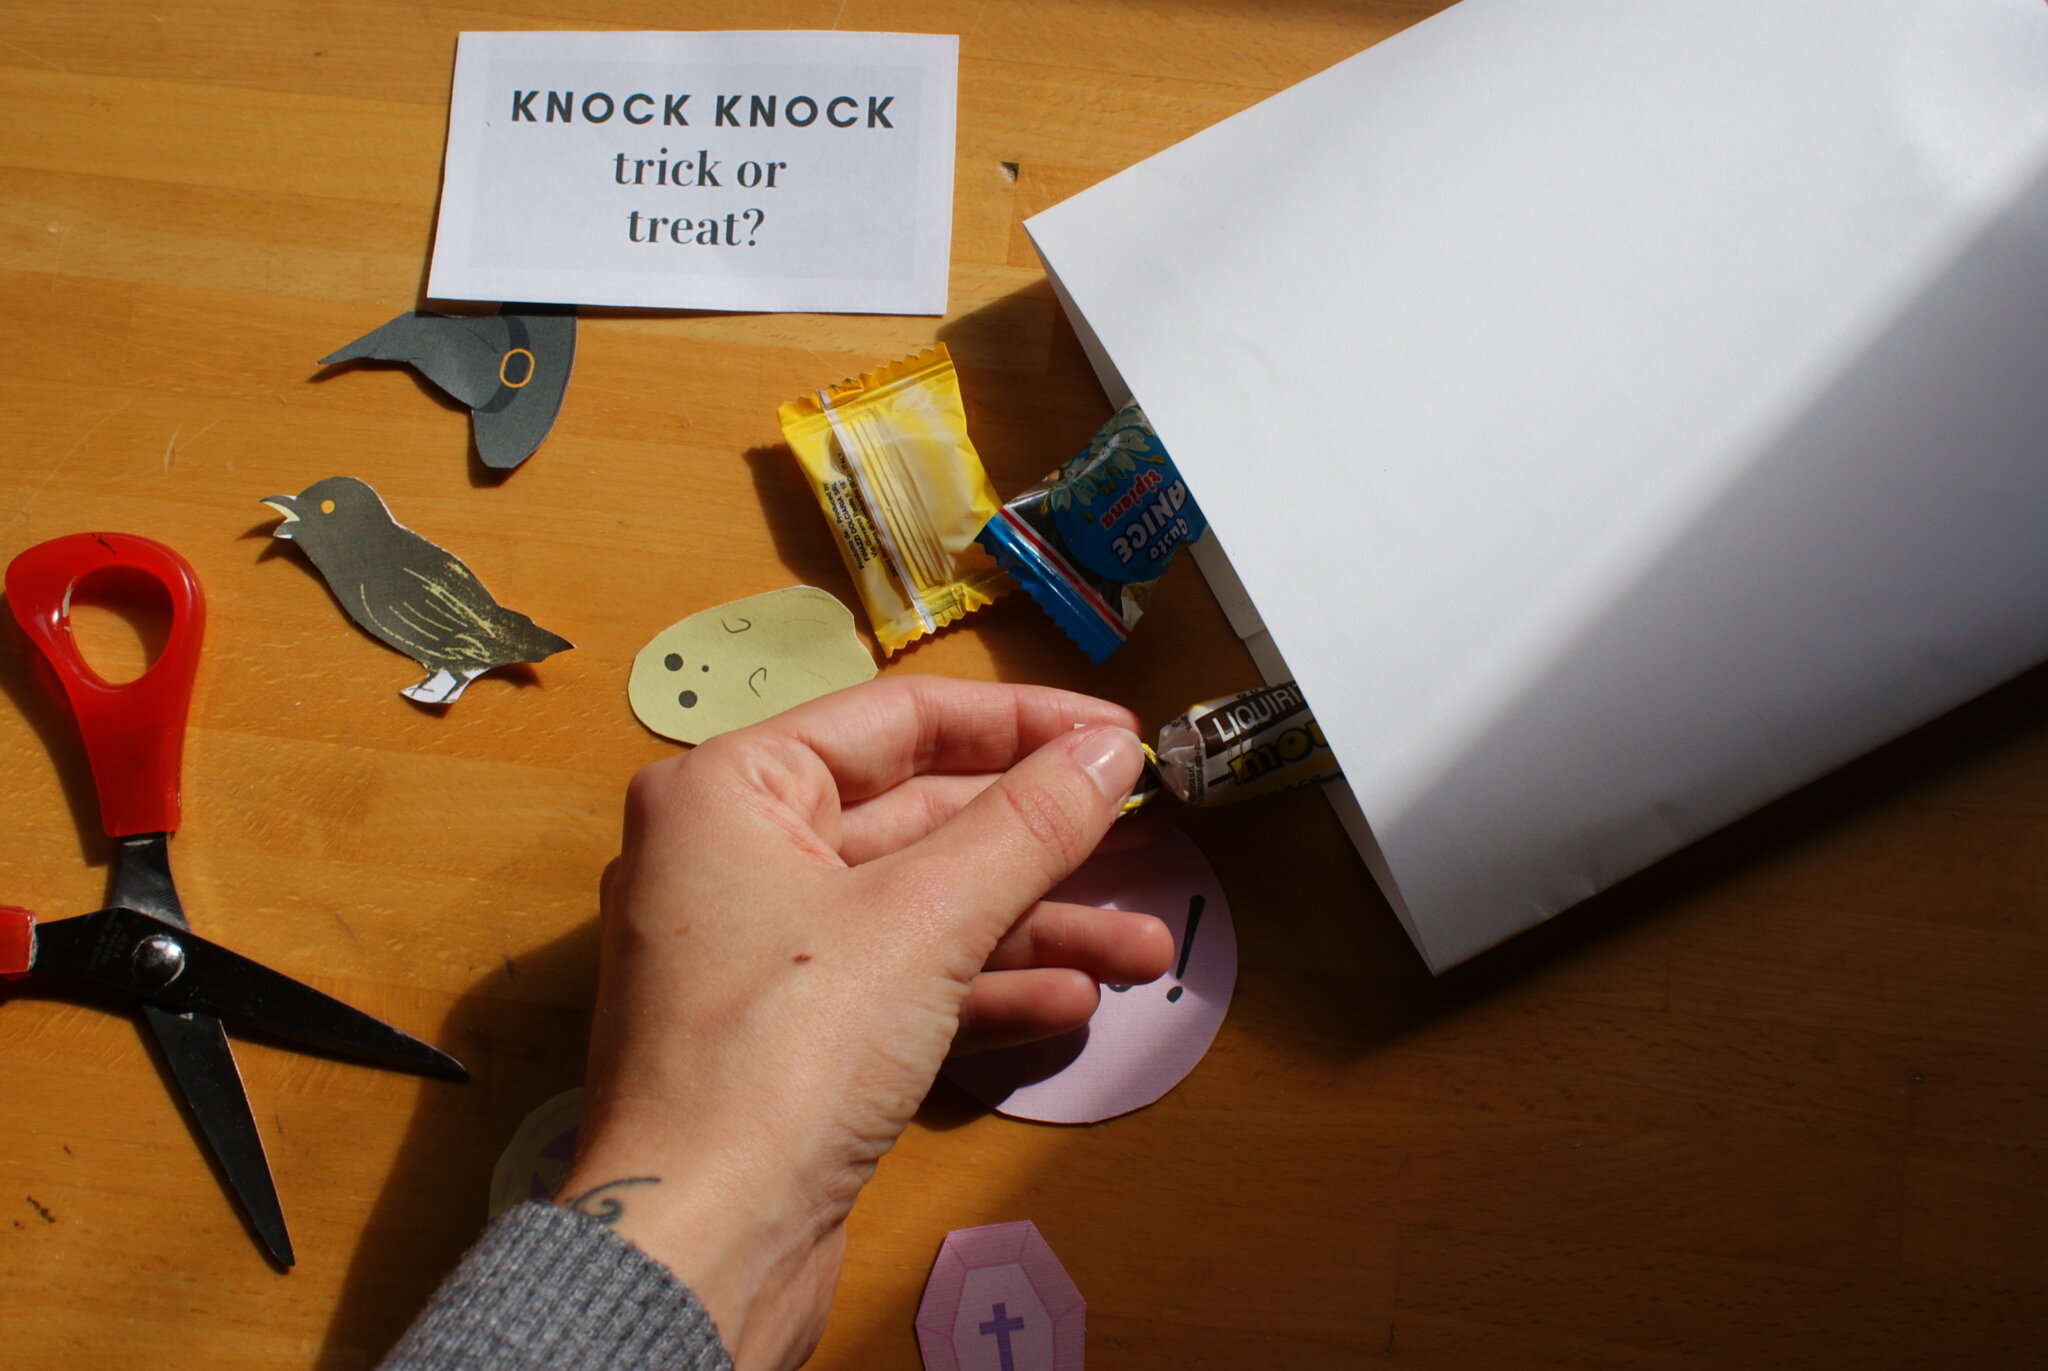

Voilà! Now you know how to make DIY paper treat bags for Halloween! It was easy, wasn’t it? // Voilà! Ora sapete come realizzare dei sacchettini porta dolci per Halloween! Facili, vero?
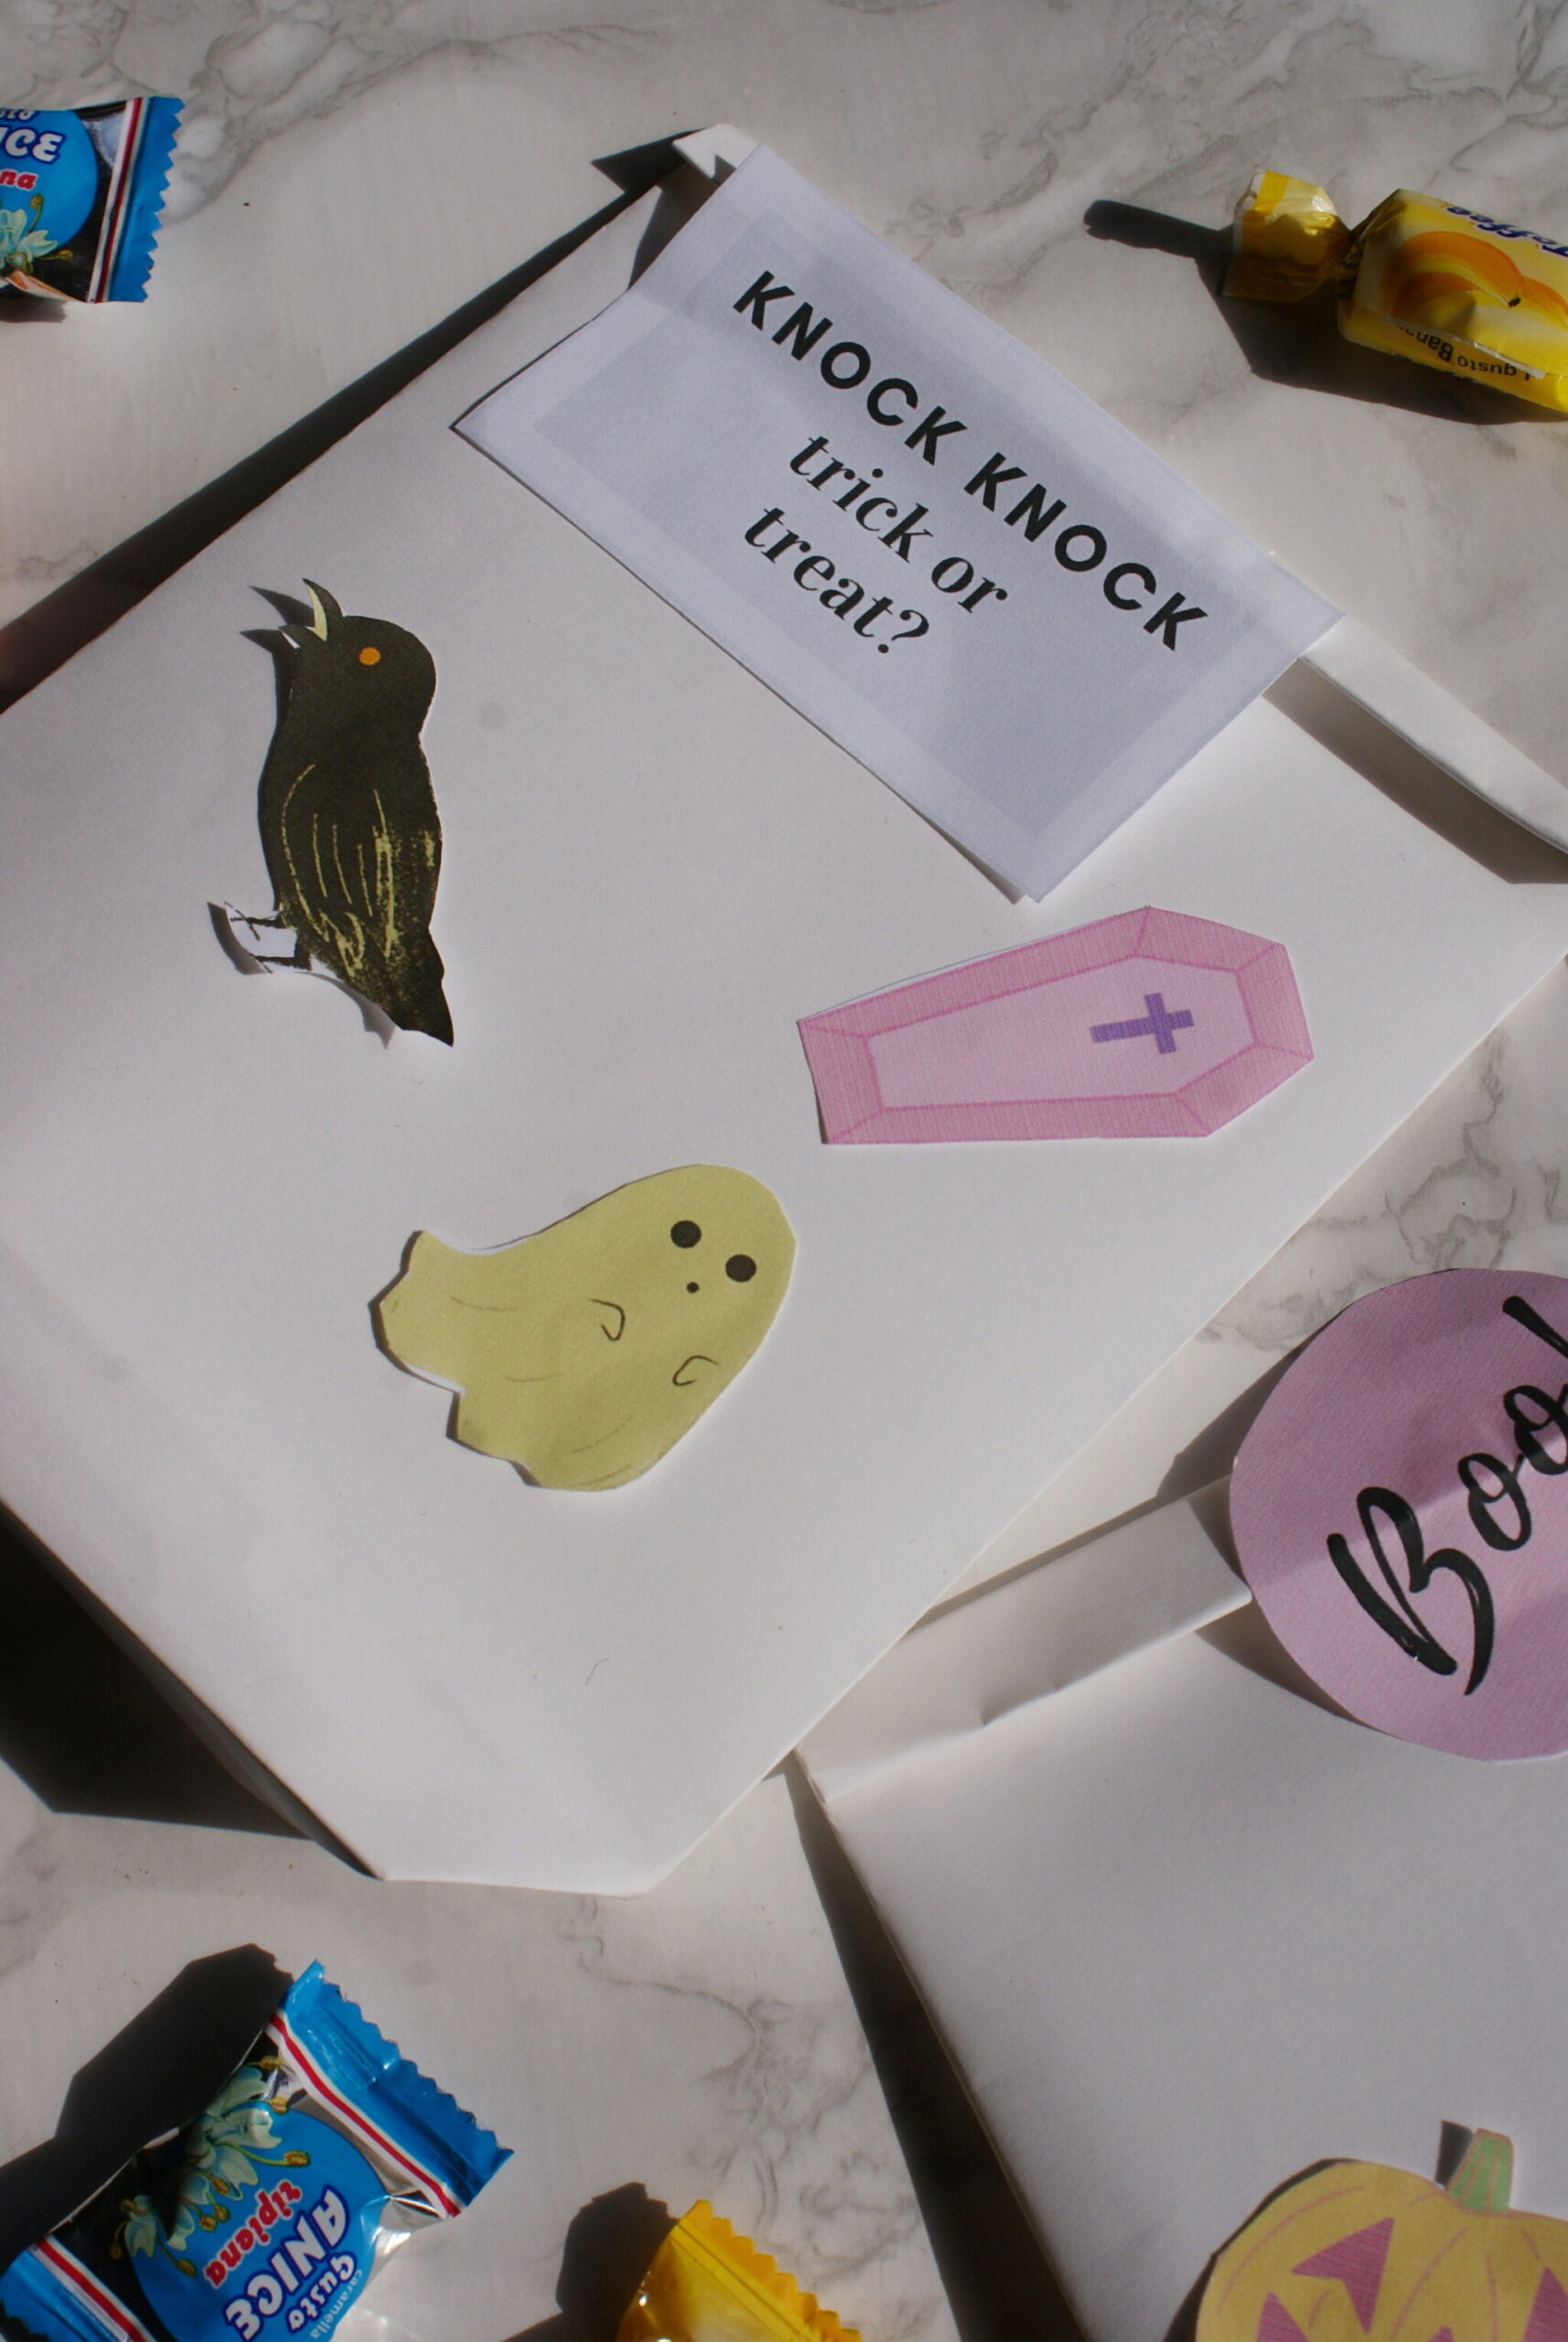
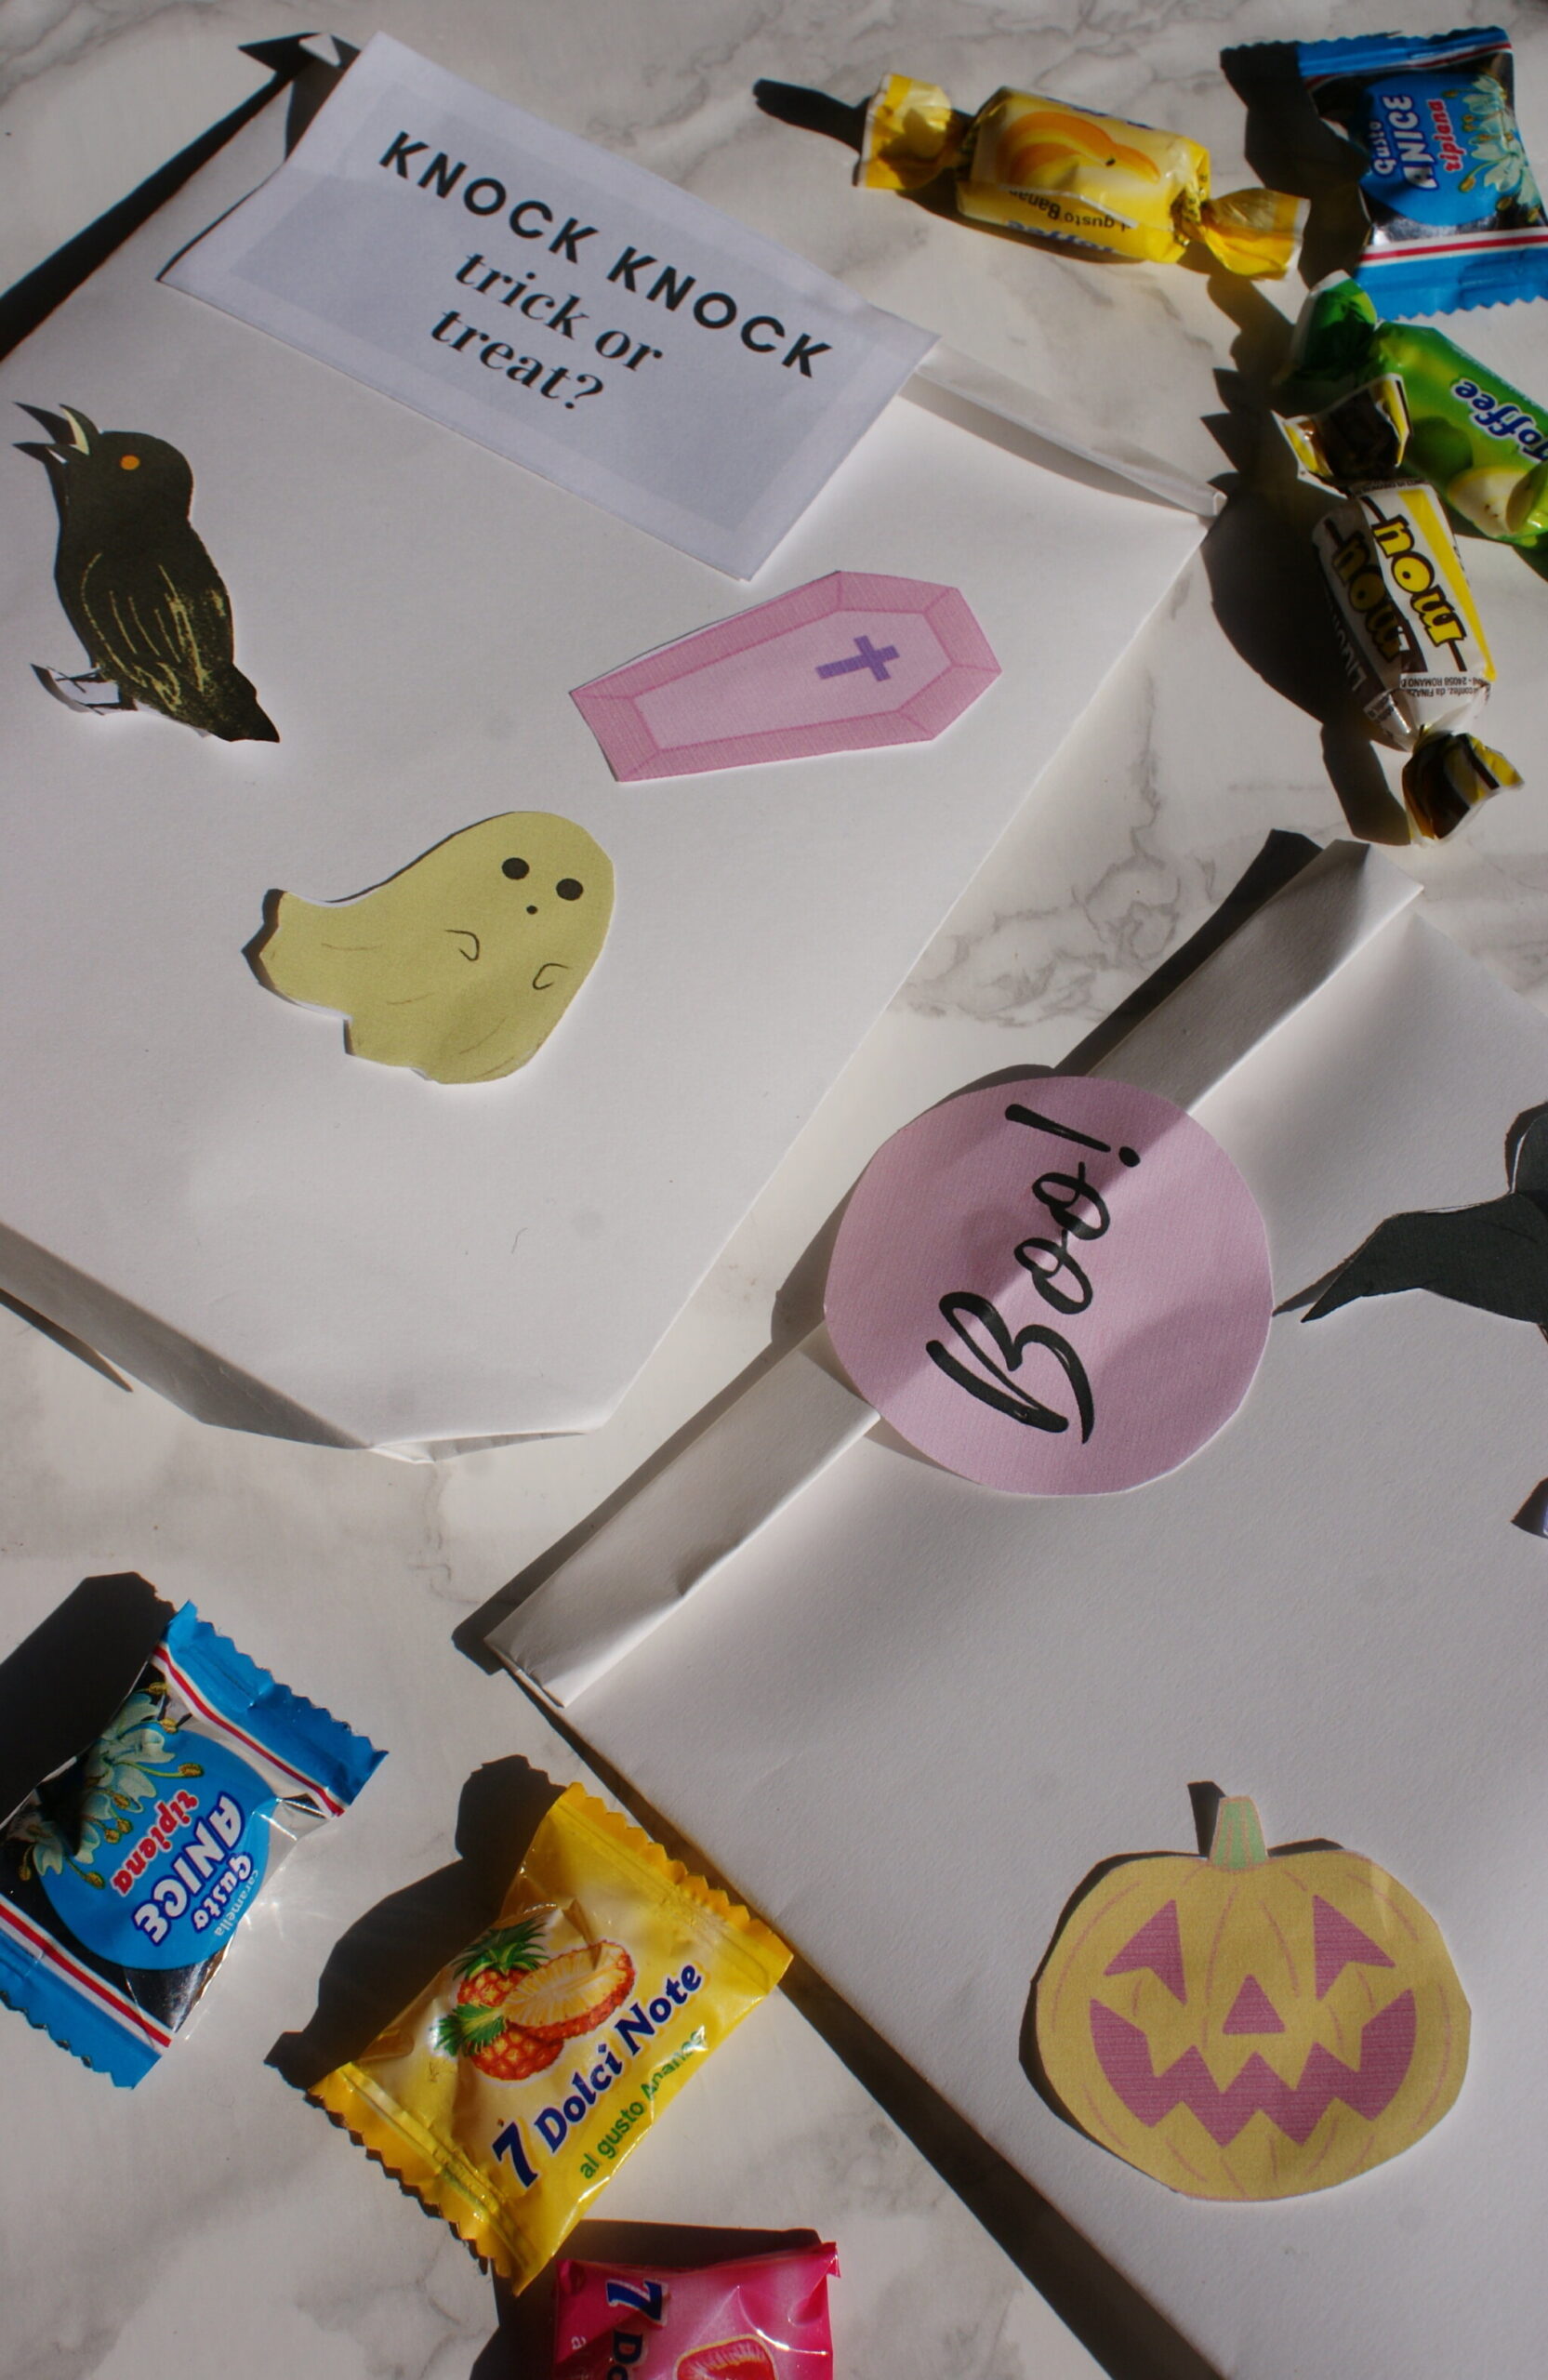
Did you like the post? Pin it on Pinterest! // Piaciuto il post? Condividetelo su Pinterest!
