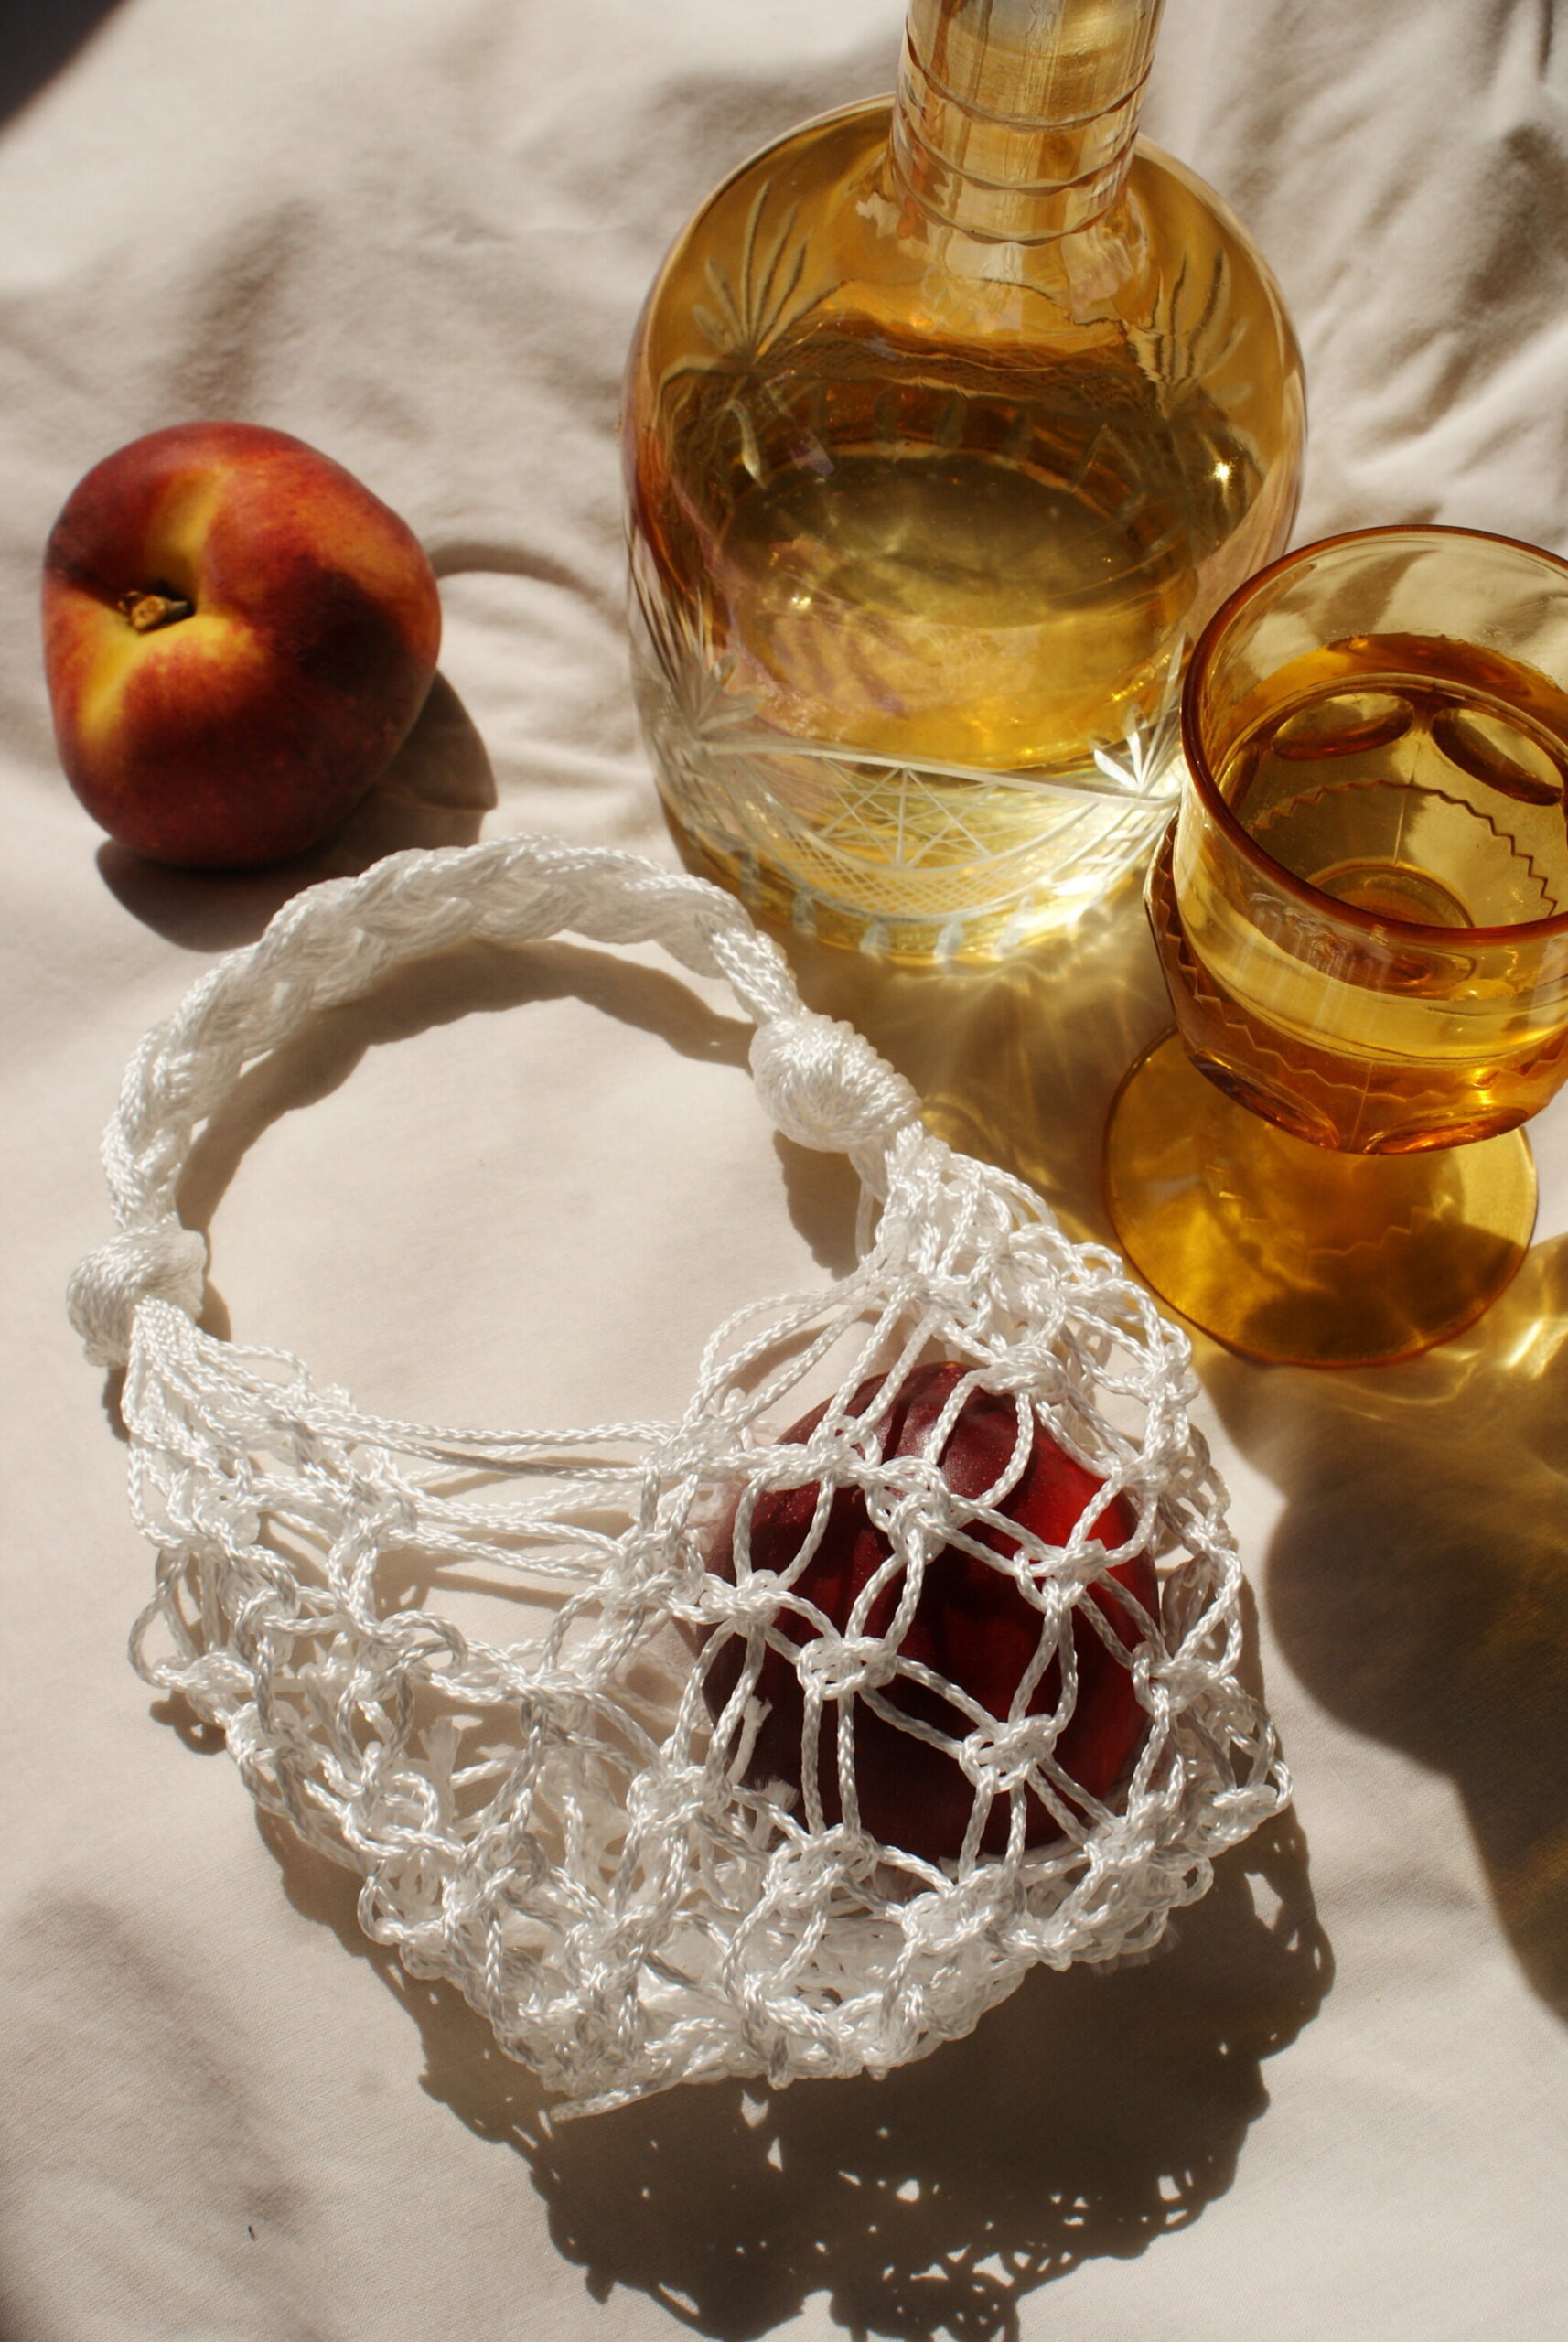
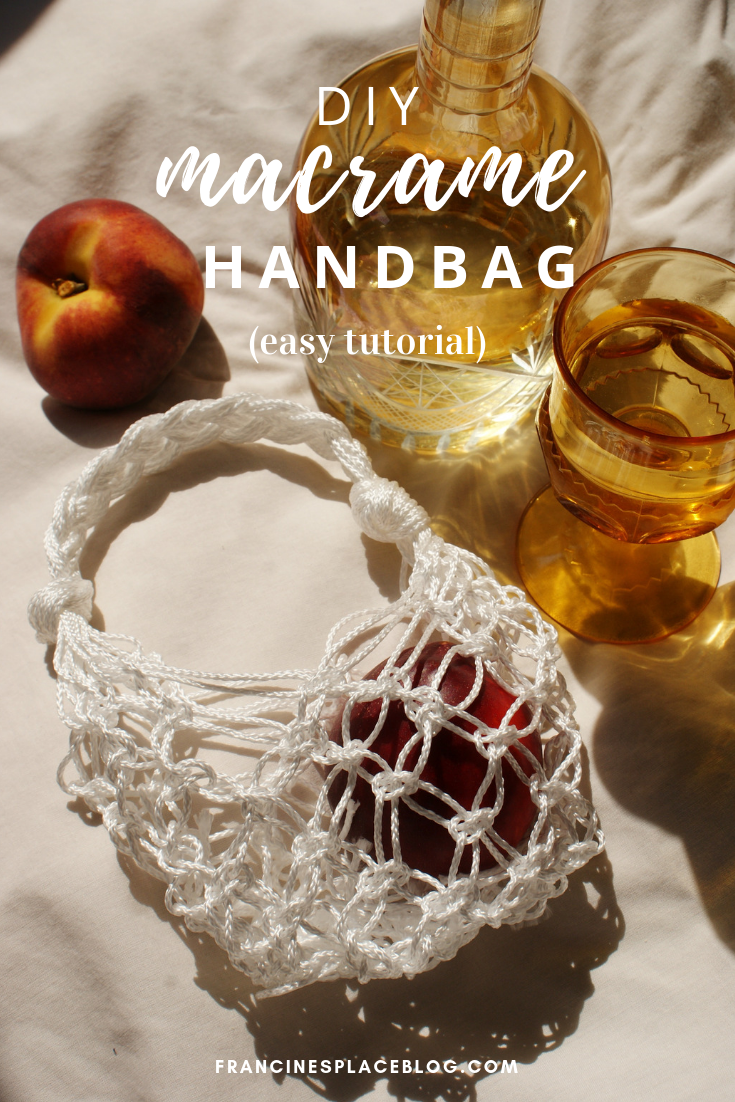
Cause macrame bags are a thing now and I couldn’t help doing one myself!
Is there something better than a cute new bag for almost no $$$? Follow this (easy) tutorial and you’ll have yours in less then one hour!
//
Dato che le borse macrame vanno tanto di moda ora, non ho resistito a farne una con le mie mani!
Perché diciamocelo, quanto è bello avere una borsa nuova senza spendere quasi un euro? Seguite questo (semplice) tutorial e avrete la vostra in meno di un’ora!
All you need to make this bag is rope and scissors. Ad patience, of course. Cause once you get started it is easier than you think, but it requires some time (it took me about 30 minutes). Perfect if you’re looking for a distraction from the crazy hot weather of if you’re already on holiday (lucky you). If you are a beginner at macrame, you can learn the basics here.
//
Tutto ciò che vi occorre è della corda e delle forbici. E pazienza, ovviamente. Perché una volta partite sarà più semplice del previsto, ma vi porterà via un po’ di tempo (a me mezz’ora). Ottimo se state cercando una distrazione dal caldo di questi giorni, o se siete già in vacanza (fortunate voi, un po’ vi odio! Scherzo :D). Ah, e se siete principianti in quanto a macrame, trovate le basi qui.
***
You need // Vi occorre:
- 20 ropes of 1,5 mt (1,6 yd) each. Note that these measures are okay for a little handbag like the one I made, if you want a bigger bag consider to use ropes of at least 2 mt (2,1 yd). // 20 pezzi di corda da 1,5 mt l’uno. Notate che queste misure vanno bene per una borsetta come la mia, se la volete più grande usate corde da almeno 2 metri l’una.
- scissors // forbici
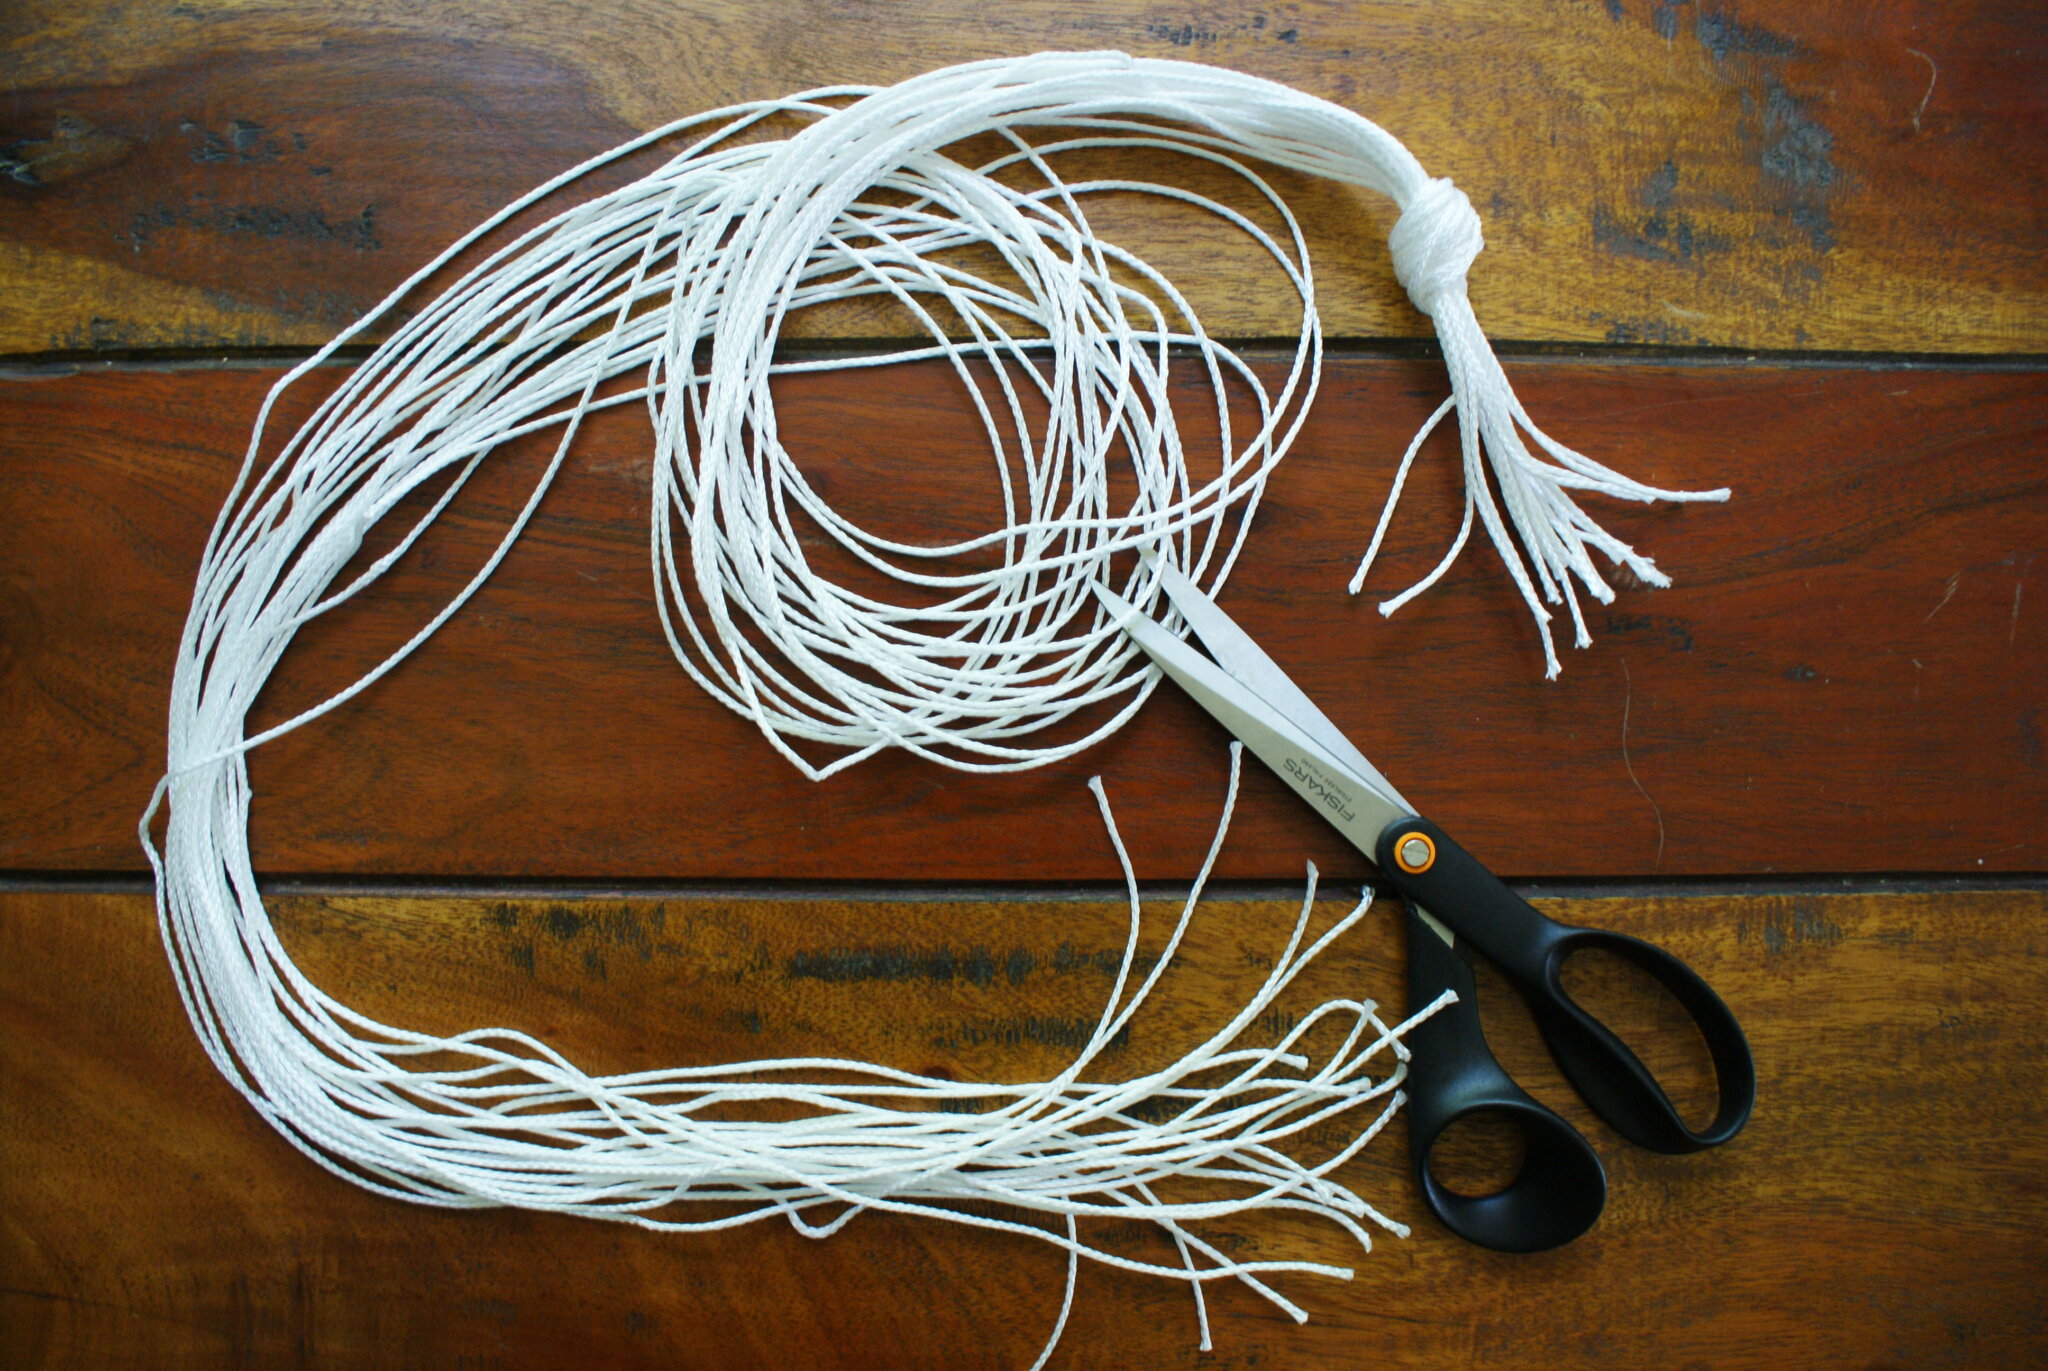
How to // Come procedere:
1)
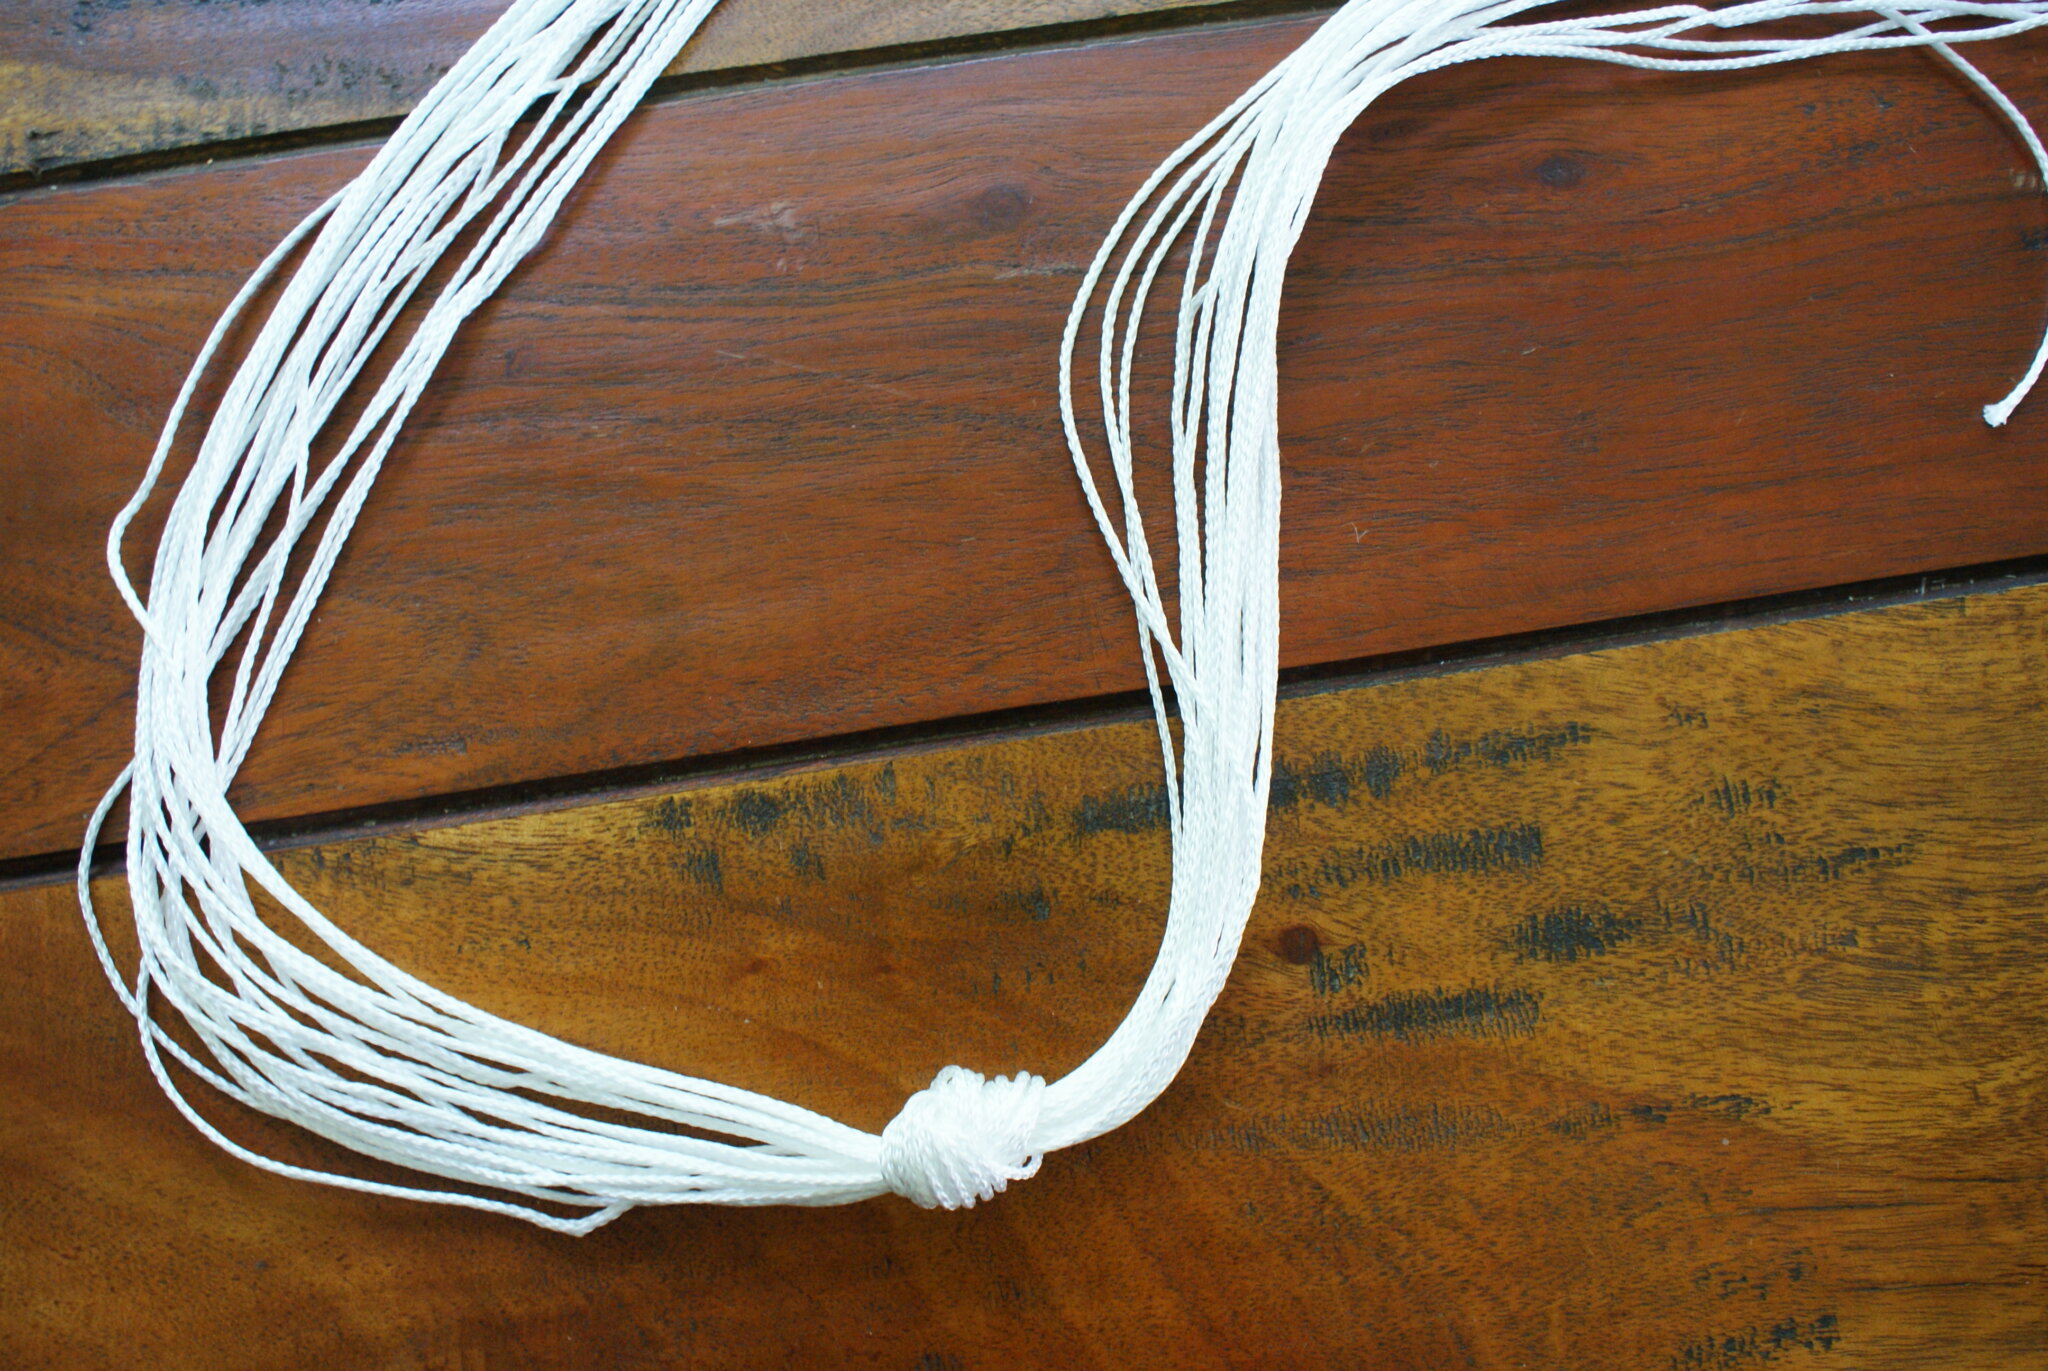
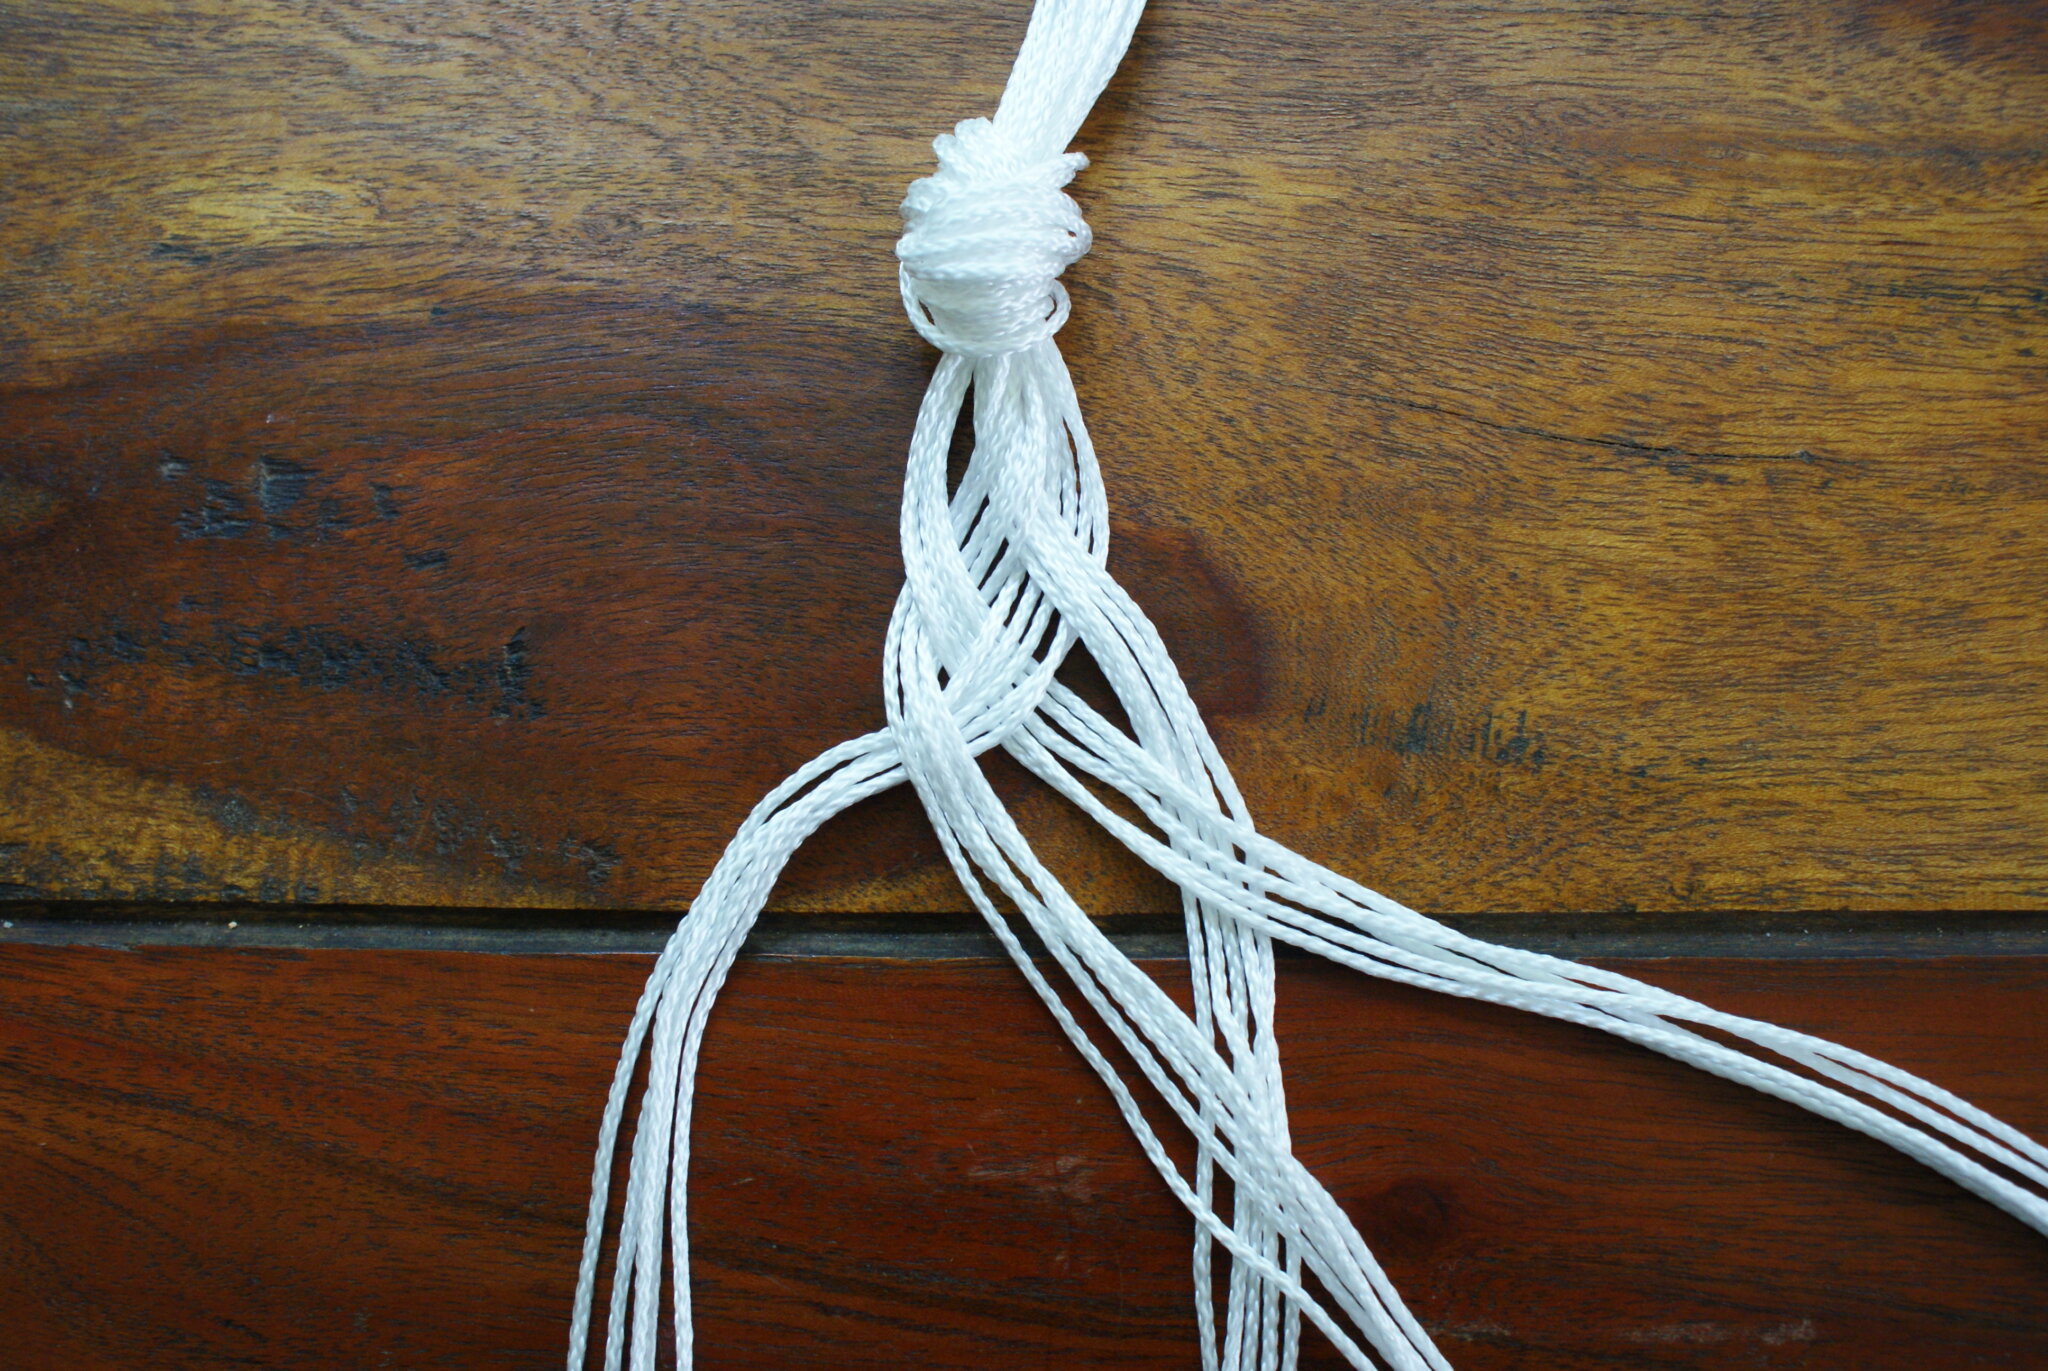
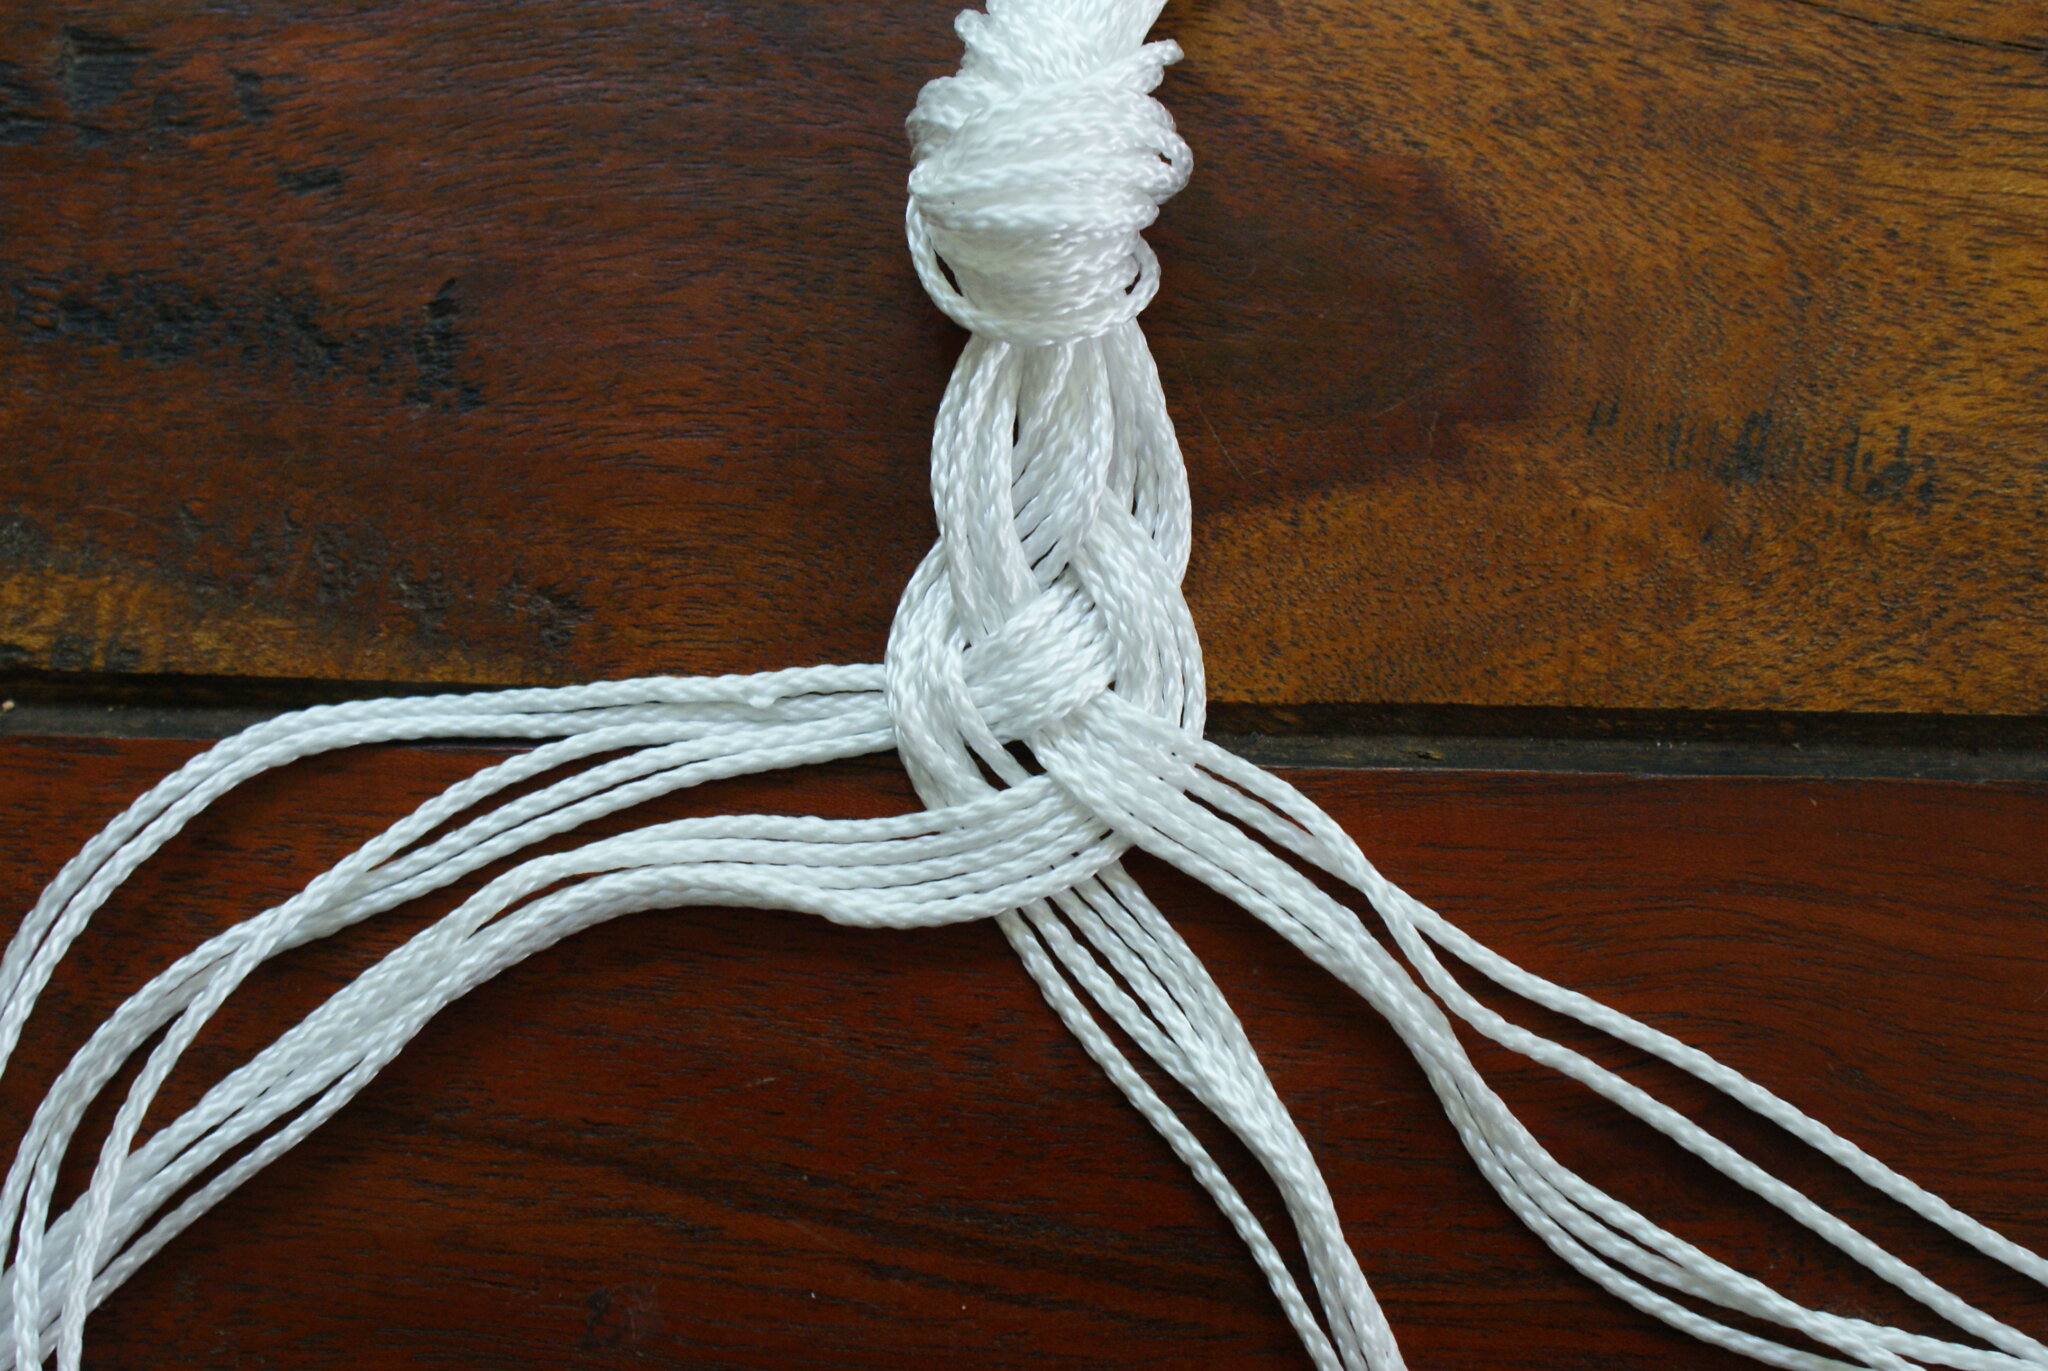
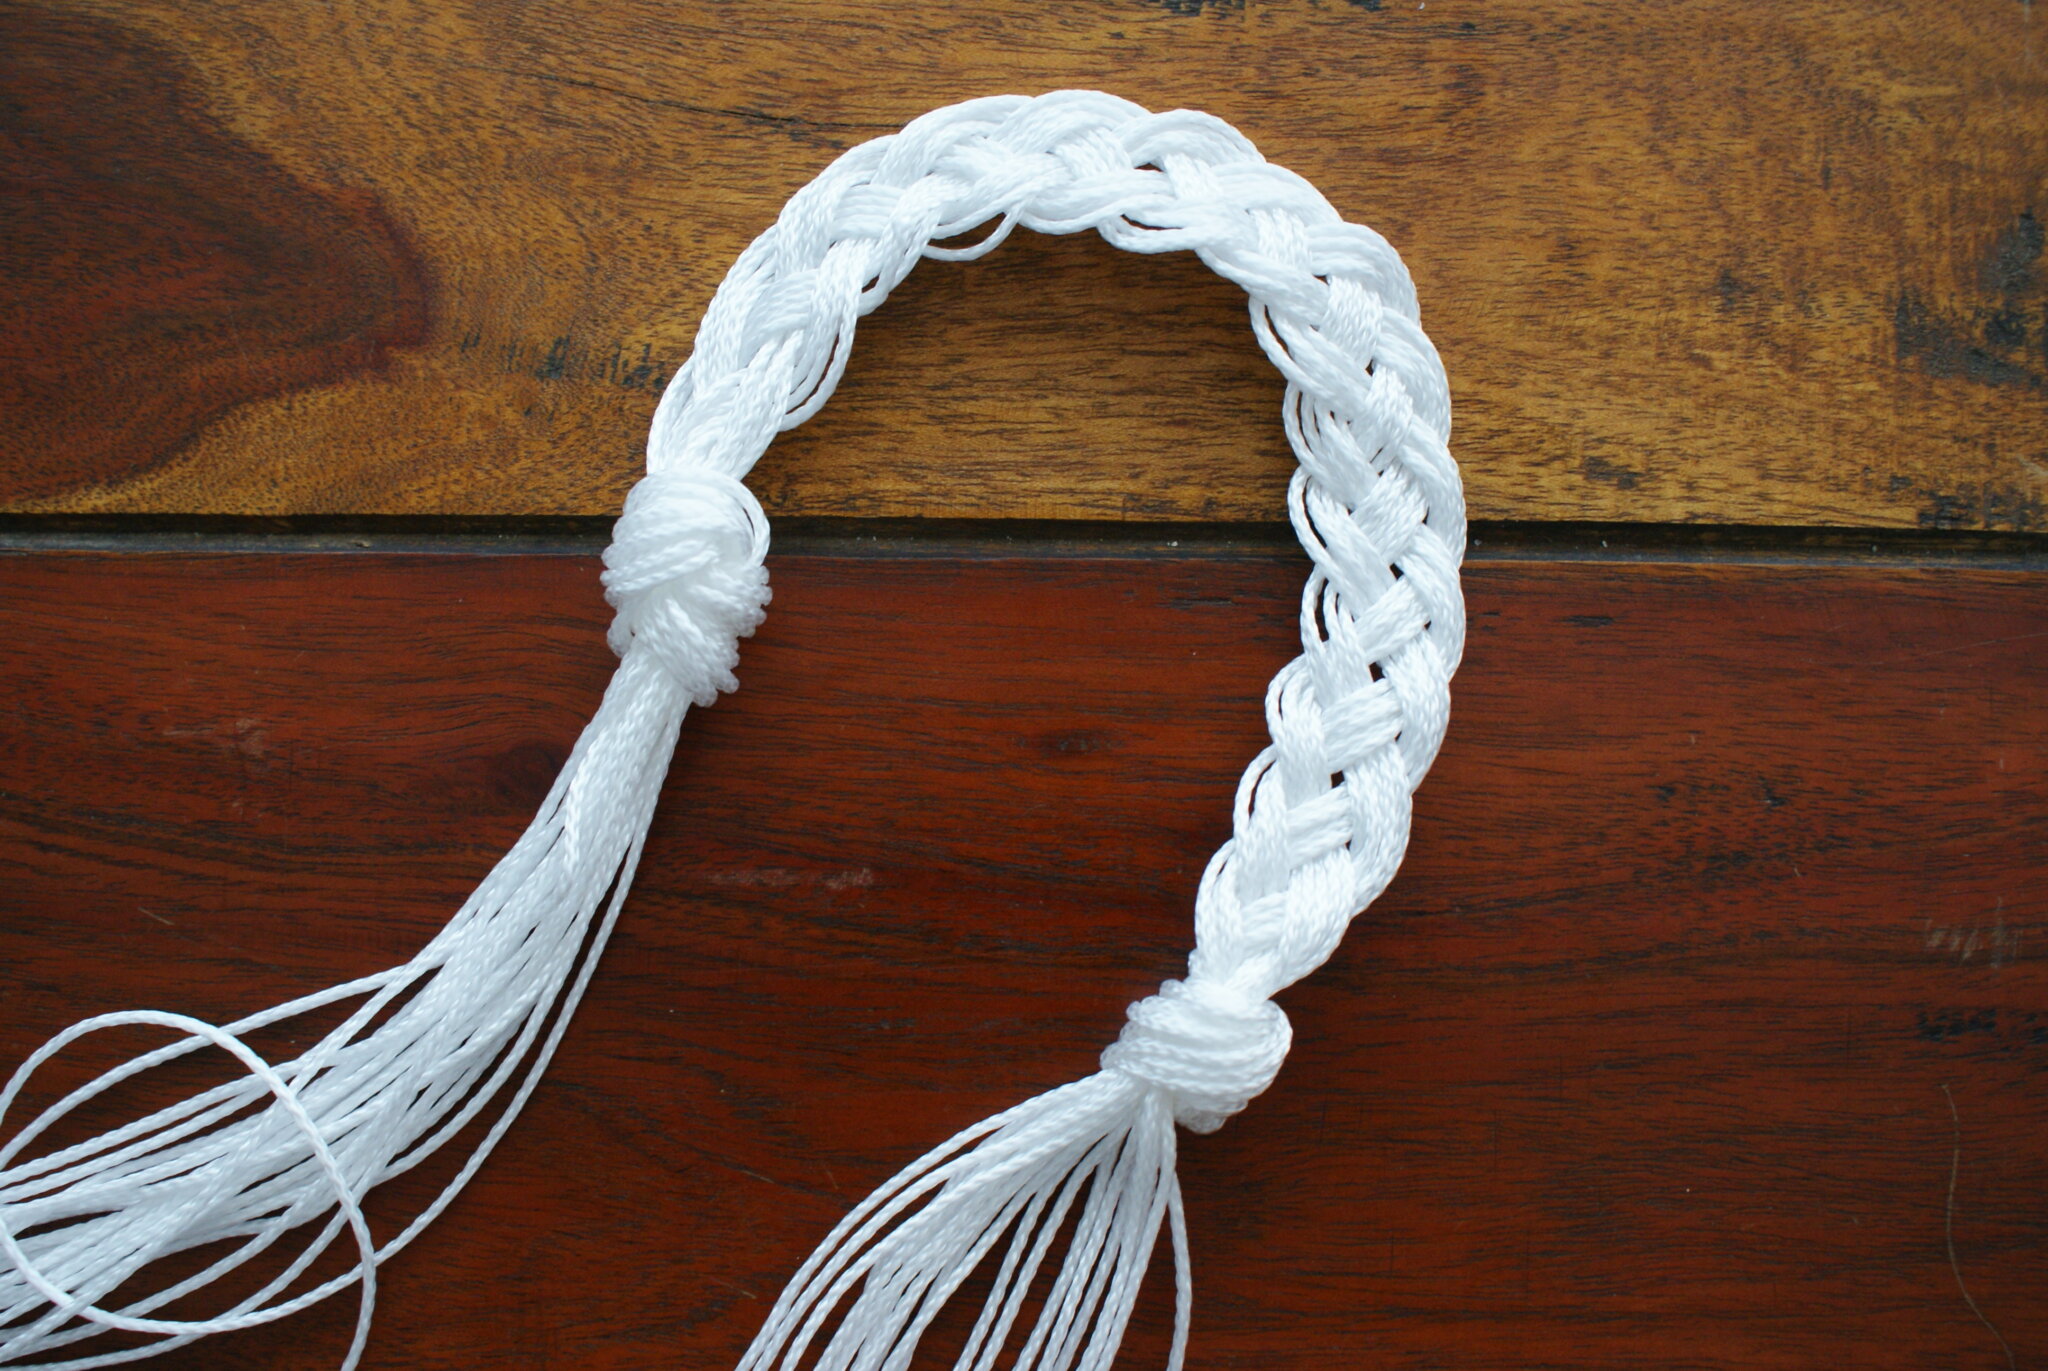
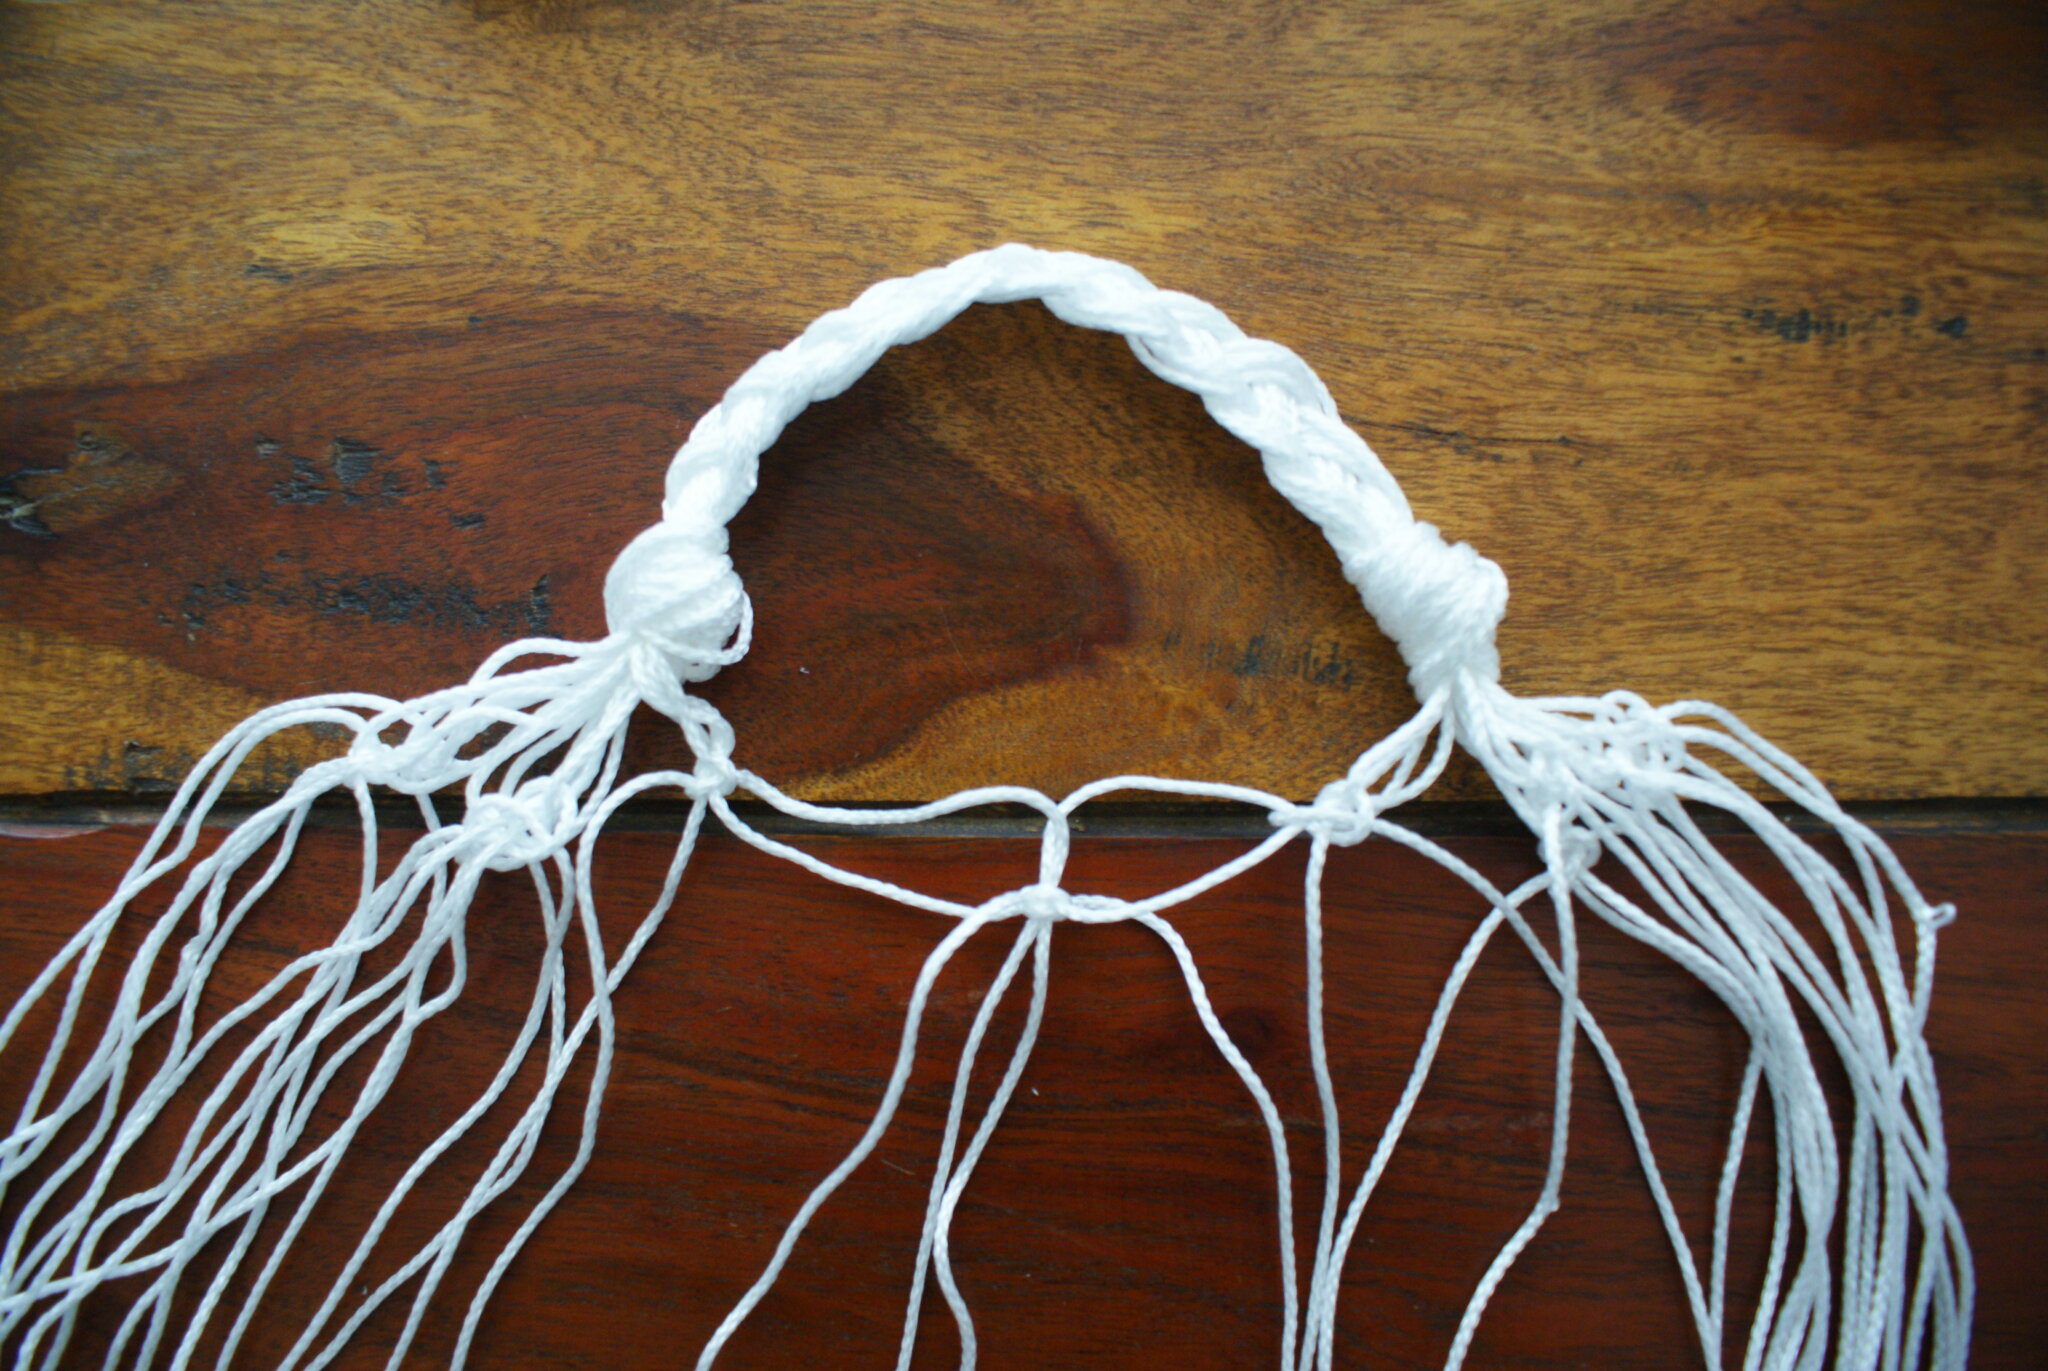
We’ll make the handle of the bag first. Fold the ropes in half and measure about 30 cm (11 in) – 15 cm (6,5 in) left and right from the half. Make a knot at cm 1 then divide the ropes in 4 parts. Make a 4 parts braid until you get the 30 cm measure then make another knot to close the handle. If this is too much for you, you can opt for just making two knots and avoid the braid part! // Innanzitutto faremo il manico della borsa. Piegate le corde a metà e misurate circa 30 cm, ovvero 15 cm a destra e sinistra della metà. Fate un nodo al cm 1 e dividete le corde in 4 parti, per poi fare una treccia a 4. Arrivate alla lunghezza di 30 cm, fate un altro nodo e chiudete così il manico. Se è troppo per voi potete anche solo fare i due nodi ed evitare la treccia!

2)
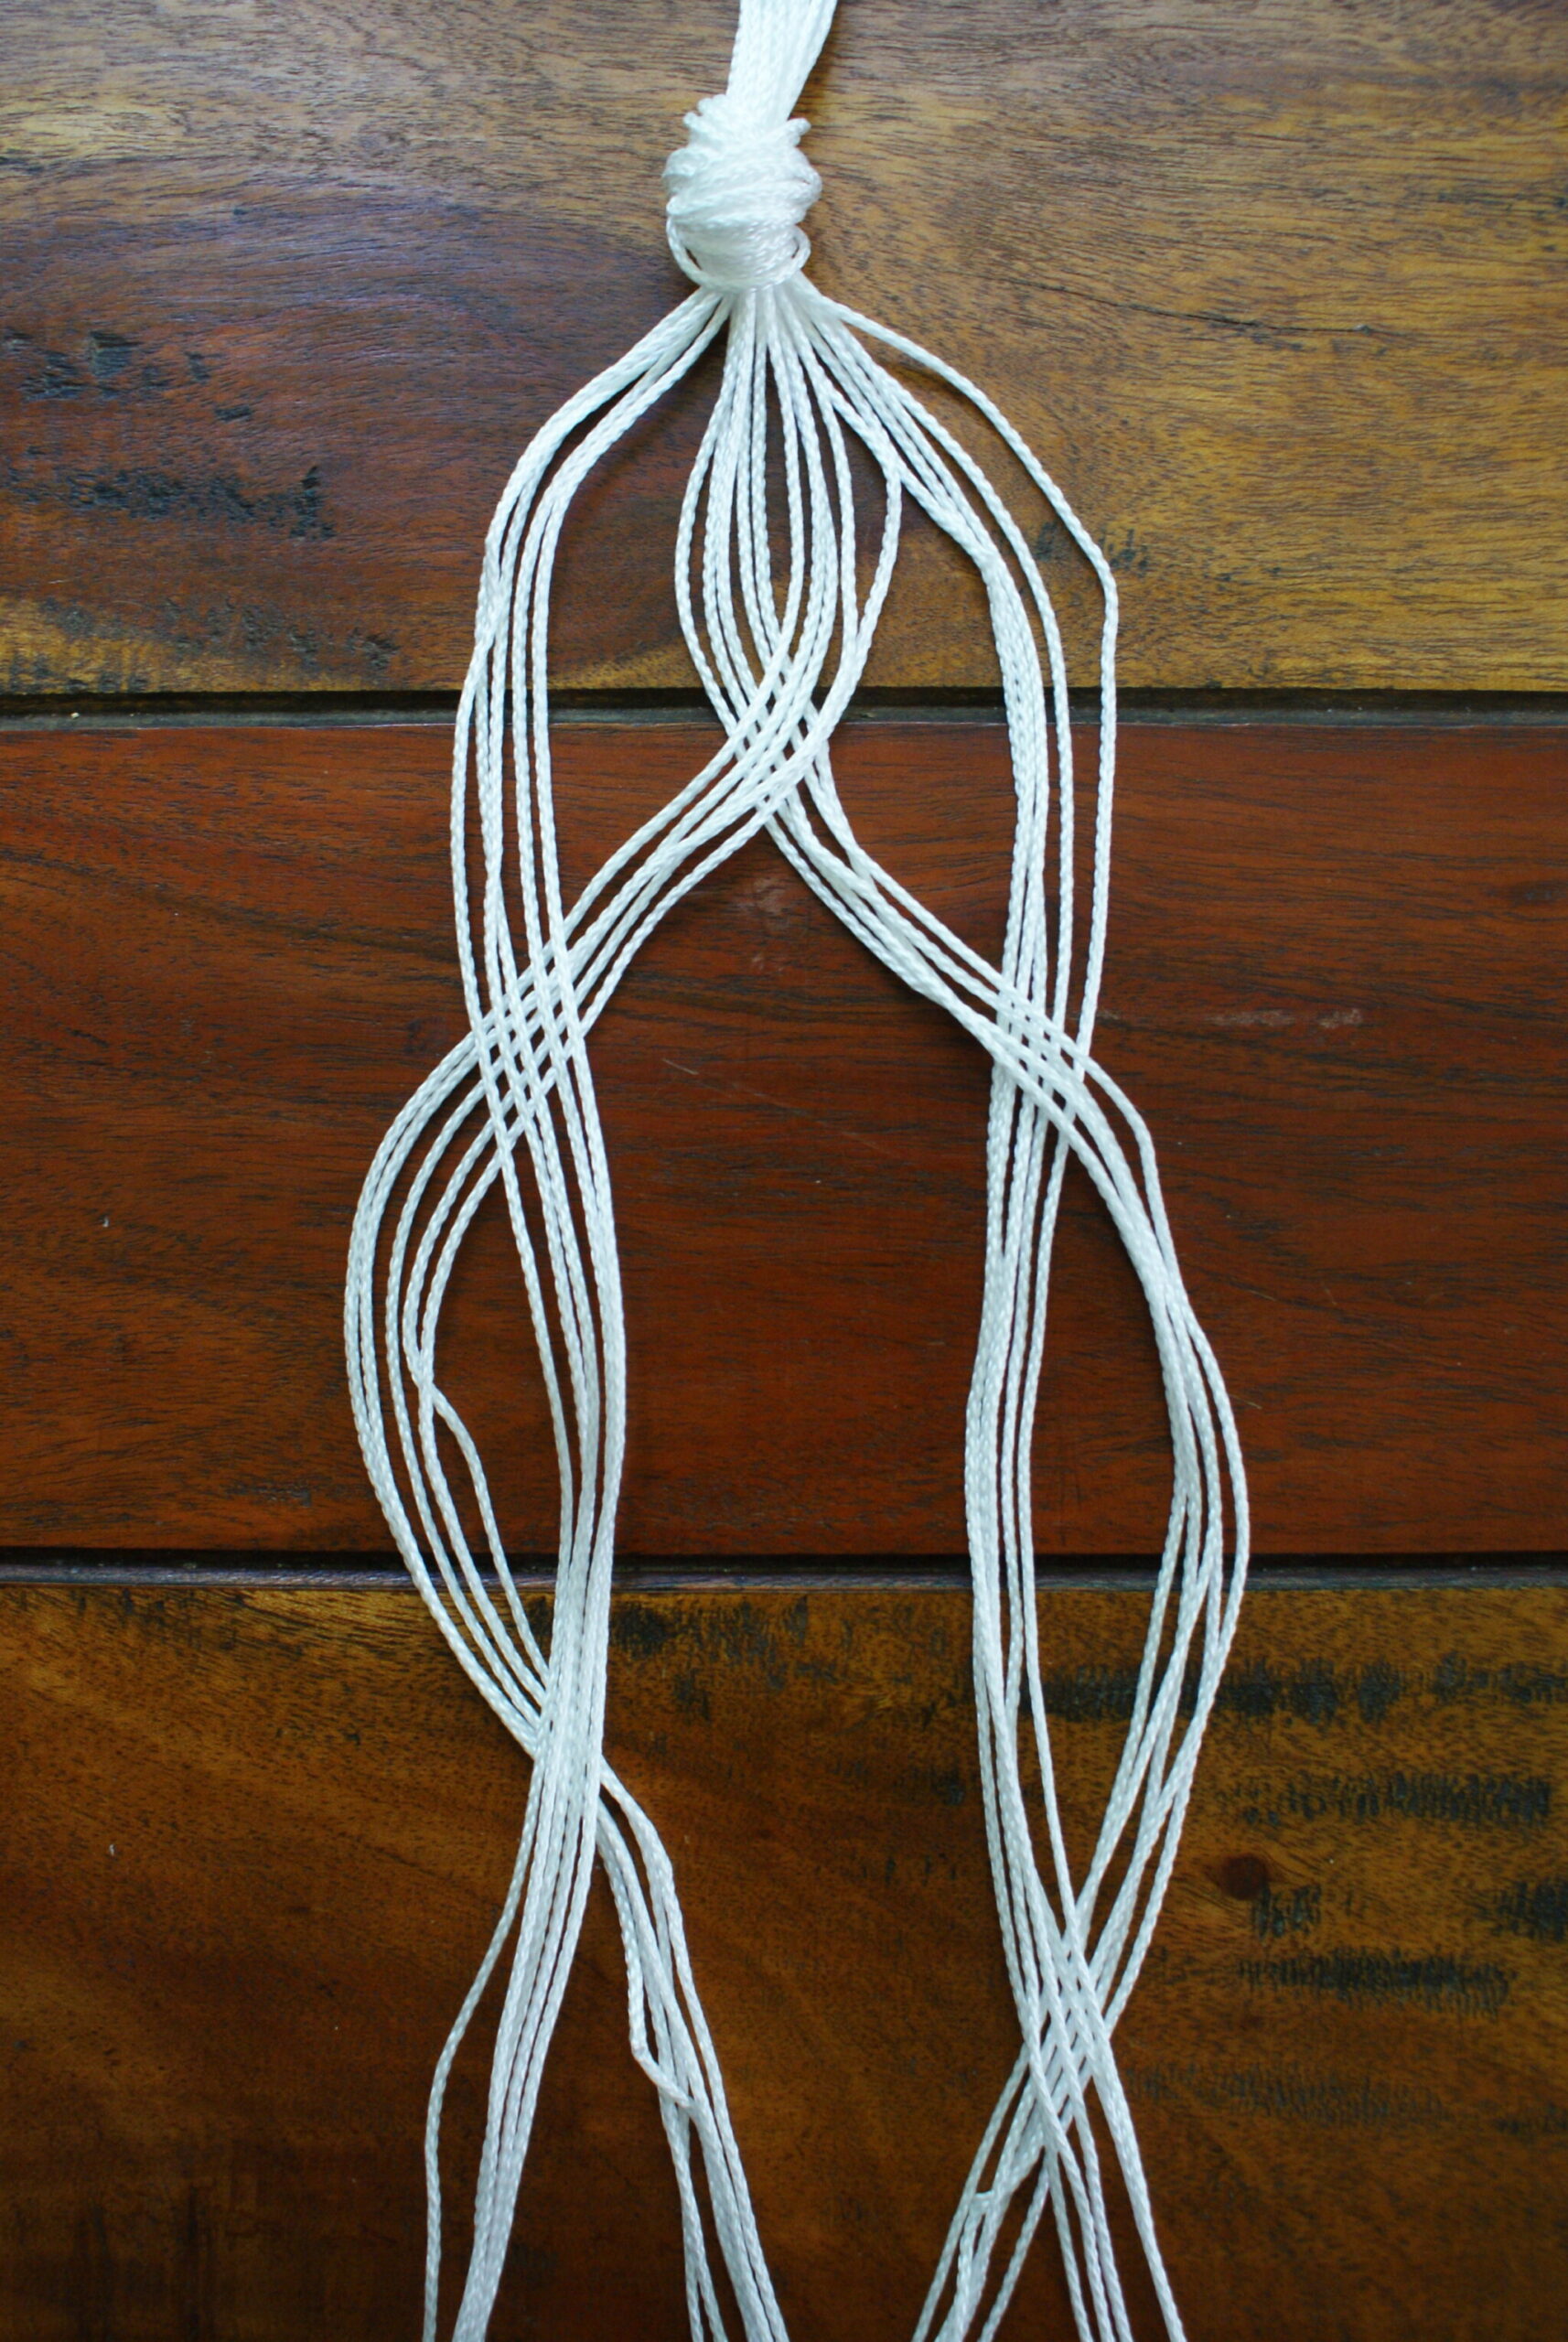
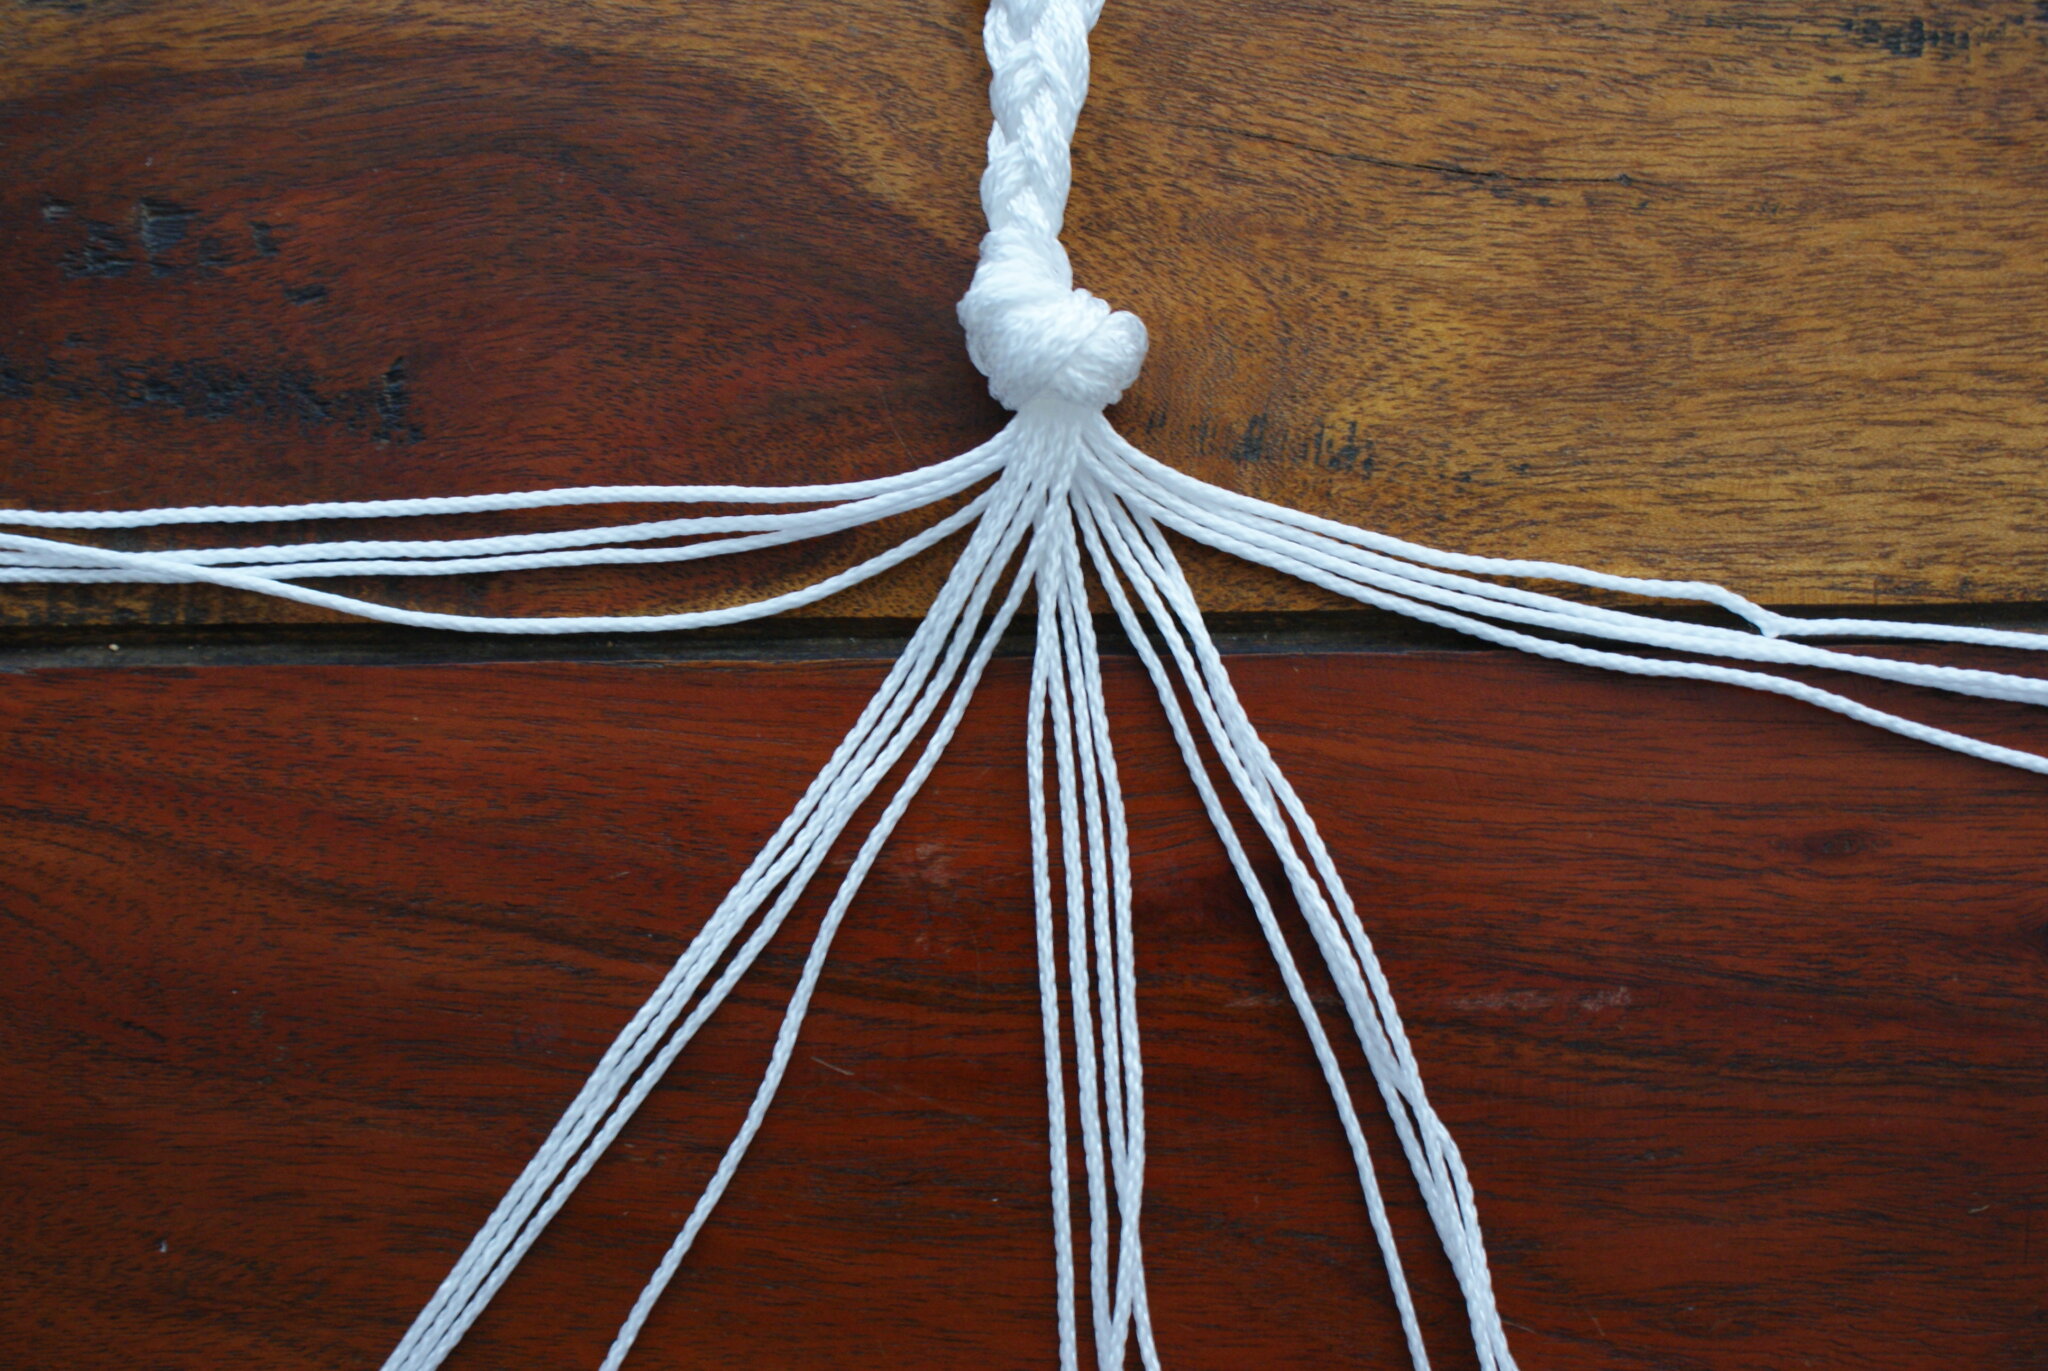
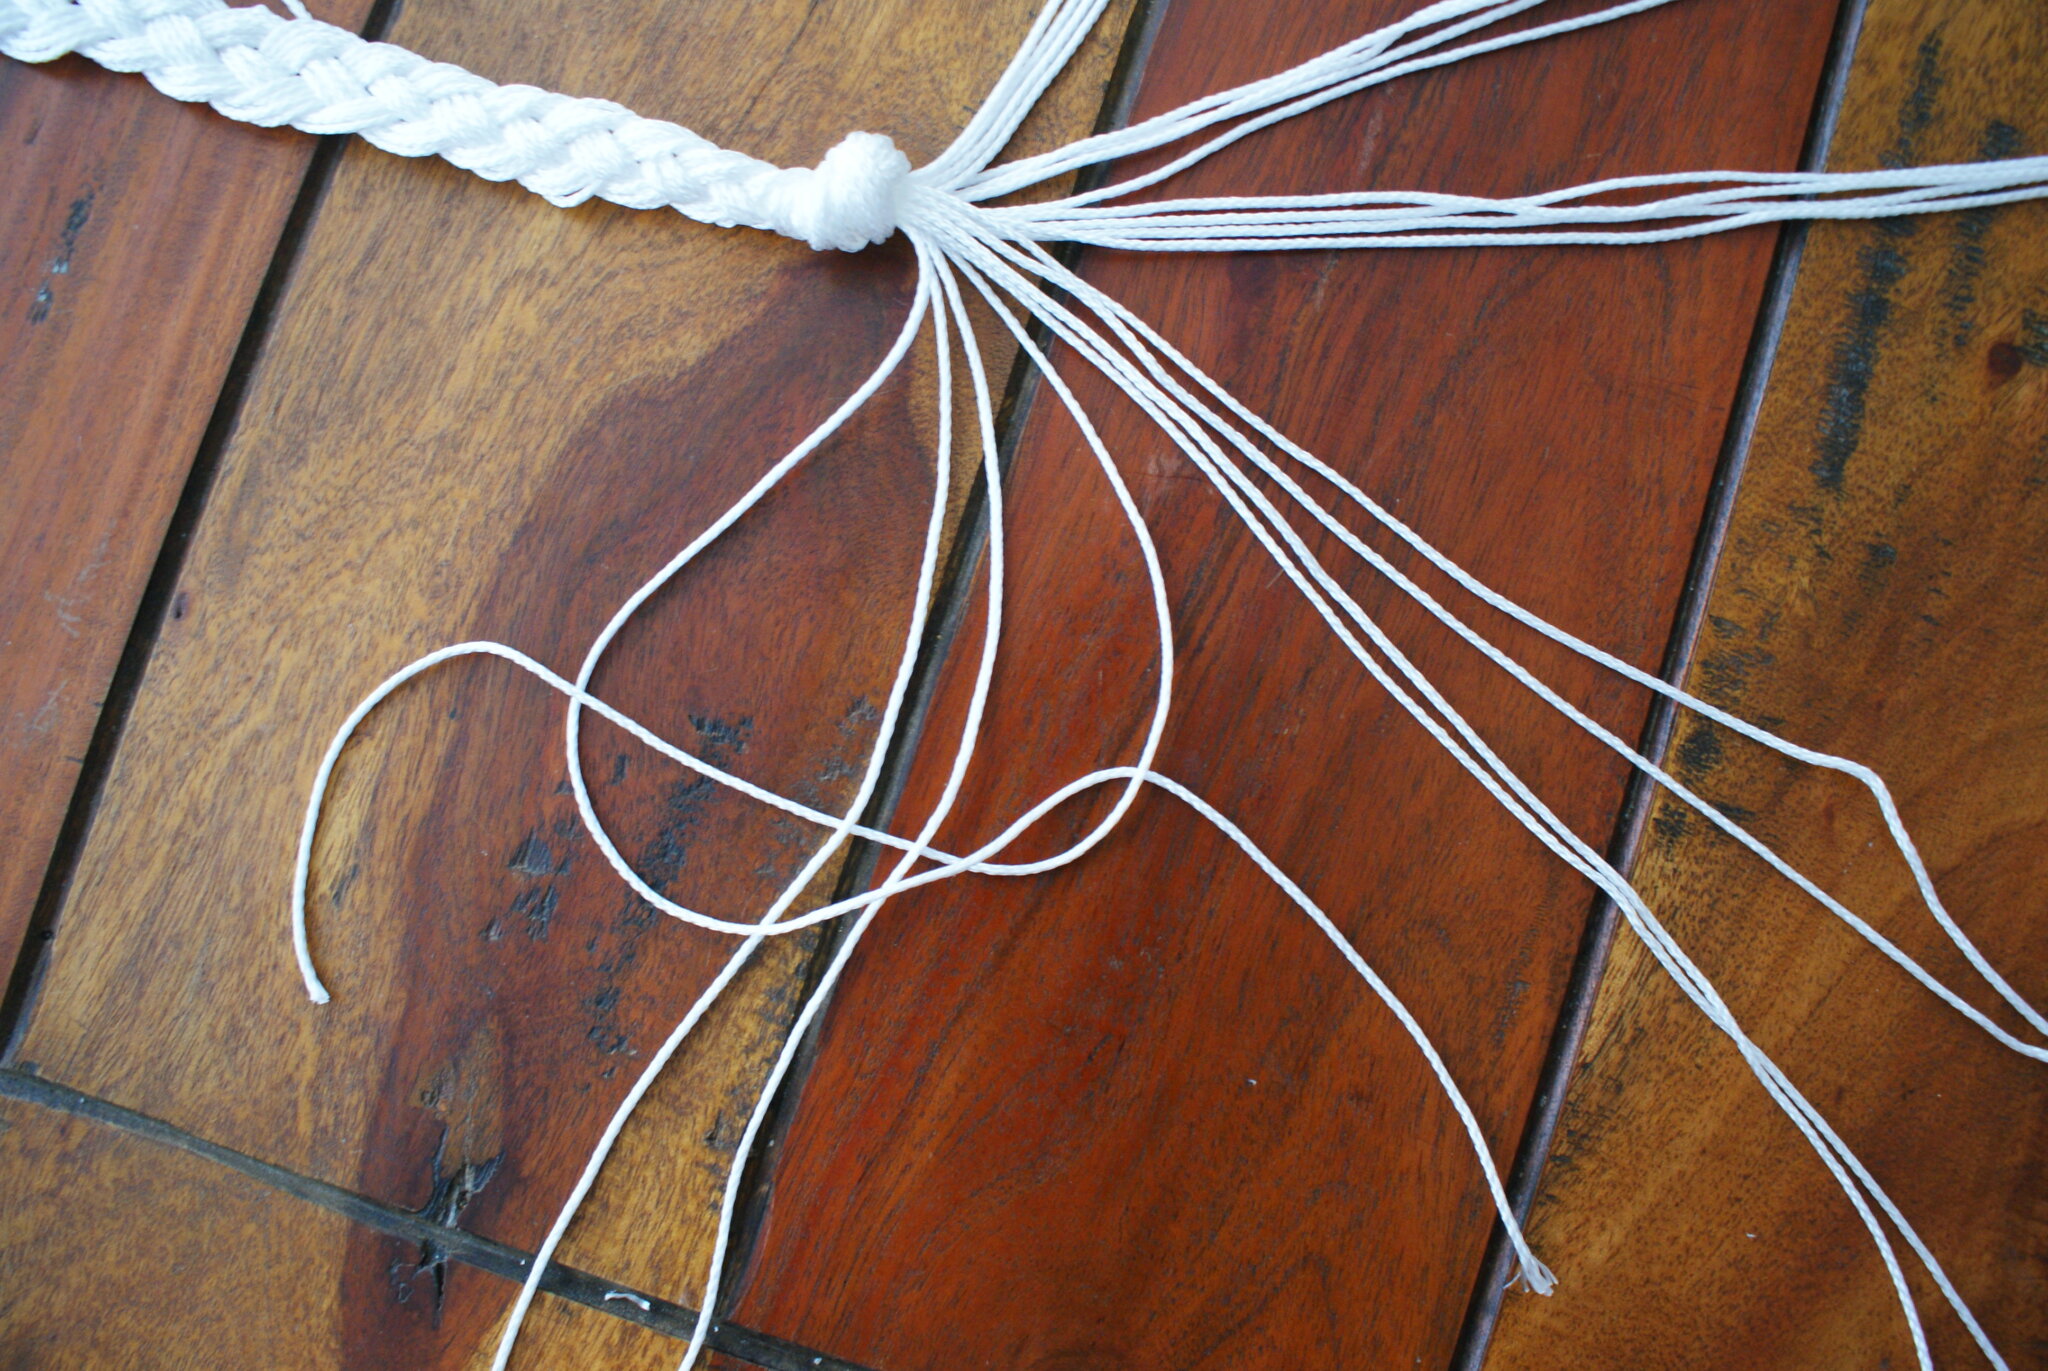
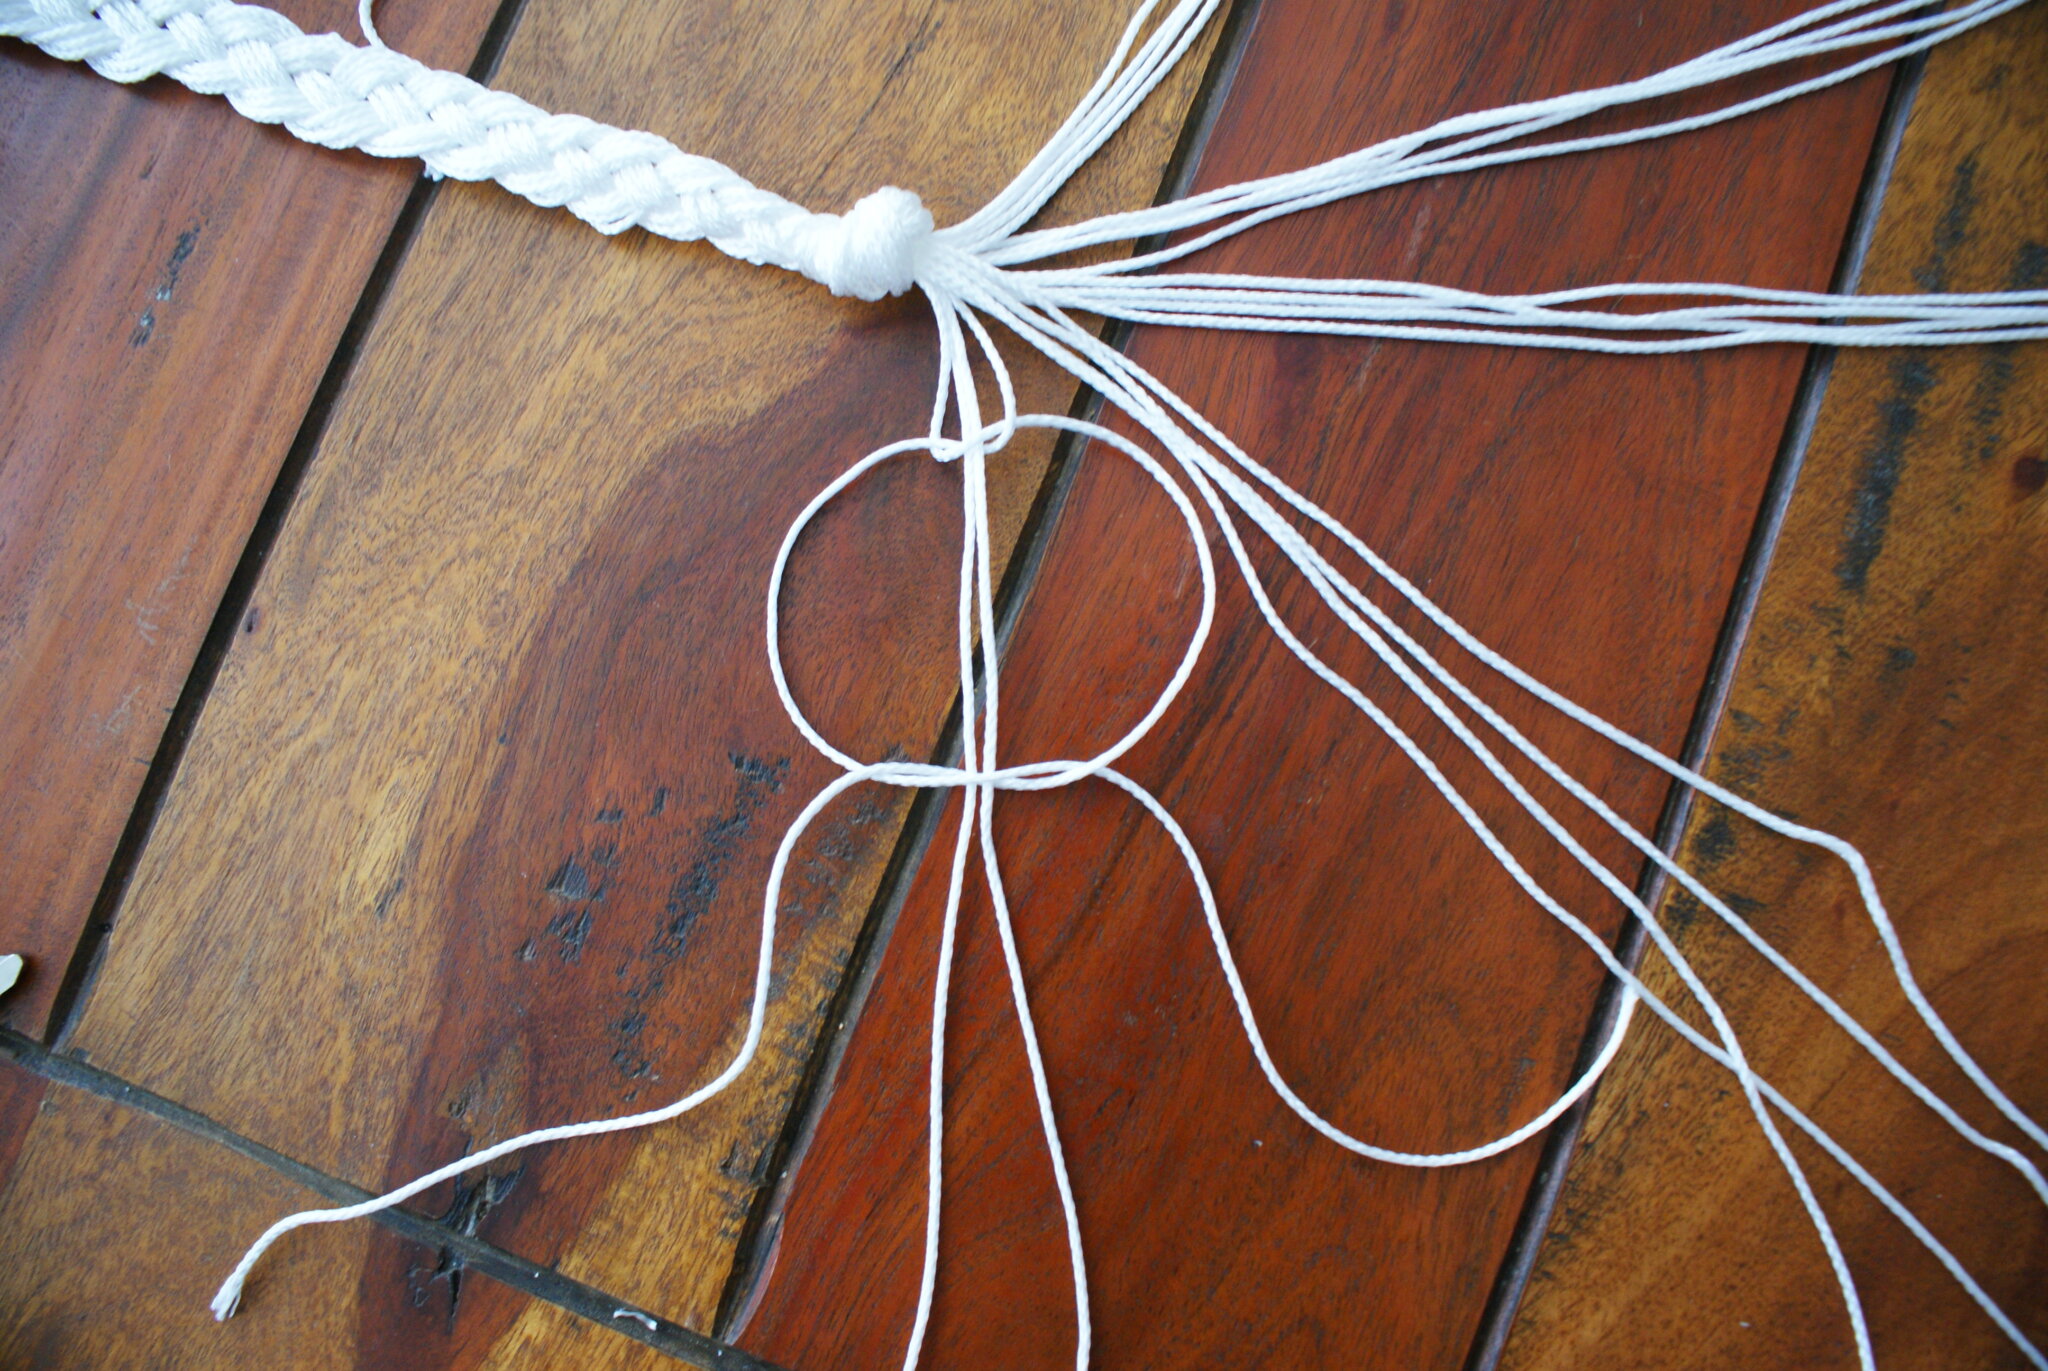
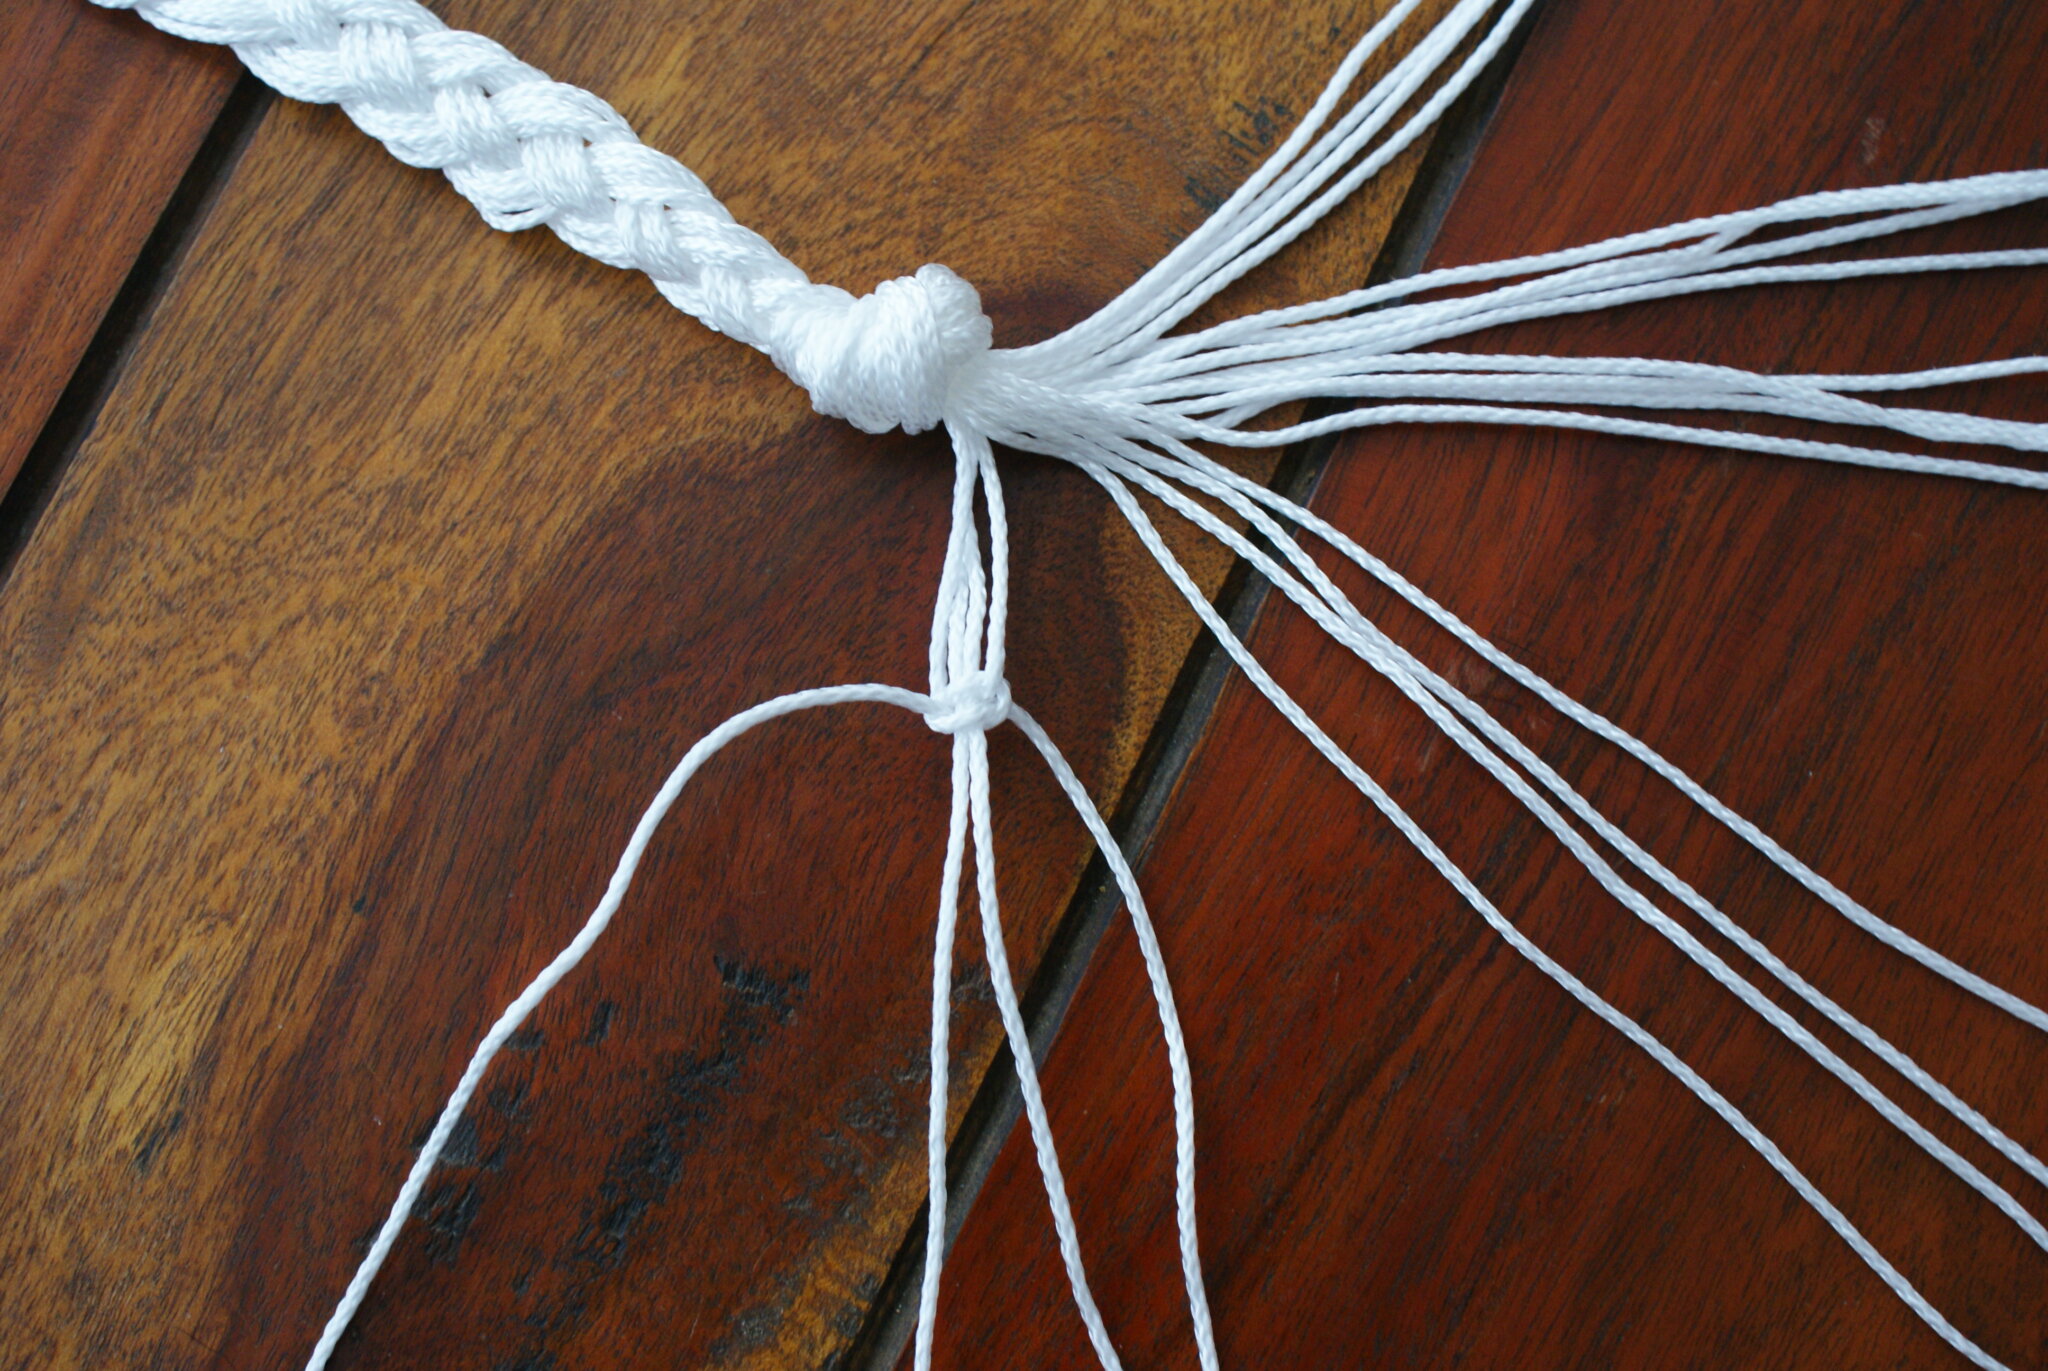
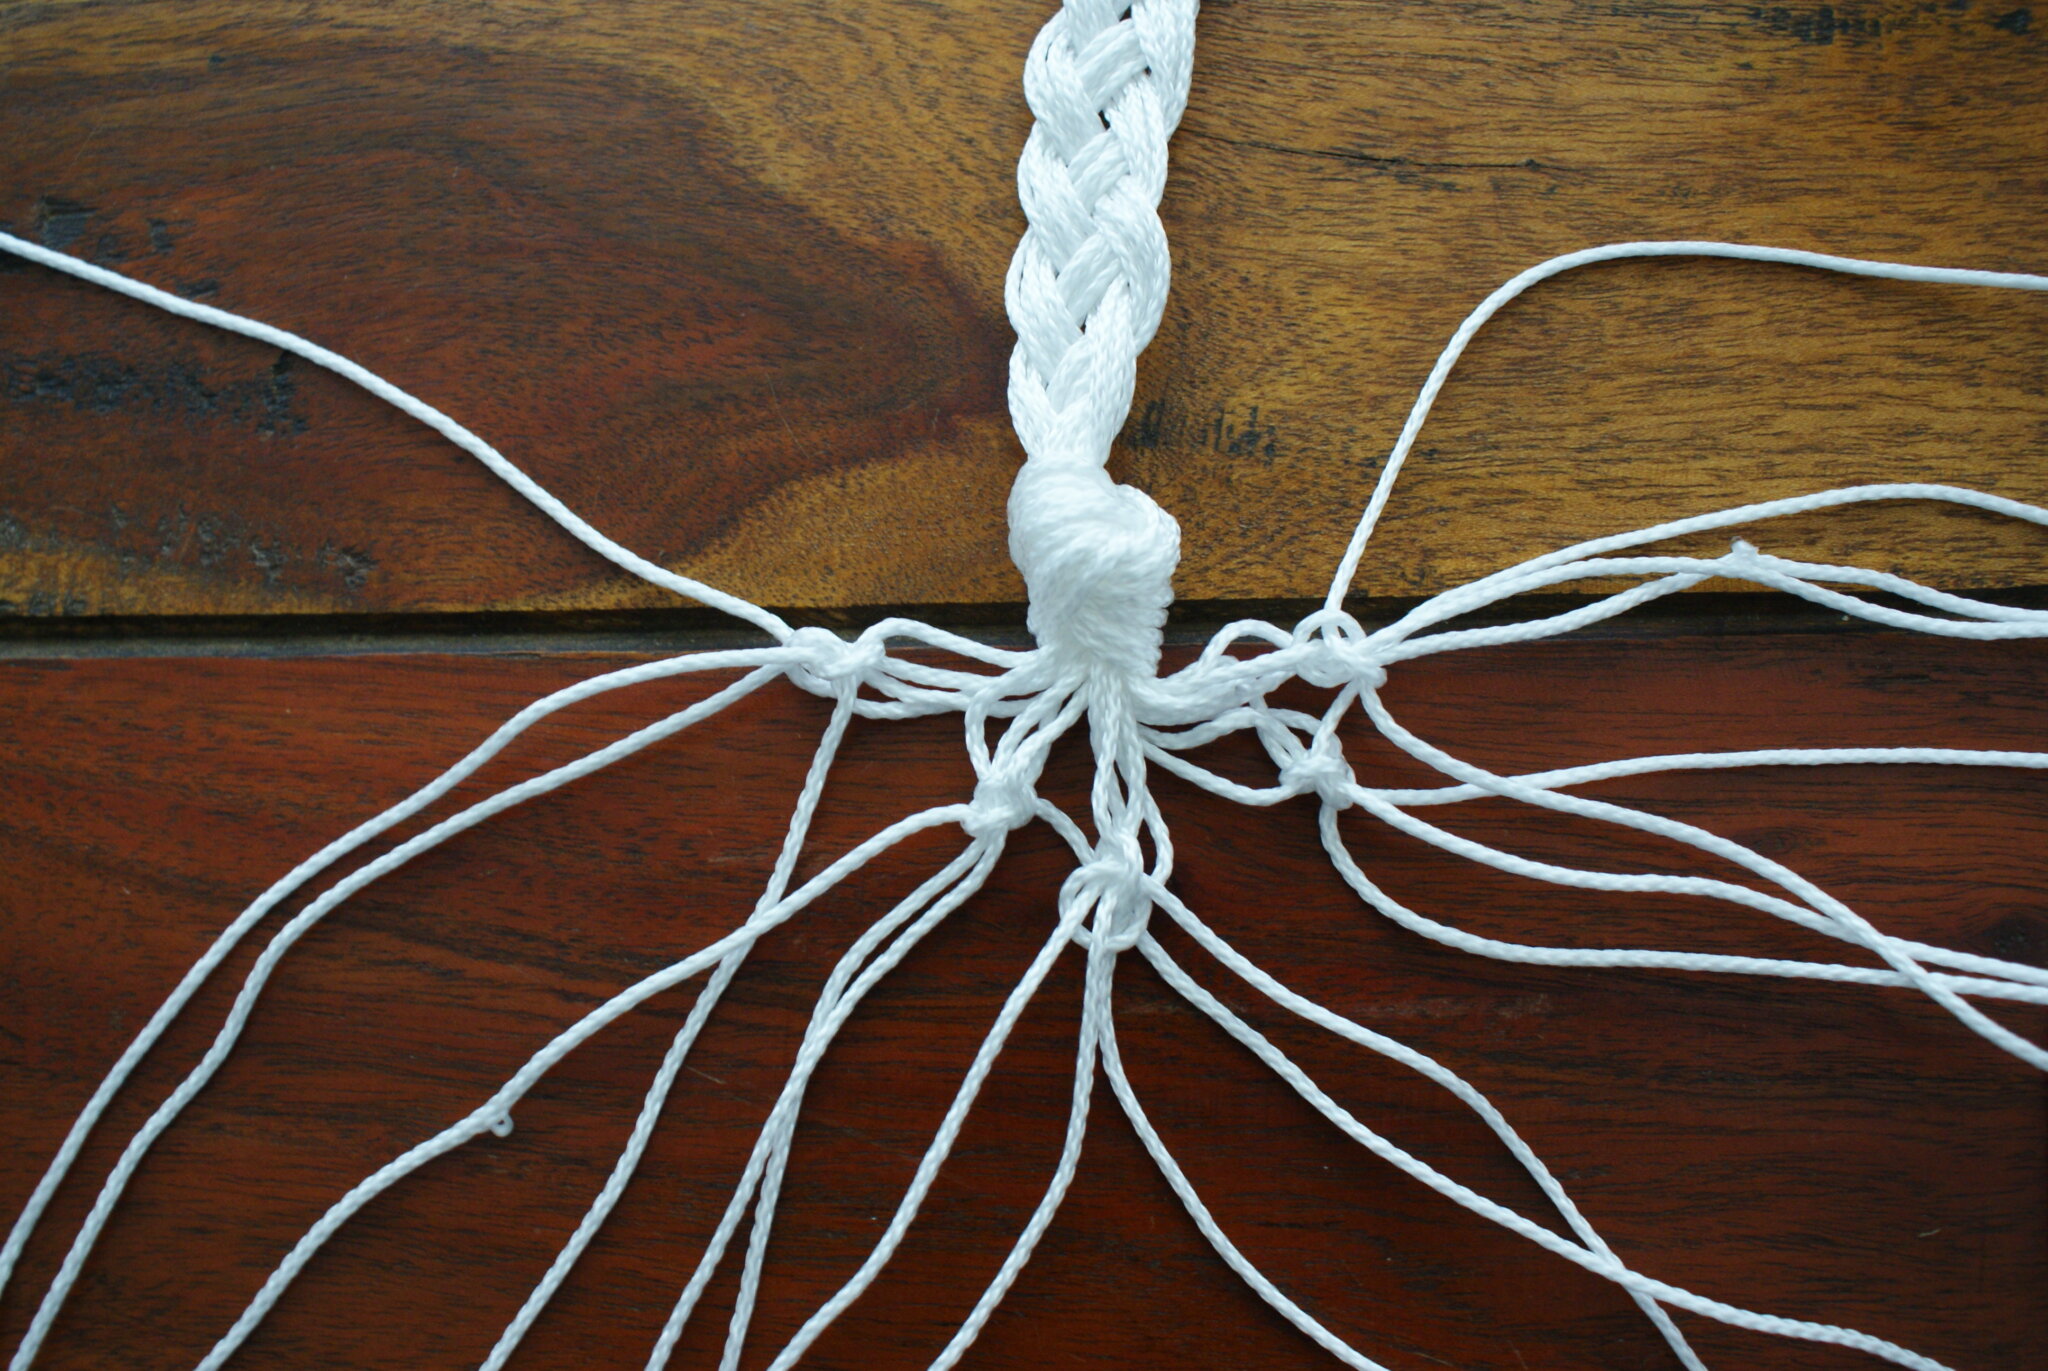
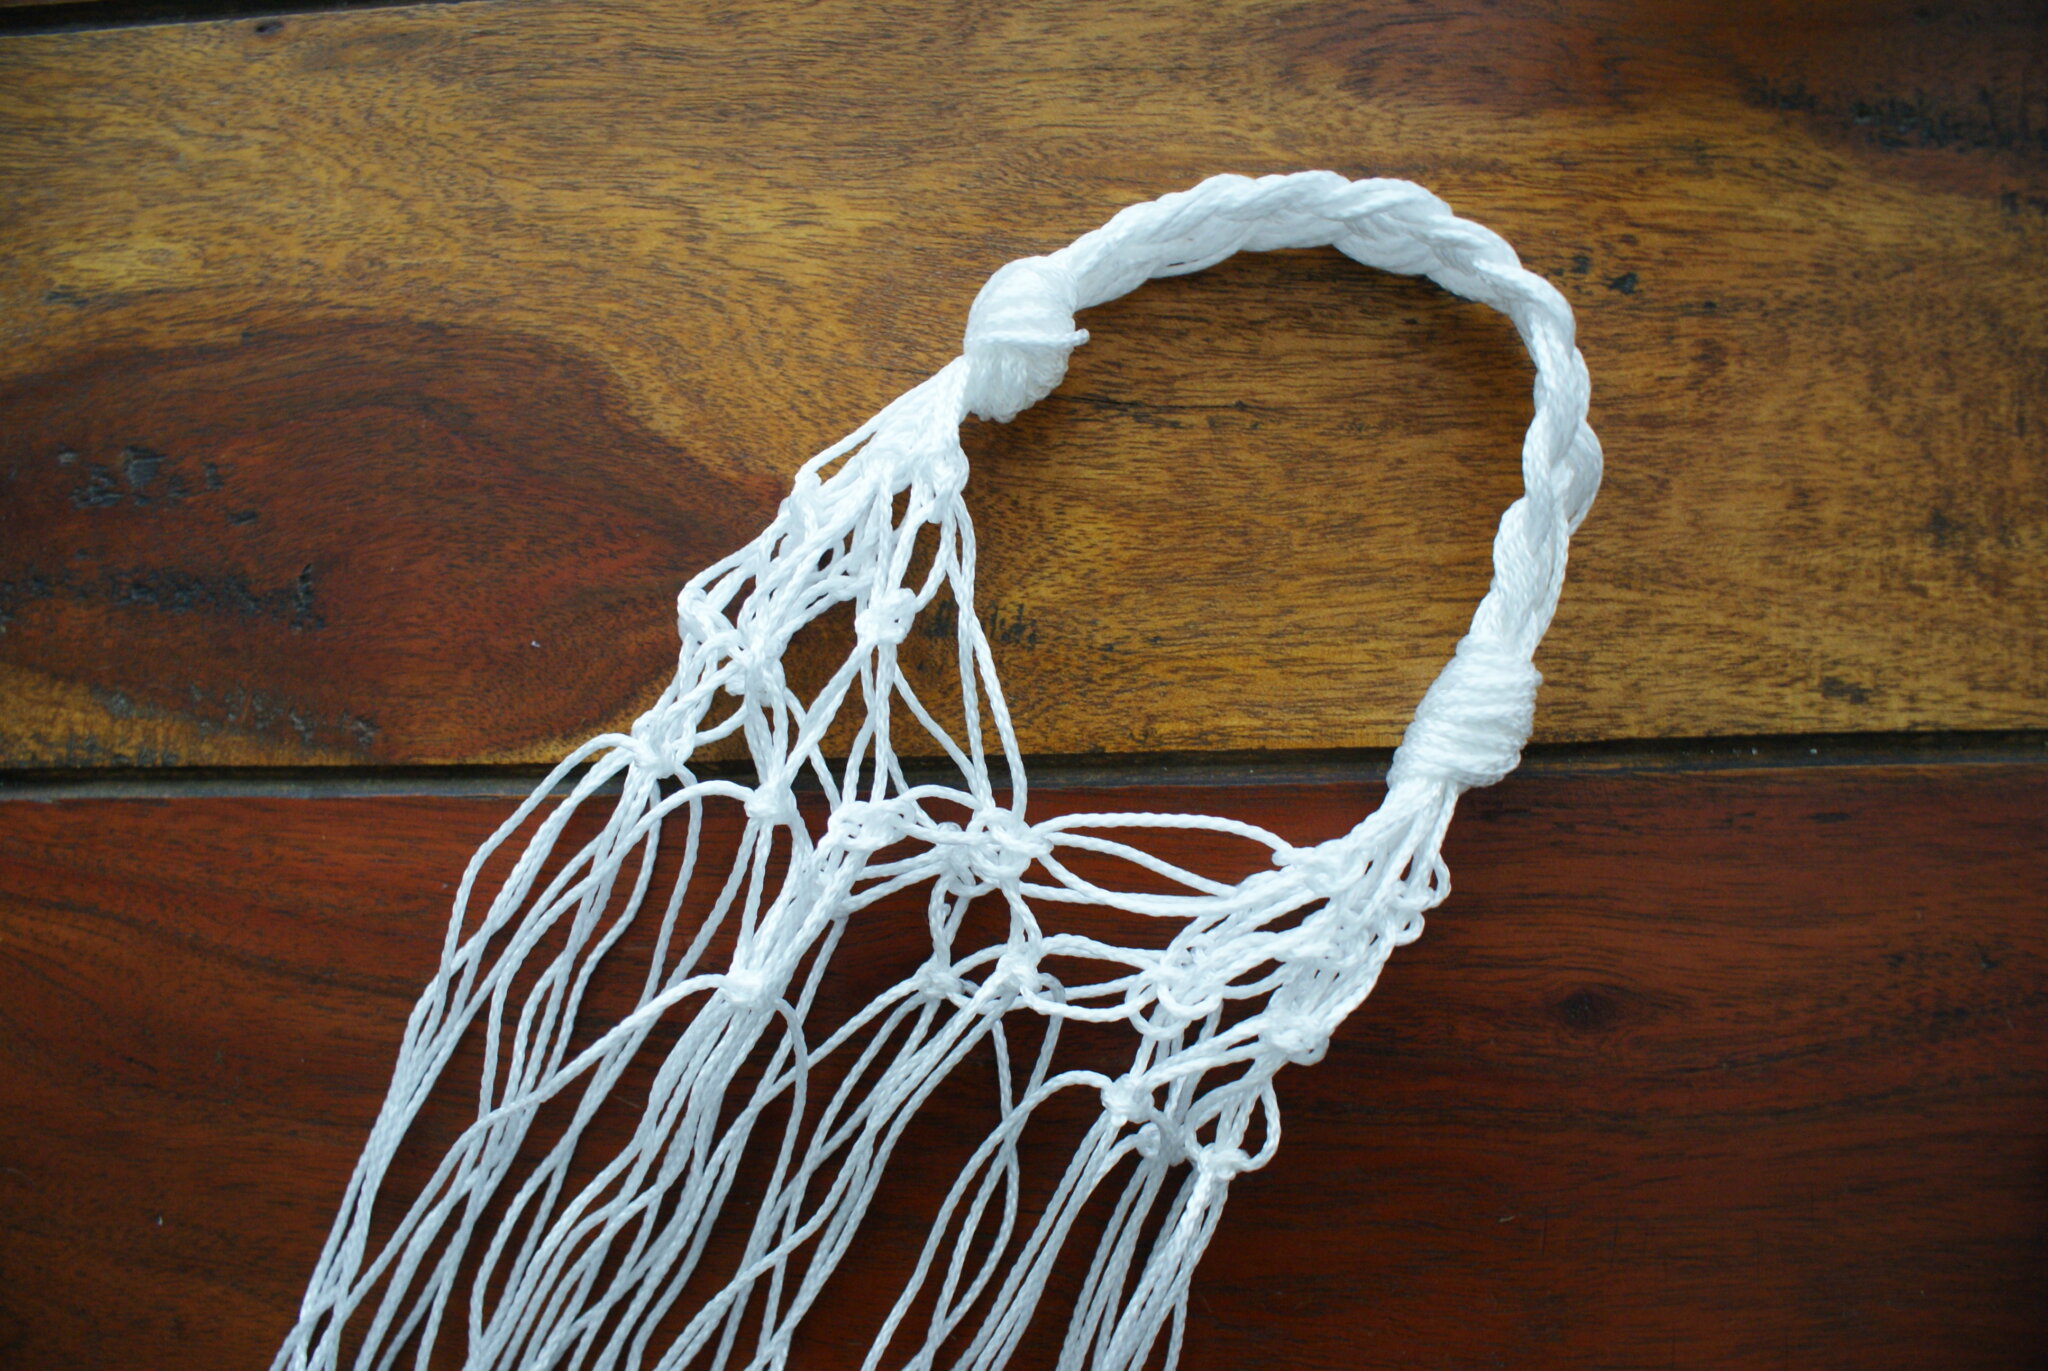
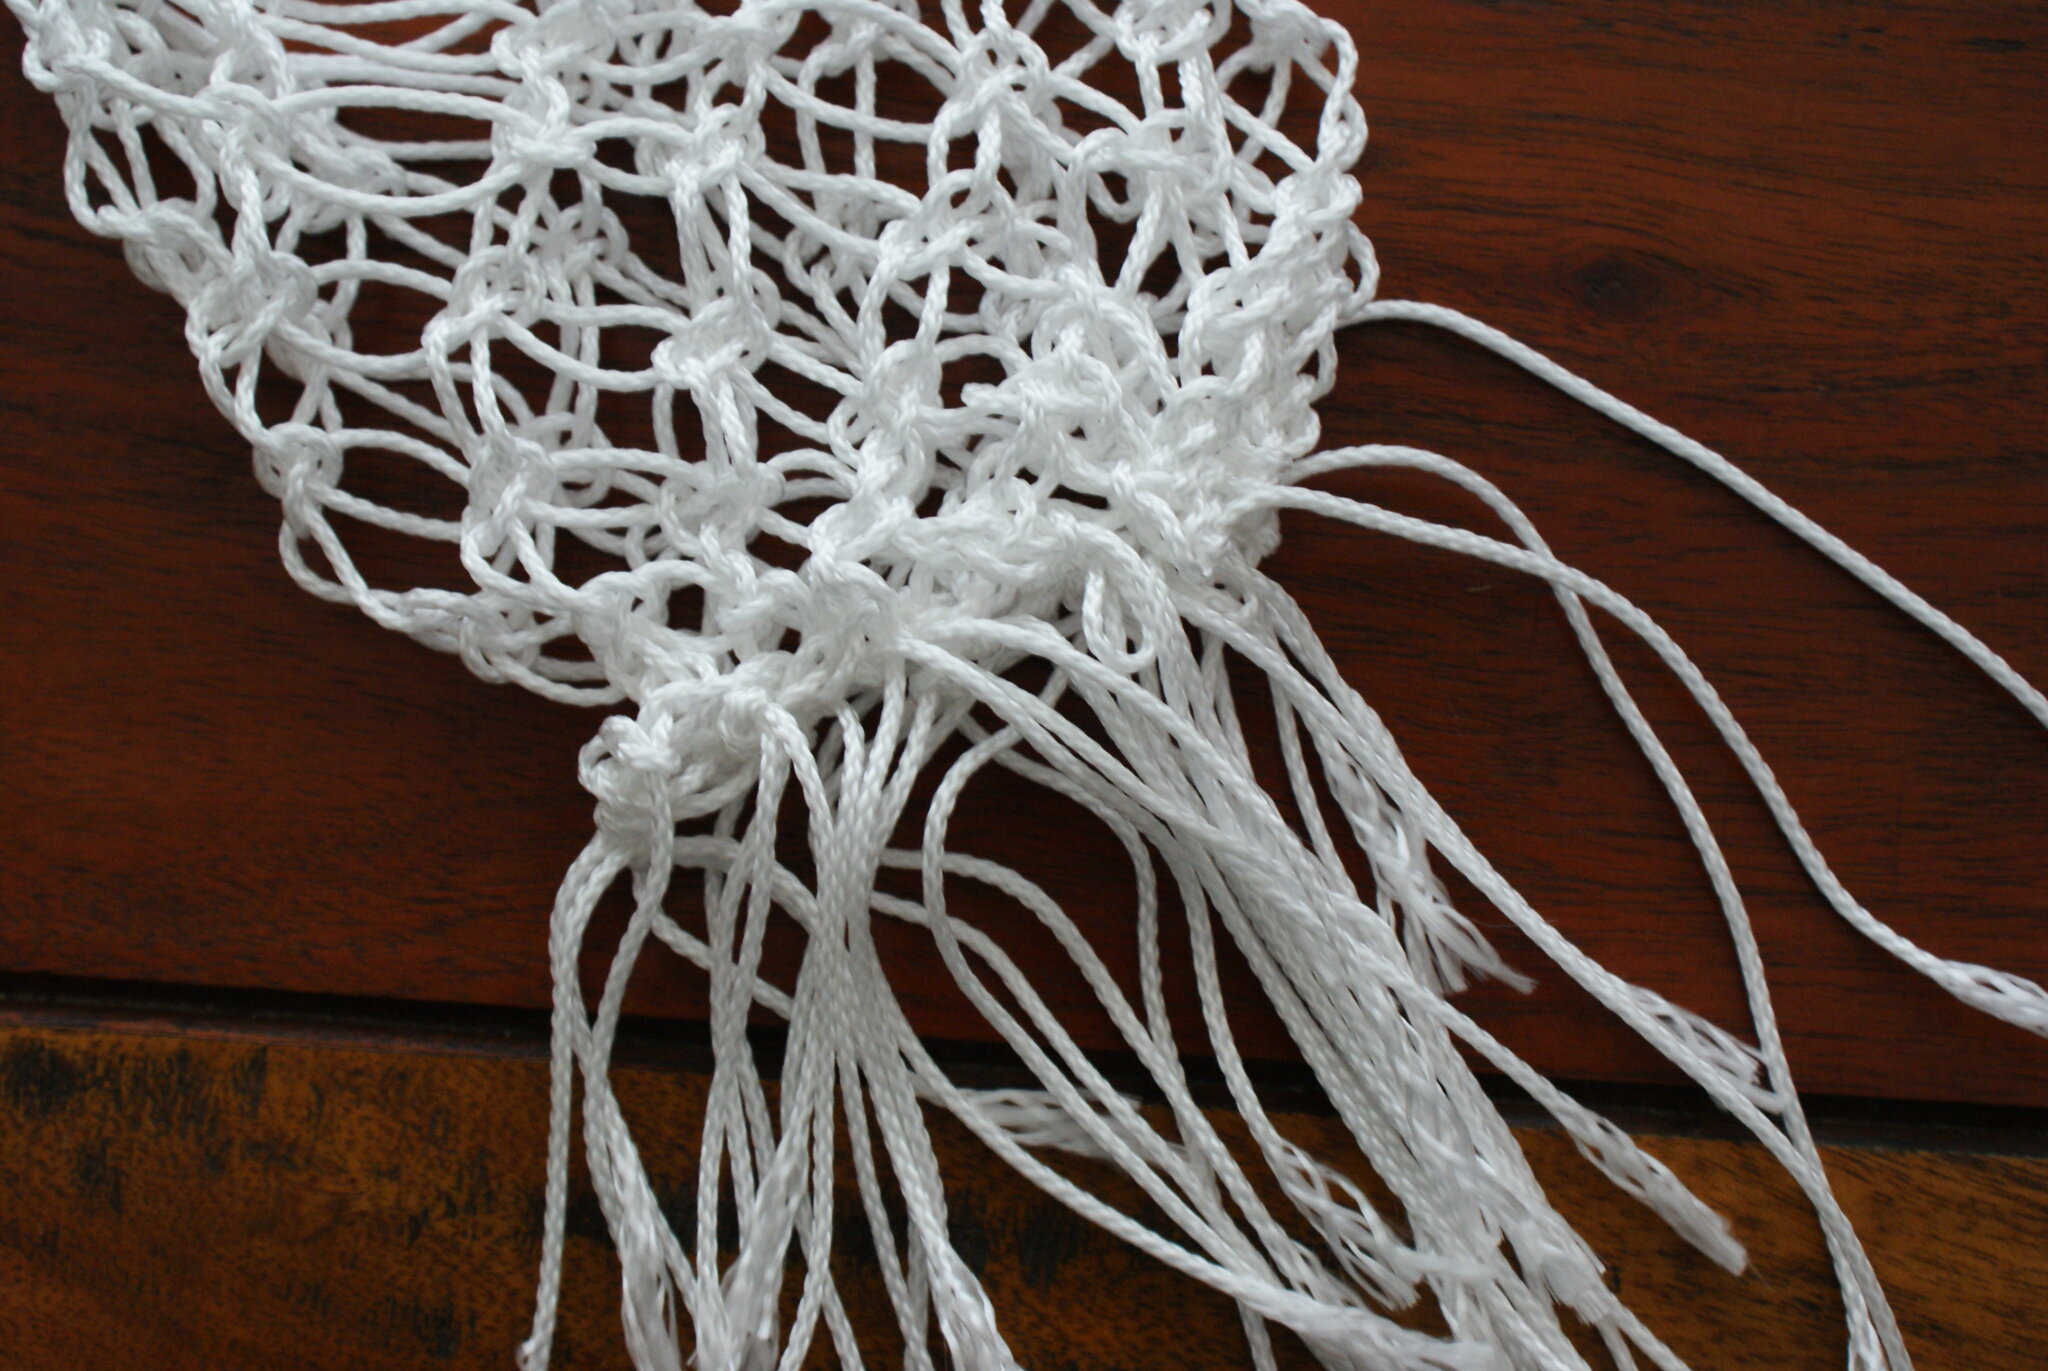
Now the bag. From each knot, divide the ropes in 5 parts (4 for each part). Then start making the first row of knots as seen in this post, using 2 strings of a section and 2 of the next one at a time. Repeat on the other side. // Ora la borsa. Da ogni nodo, dividete le corde in 5 parti, di 4 strisce ognuna. Poi iniziate a fare la prima riga di nodi, come visto qui, usando 2 corde di una sezione e 2 di quella dopo alla volta. Ripetete anche sull’altro lato.
3)
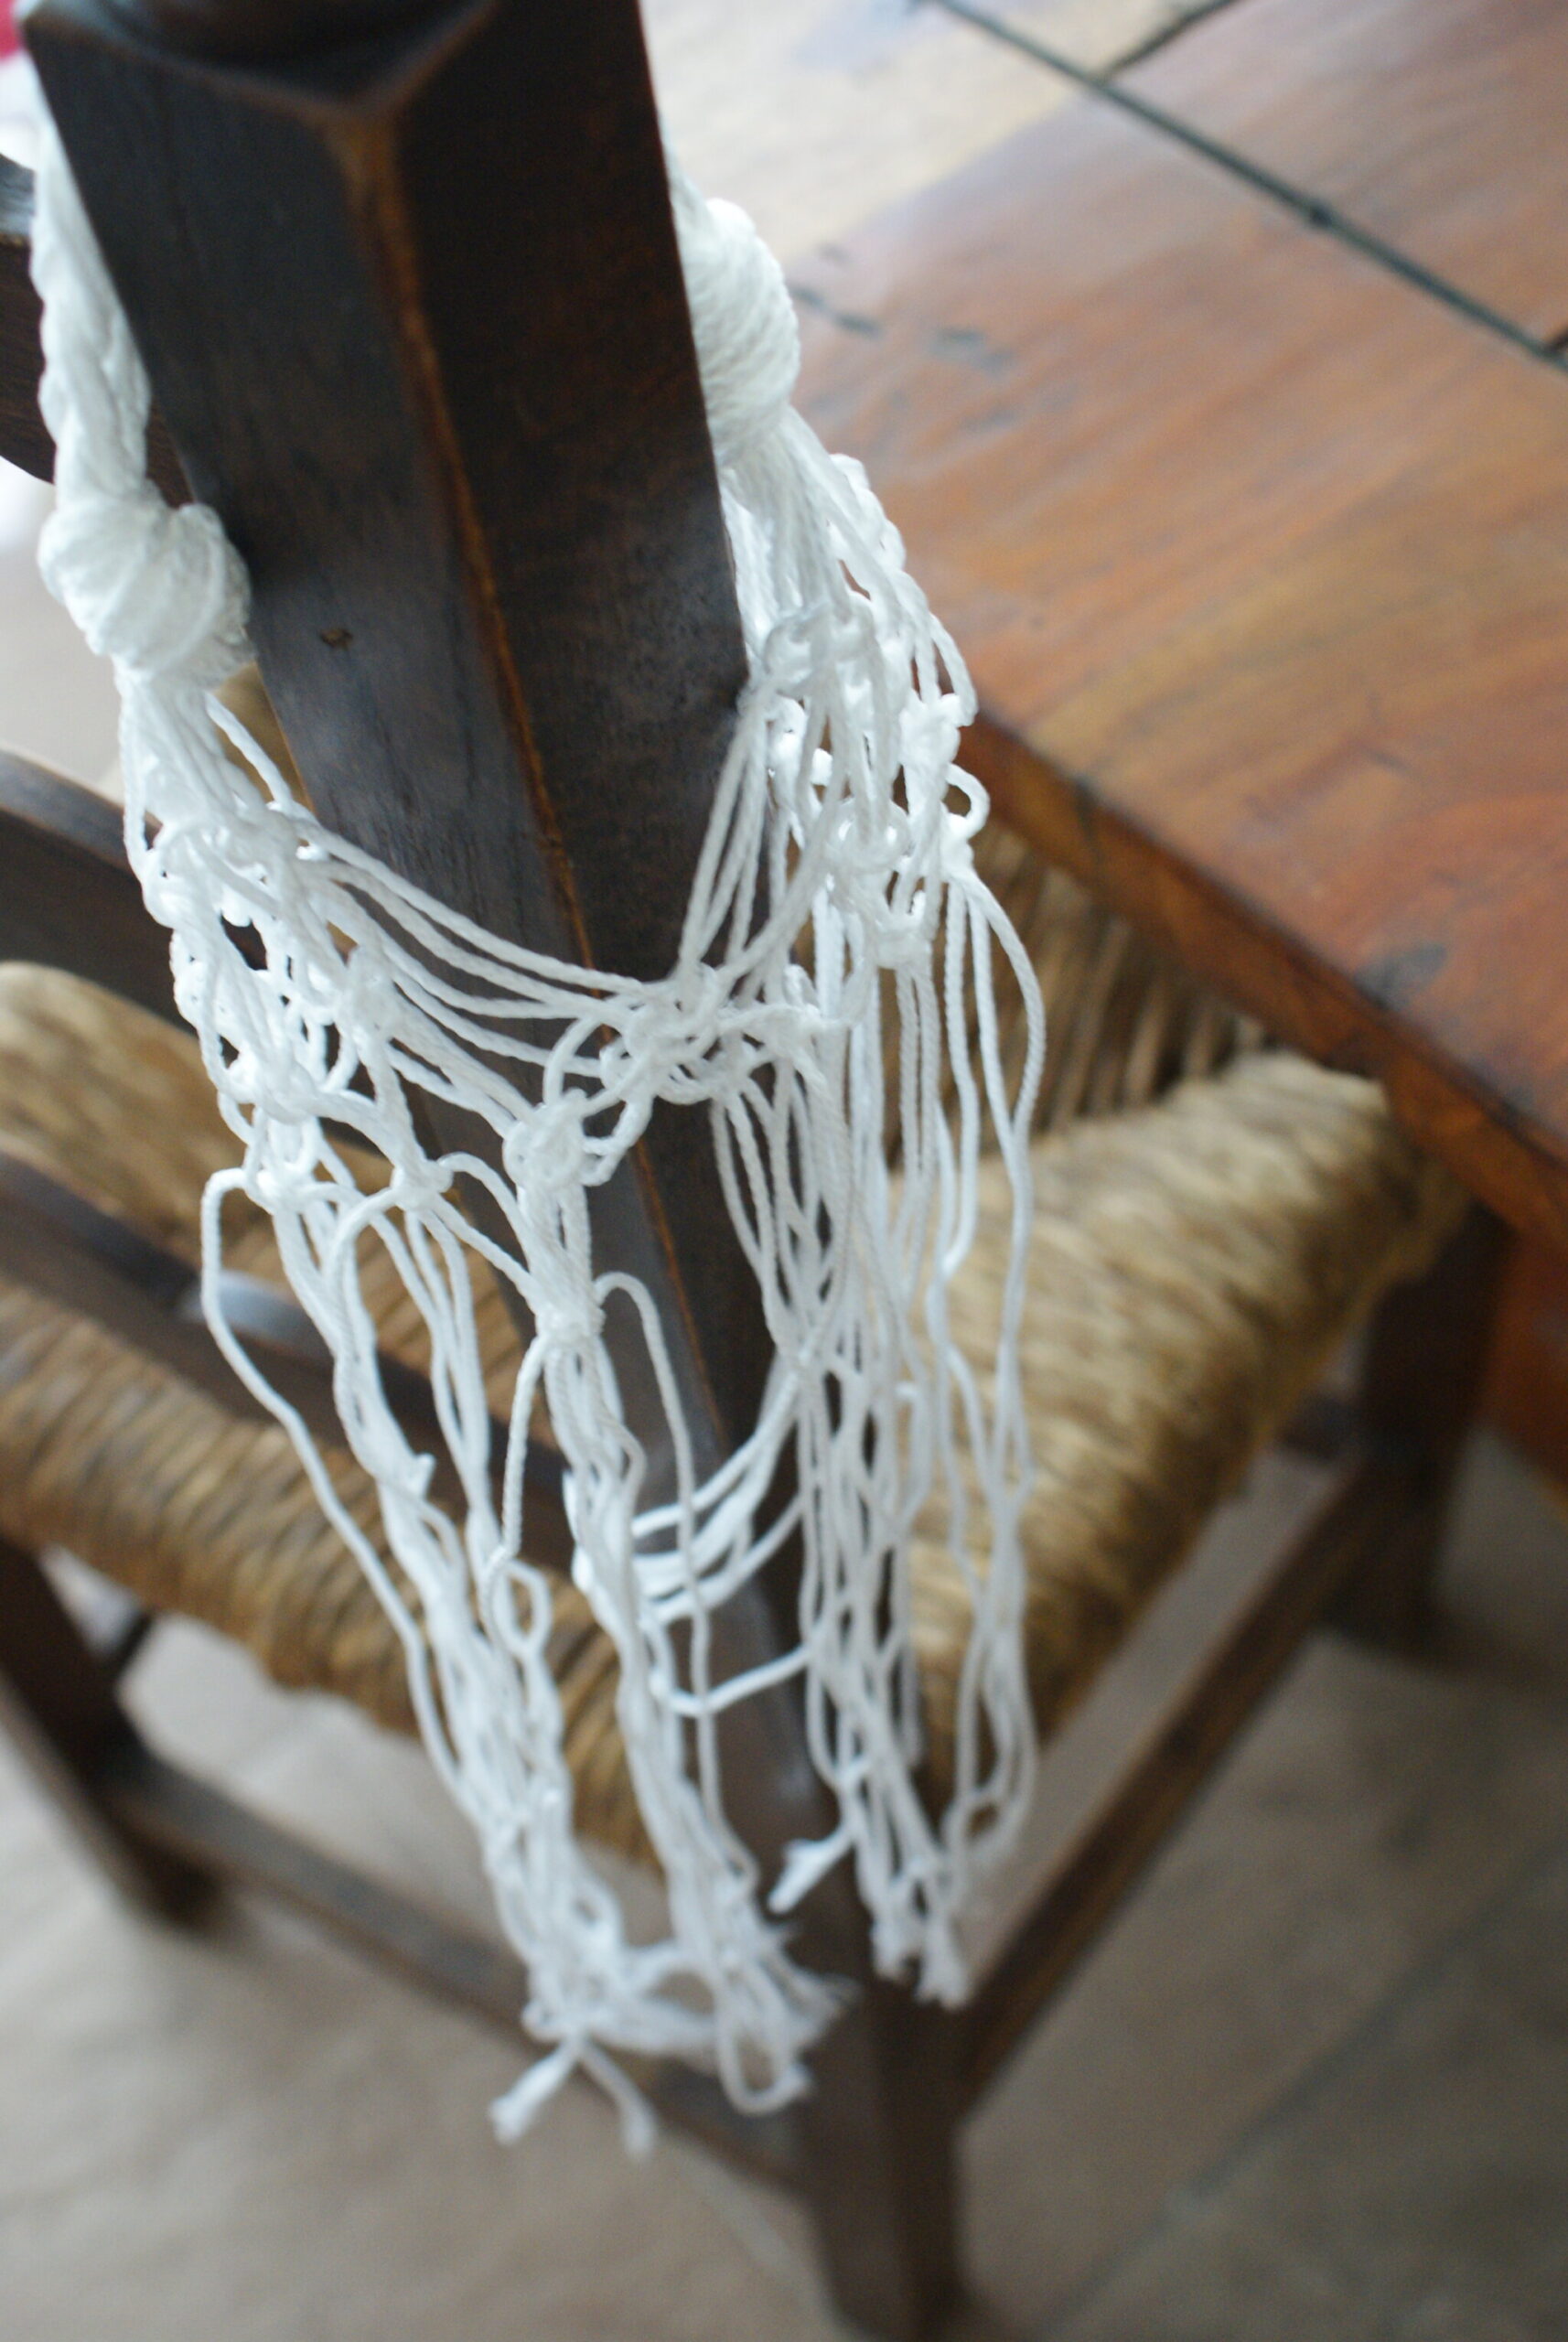
To fix the two sides together, just take the 2 initial ropes from one side and the final 2 of the other and knot them together, then repeat for the other part. These will be the front and bag of your bag. I suggest you to hang your bag starting from now so that it will be easier for you to work. // Per unire i due lati della borsa insieme, semplicemente annodate le 2 stringhe iniziali di un lato con le 2 finali dell’altro e ripetete anche per l’altra parte. Saranno il fronte e il retro della borsa. Da questo momento in poi vi consiglio di appenderla (anche a una sedia) per lavorare meglio.
4)
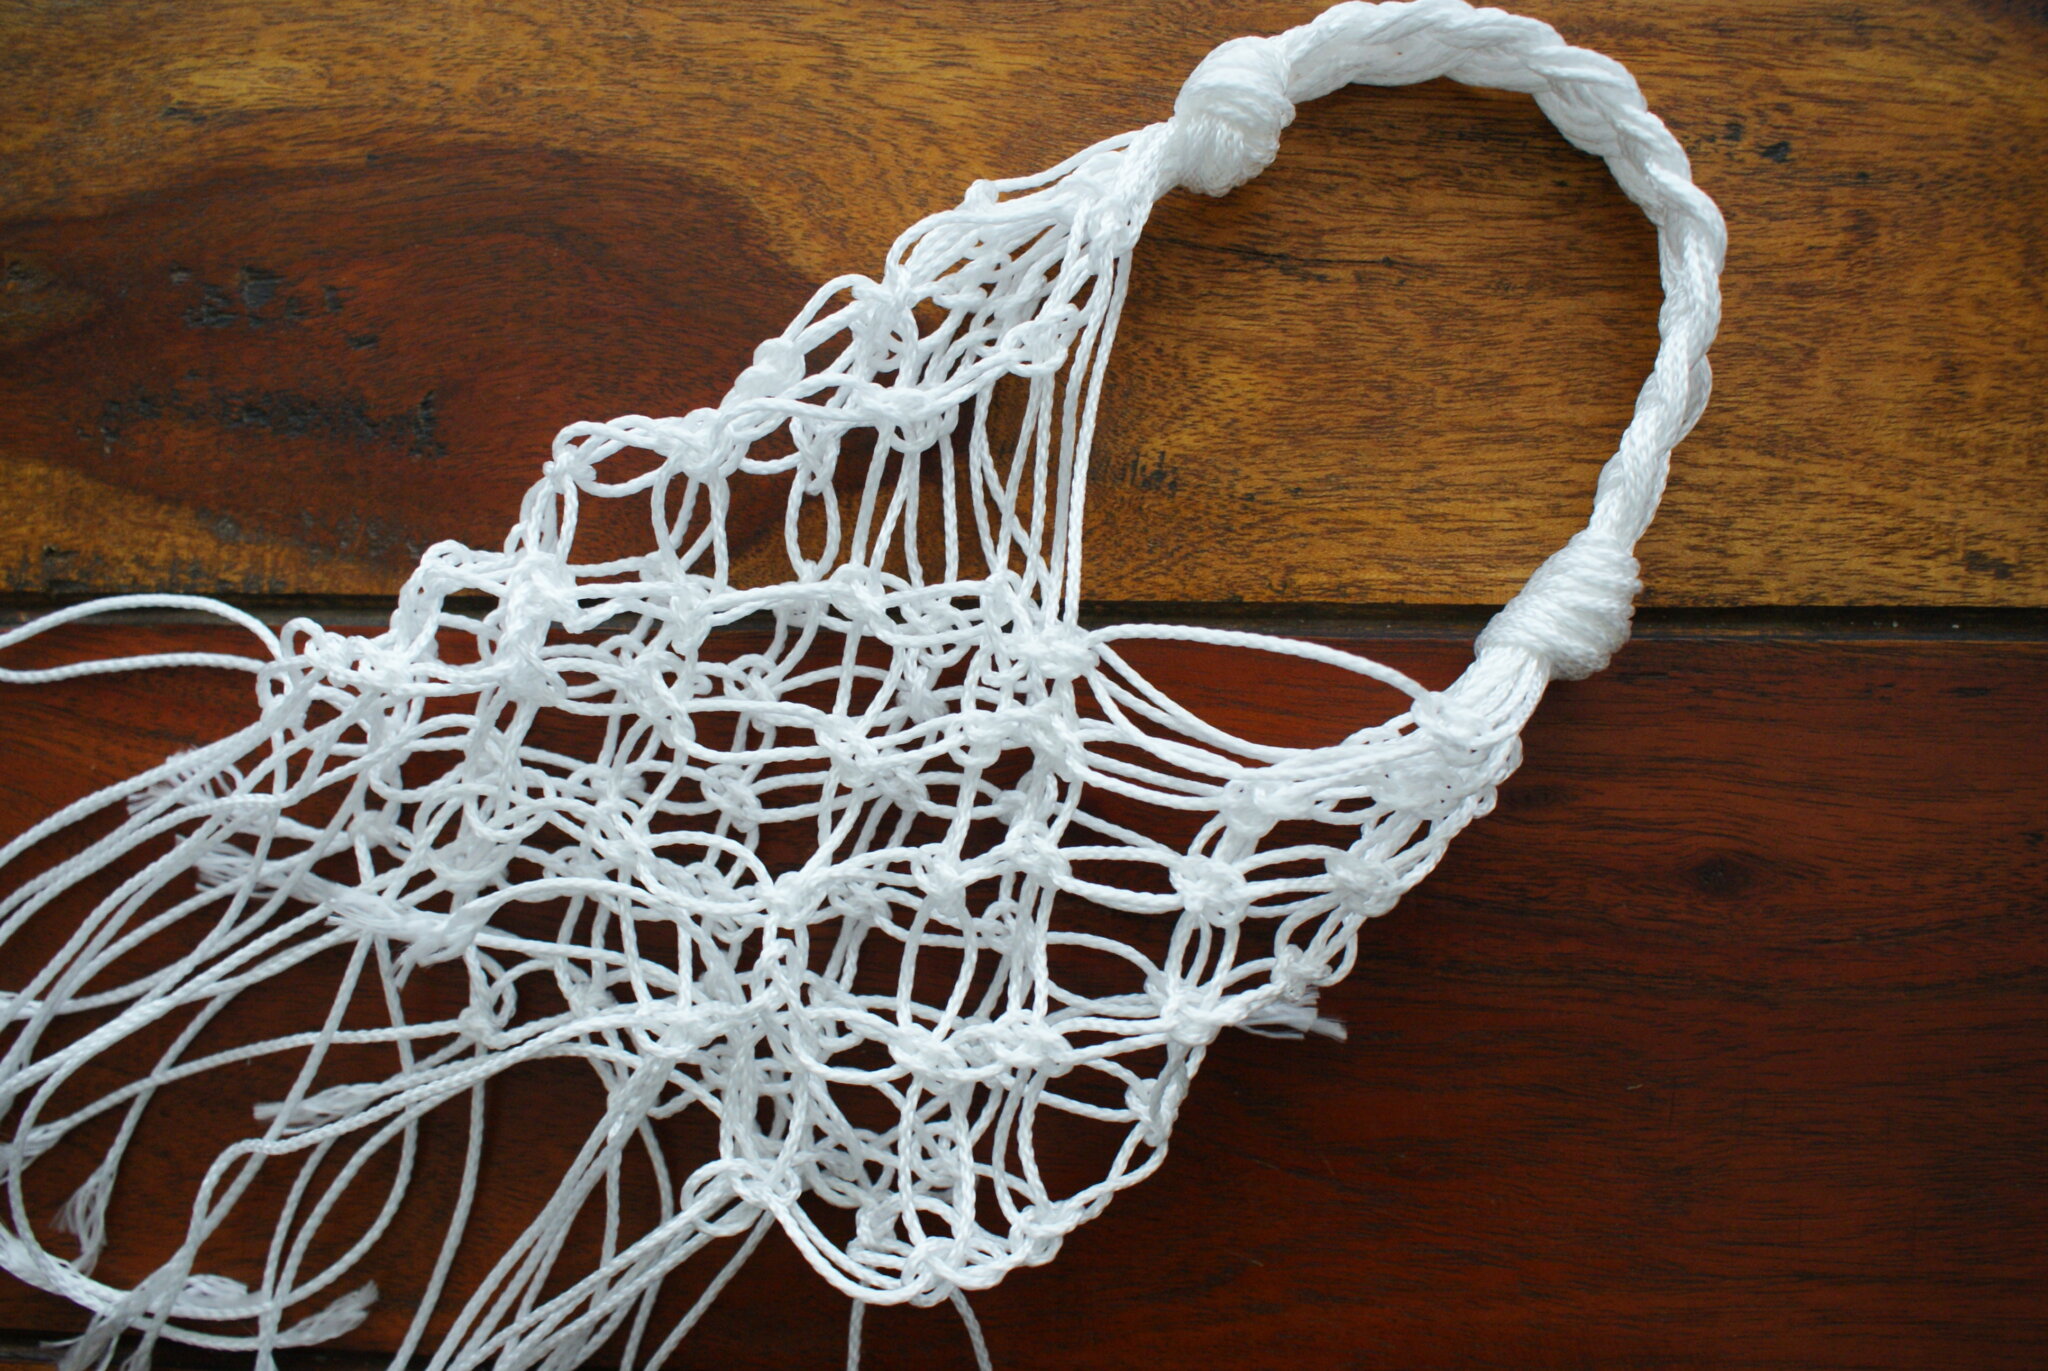
Keep on knotting rows of knots and you’ll see the bag coming out step by step and this is the best and fun part! // Continuate ad annodare righe di nodi e presto vedrete la borsa prendere forma. Questa è la parte migliore!
5)
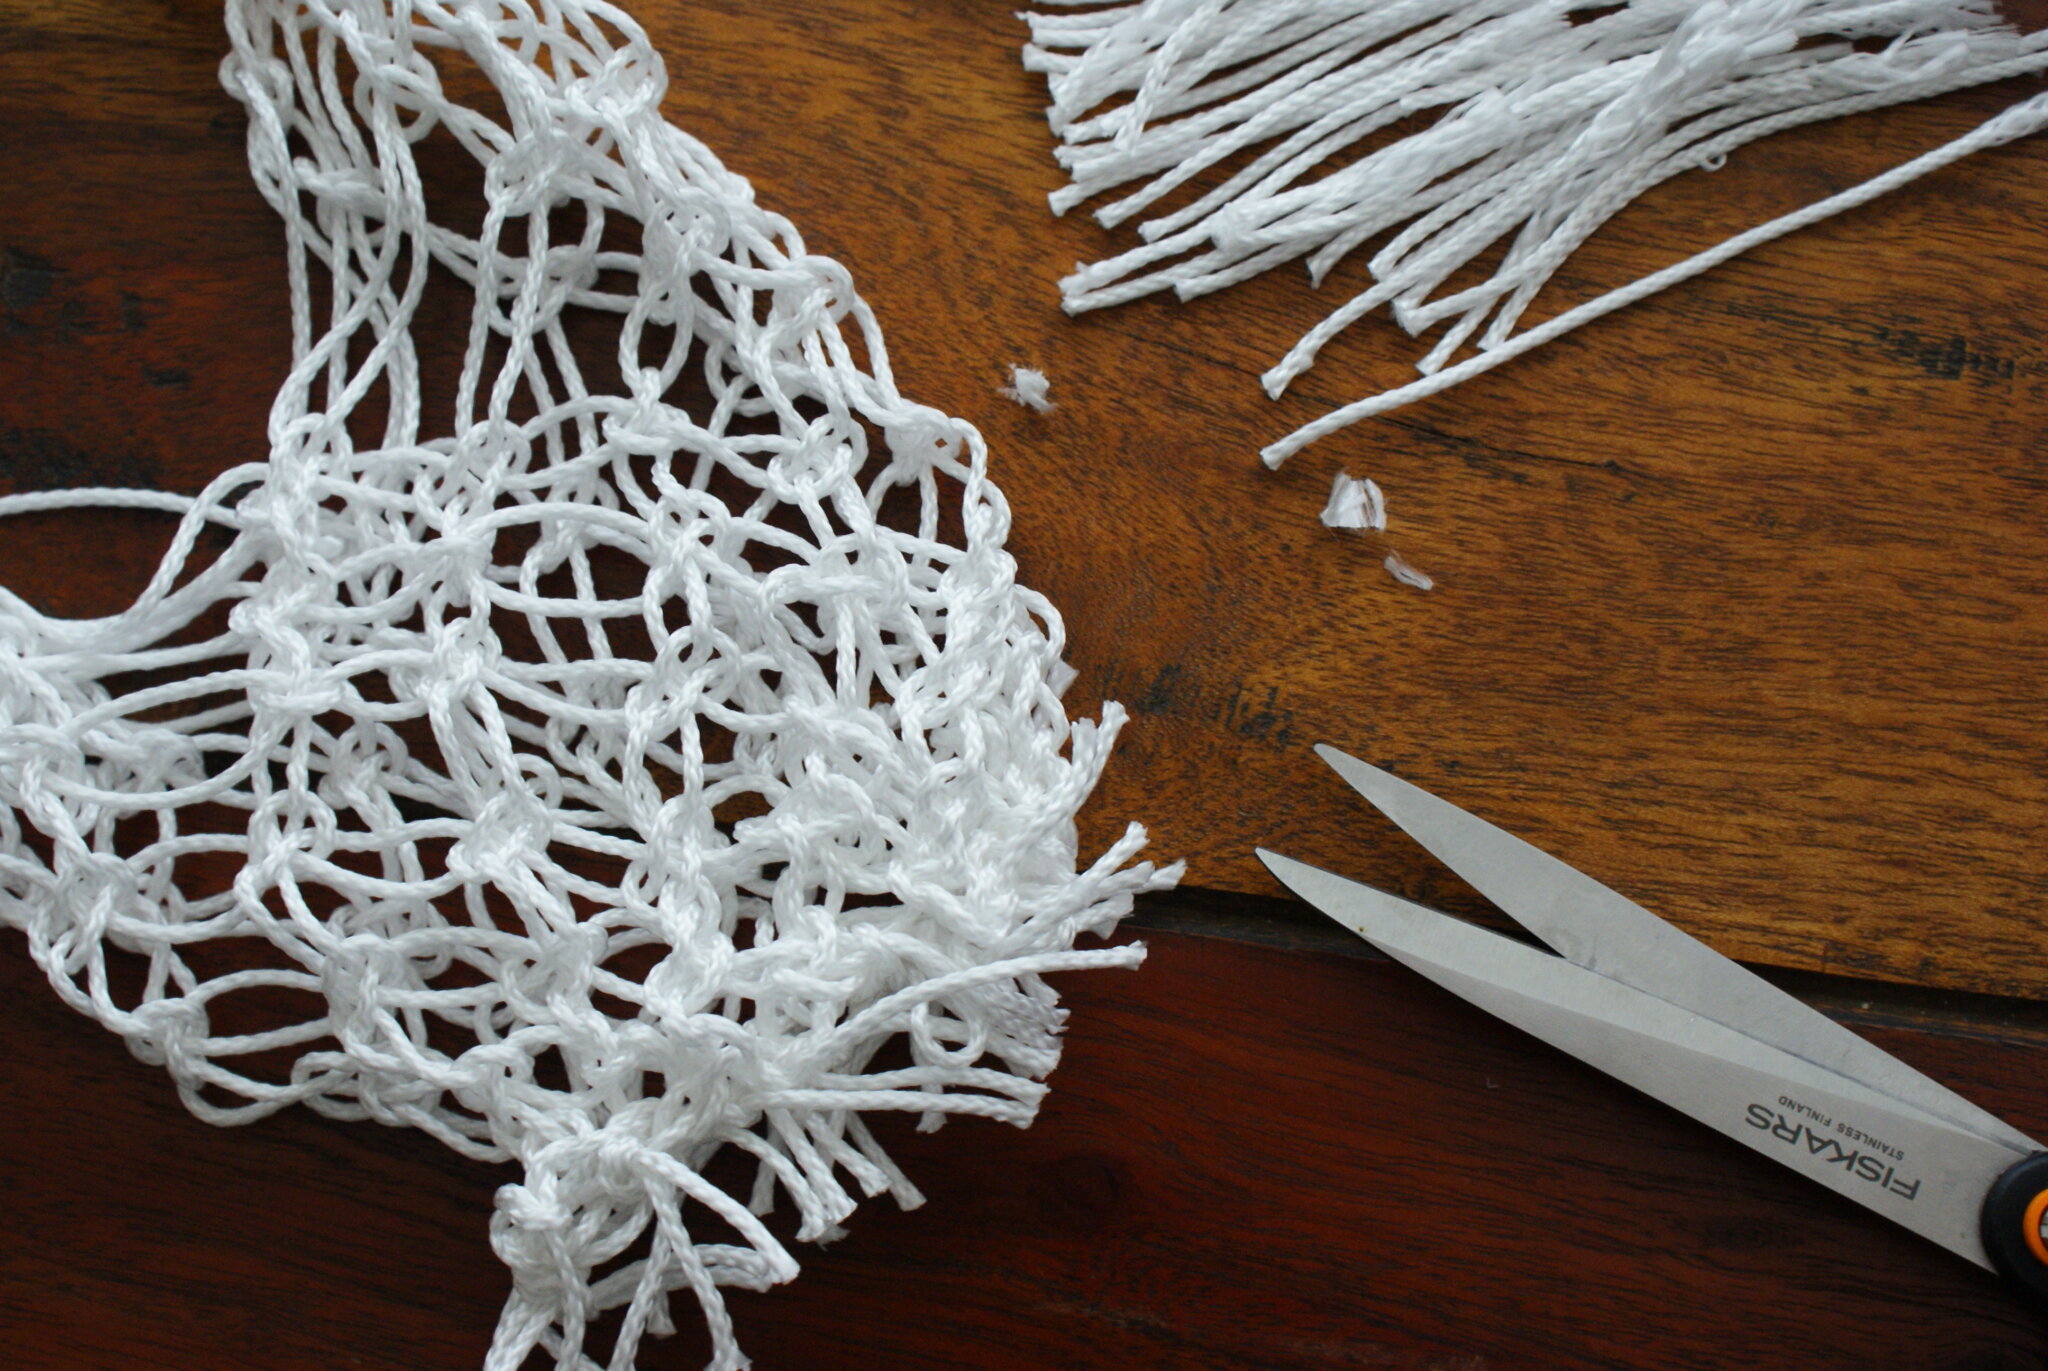
Once the bag is the size you want, knot the extremities together to close the bottom then cut the excess and flip the bag so you won’t see the final knots. You can also leave the strings long for a different look! // Una volta che la borsa è della taglia che volete, annodate le estremità per chiudere il fondo e rigirate la borsa per non vedere più i nodi. Potete anche lasciare le stringhe lunghe per un look diverso!
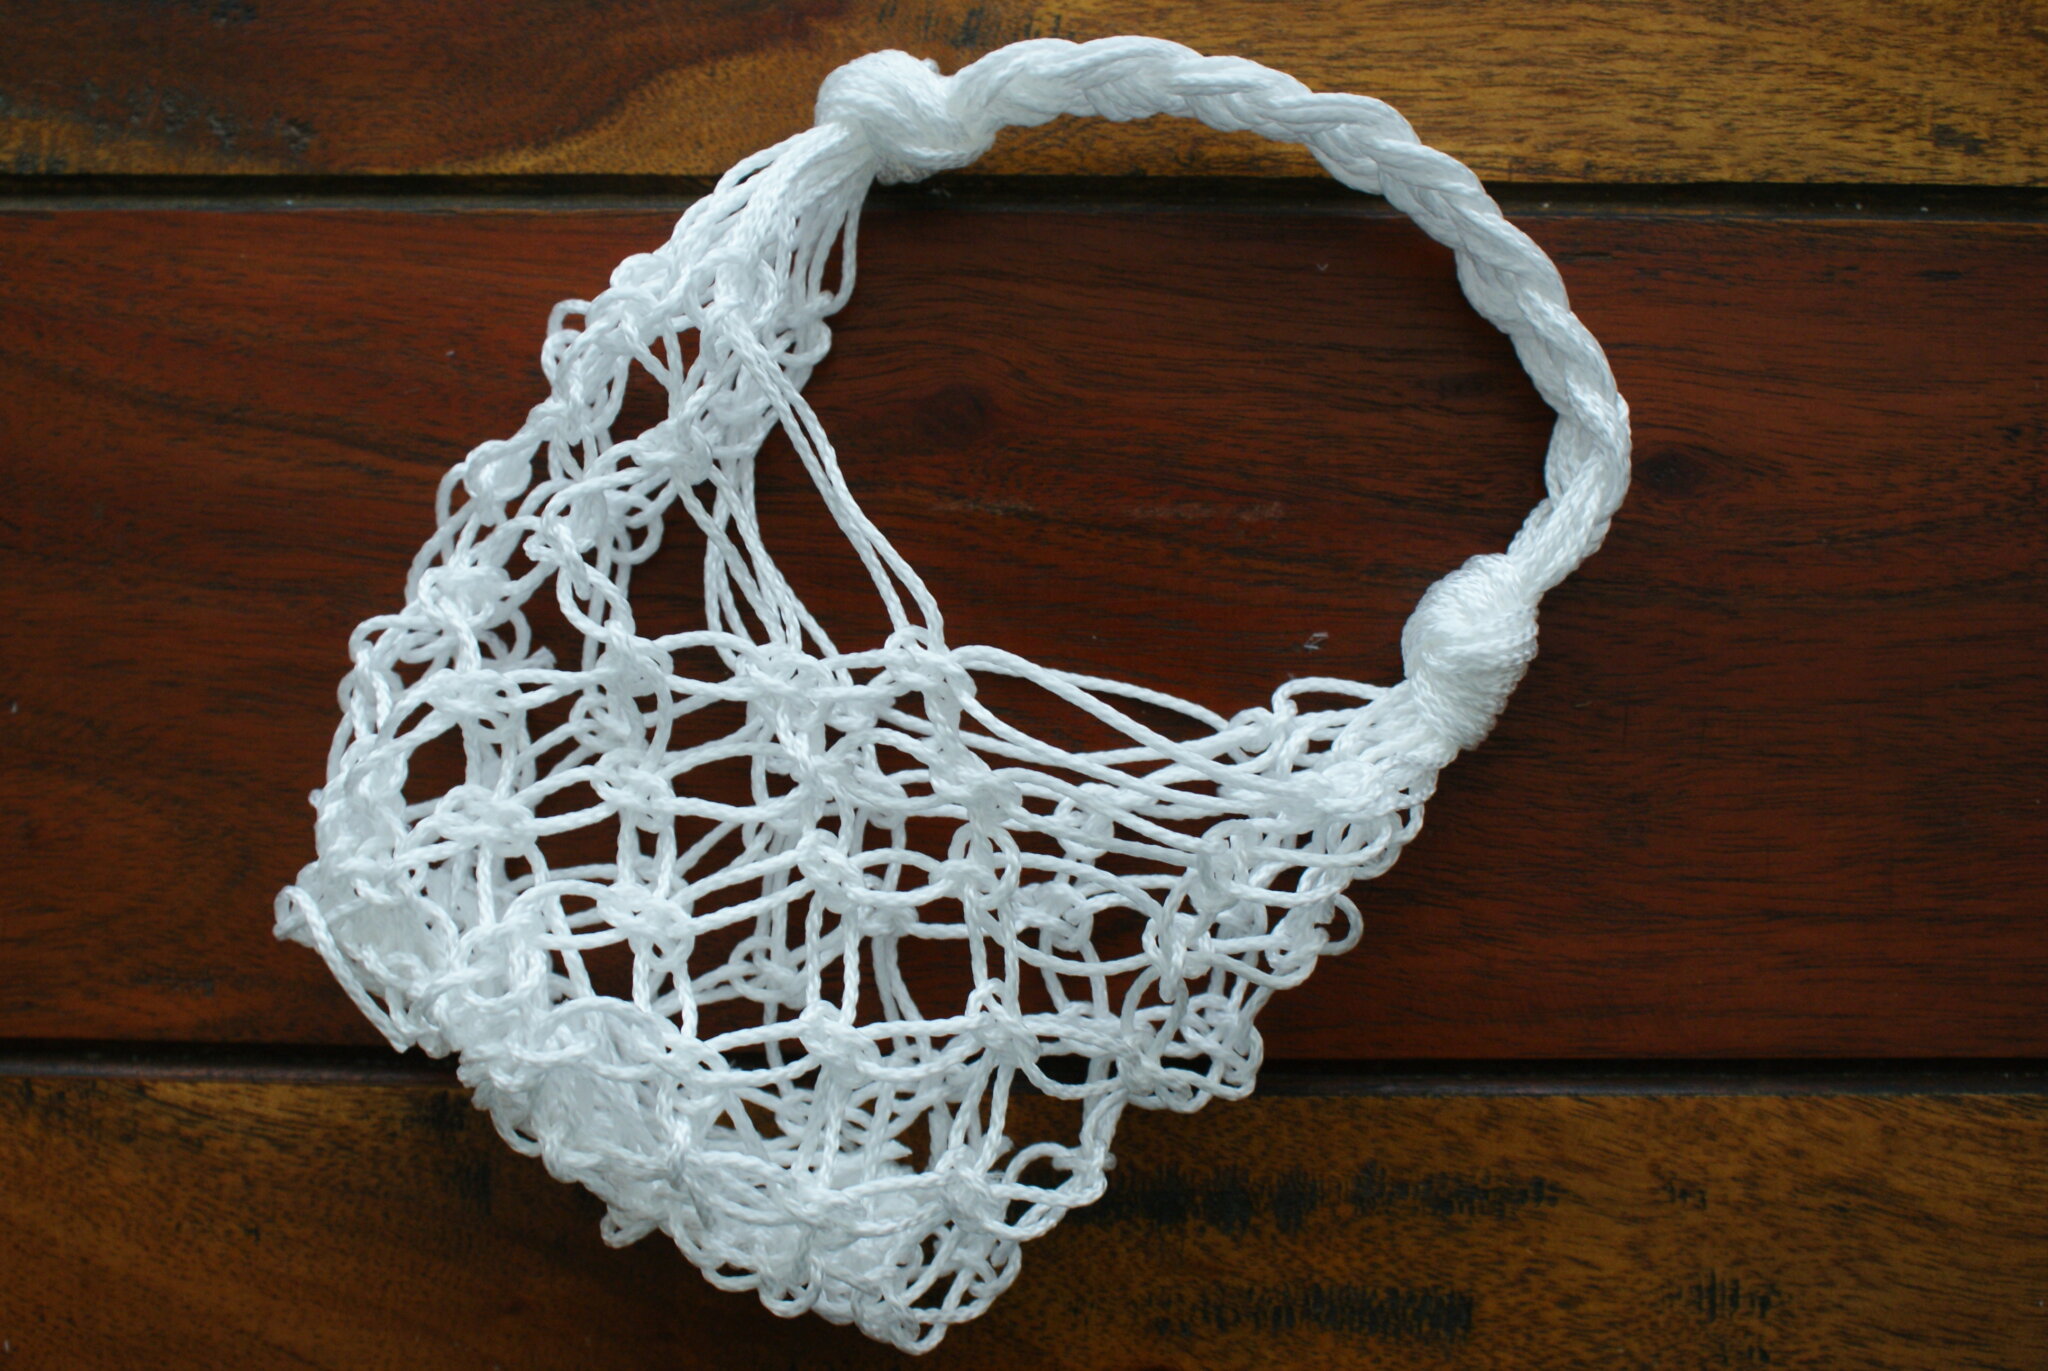
Voilà!
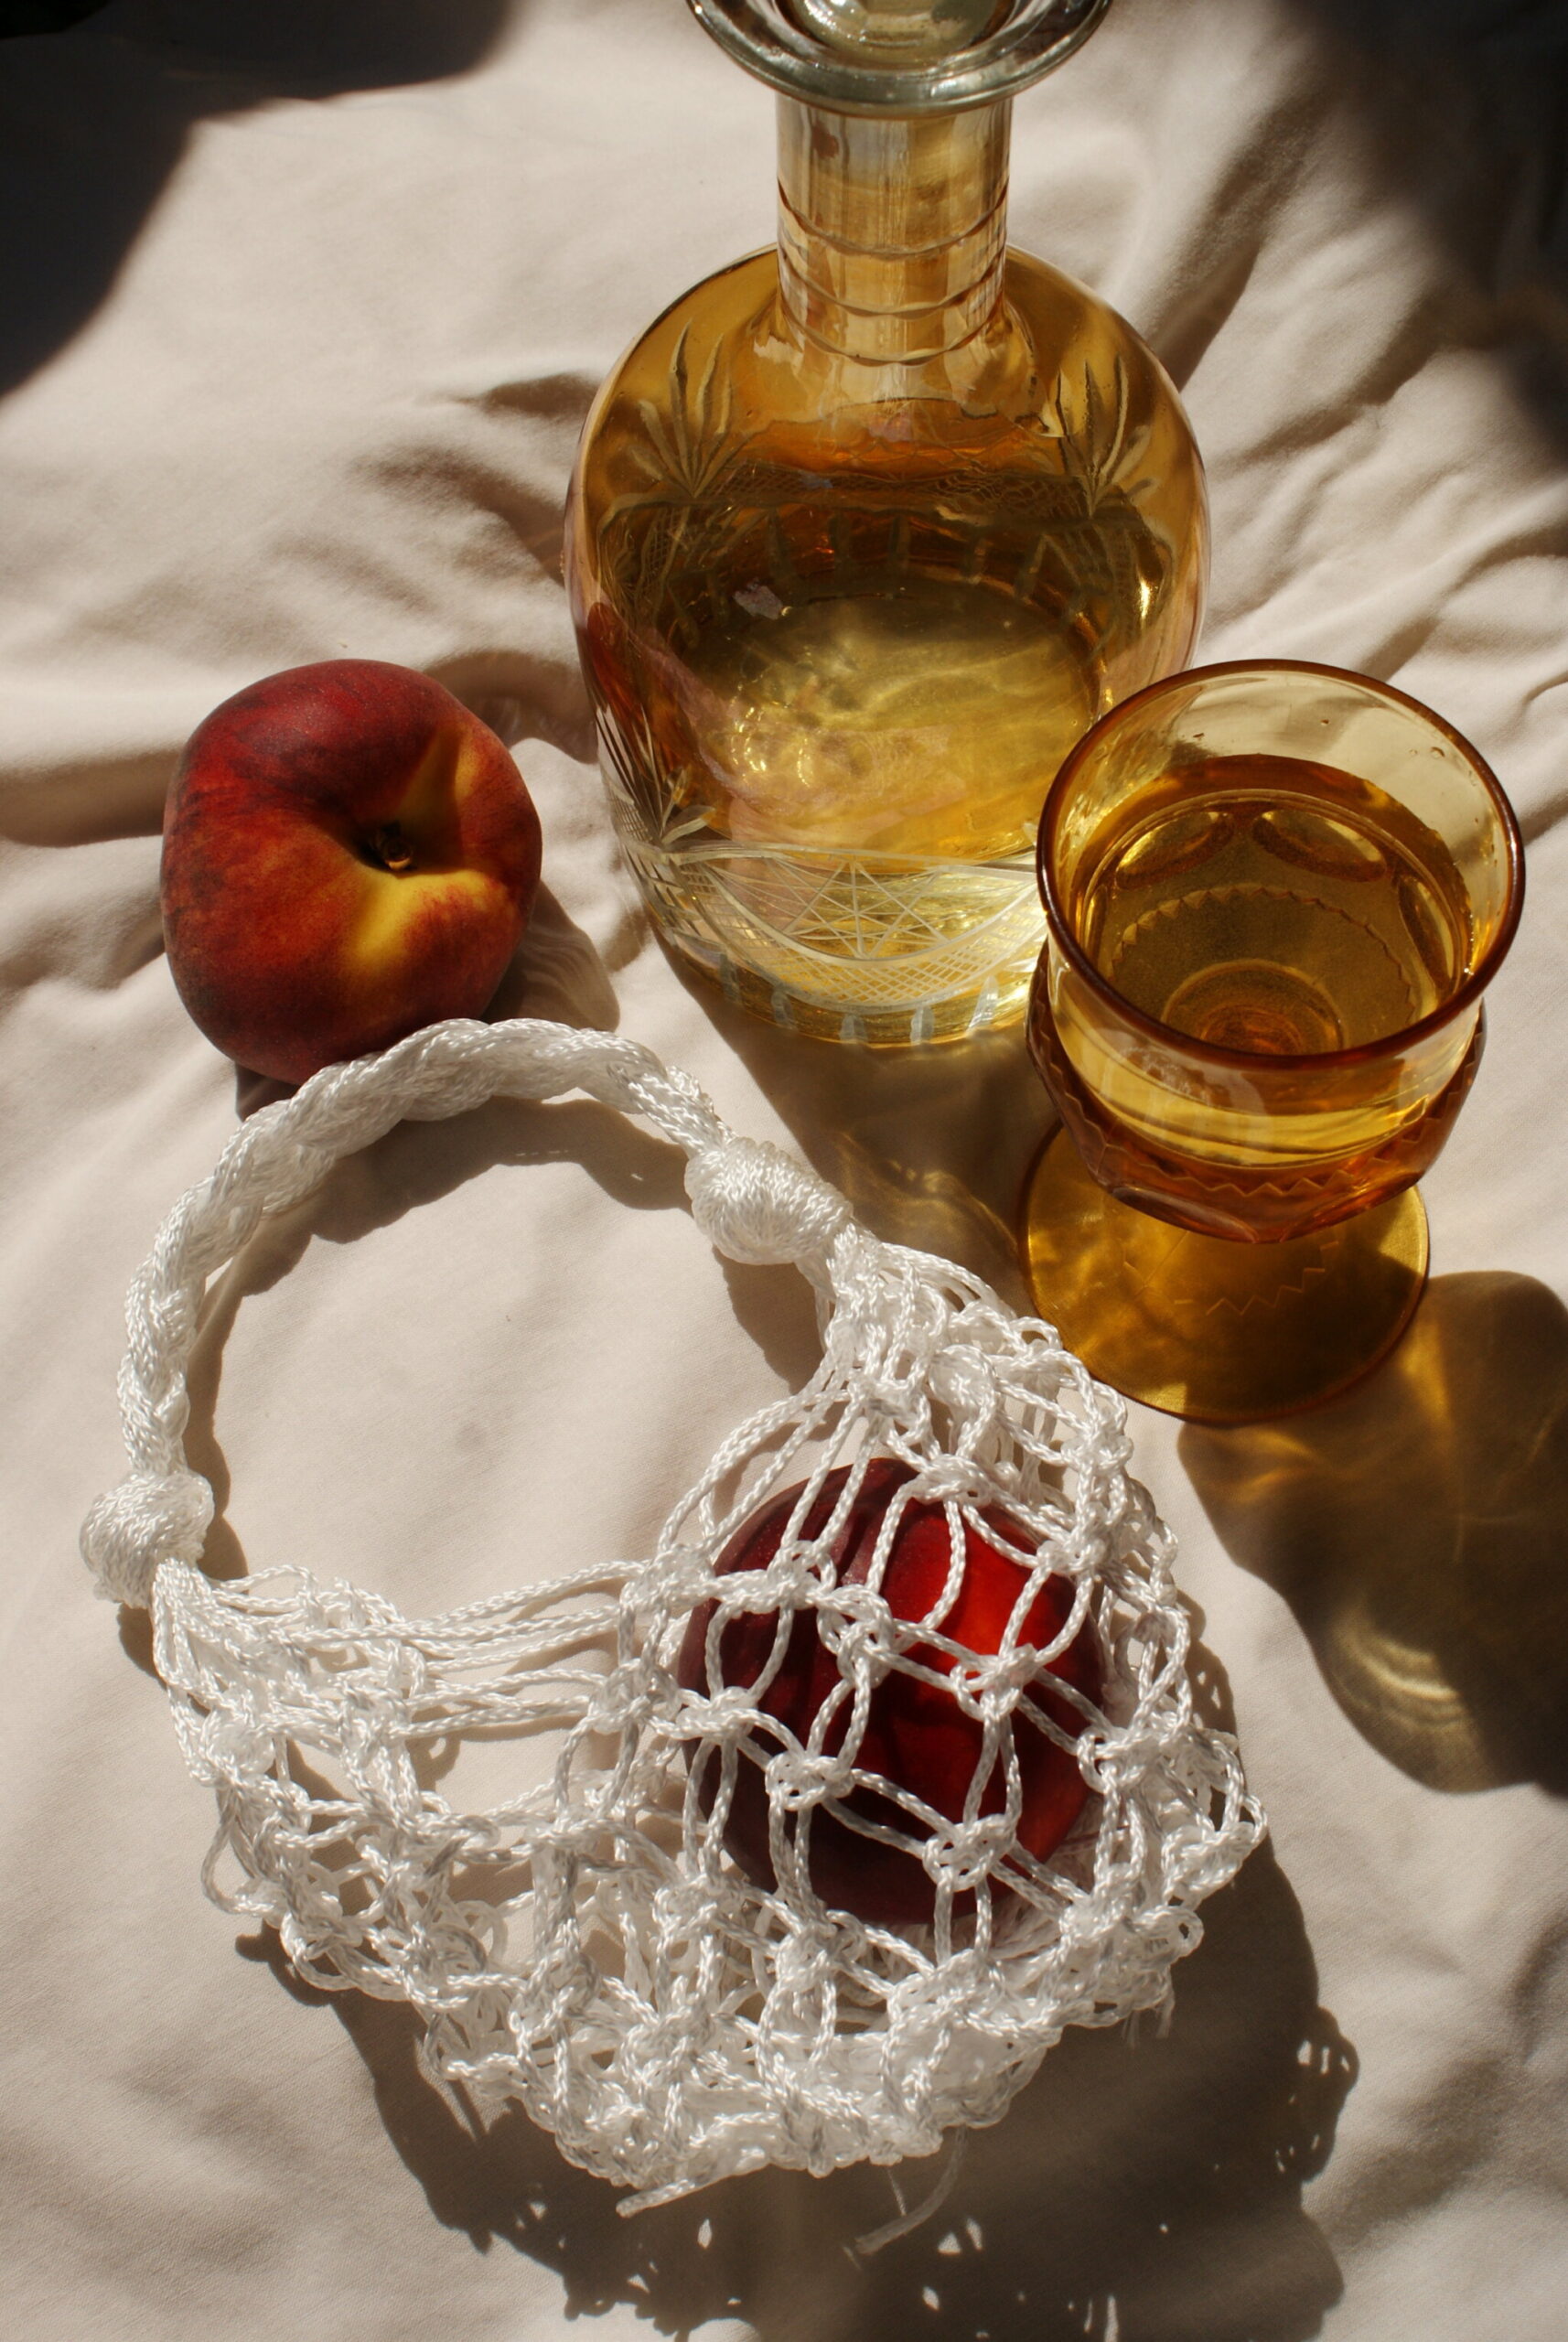
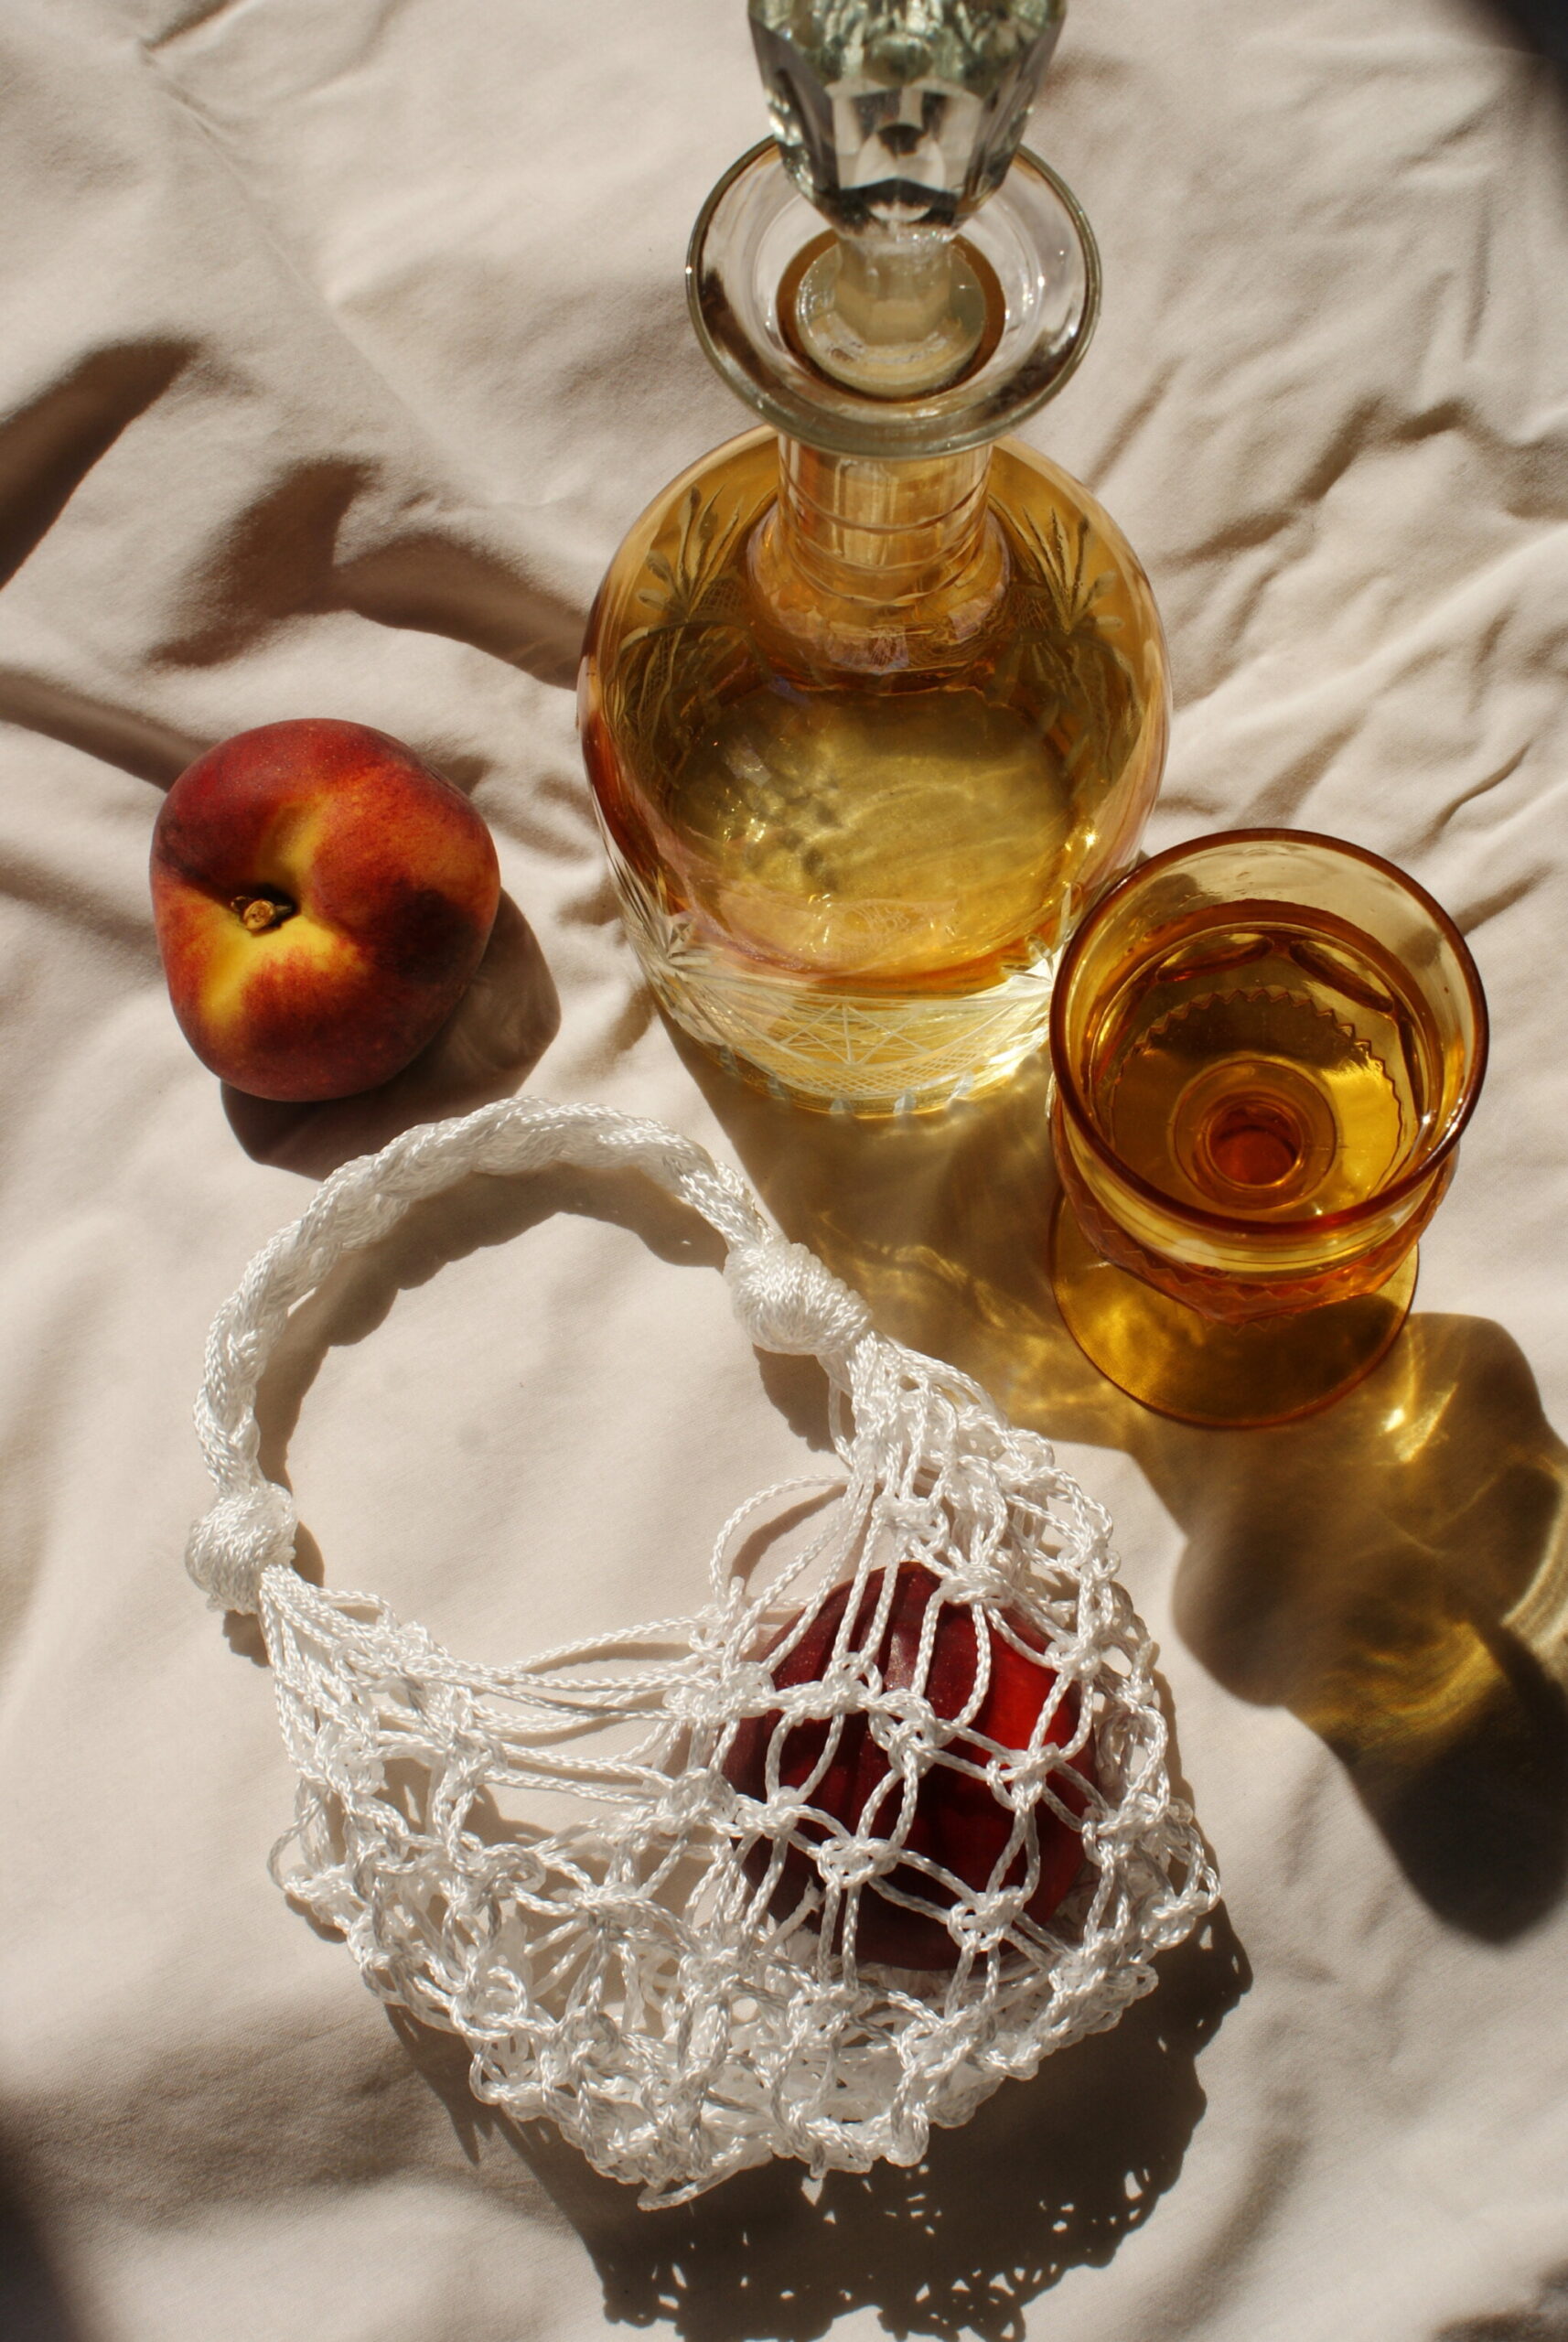
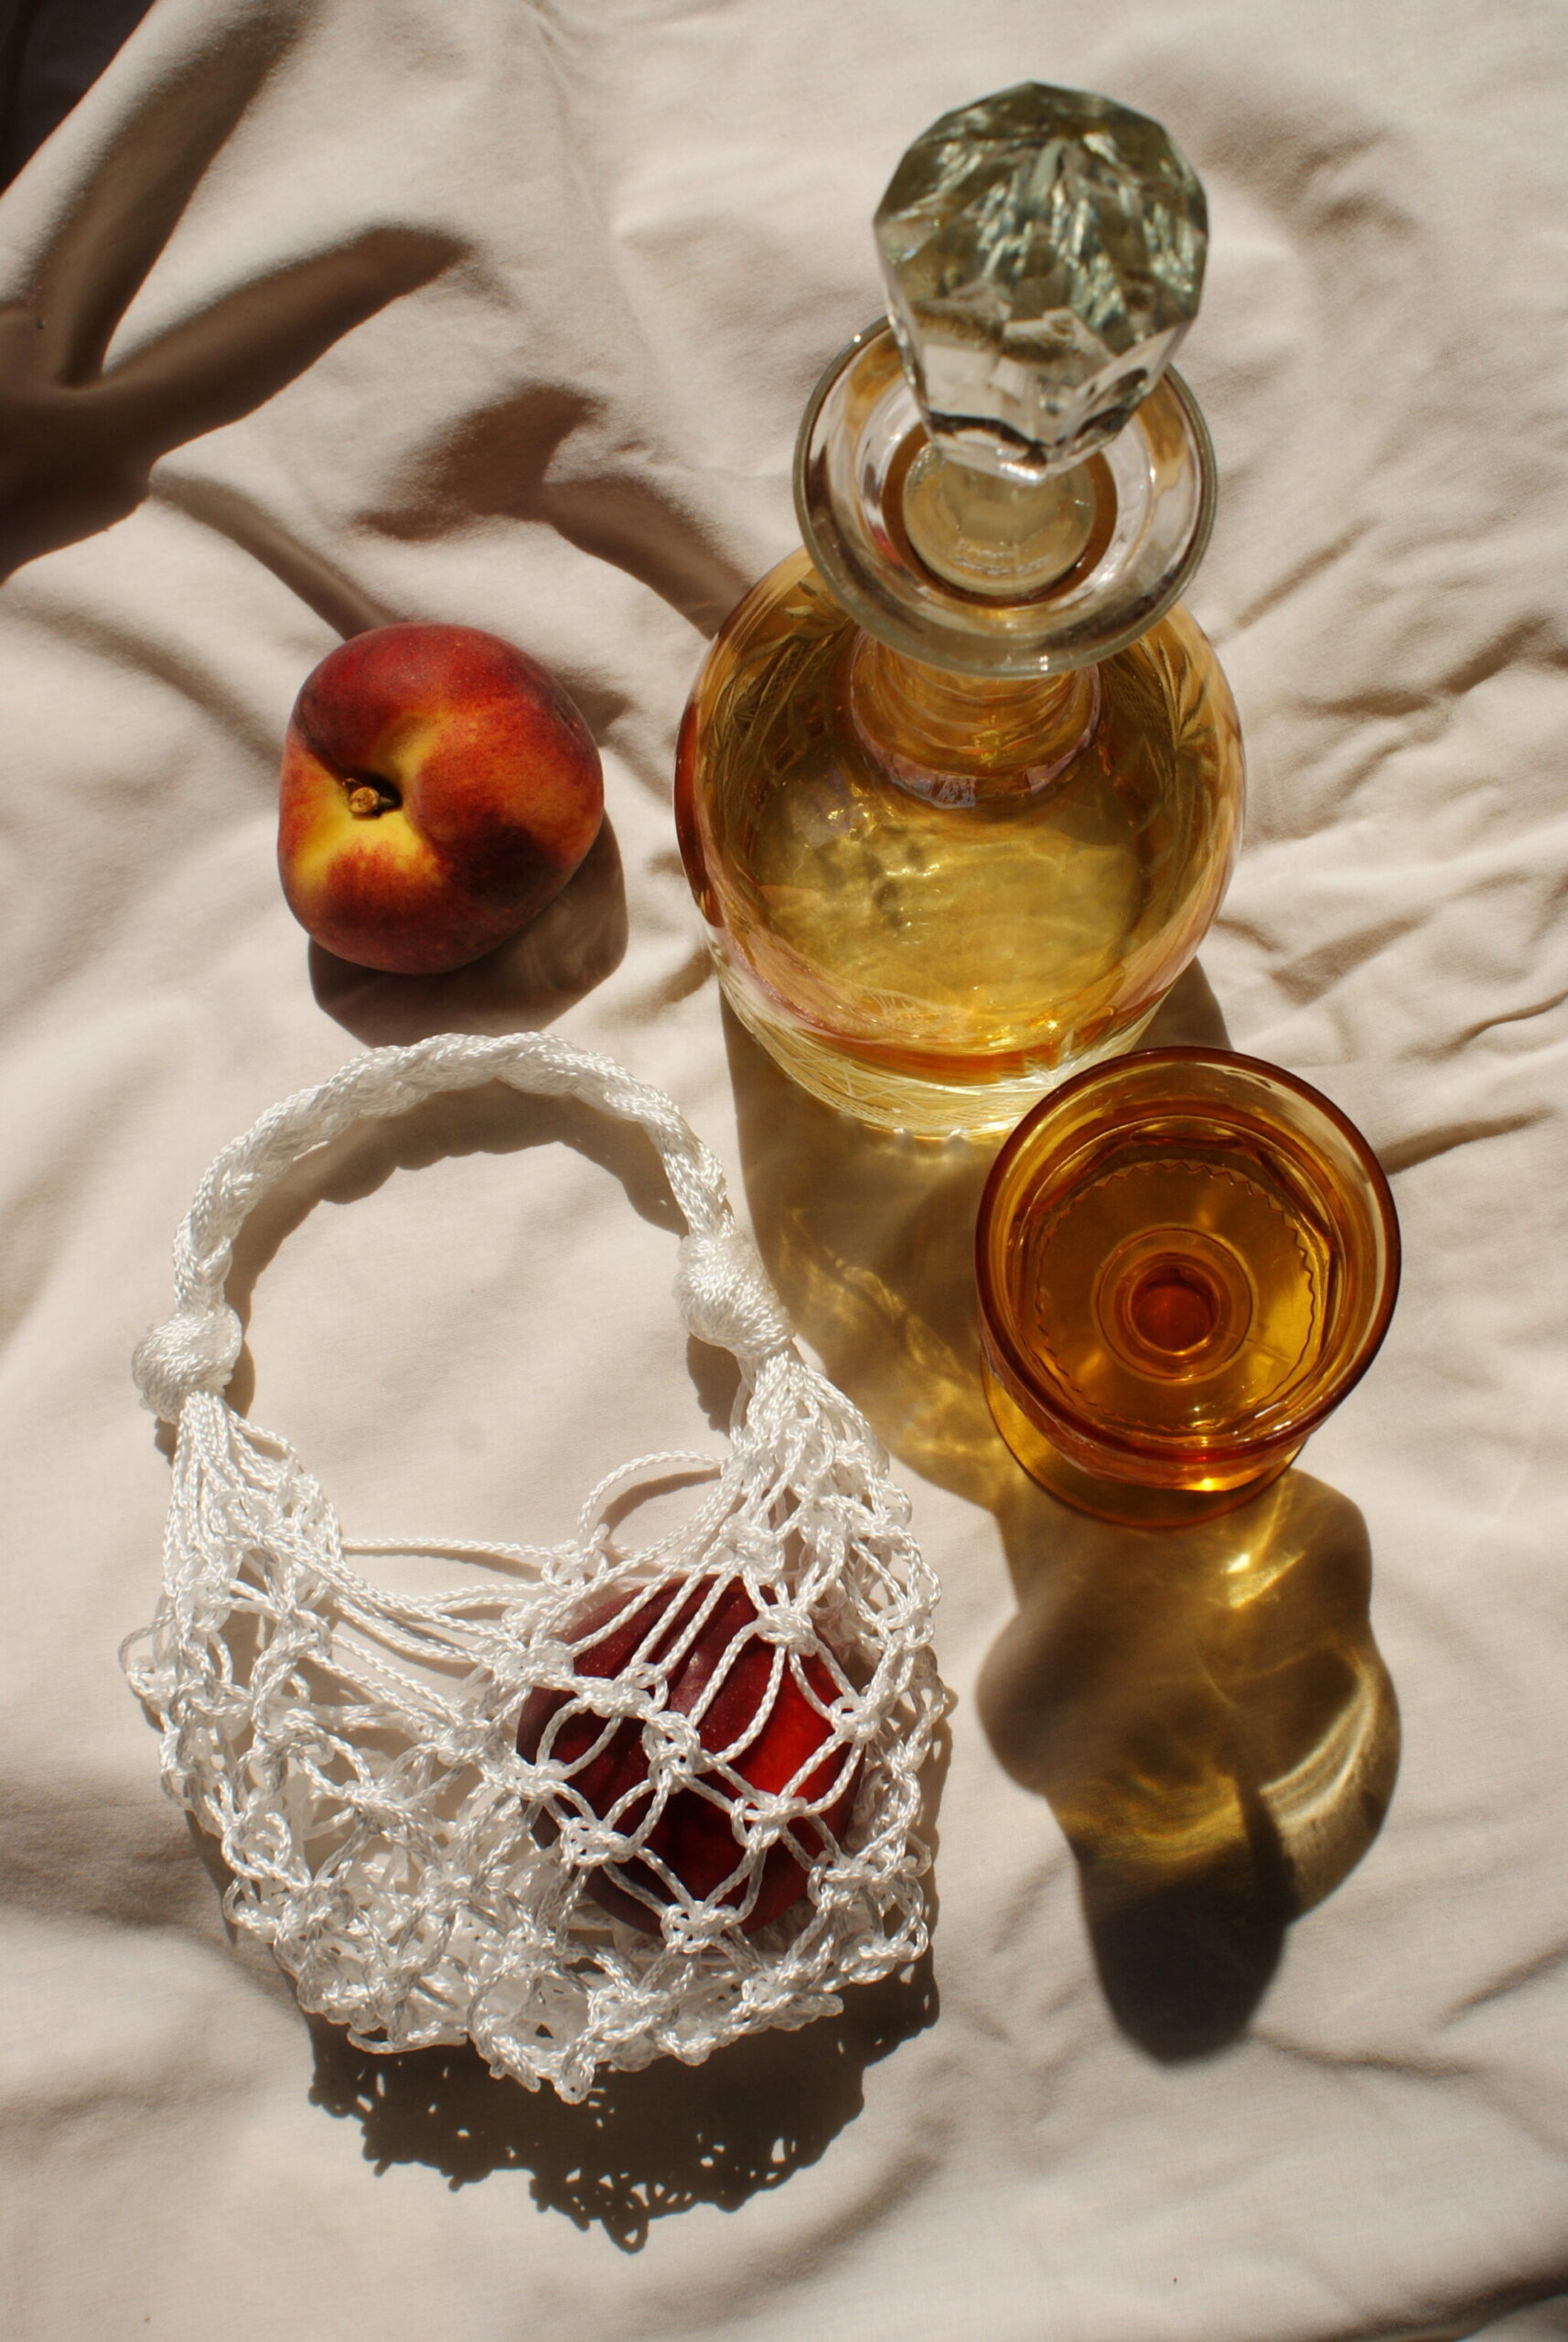

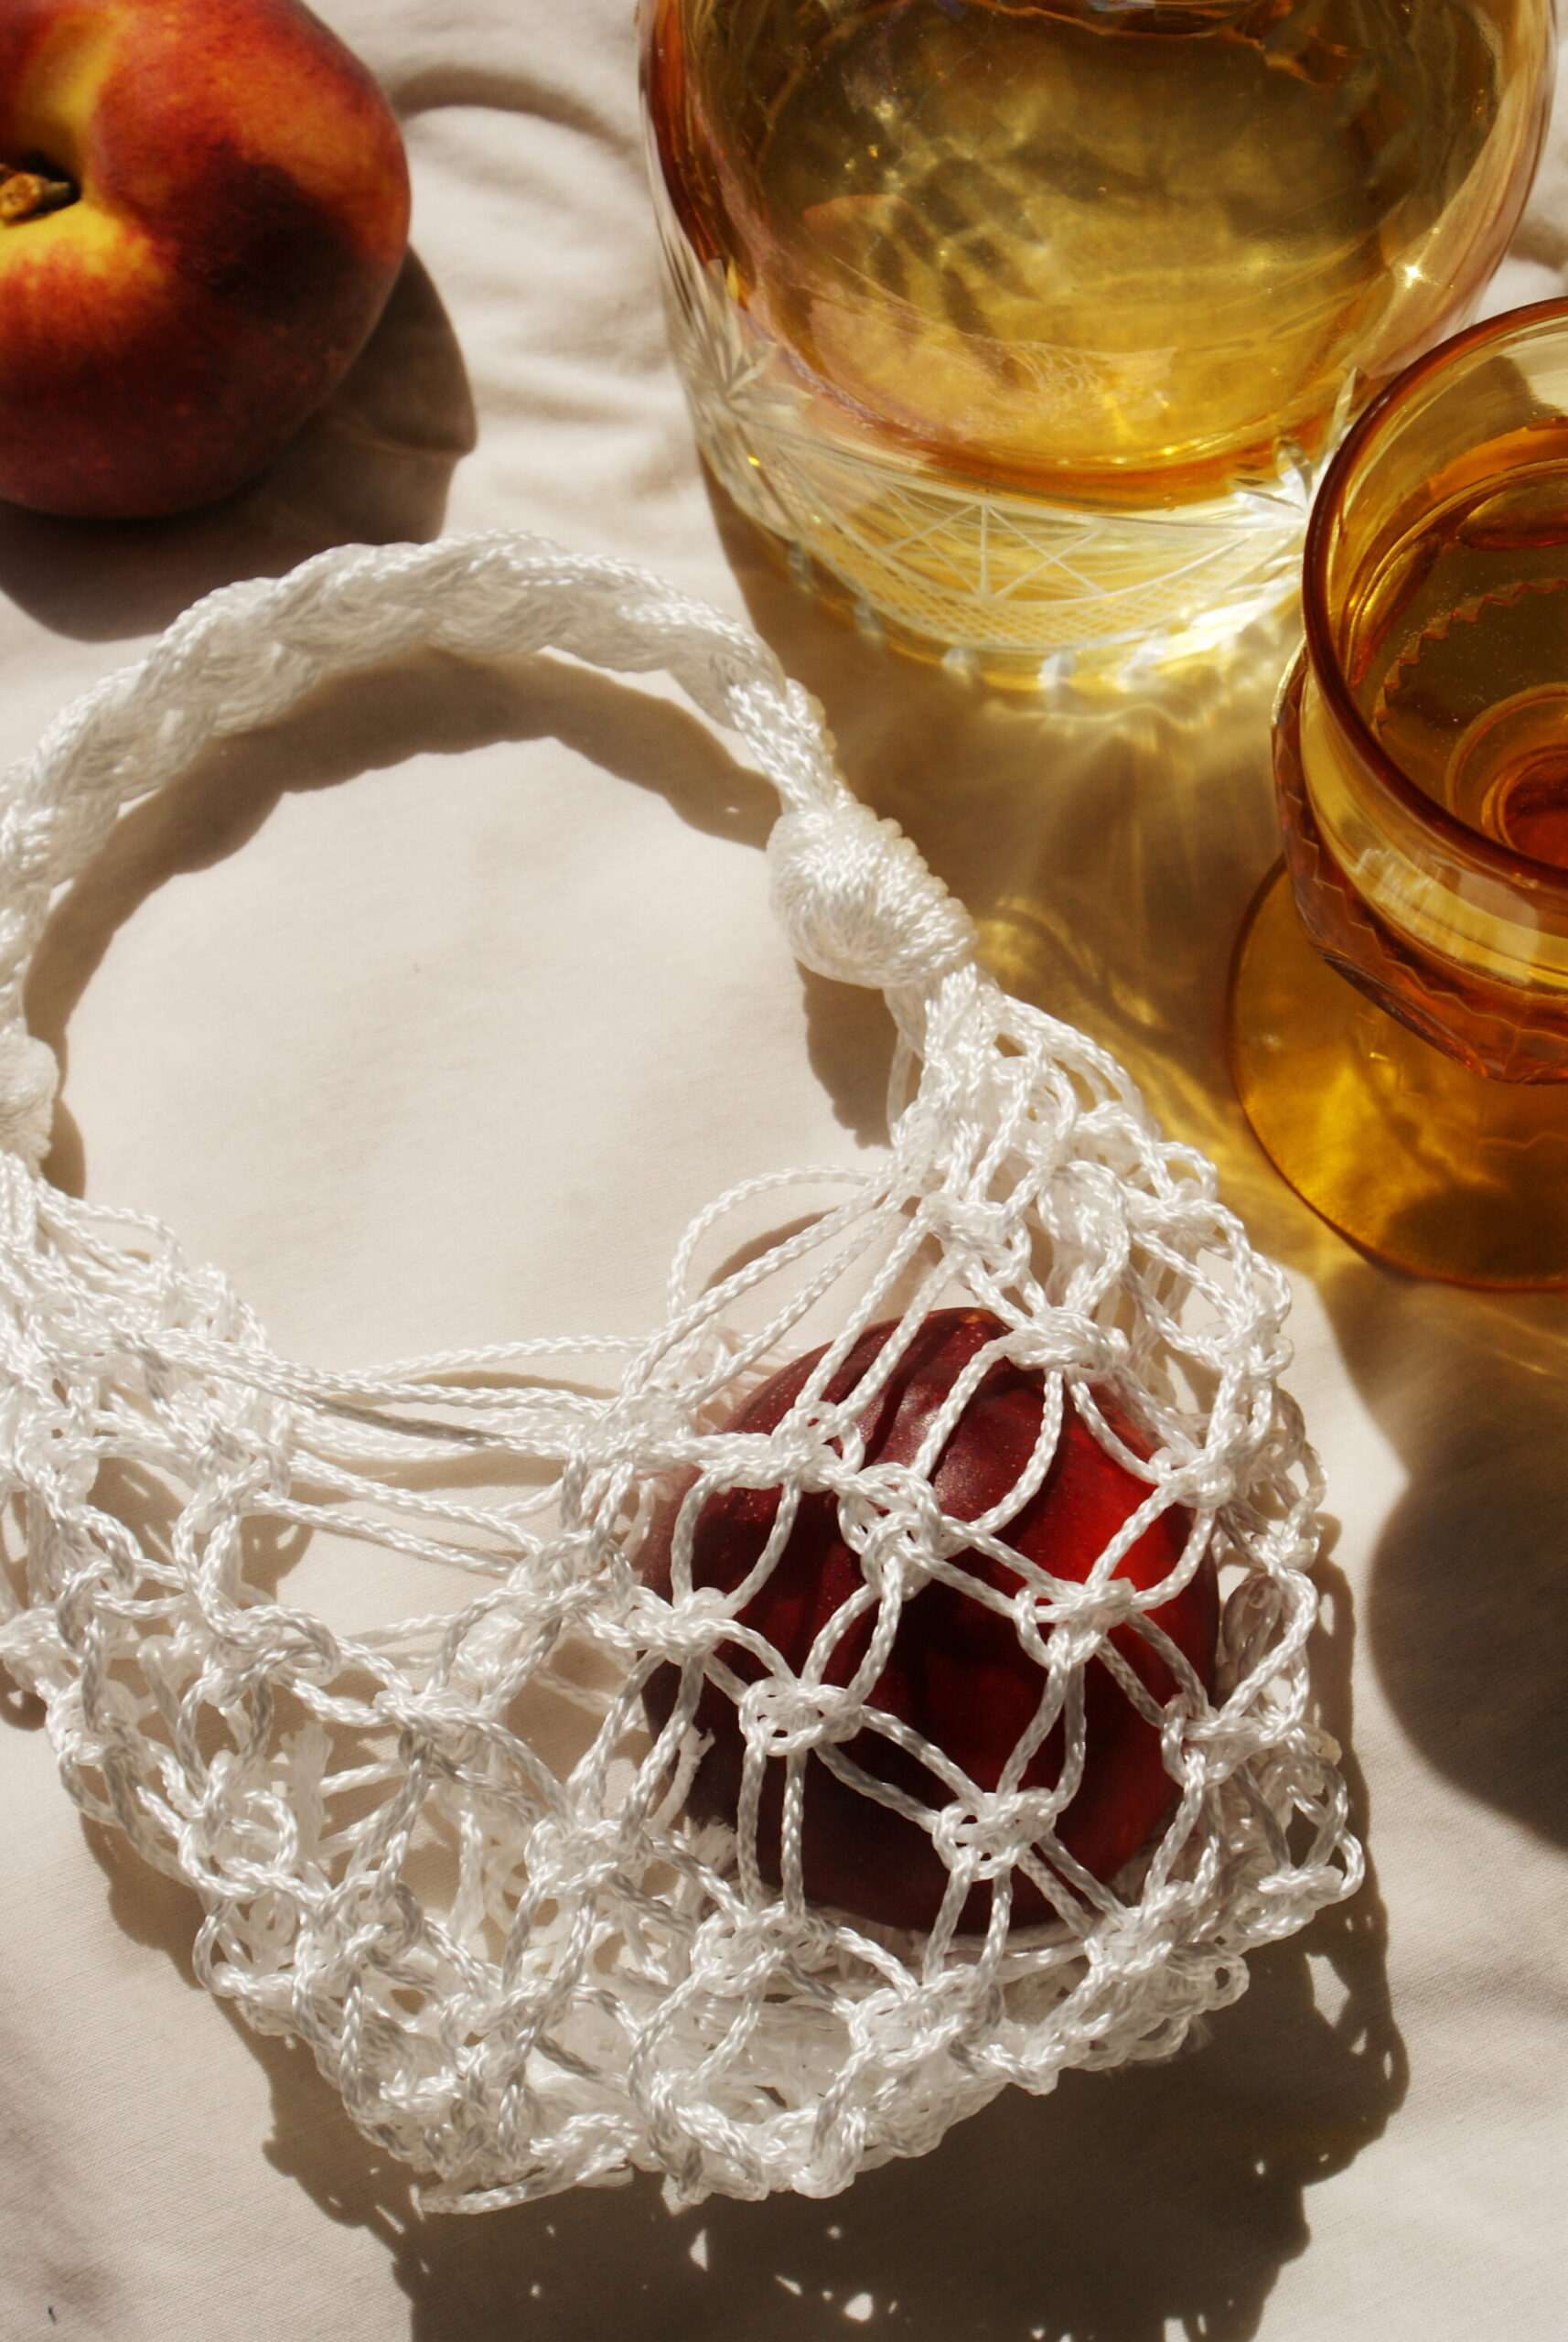
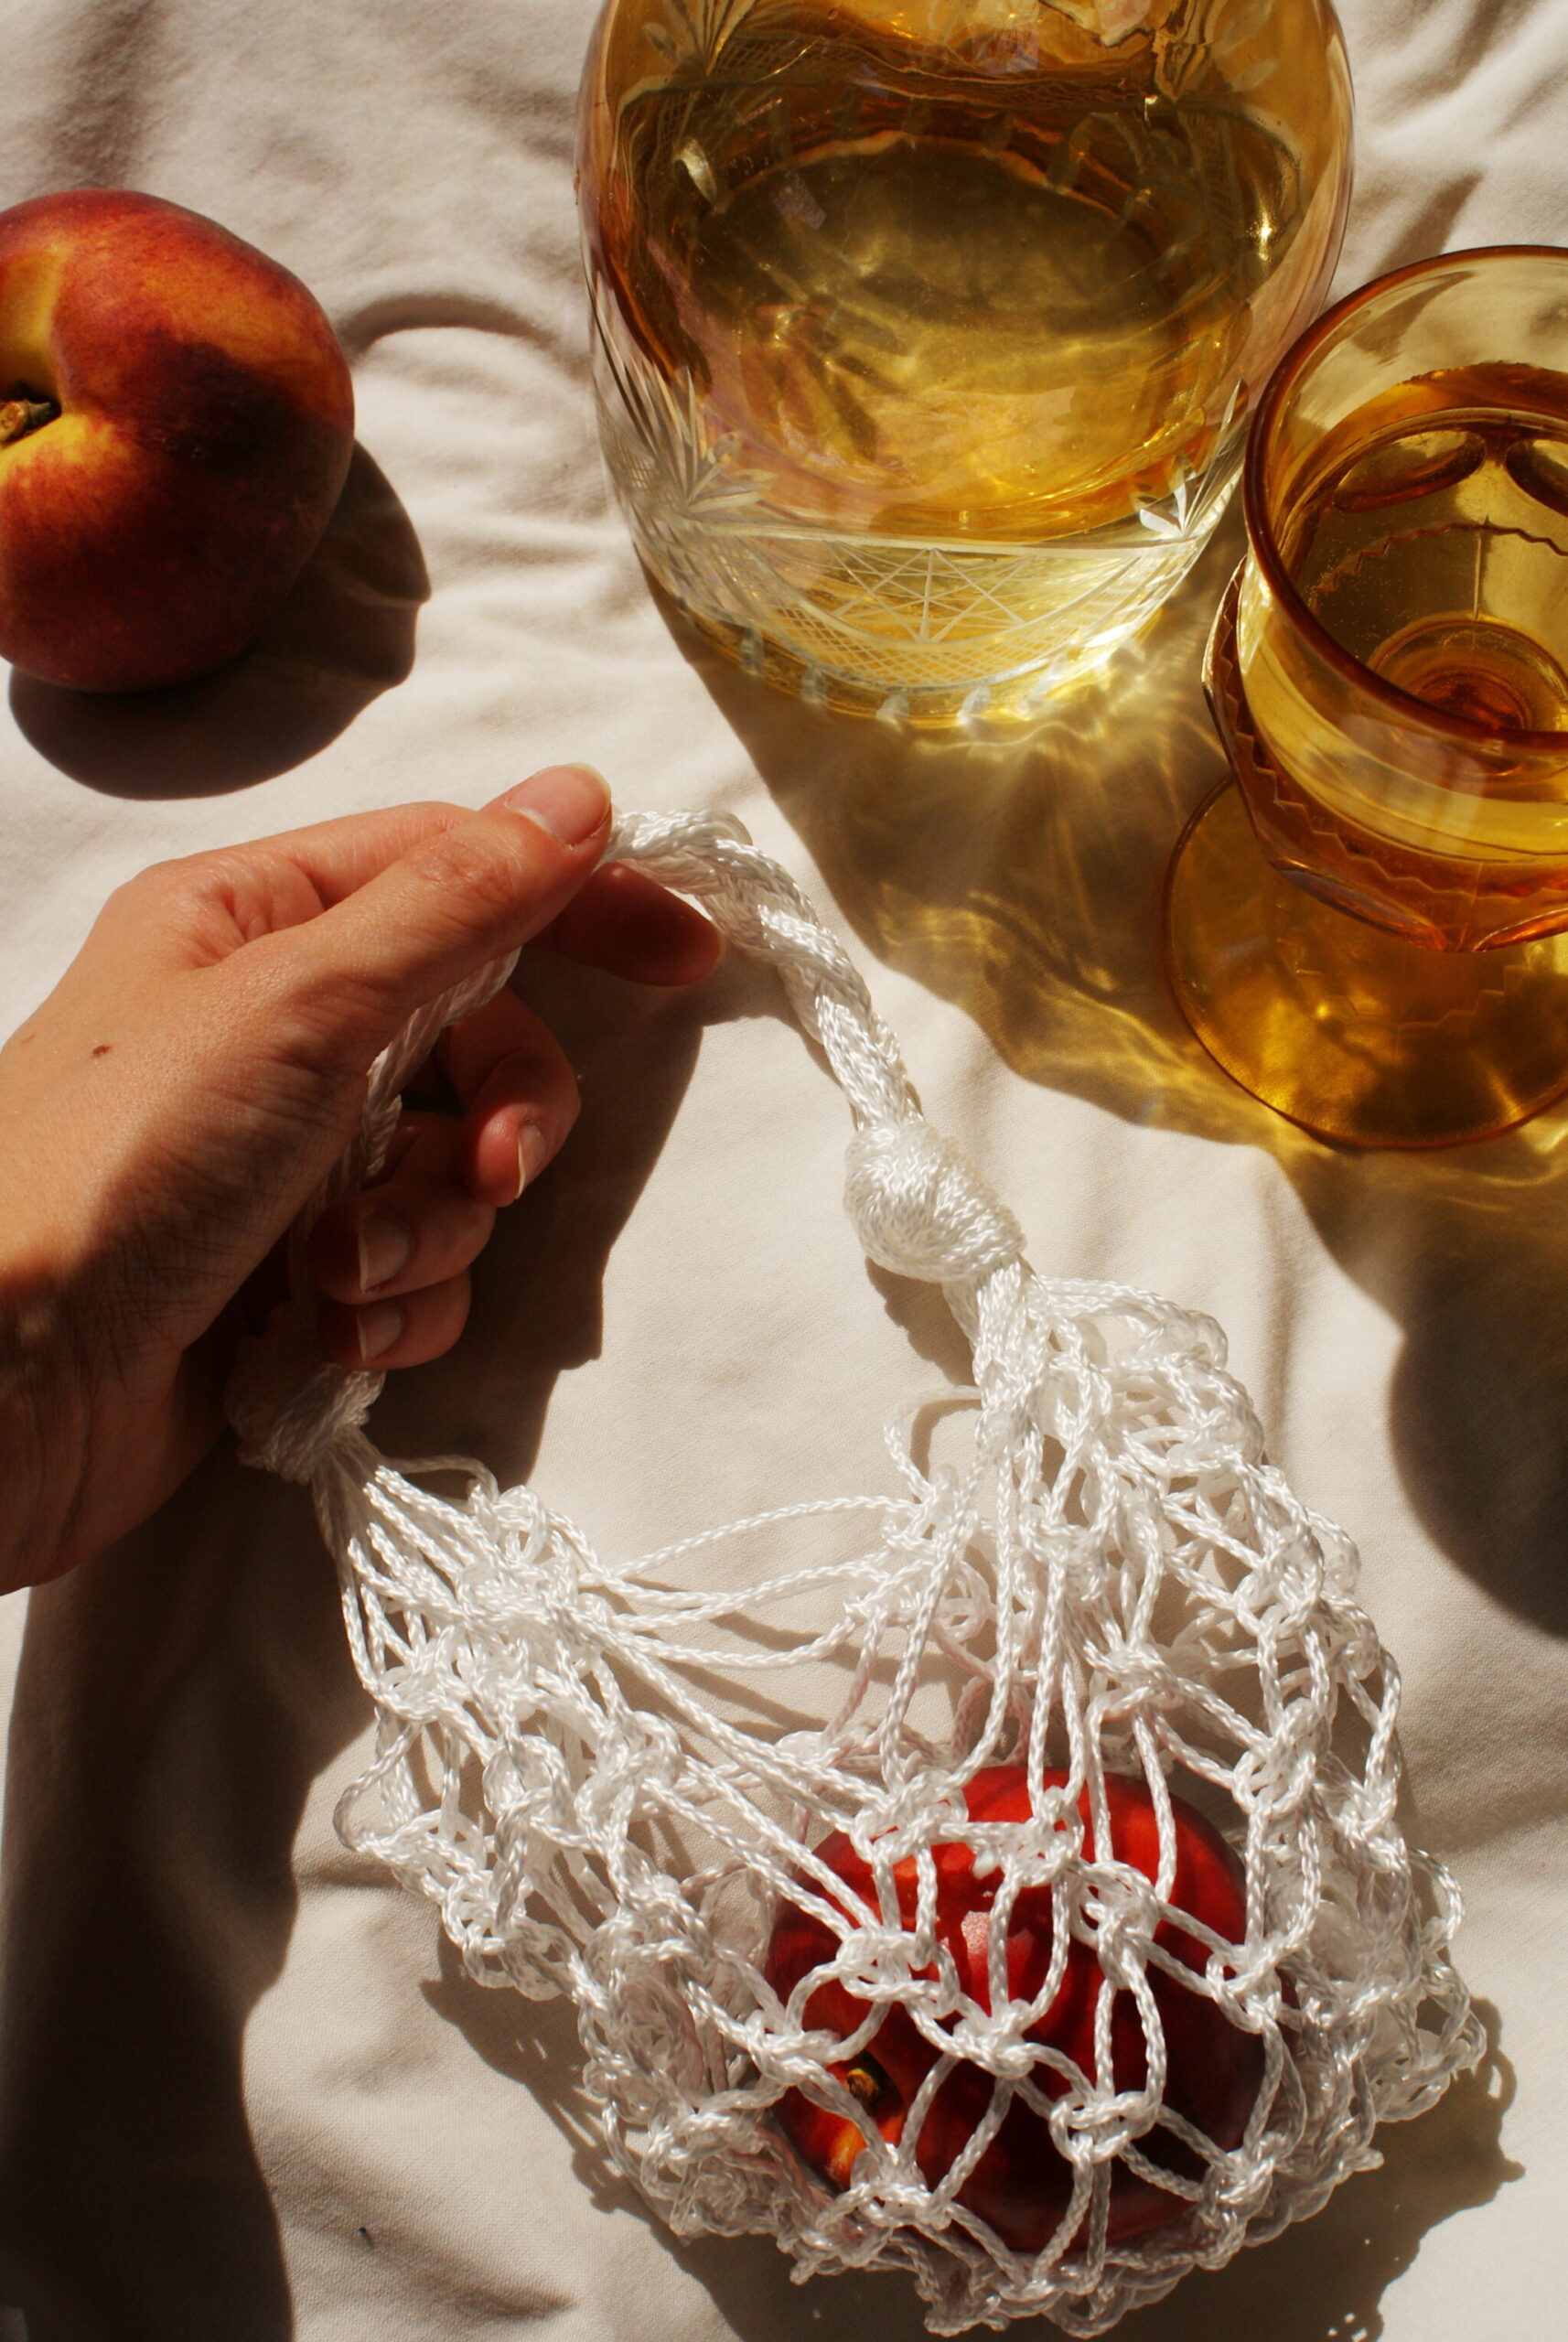
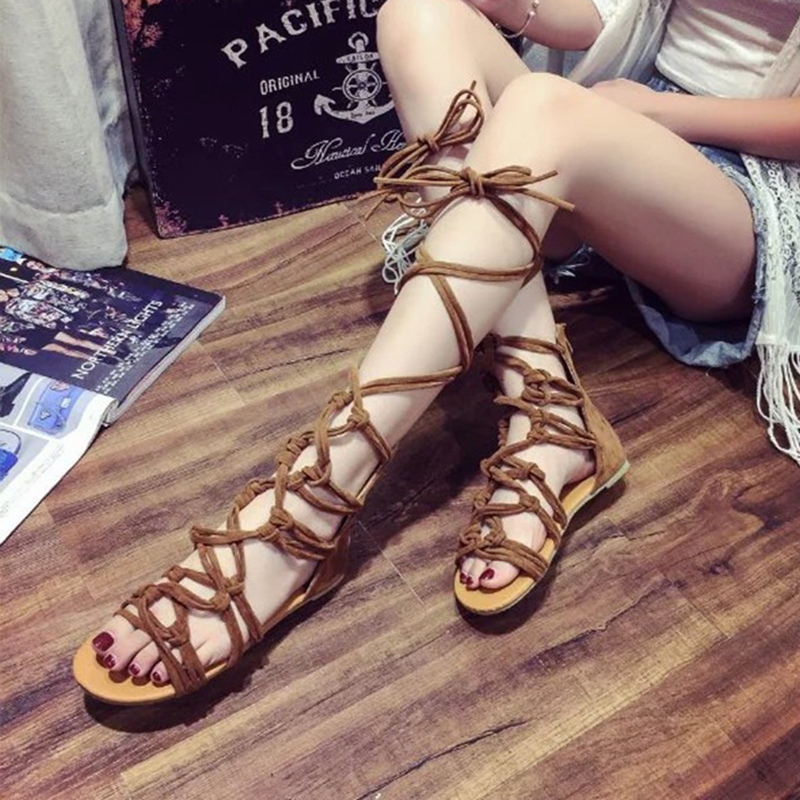
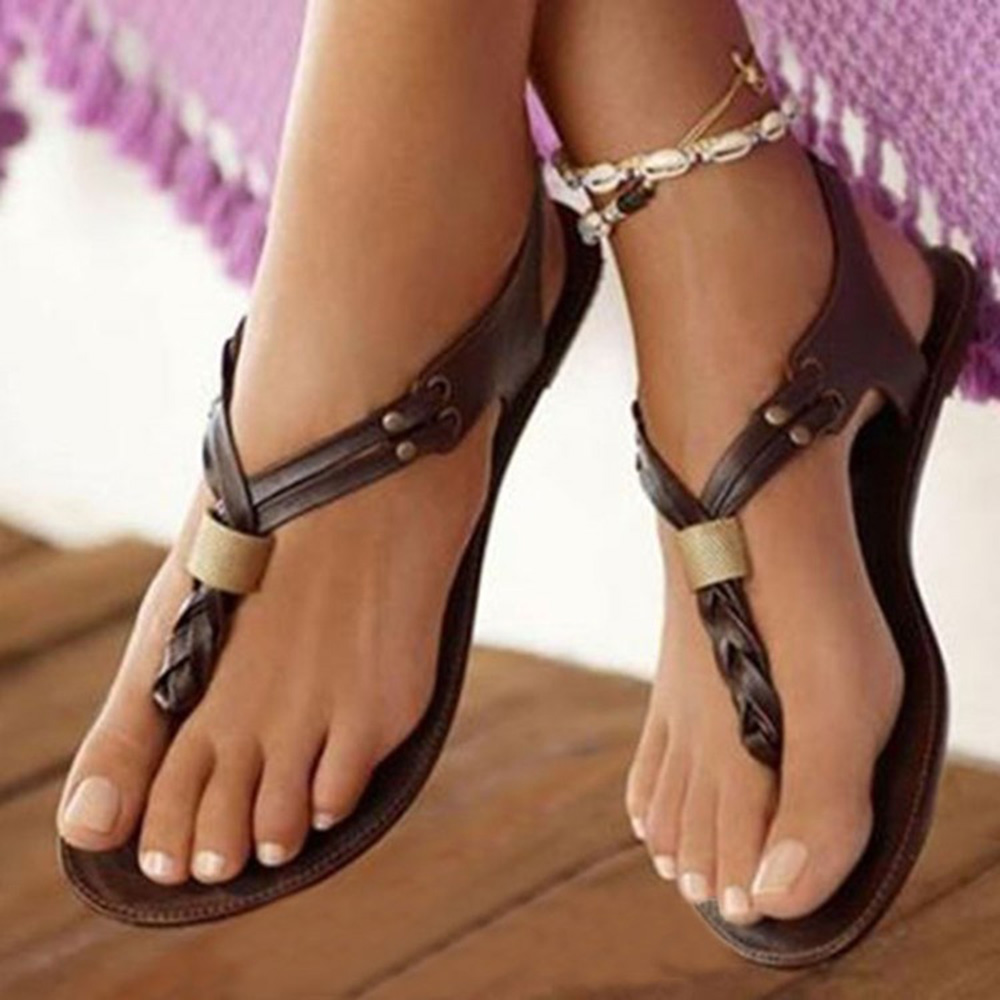
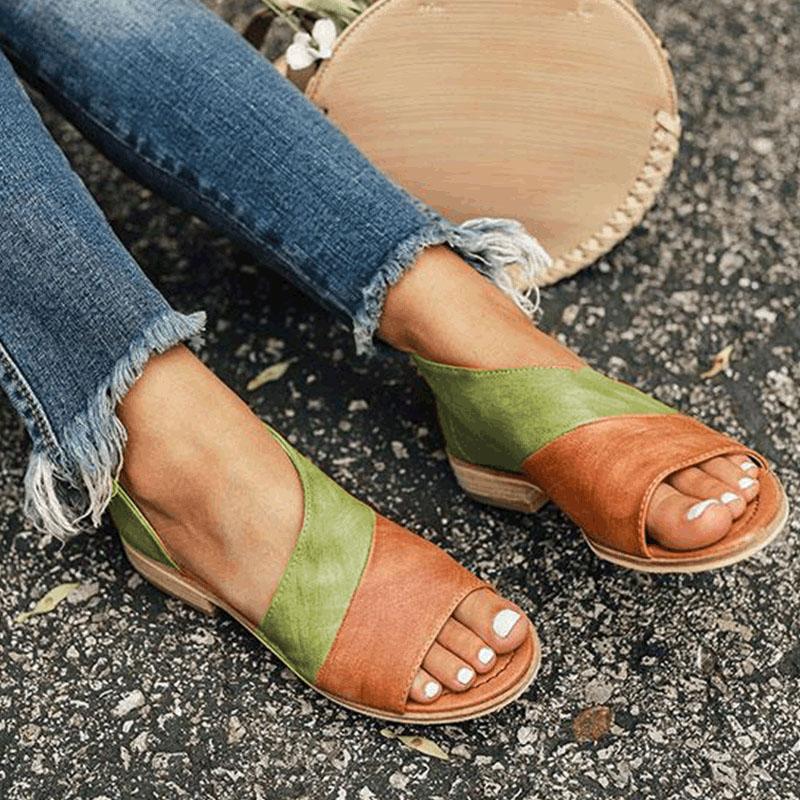
Isn’t this bag super cute? I’m going to make a bigger version for the beach/pool/etc. And, just in case you’re looking for Summer shoes that match your new bag, check Socofy and Newchic websites! Not the usual shoes shop: they offer a huge choice of super comfortable and suuuper colorful sandals for Spring and Summer, so that you can wear beautiful shoes all day without regretting it because of pain! From women walking sandals for the day to block heel sandals for the night but also women water sandals for your beach time and lace up gladiator sandals for your best outfits! It’s impossible not to find the perfect pair! Below you see my favourite picks 🙂 Click on the photo to see the details and happy shopping! // Non è carinissima la borsa? Sto pensando di farla anche in versione grande, per la spiaggia/piscina/ecc. Poi, se foste alla ricerca di belle scarpe da abbinare alla vostra nuova borsa, date un’occhiata a Socofy e Newchic. Non sono il solito negozio di scarpe: la scelta è vastissima (davvero) e specialmente su Socofy troverete scarpe coloratissime e originali! Sono scarpe comode, perfette dal giorno alla sera, dal sandalo per il mare a quello con la zeppa per un aperitivo con amiche. Insomma, impossibile non trovare il paio perfetto! Qui sotto vedete le mie preferite, cliccate sulle foto per maggiori info 🙂

Did you like the post? Pin it on Pinterest! // Piaciuto il post? Condividetelo su Pinterest!

This post is in collaboration with Newchic.com. Opinions are my own.
Questo post è in collaborazione con Newchic.com, ma esso rispecchia la mia opinione in modo trasparente. Non sono stata in alcun modo pagata o ricompensata per parlare bene dei prodotti / servizi.

