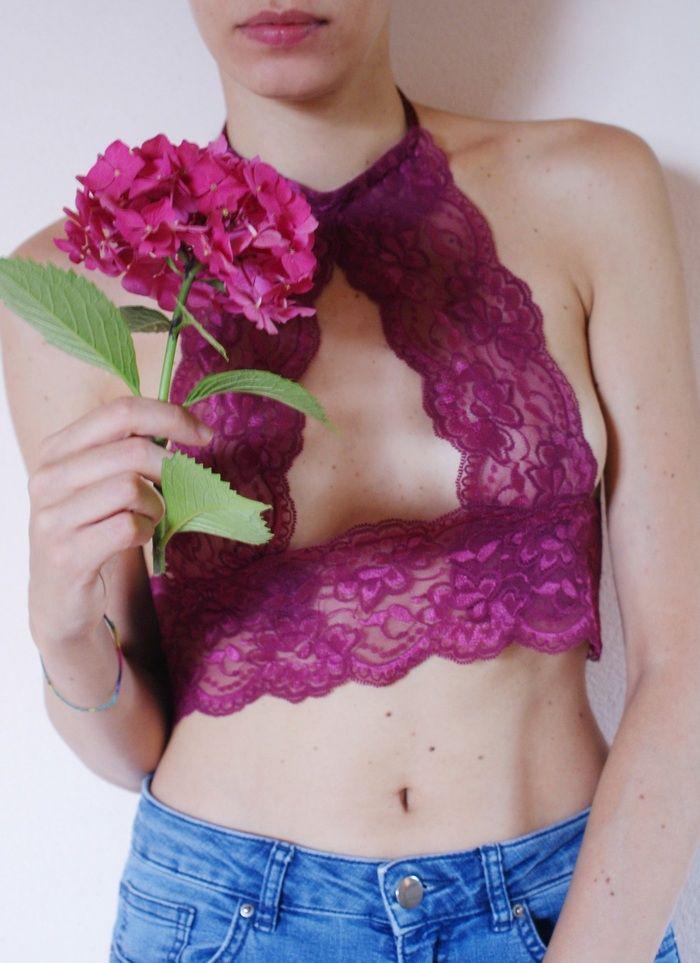
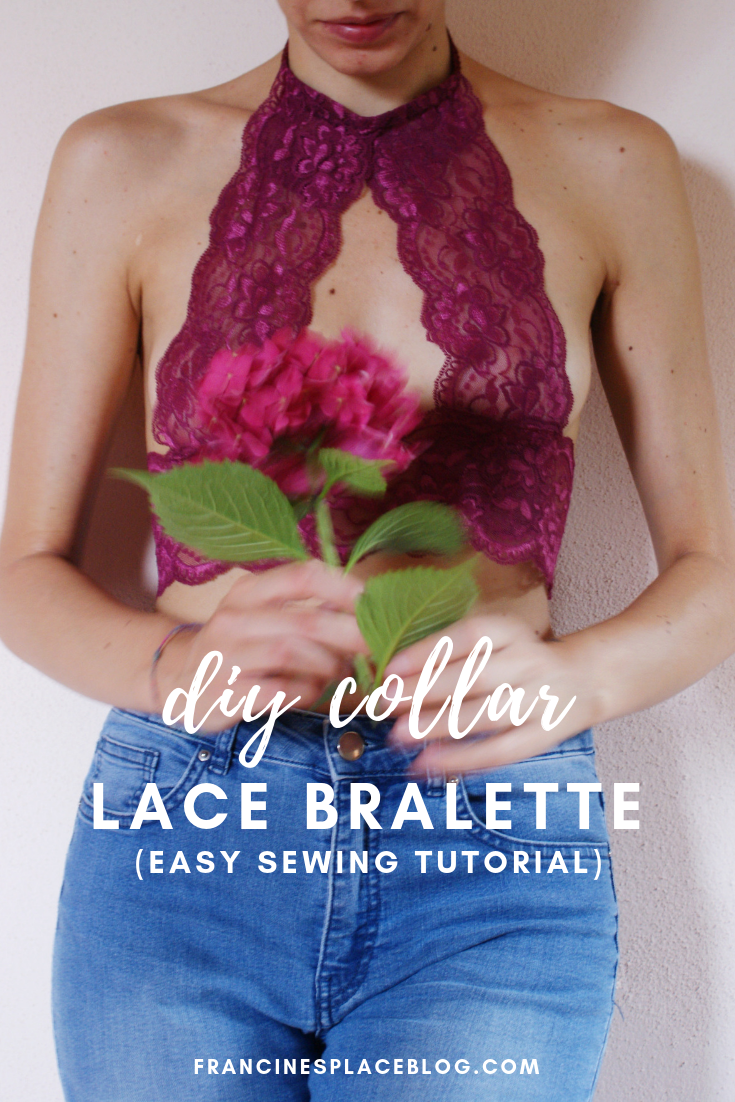
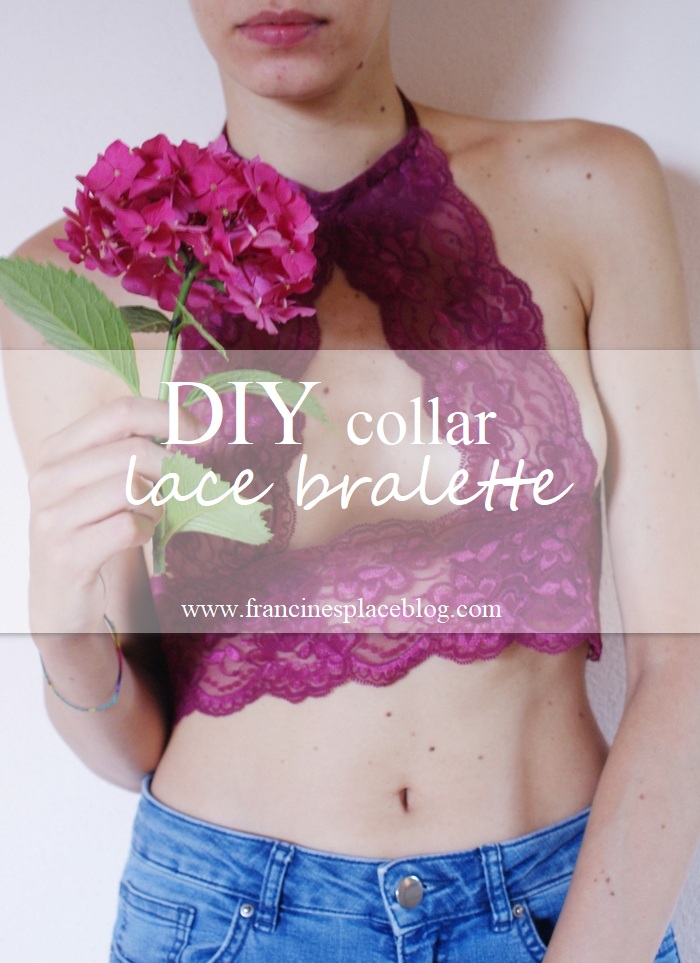
After the cut out bralette, today I’m sharing another lace piece you can make yourself!
As I’ve already told you before, I’ve been totally into lace (and comfy) bras lately, but since they’re often expensive as hell, I decided to make some versions myself. I hope you’re gonna love this second one as much as I do!
//
Dopo il reggiseno “tagliato”, oggi condivido con voi un altro modello in pizzo che potete tranquillamente realizzare voi stesse!
Come vi ho già detto più volte, ultimamente sono a favore dei reggiseni in pizzo (e comodi) che però sono spesso e volentieri cari come il fuoco. Ecco perché ho deciso di realizzarne alcuni da sola e spero che adorerete questo secondo modello come lo adoro io!
If you have been able to make the cut out bralette, this will come easier (cause actually it is easier!). As the previous one, you’re gonna “build” it following your own body shape, so it fits every size! It took me one hour to put it together, so the time is definitely worth the result (especially because I spent less than 10€ for the material)! 🙂
//
Se siete riuscite a fare il precedente reggiseno, questo vi verrà ancora più facile (anche perché è più facile!). Come il precedente, anche questo lo “costruite” seguendo la forma del vostro corpo, quindi è perfetto per ogni taglia! Io ci ho messo un’oretta a terminarlo, quindi ne vale assolutamente la pena (considerando poi che per il materiale ho speso meno di 10€)! 🙂
***
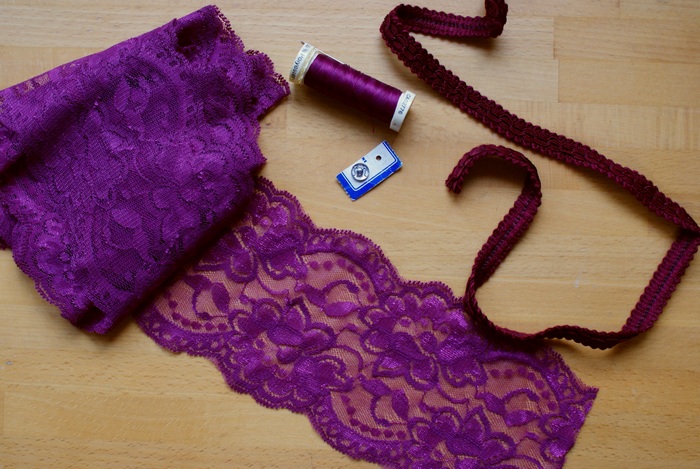
You need // Vi occorre:
- about 2m (78 in) x 7-10cm (2,7-3,9 in) (the height depends on your boobs size) of elastic lace // circa 2m x 7-10cm di pizzo elastico (l’altezza dipende dalla taglia del vostro seno)
- 50cm (19,6 in) of elastic strip for the collar // 50cm di elastico per la chiusura a collare
- automatic button (with holes) // bottone automatico (con buchi)
- needle and thread // ago e filo
How to // Come procedere:
1)
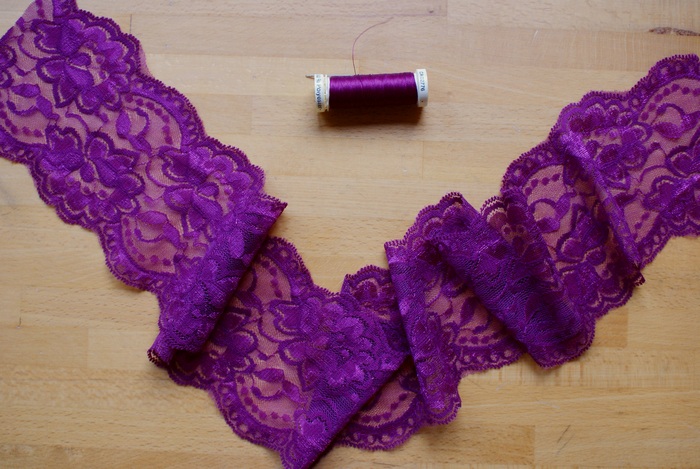
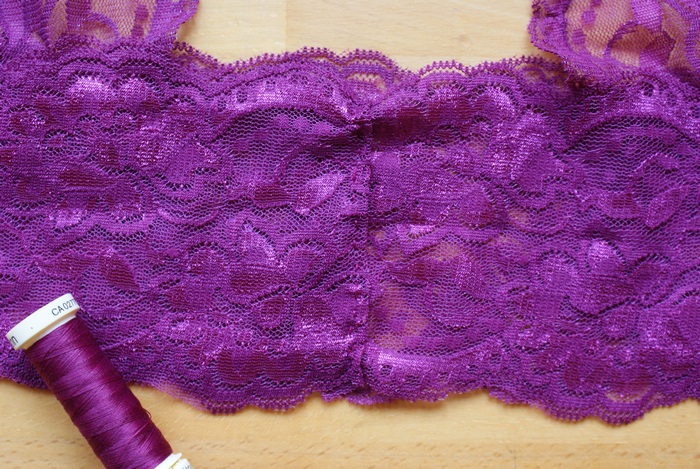
First thing first cut 3 pieces of lace, one as your bust circumference (measure just under your breast), two as the distance clavicle-bust. Remember to add few centimeters on each piece! Then start sewing the bust piece. This bra has no closure on the back cause the lace is elastic, but remember to not sew it too tight if you want to feel comfy in it! So, sew the lace extremities together, then wear it so that it will be easier to add the lace bands. If you need a refresh for the hand sewing, here you find a tutorial. // Innanzitutto tagliate 3 pezzi di pizzo, uno lungo come la circonferenza del vostro busto (misurata appena sotto il seno), due come la distanza clavicola-busto. Ricordate di abbondare di qualche centimetro su ogni pezzo, perché dovrete cucire i bordi! Poi iniziate cucendo la parte del busto. Questo reggiseno non ha chiusure sulla schiena dal momento che il pizzo è elastico, ma ricordate di non cucirlo troppo stretto se lo volete comodo! Dunque, cucite insieme le estremità del pizzo, poi indossatelo così da poter aggiungere più facilmente le fasce successive. Se vi serve un ripasso di cucito a mano, qui trovate il tutorial.
2)
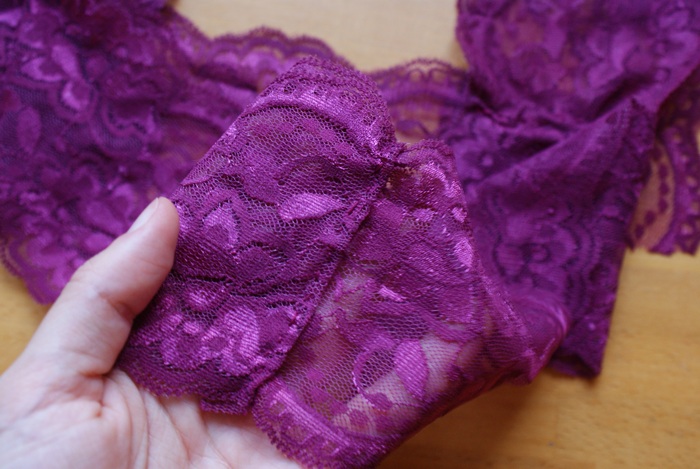
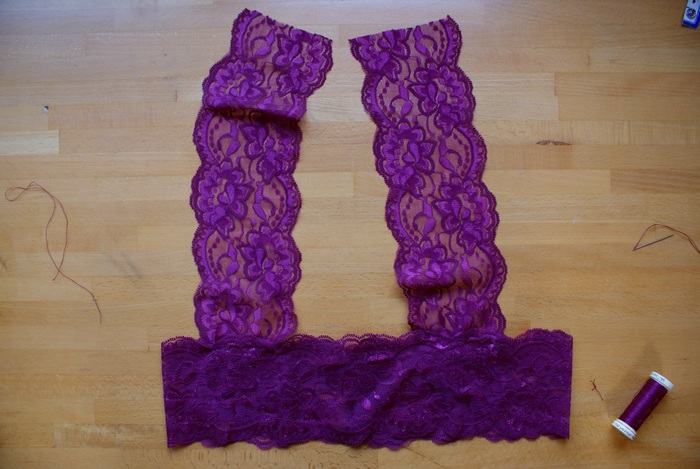
Now sew the two bands to the bust part, leaving the bust part ouside. Once again, if you wear it it will be easier to place them at the perfect distance, just be careful not to sting yourself 😀 // Ora cucite le due fasce a quella inferiore, lasciando quest’ultima all’esterno. Ancora una volta, se lo indosserete mentre cucite vi sarà più facile posizionare le fasce alla giusta distanza, solo state attente a non pungervi!
3)
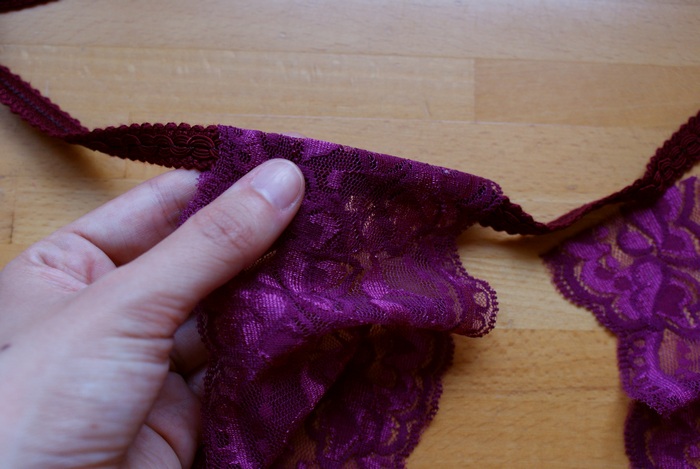
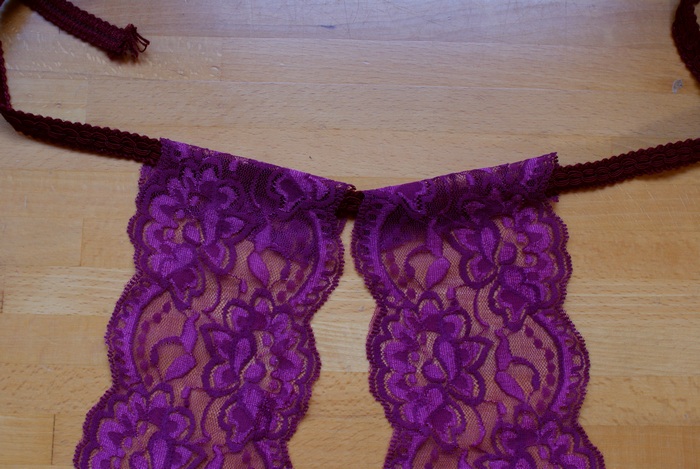
Now wrap the upper part of the bands around the strip and sew them to it, remembering to pull them a bit to avoid a floppy effect. Then add the button on the back and you’re done! // Ora avvolgete la parte superiore delle fasce all’elastico e cuciteli insieme, ricordandovi di tirarle un po’ per evitare l’effetto floscio. Poi aggiungete il bottone sulla parte posteriore e avete finito!
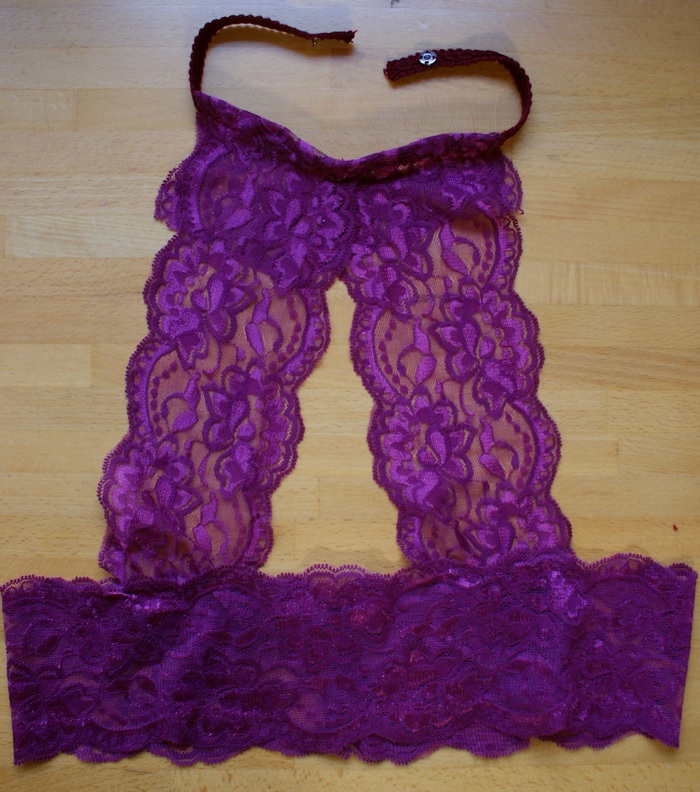
It wasn’t so difficult, am I right? 😀 // Non era poi così difficile, vero? 😀


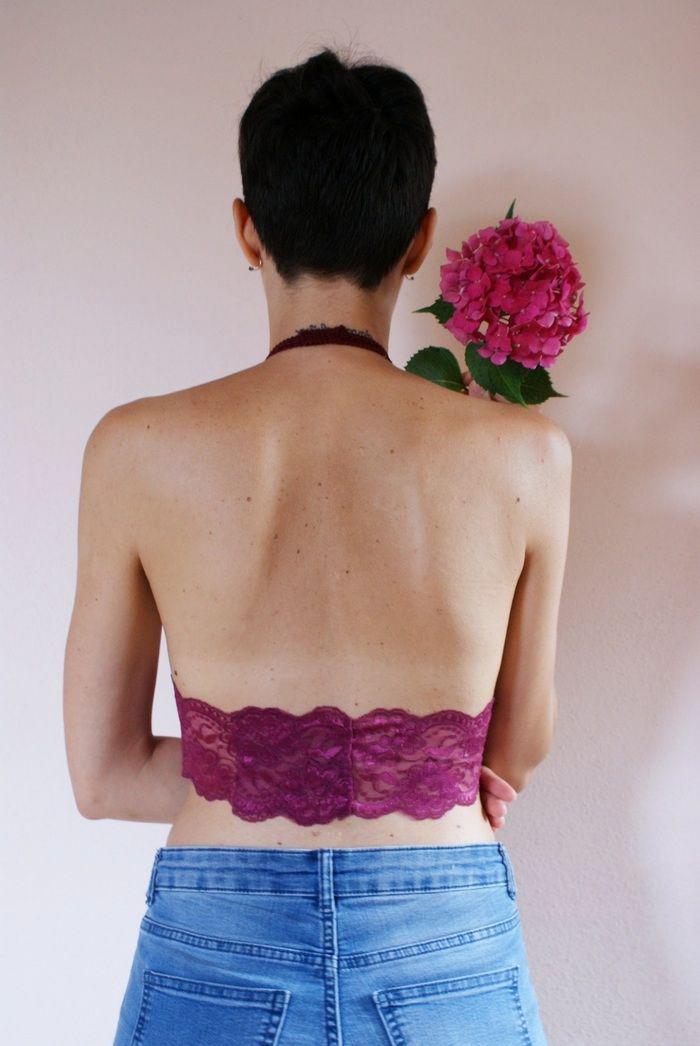
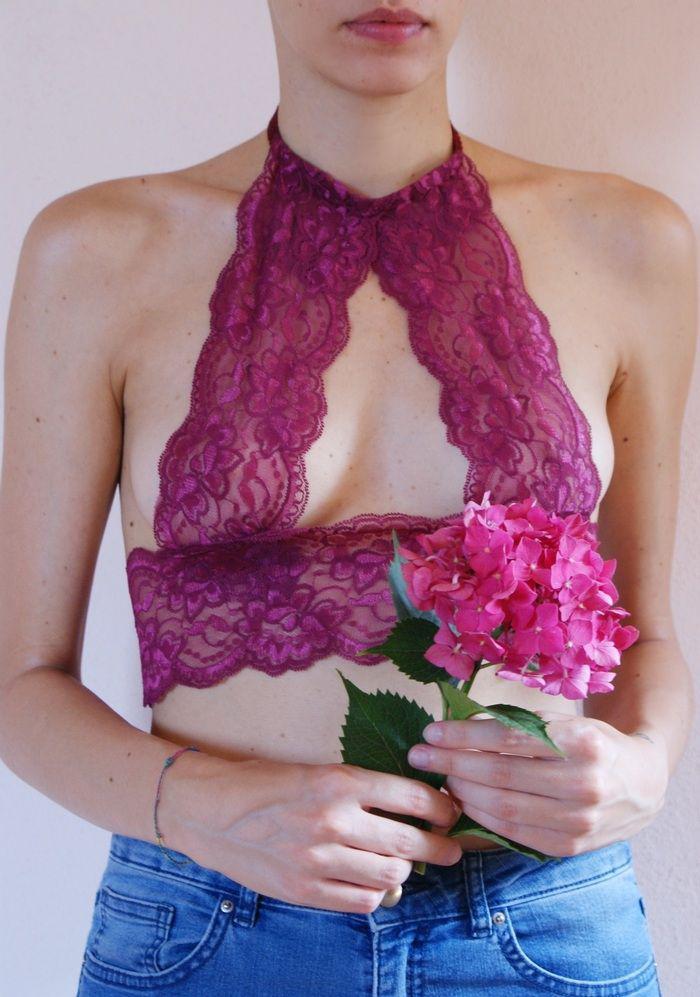


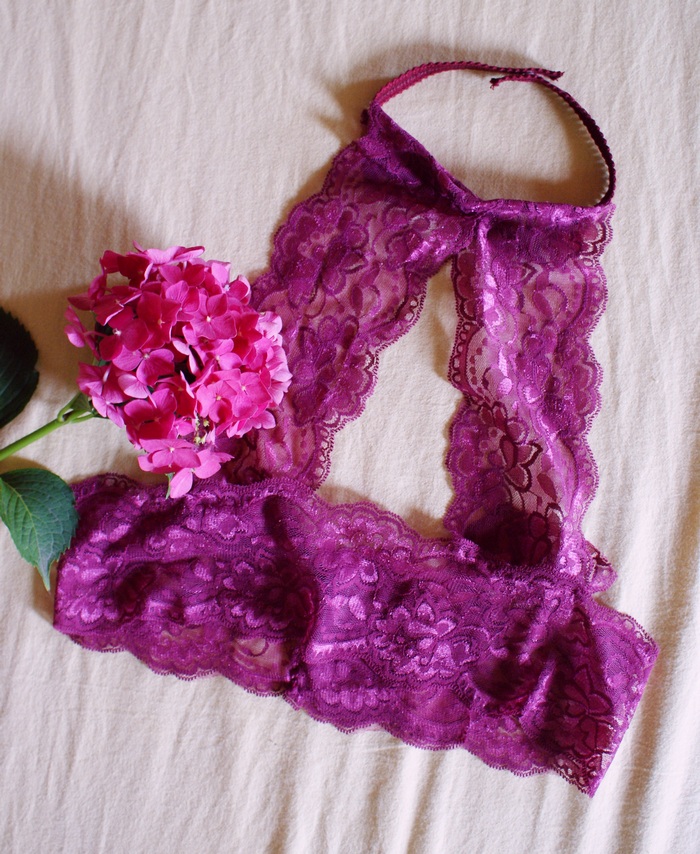
Aaand…did you notice I’ve cut my hair? I needed to change and I simply did it (and din’t think too much about it or it would be a trauma haha). // E…avete notato che ho tagliato i capelli? Avevo bisogno di cambiare e semplicemente l’ho fatto (e senza pensarci troppo o sarebbe stato un trauma ahah).
Did you like this post? Pin it on Pinterest! // Piaciuto il post? Condividetelo su Pinterest!
Happy weekend dears!

