Who else out there loves lace bralettes?
I’ve been dreaming of making one for ages and finally found the time (and will) for it, so this is the result! This is the first DIY bralette I make, but in the next weeks I’ll share with you also a second one, so stay tuned!
//
Chi di voi adora i reggiseni in pizzo?
Ho sognato a lungo di realizzarne uno e finalmente ho trovato il tempo (e la voglia) di farlo, quindi ecco a voi il risultato! Questo è il primo reggiseno fai da te che ho fatto, ma nelle prossime settimane condividerò anche un secondo modello, quindi state all’erta!
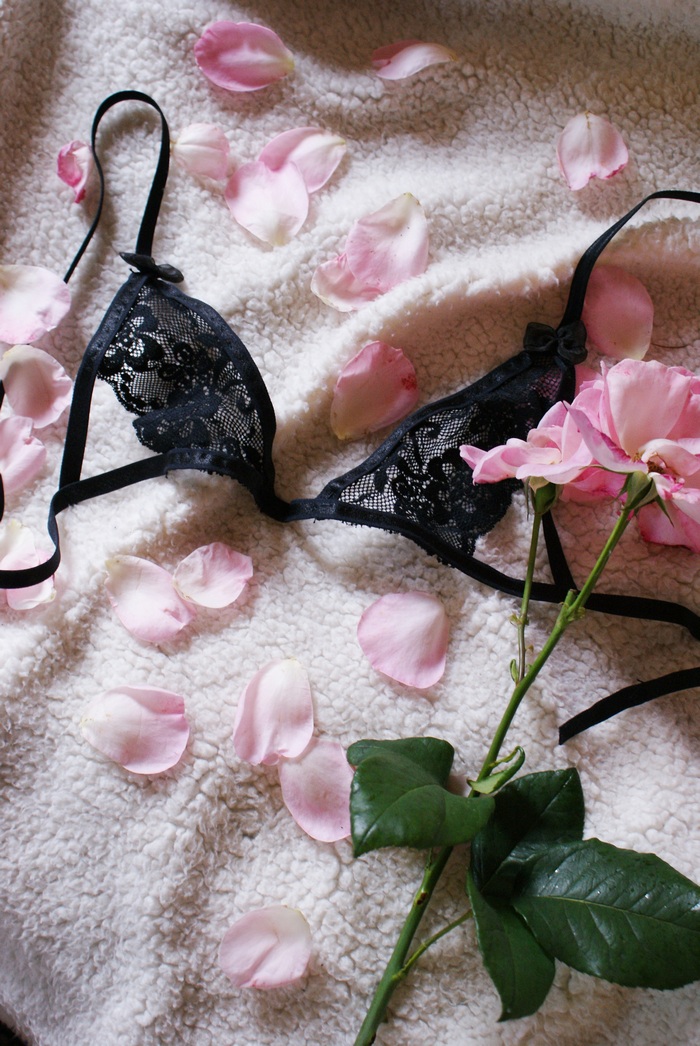
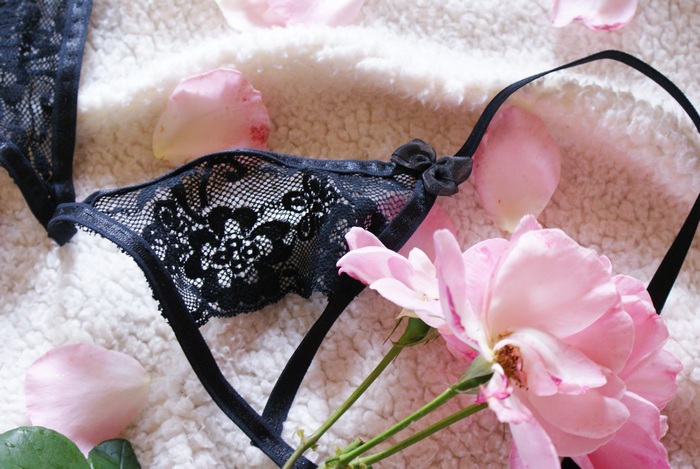
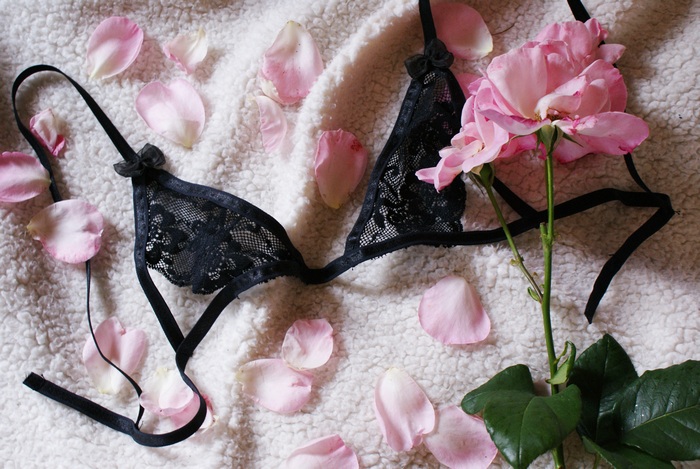
I decided to make a cut out bralette to do something different and I must say that I’m in love with how it came out. I think it can fit any size, cause you create it following your own shape and thanks to the elastic lace, perfect to work with. Of course you can’t run in it, but it’s definitely that girly lace piece to have in the closet 🙂 Ready to start? Let’s go!
//
Ho deciso di realizzarne uno “tagliato” per fare qualcosa di diverso dal solito e devo ammettere che adoro come è venuto. Credo vada bene per tutte le taglie, perché lo create seguendo la vostra stessa forma e grazie al pizzo elastico, perfetto da lavorare. Certo, non potete usarlo per correre, ma sicuramente è quel pezzo femminile da avere nell’armadio 🙂 Pronte? Iniziamo!
***
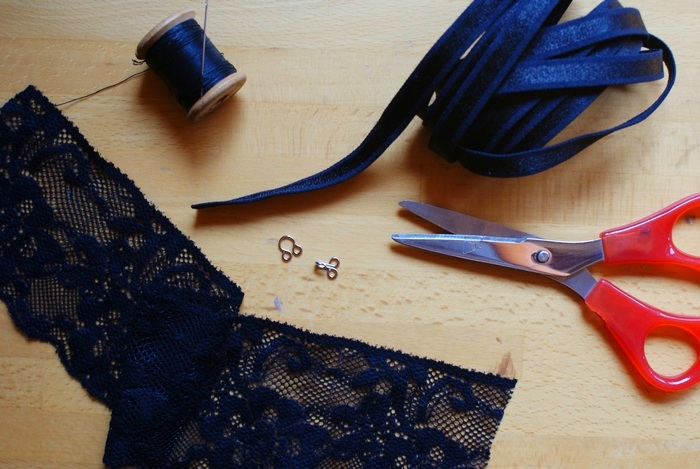
You need // Vi occorre:
- 2m x 1cm (78×0,39 in.) or more of elastic satin strip // 2m x 1cm o più di fascia elastica effetto raso
- 50×7 cm (19×2,7 in.) of elastic lace (or larger, if you have big boobs!) // 50×7 cm di pizzo elastico (o più largo, se avete il seno abbondante!)
- needle, thread and scissors // ago, filo e forbici
- bra closure // chiusura a gancio
How to // Come procedere:
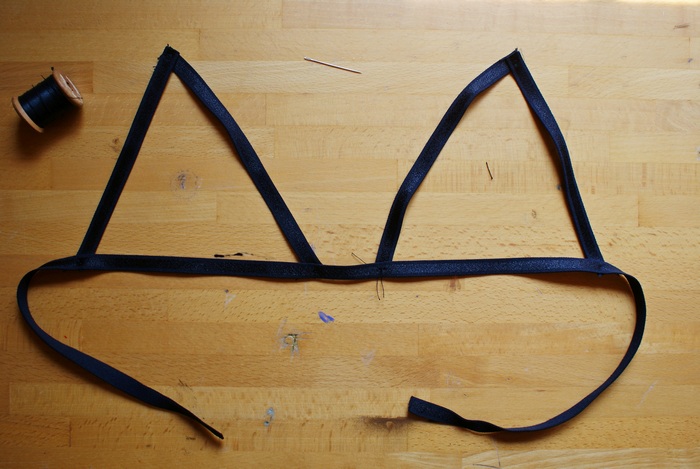
1)
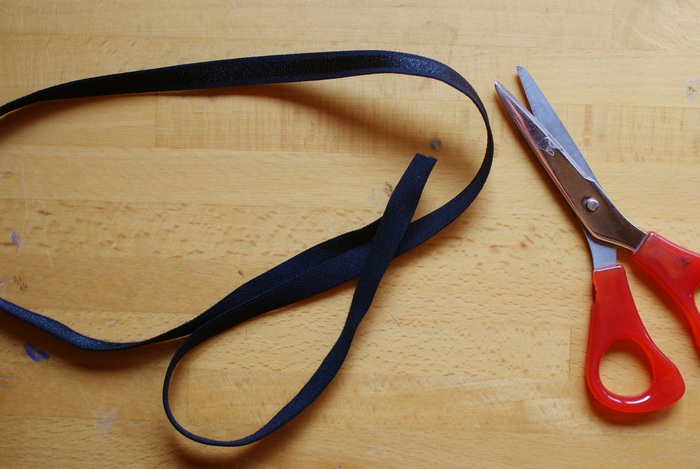
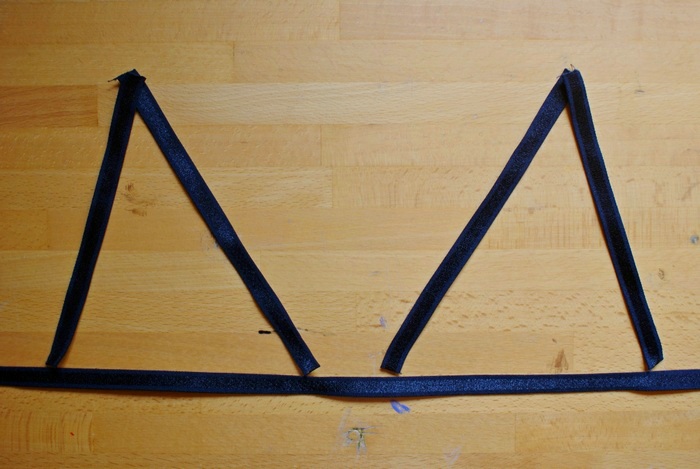
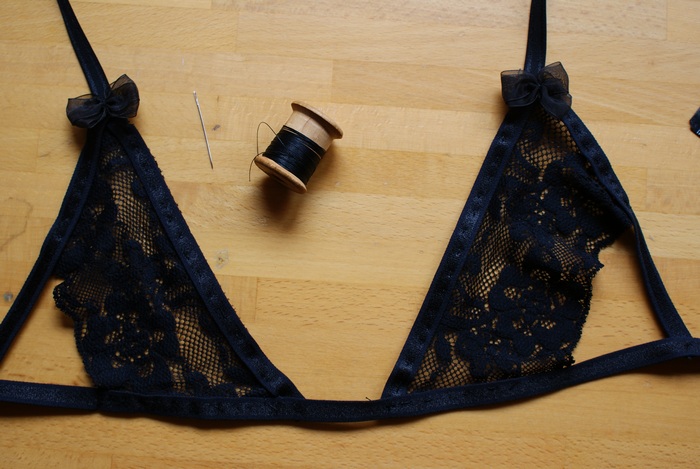
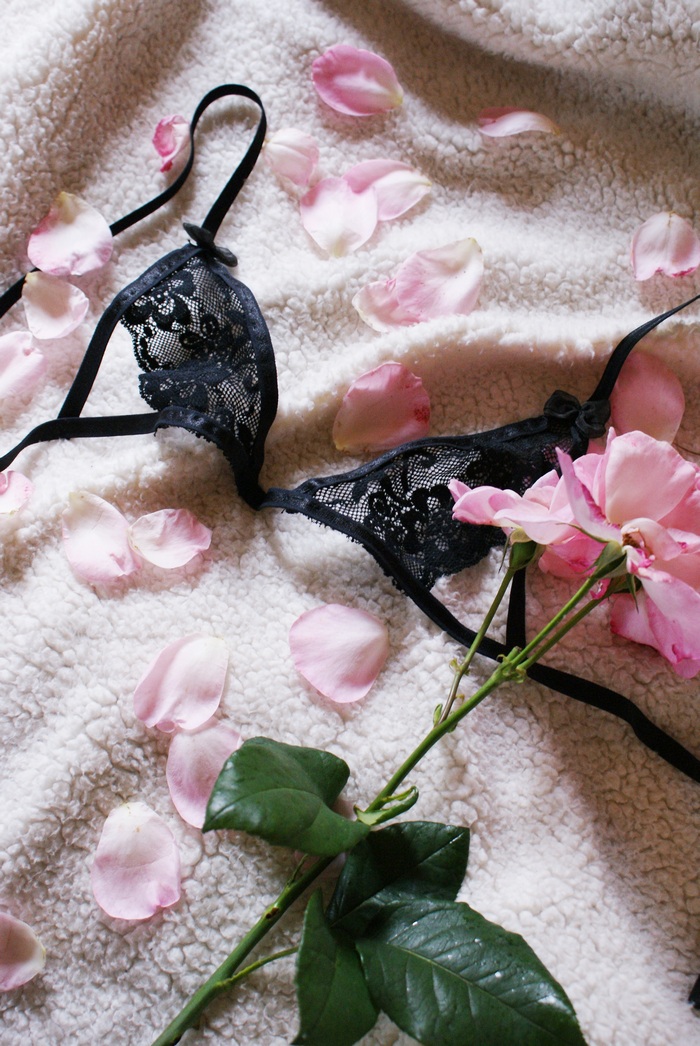
First measure your torso just under the boobs and cut a piece of strip adding few centimeters. Then cut 4 pieces of strip to make the triangles, directly measuring it on your boobs (the external sides will be shorter than the internal ones). Now sew them together and to the lower strip as well, leaving the same measure both from left and right. // Innanzitutto misurate il busto giusto sotto il seno e tagliate la fascia elastica abbondando di qualche centimetro. Poi tagliate 4 pezzi di elastico per creare i triangoli, misurandolo direttamente sul seno (i lati esterni saranno più corti di quelli interni). Ora cuciteli insieme e poi uniteli alla fascia inferiore, lasciando la stessa misura da destra e sinistra.
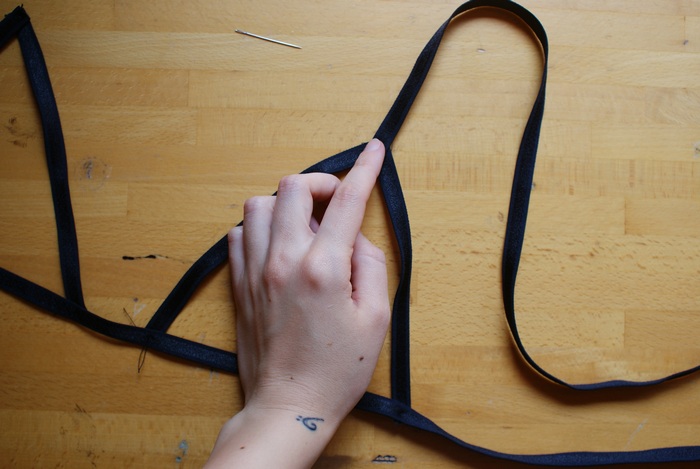
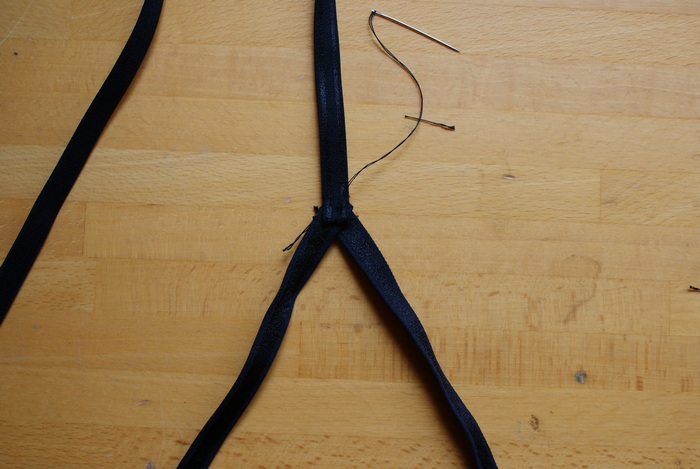
2)
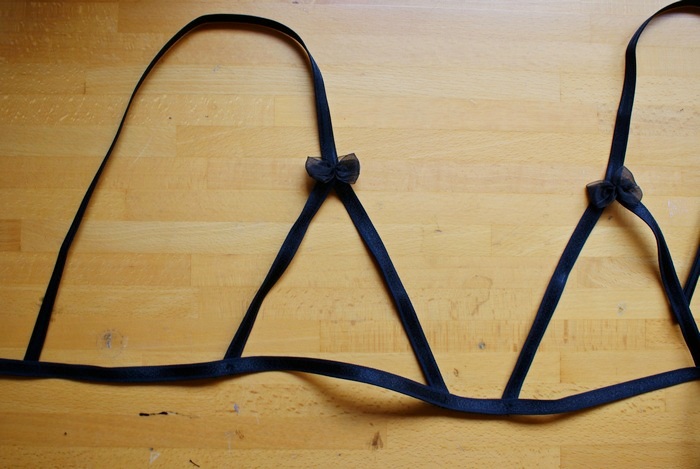
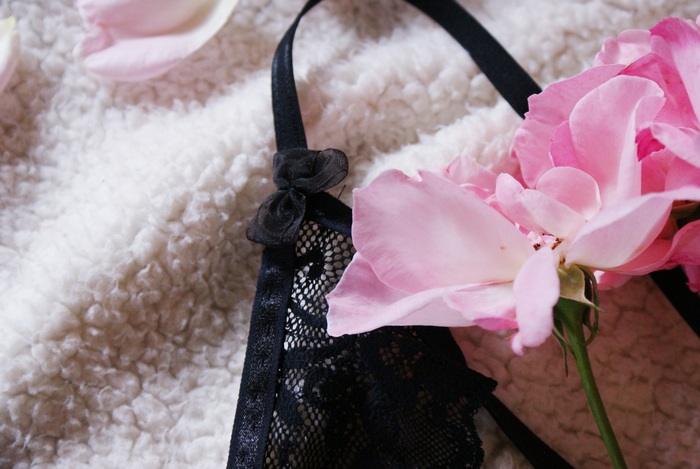
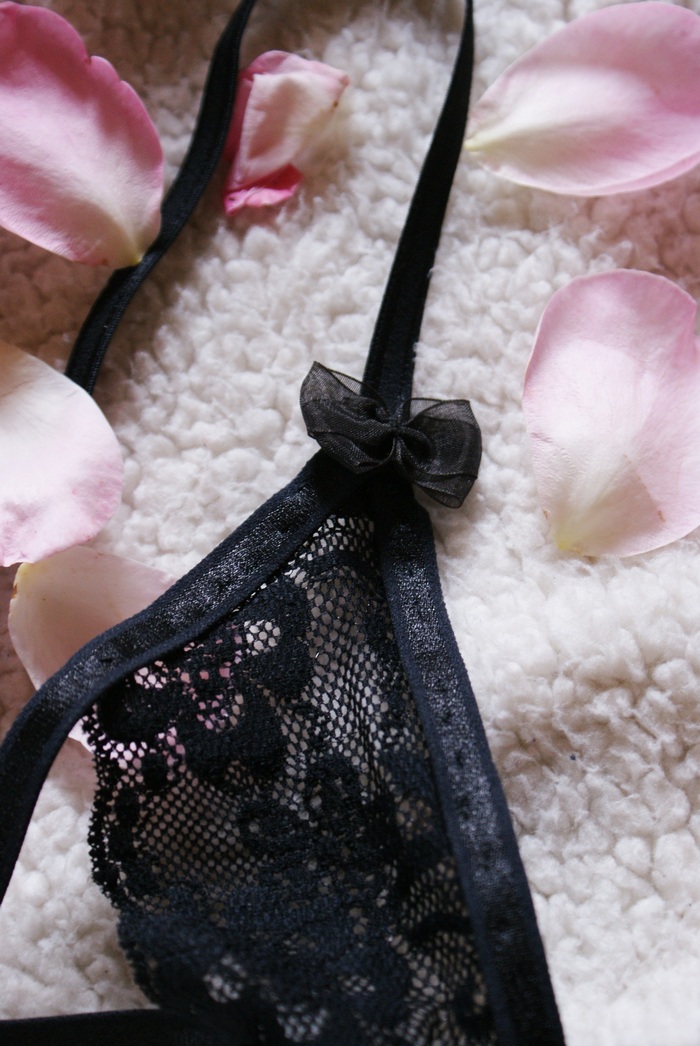
Now cut the 2 straps (you can measure them directly on your shoulders or use a bra as sample), then sew them to the top of the triangle and to the back. I also added 2 little bows (optional) to cover the seams. // Ora tagliate le due bretelline (potete misurarle direttamente sulle spalle o usare un reggiseno come modello), poi cucitele alla punta dei triangoli e sulla parte posteriore. Io ho anche aggiunto 2 fiocchetti (opzionale) per coprire le cuciture.

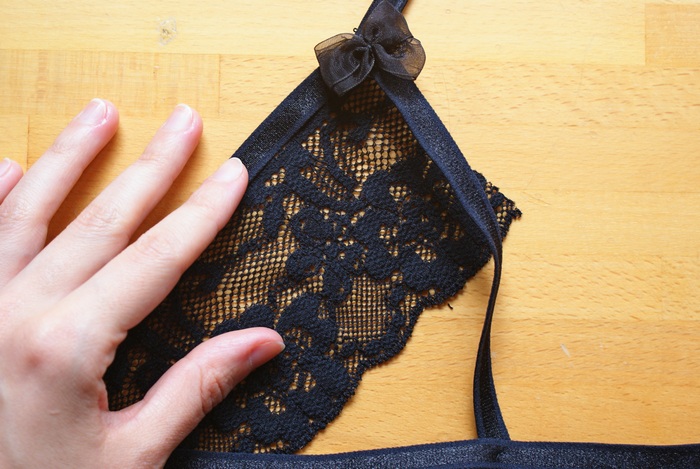
3)
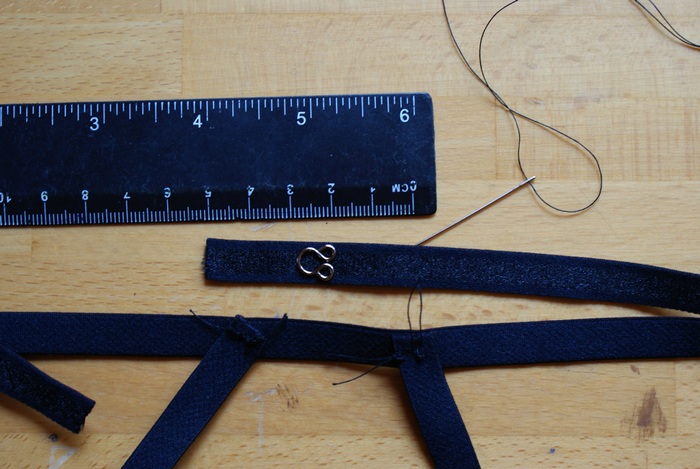
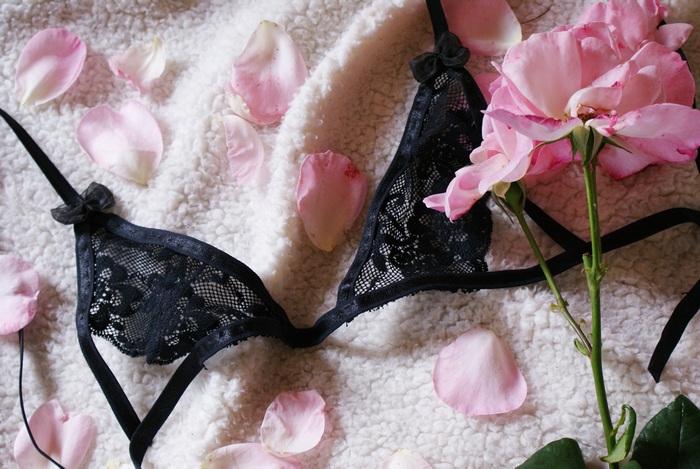
We’re almost done! Cut 2 pieces of lace following the upper shape of the triangles and sew them to the edges. Then sew the closure on the back at the right width (help yourself with a ruler). // Ci siamo quasi! Tagliate 2 pezzi di pizzo seguendo la forma della parte alta dei triangoli e cuciteli ai bordi degli stessi. Poi cucite la chiusura sul retro alla giusta larghezza (aiutatevi nel caso con un righello).

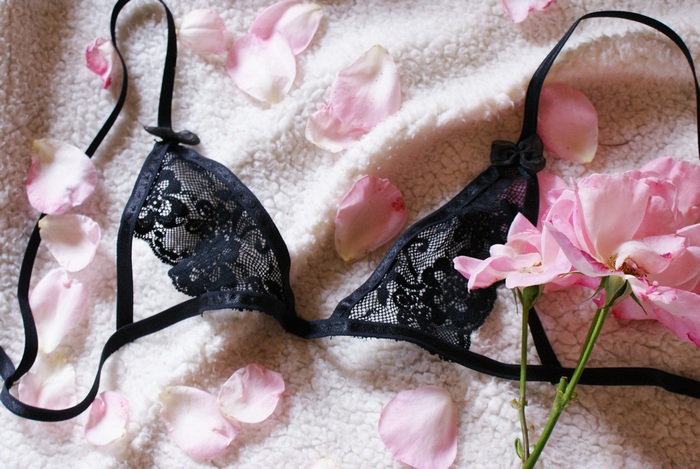
Voilà! It was easier than it seemed, right? It took me about 2 hours (I hand sewed it and had some breaks in the between haha), but if you use a sewing machine you’ll have it finished it few minutes! // Voilà! Era più facile di quanto sembrasse, vero? Io ci ho messo quasi 2 ore (ho cucito a mano e con delle pause nel mezzo ahah), ma se usate una macchina da cucire ci metterete pochi minuti!
Did you like the post? Pin it on Pinterest! // Piaciuto il post? Condividetelo su Pinterest!

Happy new week! // Buona settimana!


