
2018 could be the year to start something new, don’t you think? Like embroidery, for example!
I’ve been seeing for months beautiful embroidery works on the web and I can undersand why: it is super relaxing, it is really for everyone and it lets us create beautiful pieces of art. Such a lovely hobby!
//
Il 2018 potrebbe essere l’anno giusto per iniziare qualcosa di nuovo, non credete? Come il ricamo ad esempio!
Per mesi ho visto ovunque sul web bellissimi lavori ricamati a mano e posso capire perché: ricamare è rilassante, alla portata di tutti e permette di realizzare vere opere d’arte. Davvero un bel passatempo!
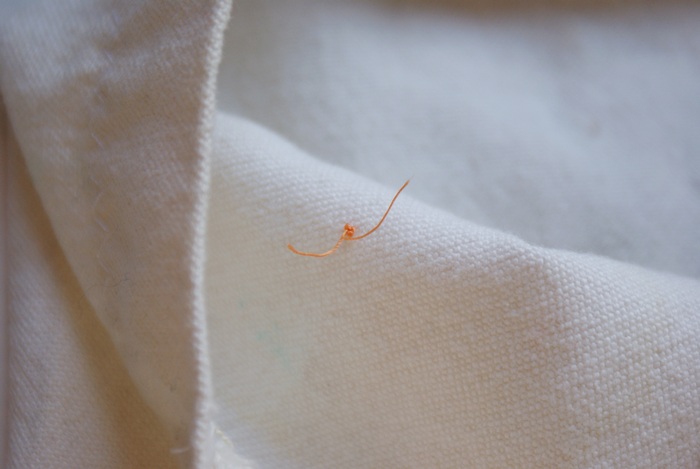
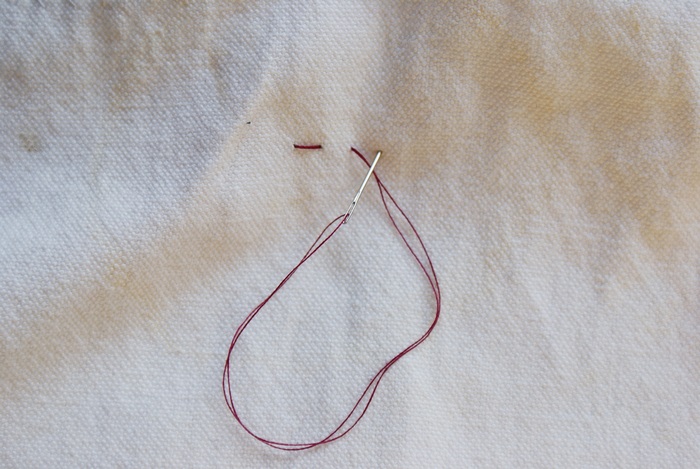
I’m planning a few posts about emboridery projects for the coming months, but before starting with them I opted for sharing with you 3 of the stitches you can use while sewing, so that you can practice a bit (if you’re new to embroidery!) before making the first works! There are sooo many stitches, but I prefer to show you the easiest, take needle and thread and let’s go!
//
Sto pensando ad alcuni lavoretti di ricamo per i mesi a venire, ma prima di iniziare con essi ho deciso di condividere con voi 3 dei tipi di ricamo che potete usare quando cucite, così che possiate esercitarvi (se siete inesperte) prima di entrare nel vivo! Ci sono tantissimi punti, ma io preferisco mostrarvi i più facili; prendete ago e filo e cominciamo!
***
You need // Vi occorre:
- an old piece of fabric // un vecchio pezzo di tessuto
- needle and thread // ago e filo
- scissors // forbici

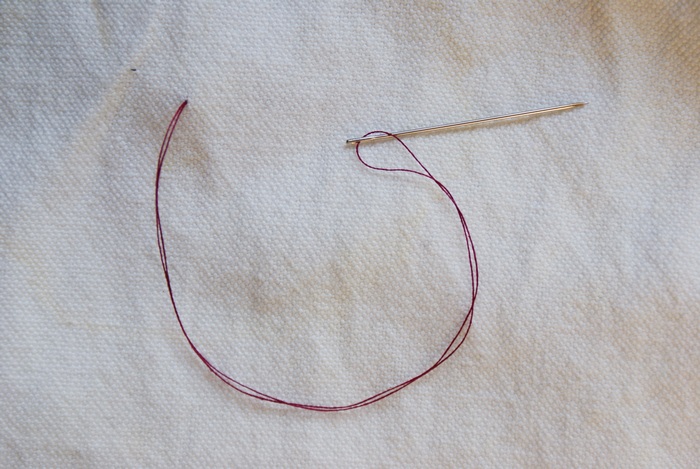
How to // Come procedere:
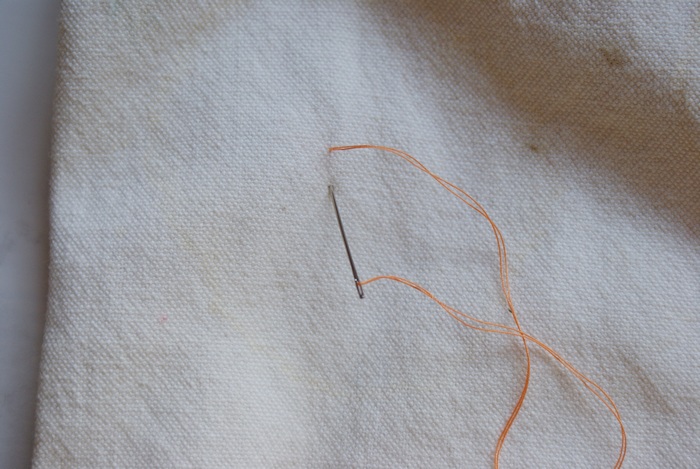
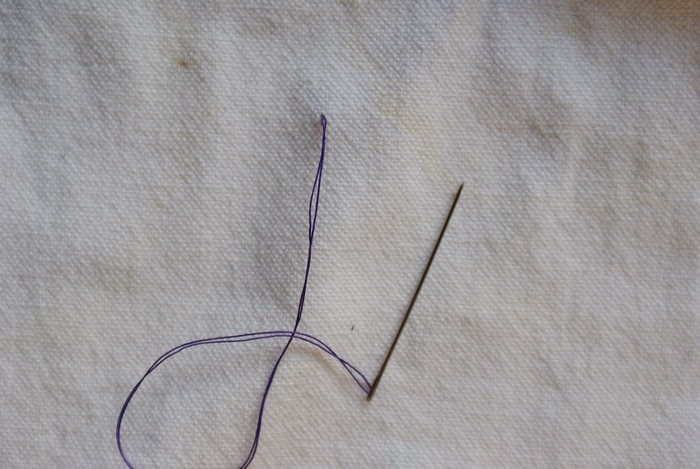
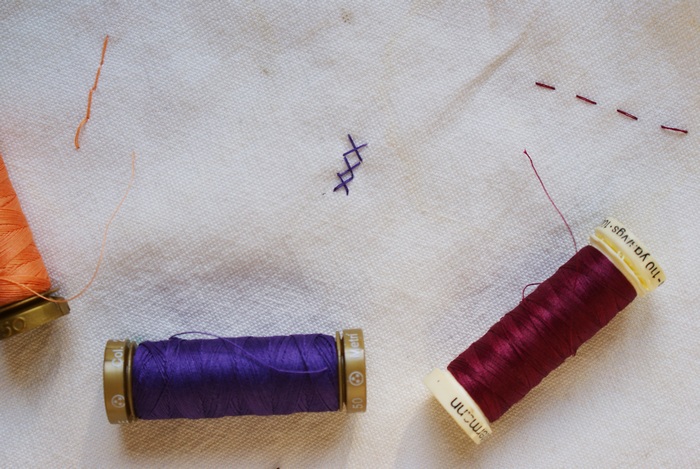
THE BACK STITCH // IL PUNTO INDIETRO

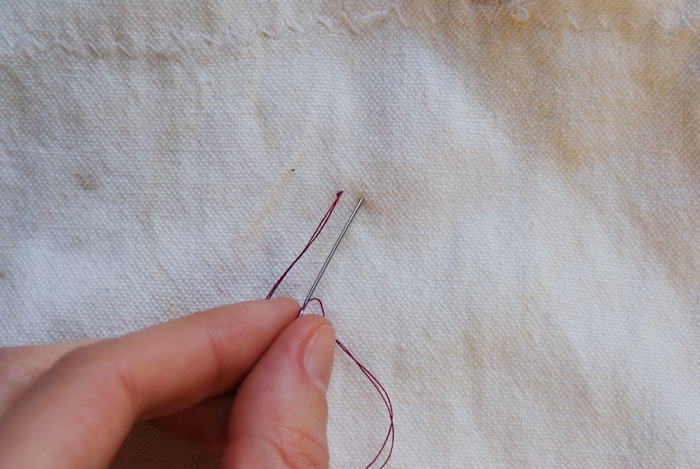
This is probably the stitch you’ll use the most. It’s useful to create the contours and clean lights. We’re gonna make a straight line together, I didn’t draw it on the fabric with a chalk (or pencil), but if you feel more comfortable you can draw it before starting sewing. Well, start making the first knot on the back of the fabric (tutorial here) then make the needle pass out (point 1). Make a stitch of few millimeters and make the needle pass in (point 2). Now, let the needle come out at point 3 that’s exactly the same distance between 1 and 2, then make it pass in through point 2. Now make it come out at point 4 and in at point 3 and so on. The definition of back stitch is this: “a stitch sewn one stitch length backward on the front side and two stitch lengths forward on the reverse side to form a solid line of stitching on both sides”. Close with a know (tutorial here) and you’re done. // Questo è probabilmente il punto che userete di più, comodo per creare contorni e linee definite. Noi faremo una linea dritta insieme, io non l’ho disegnata prima con un gessetto (o matita), ma se volete segnatela prima di cucire. Bene, iniziate facendo un nodo sul retro del tessuto (tutorial qui) poi fate uscire l’ago sul davanti (punto 1). fate un punto di alcuni millimetri e rifate passare l’ago sul retro (punto 2). Ora fate uscire l’ago al punto 3 ad una distanza uguale a quella tra 1 e 2, poi fatelo passare sul retro attraverso il punto 2. Ora fate uscire l’ago dal punto 4 e rientrarlo dal 3 e così via. La definizione di punto indietro infatti è: “un punto cucito una misura all’indietro sul davanti (del tessuto) e due misure in avanti sul retro (del tessuto)”. Chiudete con un nodo (tutorial qui) e avete fatto.

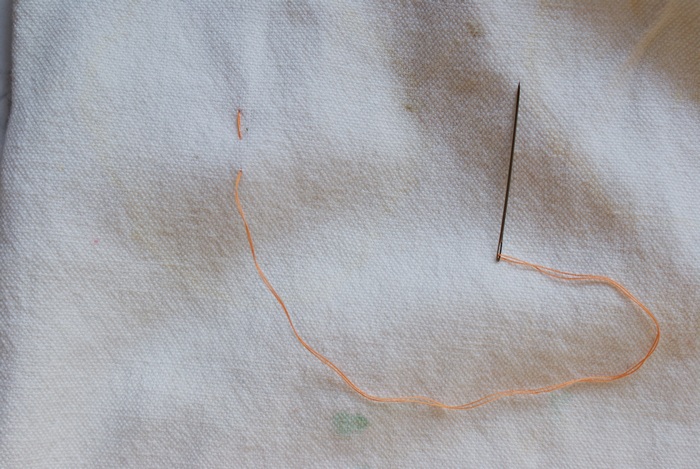
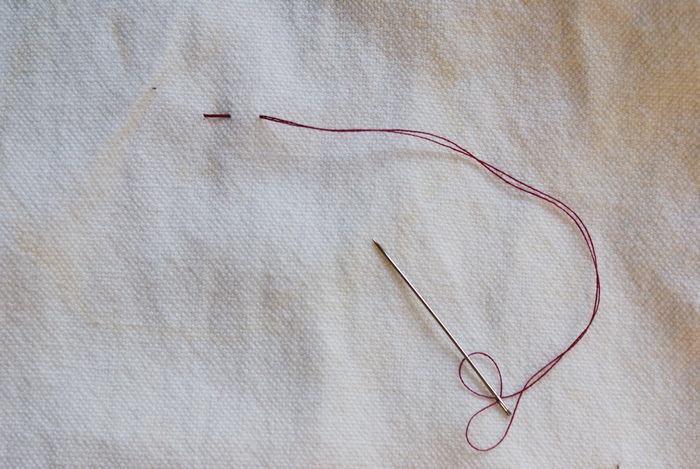
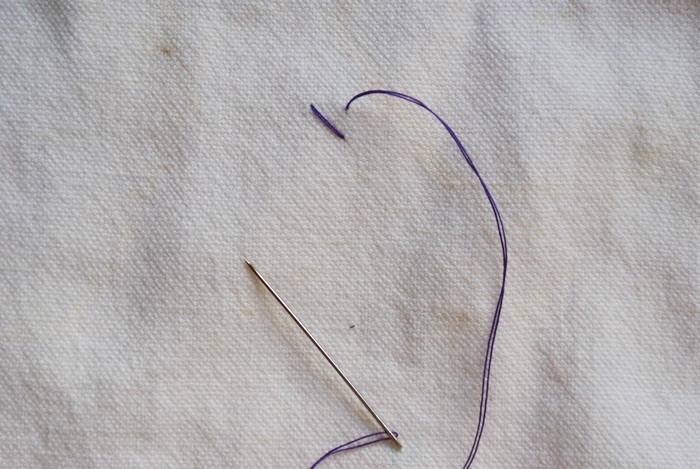
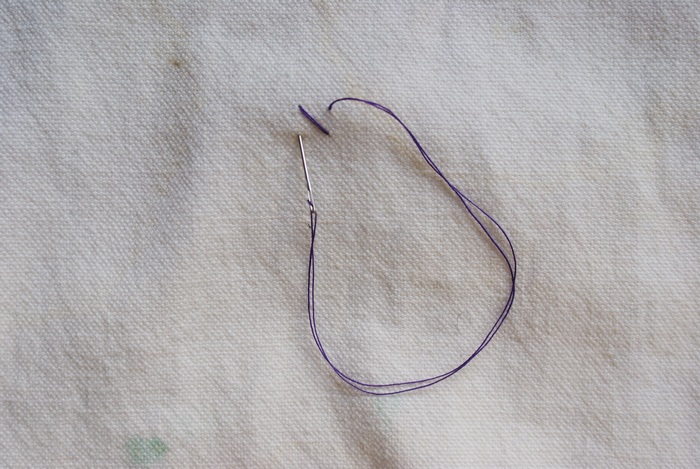
THE RUNNING STITCH (OR STRAIGHT STITCH) // IL PUNTO FILZA
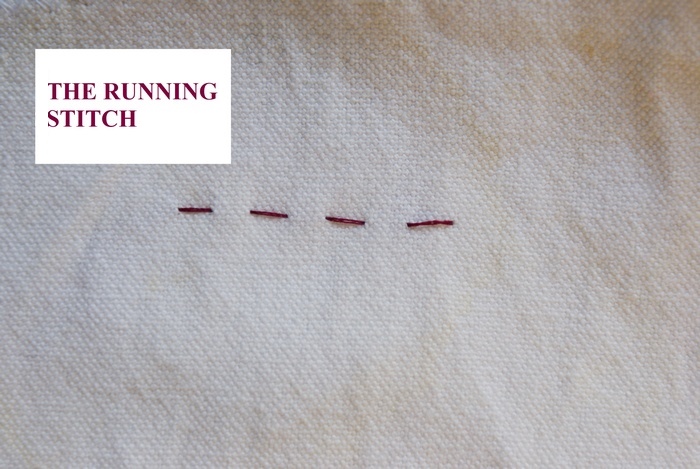
This is the basic of embroidery and hand-sewing, perfect for creating details and discontinuous lines. It is worked by simply passing the needle in and out of the fabric (the stitch “runs” throught it) and it is your choice how much distance to leave between the stitches on the front. // Questo è il punto base del cucito a mano e del ricamo, perfetto per creare dettagli e linee discontinue. Si realizza facendo passare semplicemente il filo davanti e dietro (come se il filo “corresse” attraverso il tessuto) ed è a vostra discrezione decidere quanta distanza lasciare tra i punti sul davanti.
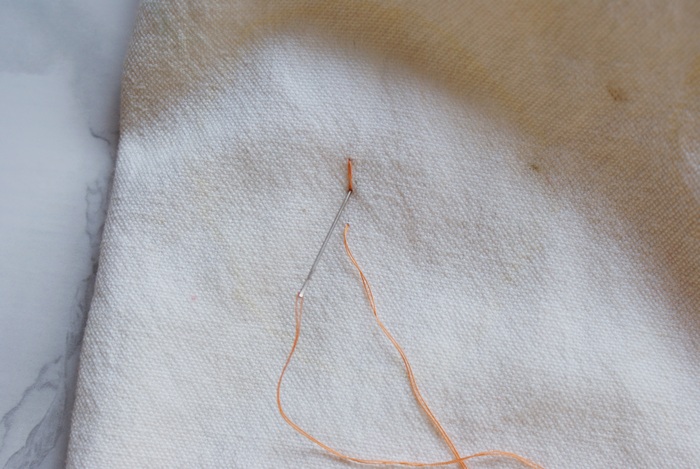
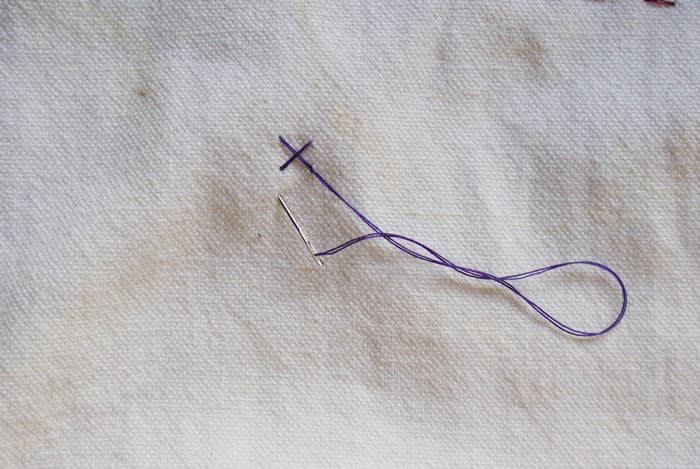
THE CRISS CROSS STITCH // IL PUNTO CROCE

Another famous stitch that can also be the only one used if you make, precisely, criss cross embroidery. It’s easier than it seems and you start making pass the needle out at point 1 then in at pont 4, out at 2 and in at 3. The first cross is done. Then make it pass out at 4 (in general, at the other bottom point) and in at 5, out at 3 and in at 6 and so on. // Un altro punto famoso, che può tra l’altro essere l’unico usato se, ad esempio, si realizza un lavoro di punto croce. Non spaventatevi, è davvero più facile di quanto sembri. Iniziate facendo uscire l’ago al punto 1 e poi dentro al 4. Fuori di nuovo al 2 e dentro al 3. La prima croce è fatta. Ora fatelo uscire al punto 4 (in generale, al punto opposto più basso rispetto al quale è entrato) ed entrare al 5, fuori al 3 e dentro al 6 e così via.


Well, I hope you found this post useful! Embroidery is a relaxing and satisfying activity but requires patience and practice. This is why you should to start by little steps (for example, with these 3 stitches only!) and when you feel comfy with it learn new stitches. Remember: it must be funny, not stressful!
//
Bene, spero che abbiate trovato questo post utile! Il ricamo è un’attività rilassante e soddisfacente, ma richiede pazienza e pratica. Ecco perché dovreste iniziare per piccoli step (magari solo con questi 3 punti!) e quando vi sentite pronte imparate nuovi punti. Ricordate: deve essere divertente, non stressante!

Happy Monday! // Buon Lunedì!


