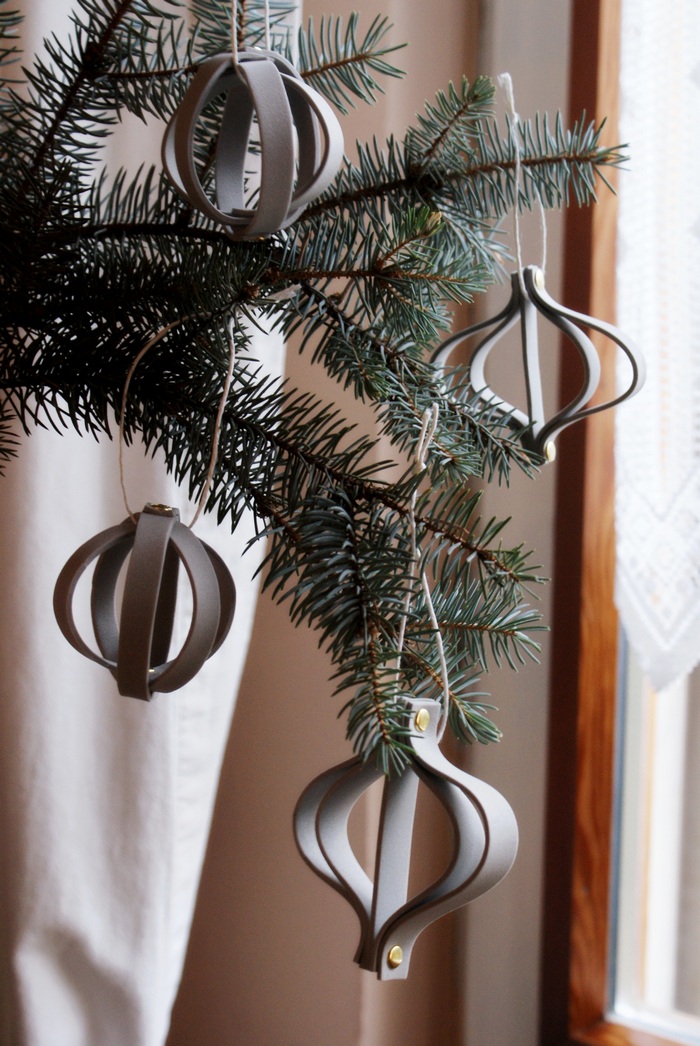
Just in case you’re craving starting decorating your Christmas tree (I am).
Italian tradition wants us to put up the Chistmas tree on 8th of December, but it’s common to see decorations all around even earlier. Lots of you may have already put it up, but in case you’re still waiting to start (or are looking for new decor ideas) this post comes just in time!
//
Giusto nel caso in cui non stiate più nella pelle per decorare l’albero di Natale (io, ad esempio).
La nostra tradizione vuole che l’albero si faccia l’8 di Dicembre, ma è comune vedere in giro decorazioni anche prima. Molte di voi potrebbero averlo già fatto, per le altre (e per chi ha voglia di decorazioni nuove) questo post arriva al momento giusto!
Christmas decorations can be expensive as hell, this is why this year I decided to make something DIY for our tree. Minimal look with festive feeling (and almost for free): totally for the win!
//
Le decorazioni natalizie possono essere davvero costose, ecco perché, quest’anno, ho deciso di realizzarne io stessa alcune per l’albero. Look minimal ma super festose (e quasi a gratis): promosse!
***
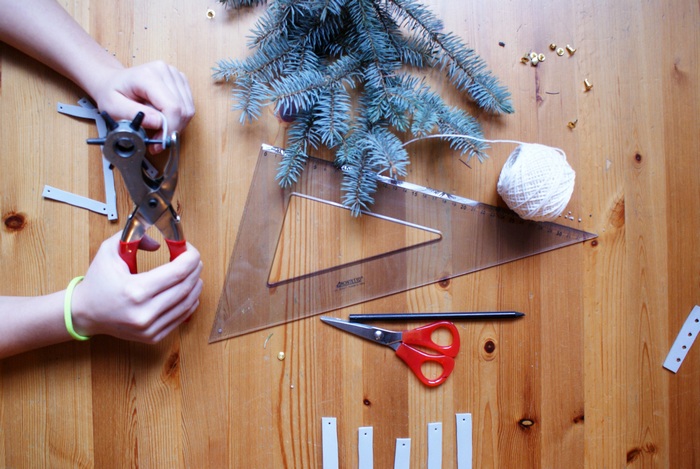
You need // Vi occorre:
- neoprene leaf // foglio di neoprene
- scissors // forbici
- rivets // rivetti
- multihole punch // pinza fustellatrice
- rope // spago
- pencil and ruler // matita e righello

How to // Come procedere:
POINTED BIDIMENSIONAL BALL // PALLINA BIDIMENSIONALE A DOPPIA PUNTA
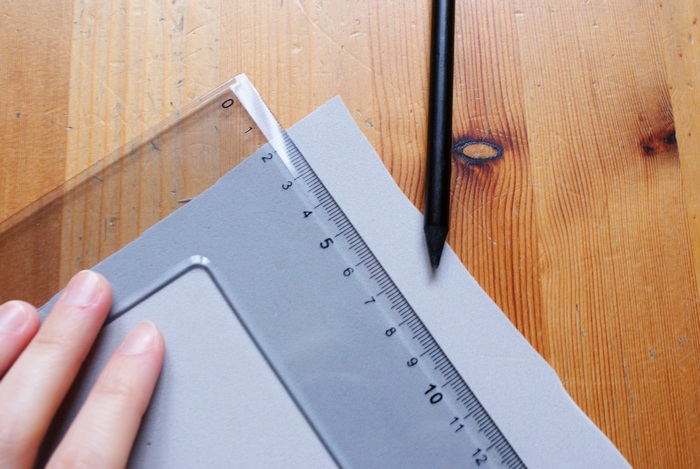
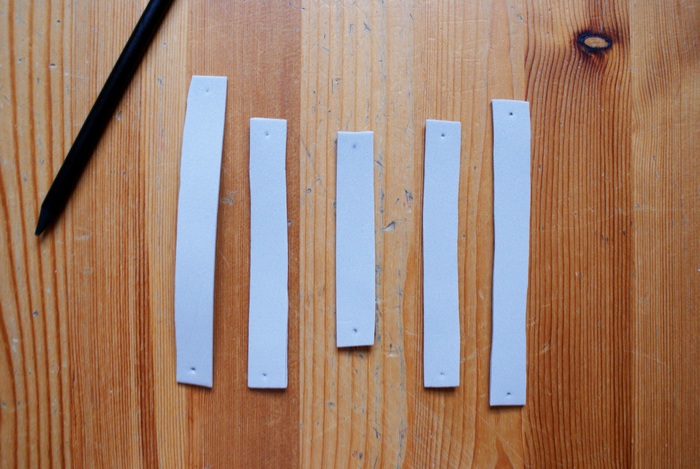
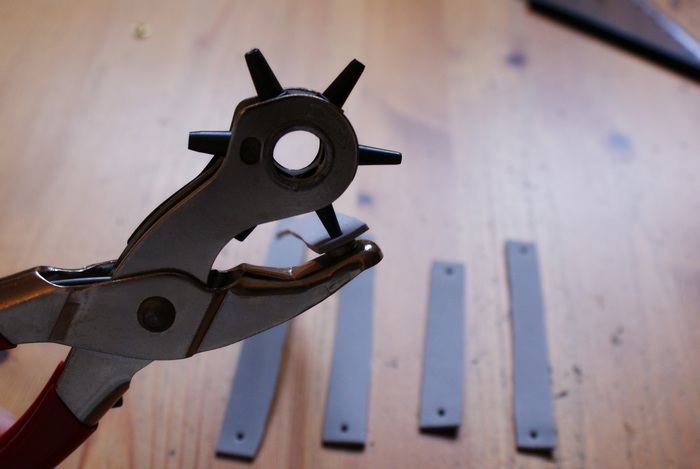
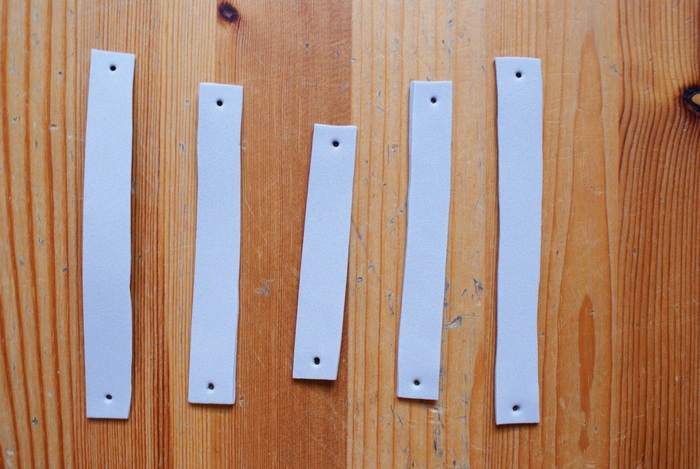
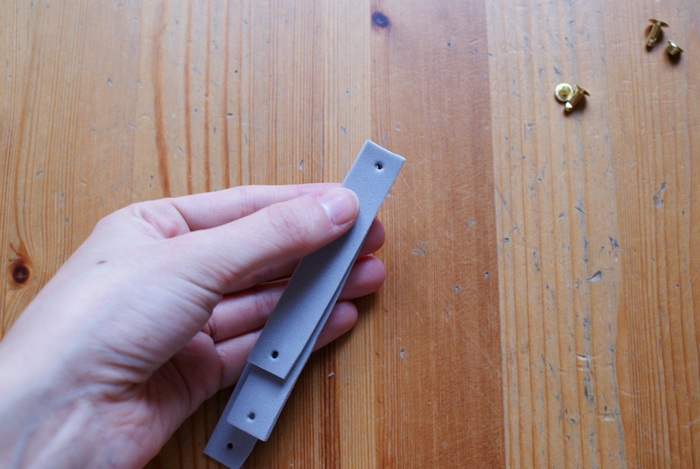
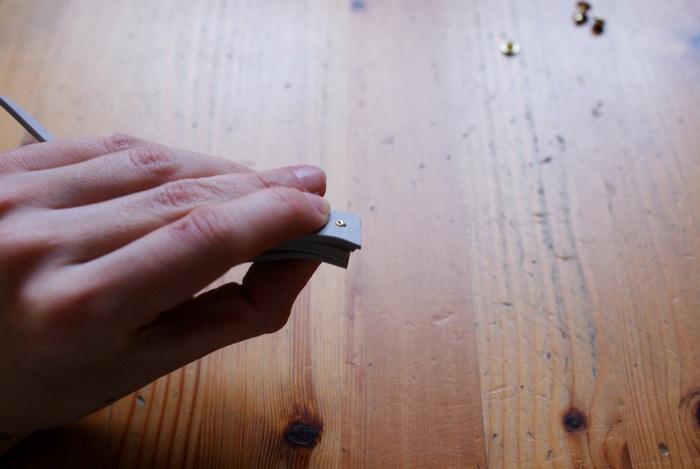
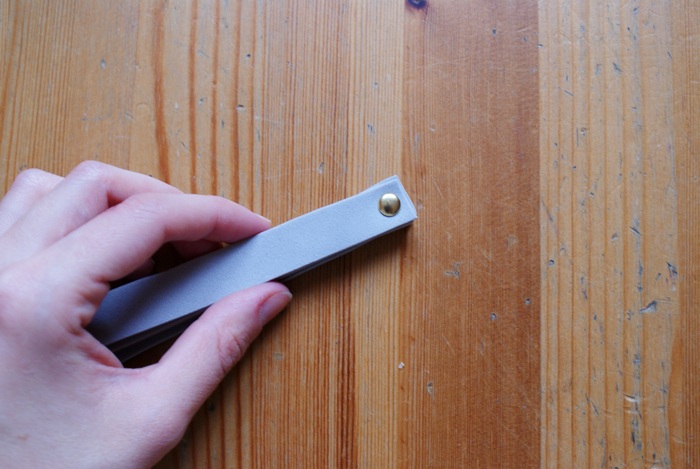
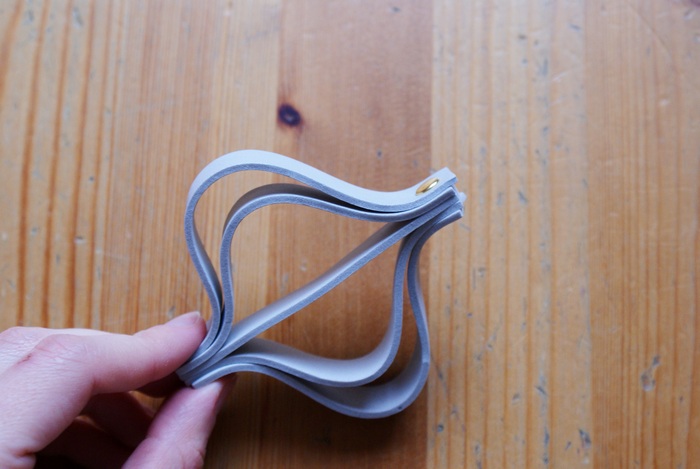
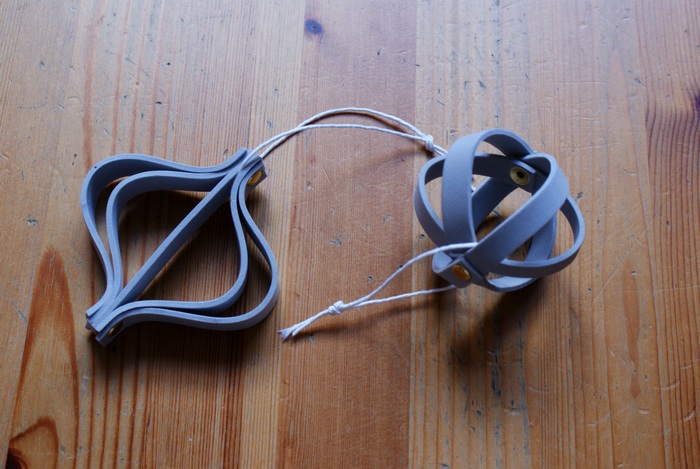
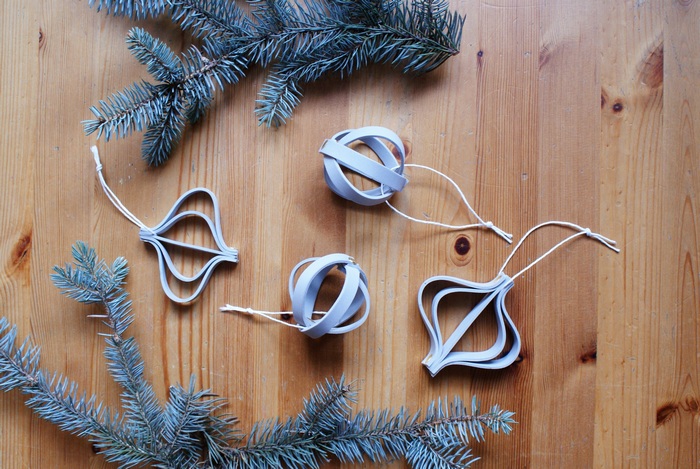
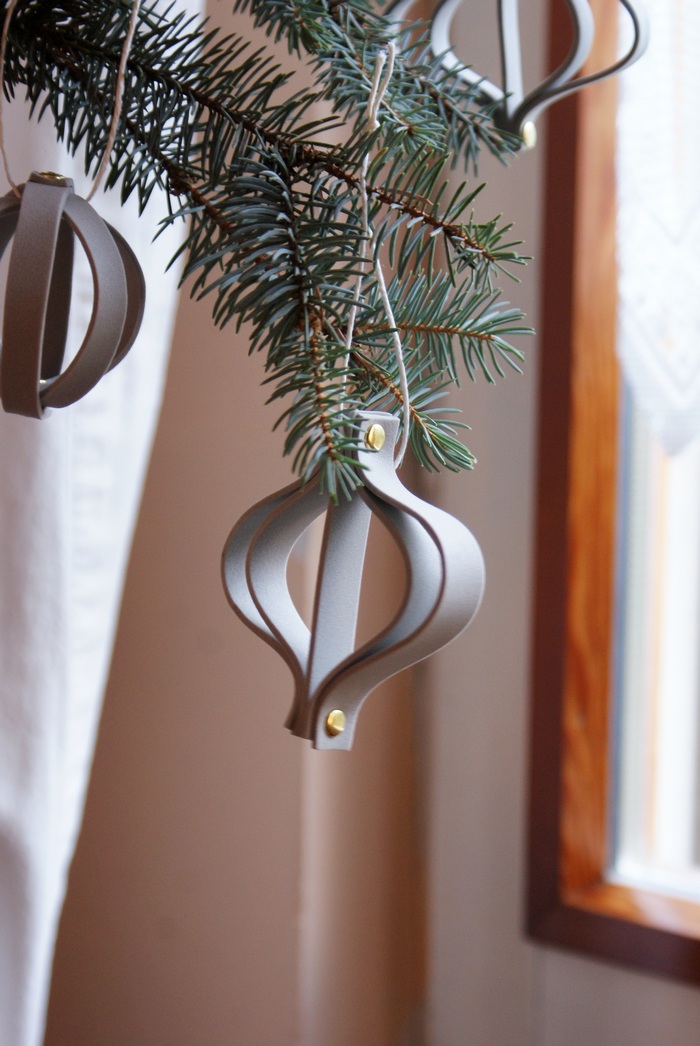
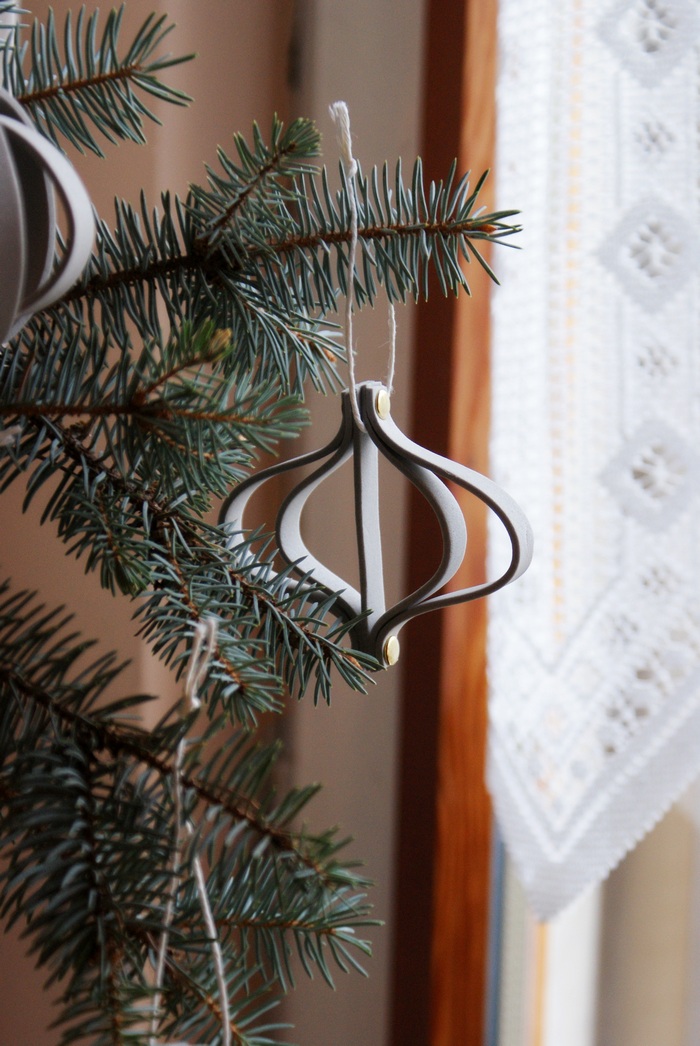
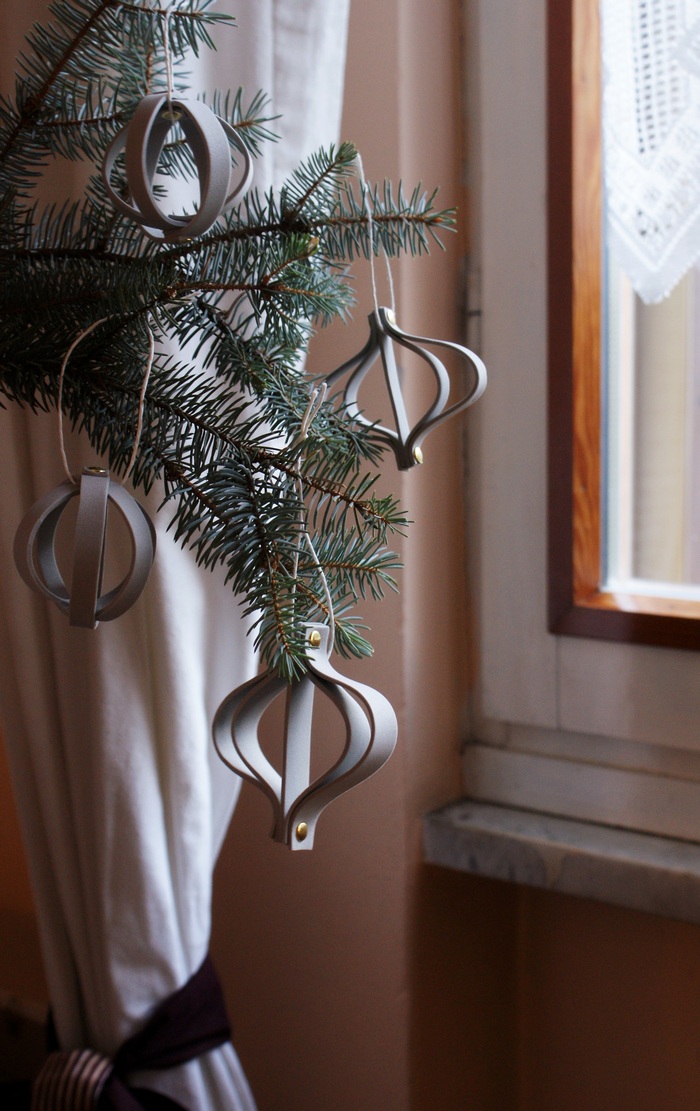
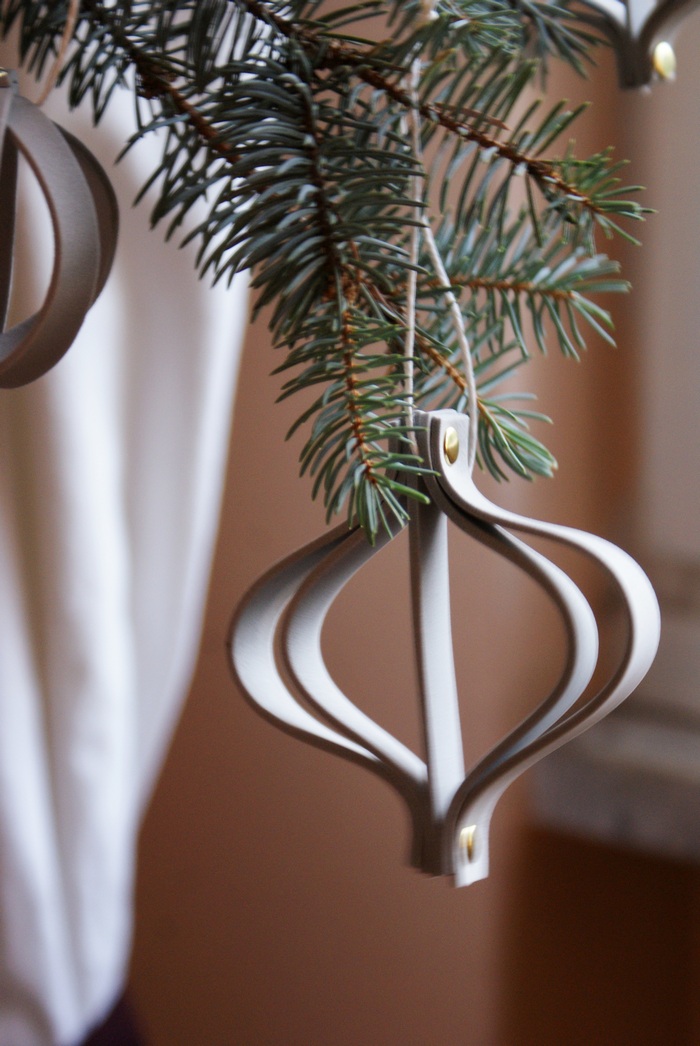
Cut 5 pieces of neoprene: 1 1×8 cm (0,39×3 in), 2 1×10 cm (0,39×3,9 in) and 2 1×12 cm (0,39×4,7 in). Then sign a point on each extremity (leaving some space from the edge) and make the holes with the punch. Take one of the longest pieces and insert the rivet, then add a medium piece and the smallest one, then the other medium and longest pieces and close the rivet. Repeat on the other extremities and your ornament will get the pointed shape itself! // Tagliate 5 pezzetti di neoprene: 1 1×8 cm, 2 1×10 cm, 2 1×12 cm. Poi segnate un punto su ogni estremità (lasciando un po’ di spazio dal bordo) e fate i buchi con la fustellatrice. Prendete uno dei pezzetti più lunghi ed infilate il rivetto, poi aggiungete uno dei medi, il piccolo, poi di nuovo il secondo medio e lungo. Chiudete il rivetto e ripetete con le estremità inferiori, l’ornamento prenderà la forma da solo!

TRIDIMENSIONAL BALL // PALLINA TRIDIMENSIONALE
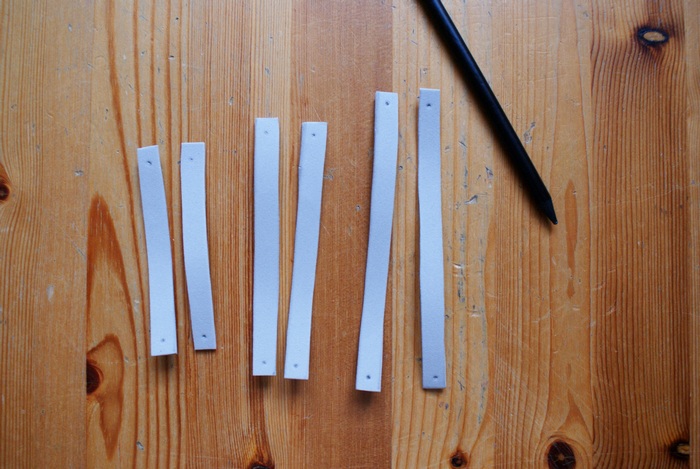
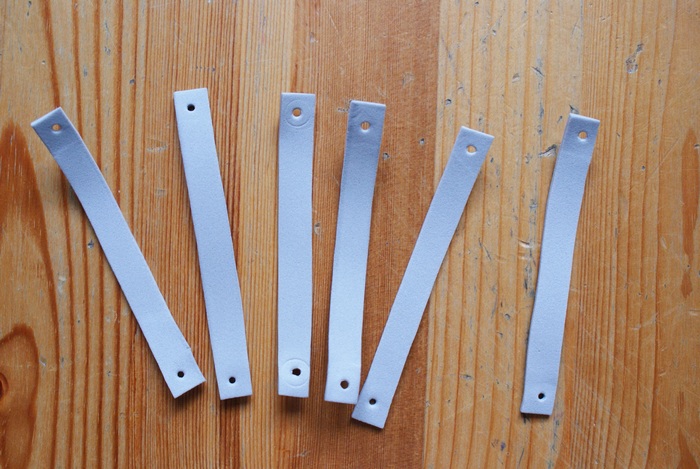
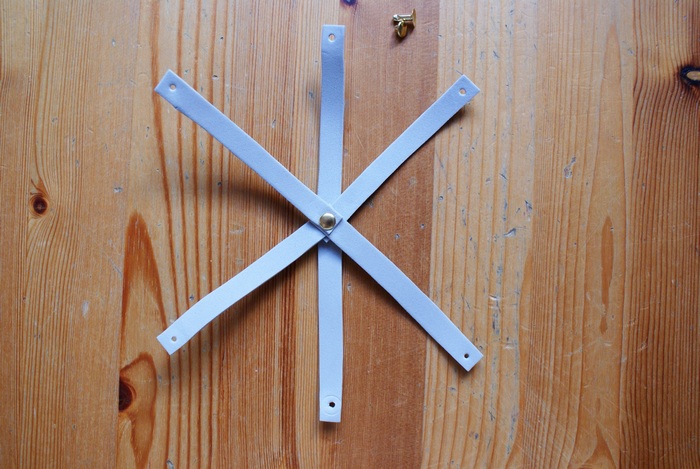
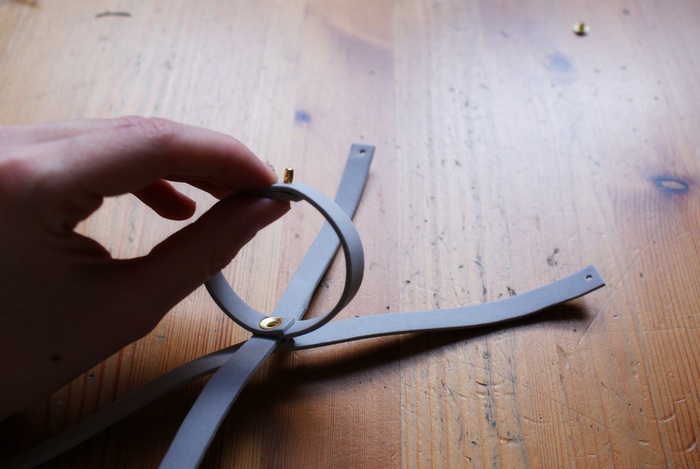
Cut 6 pieces of neoprene with the same measure, 1×10 cm (0,39×3,9 in) and, as for the first ornament, sign the points and make the holes. Inesrt the rivet as you see in photo, adding the neoprene strips in couple: the first two in vertical, the others on the two diagonals. Now close the ball adding the closing part of the rivet, always folding the strips in couple (vertical, diagonal, diagonal).
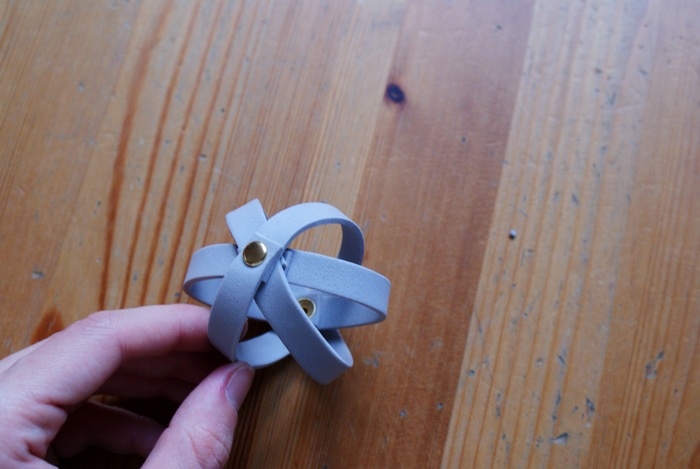
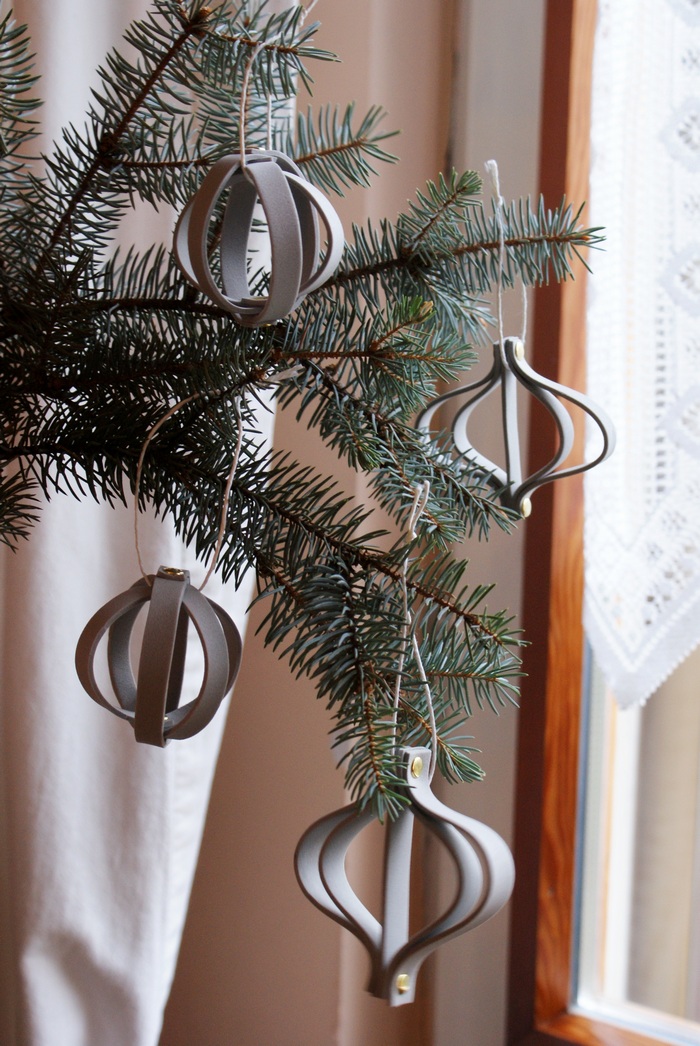
Add the rope and voilà! Aren’t they chic and lovely? // Aggiungete il cordino e voilà! Non li trovate chic e adorabili?
Did you like this DIY? Pin it on Pinterest! // Vi è piaciuto il DIY? Condividetelo su Pinterest!


Remember to tag #fpblogxmas and @francinesplaceblog on Instagram if you make it to be featured in my Instastories! Happy new week!
//
Ricordate di taggare #fpblogxmas e @francinesplaceblog su Instagram se realizzate questa decorazione così che vi possa condividere nelle mie Instastories! Buon inizio settimana!
P.S. Grazie Cri per l’aiuto! 🙂

